Removal Procedure
- Raise the seat to the full up position (power seat).
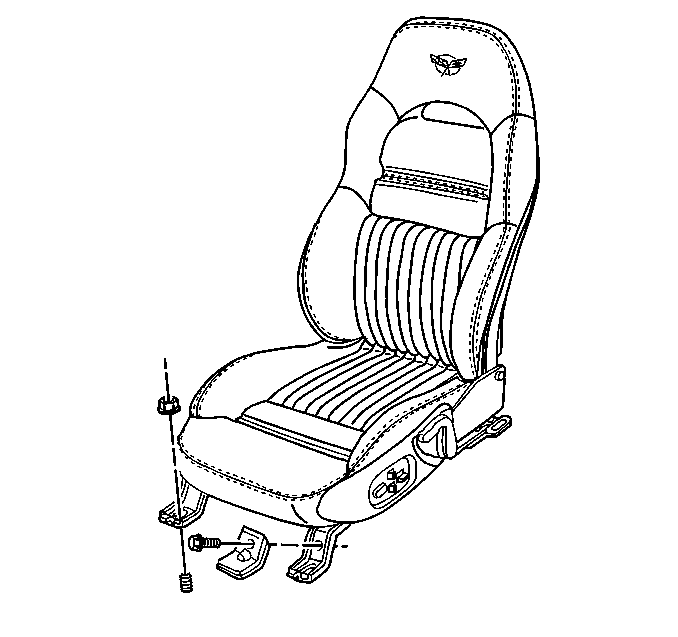
- Remove the seat. Refer to Seat Replacement .
- Remove the recliner handle.
- Remove the side trim panel. Refer to Front Seat Trim Panel Replacement .
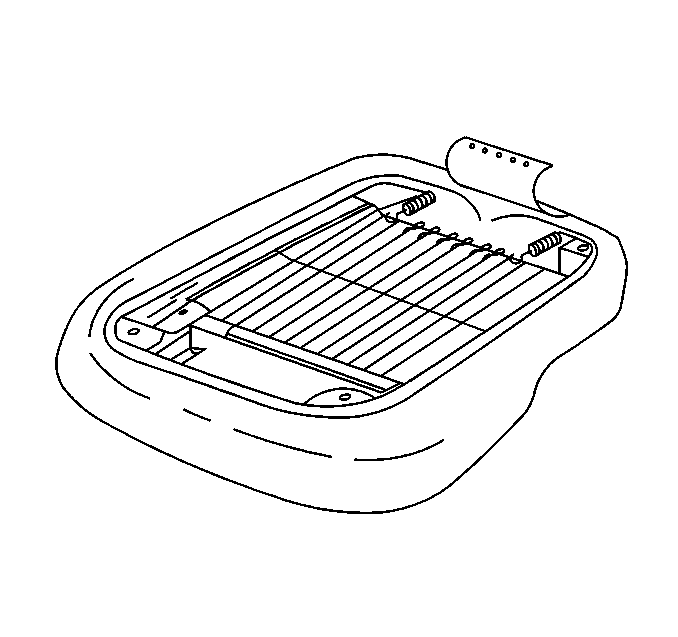
- Remove the seat cushion cover. Refer to Seat Cushion Trim Cover and Pad Replacement .
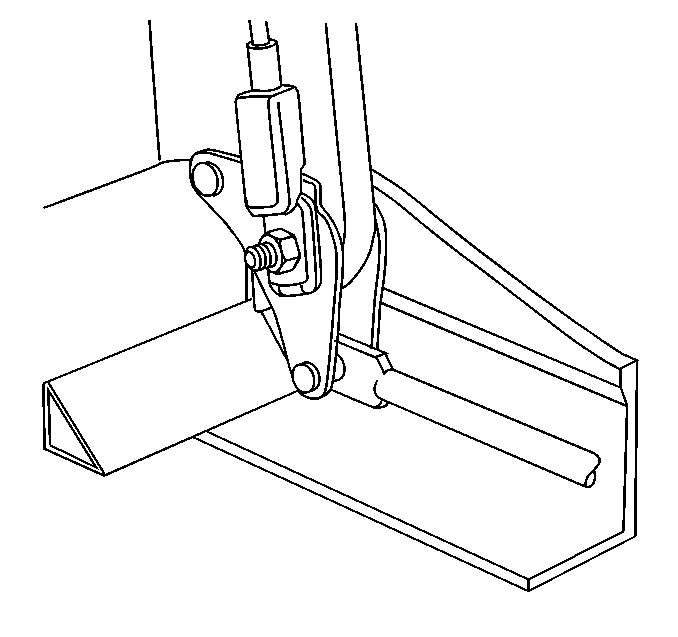
- Remove the hinge pin nuts and the hinge pins.
- Lay the seatback down
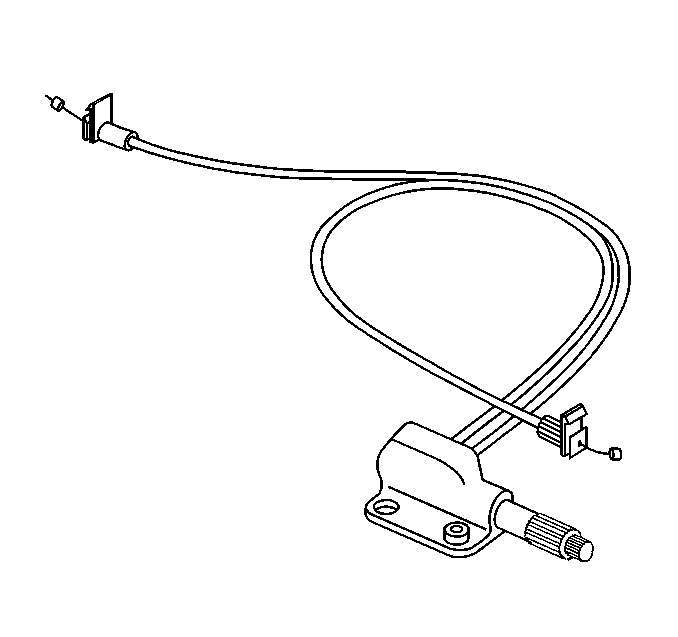
- Remove the cables from the actuators.
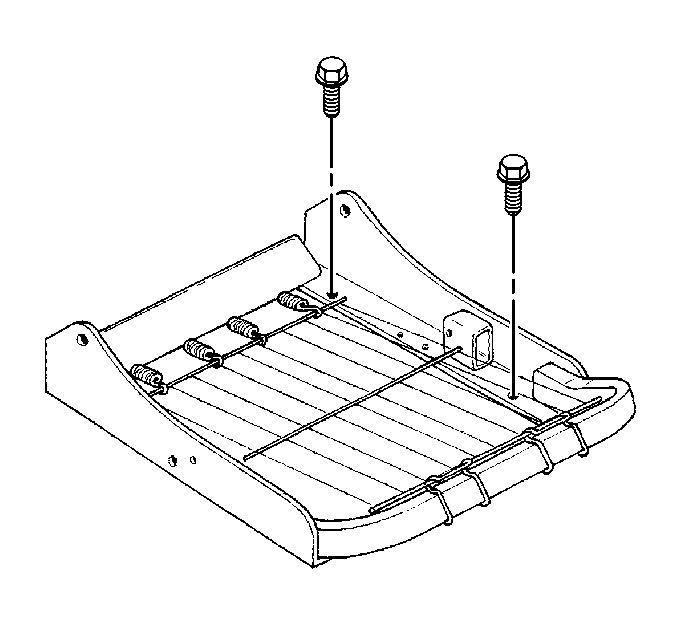
- Remove the seat from the adjuster to access the recliner mechanism attaching screws (Base Seat only).
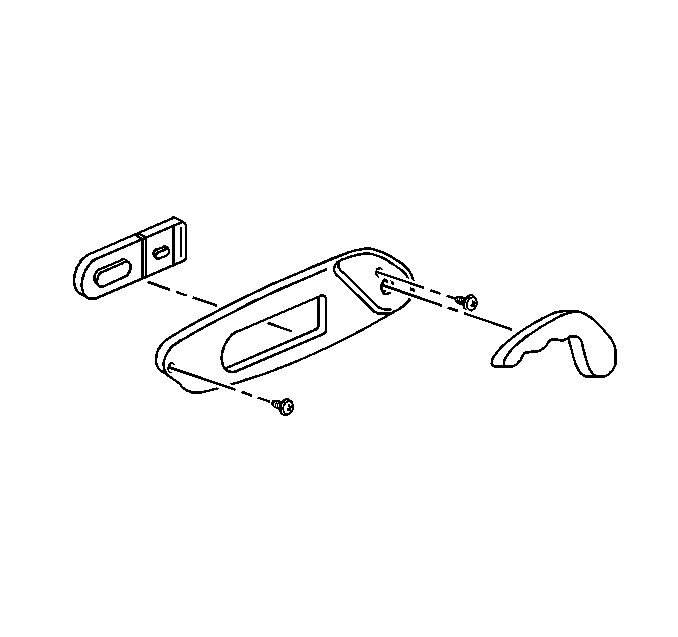
- Remove the screws attaching the recliner mechanism.
- Remove the recliner mechanism.
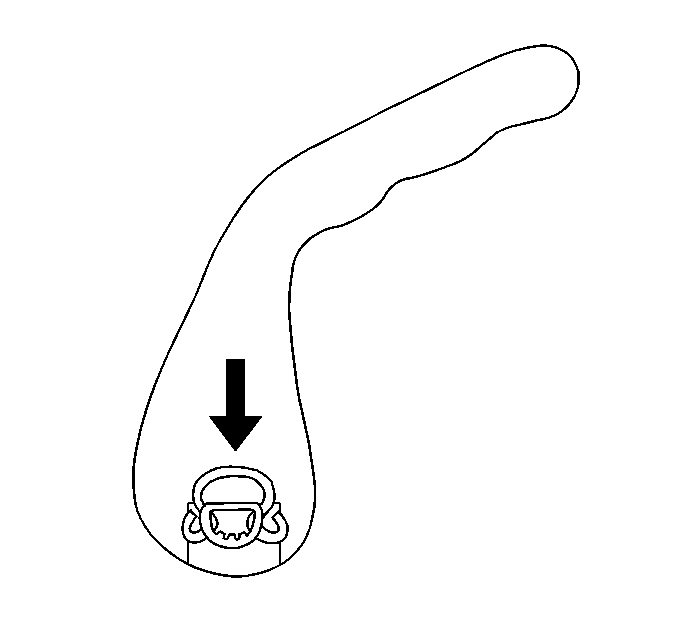
| 3.1. | With a suitable blunt ended tool inserted between the cushion and the handle push the handle retaining spring clip down. |
| 3.2. | Pull the handle from the shaft. |
Installation Procedure
Important: Do not lubricate the seatback recliner mechanism.
- Install the recliner mechanism to the seat frame.
- Install the cables to the actuators.
- Securely snap the cable retaining clips to the actuators with the tabs up.
- Install the seat adjusters to the seat if removed.
- Apply Loctite™ 271 to the bolts and secure the adjuster to the seat.
- Install the hinge bolts, seatback release cables, and nuts.
- Install the seat cushion trim cover. Refer to Seat Cushion Trim Cover and Pad Replacement .
- Install the side trim panel. Refer to Front Seat Trim Panel Replacement .
- Install the recliner handle.
- Install the seat. Refer to Seat Replacement .


Notice: Use the correct fastener in the correct location. Replacement fasteners must be the correct part number for that application. Fasteners requiring replacement or fasteners requiring the use of thread locking compound or sealant are identified in the service procedure. Do not use paints, lubricants, or corrosion inhibitors on fasteners or fastener joint surfaces unless specified. These coatings affect fastener torque and joint clamping force and may damage the fastener. Use the correct tightening sequence and specifications when installing fasteners in order to avoid damage to parts and systems.
Tighten
Tighten the bolts to 24 N·m (18 lb in).

Important: Use a tread locking compound on the hinge bolts.
Tighten
Tighten the hinge bolt nuts to 24 N·m (18 lb ft).
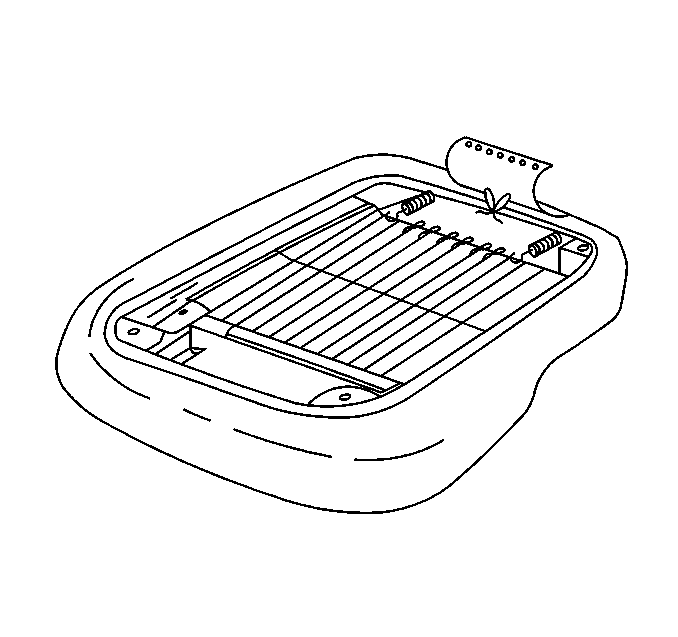

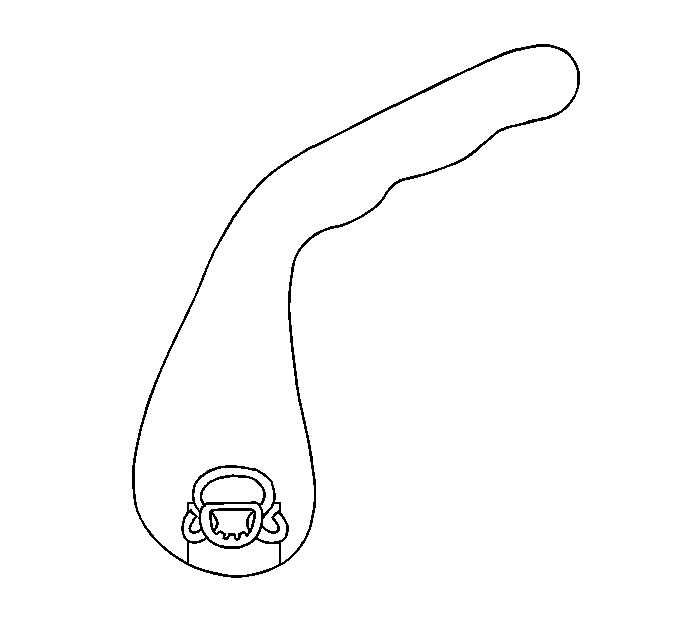
| 9.1. | Position the handle retaining spring clip into the lock position. |
| 9.2. | Snap the handle onto the reclining mechanism shaft. |

