Your vehicle has a keyless access system that allows you to lock and unlock your doors, unlock your hatch/trunk lid and disarm or arm your theft-deterrent system. The range distance is as much as 100 feet (30 m) away.
Your vehicle comes standard with two transmitters, and up to four can be matched to your vehicle. See "Matching Transmitter(s) to Your Vehicle" later in this section.
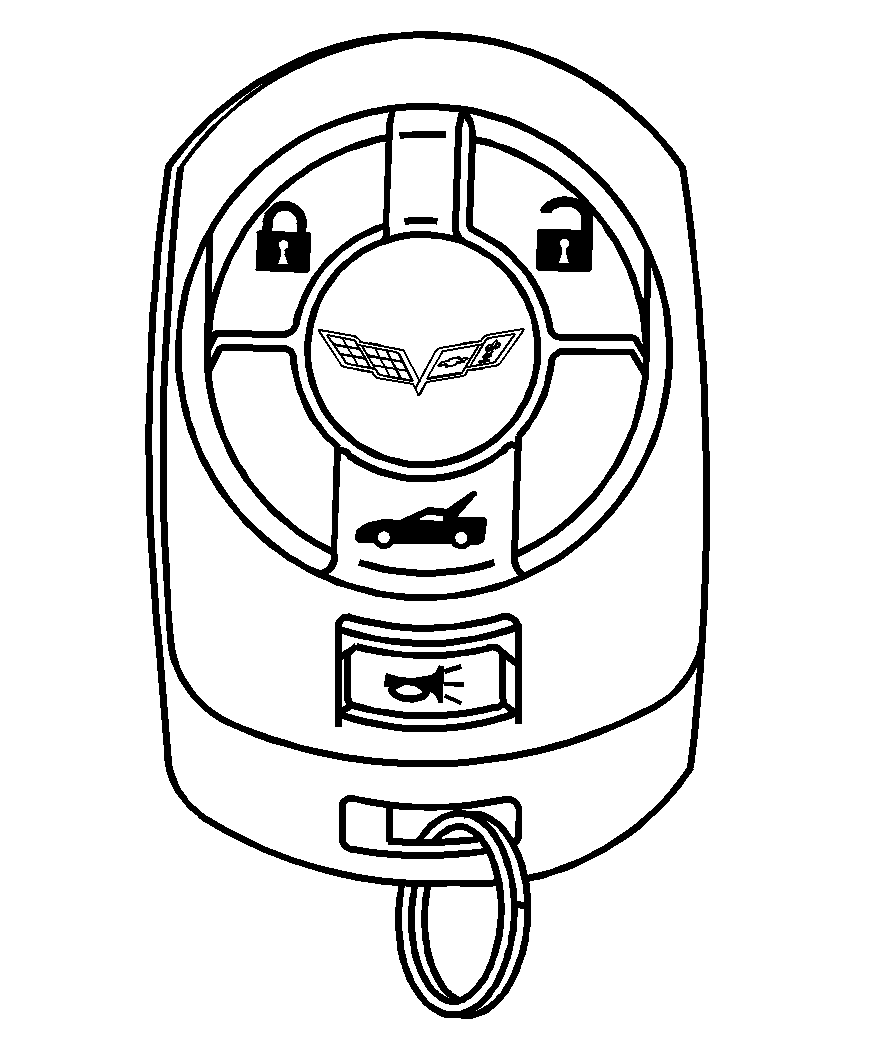
[block ] (Lock): Press this button to lock the doors. The light on the door will flash once. If this button is pressed two times, the doors will lock, the light will flash and the horn will sound.(Unlock): Press this button to unlock the driver's door. The light on the door will flash two times. Press the button two times within 10 seconds to unlock both doors. If it is dark enough outside, your interior lamps will come on. Your memory settings may also be recalled when you press the unlock button on the keyless access transmitter. See Memory for more information.
(Hatch/Trunk): Press and hold this button for approximately one second to open the hatch/trunk lid while the engine is turned off. If the engine is running the shifter needs to be in PARK (P) for an automatic transmission or NEUTRAL with the parking brake set for a manual transmission. See Parking Brake .
(Panic): Press this button to sound the vehicle alarm. Press any other button on the keyless access transmitter to stop the vehicle alarm.
Matching Transmitter(s) to Your Vehicle
Each keyless access transmitter is coded to allow only transmitters programmed to your vehicle, to work. If a transmitter is lost or stolen, a replacement can be purchased and programmed through your GM dealer. Your GM dealer can reprogram your vehicle so lost or stolen transmitters no longer work with your vehicle. Each vehicle can have a maximum of four transmitters matched to it.
To match a new transmitter to your vehicle when you have a recognized transmitter (two recognized transmitters are required for Canadian owners), do the following:
- The vehicle must be off.
- Have the recognized and new, unrecognized transmitters on your person.
- Go to the rear of the vehicle and insert the vehicle key into the key cylinder located above the license plate. See Hatch for more information on the key cylinder.
- Open the trunk.
- Turn the key five times within five seconds.
- The DIC will display READY FOR FOB #X, where X can be 2, 3 or 4.
- Place the new, unrecognized transmitter in the glove box transmitter pocket with the buttons facing towards the passenger's side.
- Once the transmitter is programmed, a beep will sound. The DIC will display READY FOR #X, where X can be 3 or 4, or MAX # FOBS LEARNED.
- Press the ACC button (ignition switch).

The Canadian immobilizer standard requires Canadian owners to see their GM dealer for matching new transmitters when a recognized transmitter is not available. United States owners are permitted to match a new transmitter to their vehicle when a recognized transmitter is not available. The procedure will require three ten minutes cycles to complete the matching process. Do the following:
- The vehicle must be off.
- Place the new, unrecognized transmitter in the glove box transmitter pocket with the buttons facing towards the passenger's side.
- Go to the rear of the vehicle and insert the vehicle key into the key cylinder located above the license plate. See Hatch for more information on the key cylinder.
- Open the trunk.
- Turn the key five times within five seconds.
- The DIC message will display OFF-ACCESORY TO LEARN.
- Press the ACC button (ignition switch).
- The DIC will read WAIT 10 MINUTES and will count down to zero, one minute at a time.
- The DIC will display OFF-ACCESSORY TO LEARN again.
- Press the ACC button (ignition switch).
- The DIC will read WAIT 10 MINUTES and will count down to zero, one minute at a time.
- The DIC will display OFF-ACCESSORY TO LEARN again.
- Press the ACC button (ignition switch).
- The DIC will read WAIT 10 MINUTES and will count down to zero, one minute at a time.
- A beep will sound and the DIC will read READY FOR FOB #1. At this time, all previously known transmitters have been erased.
- Once the transmitter is recognized and programmed, a beep will sound and the DIC will display READY FOR FOB #2.
If you have additional transmitters to program, take transmitter 1 out of the transmitter pocket and place transmitter 2 in the pocket. This can be done repeatedly until up to four transmitters have be programmed. The DIC will then display MAX # FOBS LEARNED and will exit the programming mode.
When you are done programming transmitters, press the ACC button (ignition switch).
Battery Replacement
Under normal use, the battery in your keyless access transmitter should last about three years.
You can tell the battery is weak if the transmitter will not work at the normal range in any location. If you have to get close to your vehicle before the transmitter works, it is probably time to change the battery.
A weak battery may also cause the DIC to display NO FOBS DETECTED when you try to start the vehicle. If this happens, place the transmitter in the glove box transmitter pocket with the buttons facing towards the passenger's side. Then, with the vehicle in PARK (P) for an automatic transmission press the brake pedal and the START button, or if your vehicle has a manual transmission, press the clutch and the START button. Although this will start the vehicle, it is recommended that you replace the transmitter battery as soon as possible. The DIC may display FOB BATTERY LOW.
Notice: When replacing the battery, do not touch any of the circuitry on the transmitter. Static from your body could damage the transmitter.
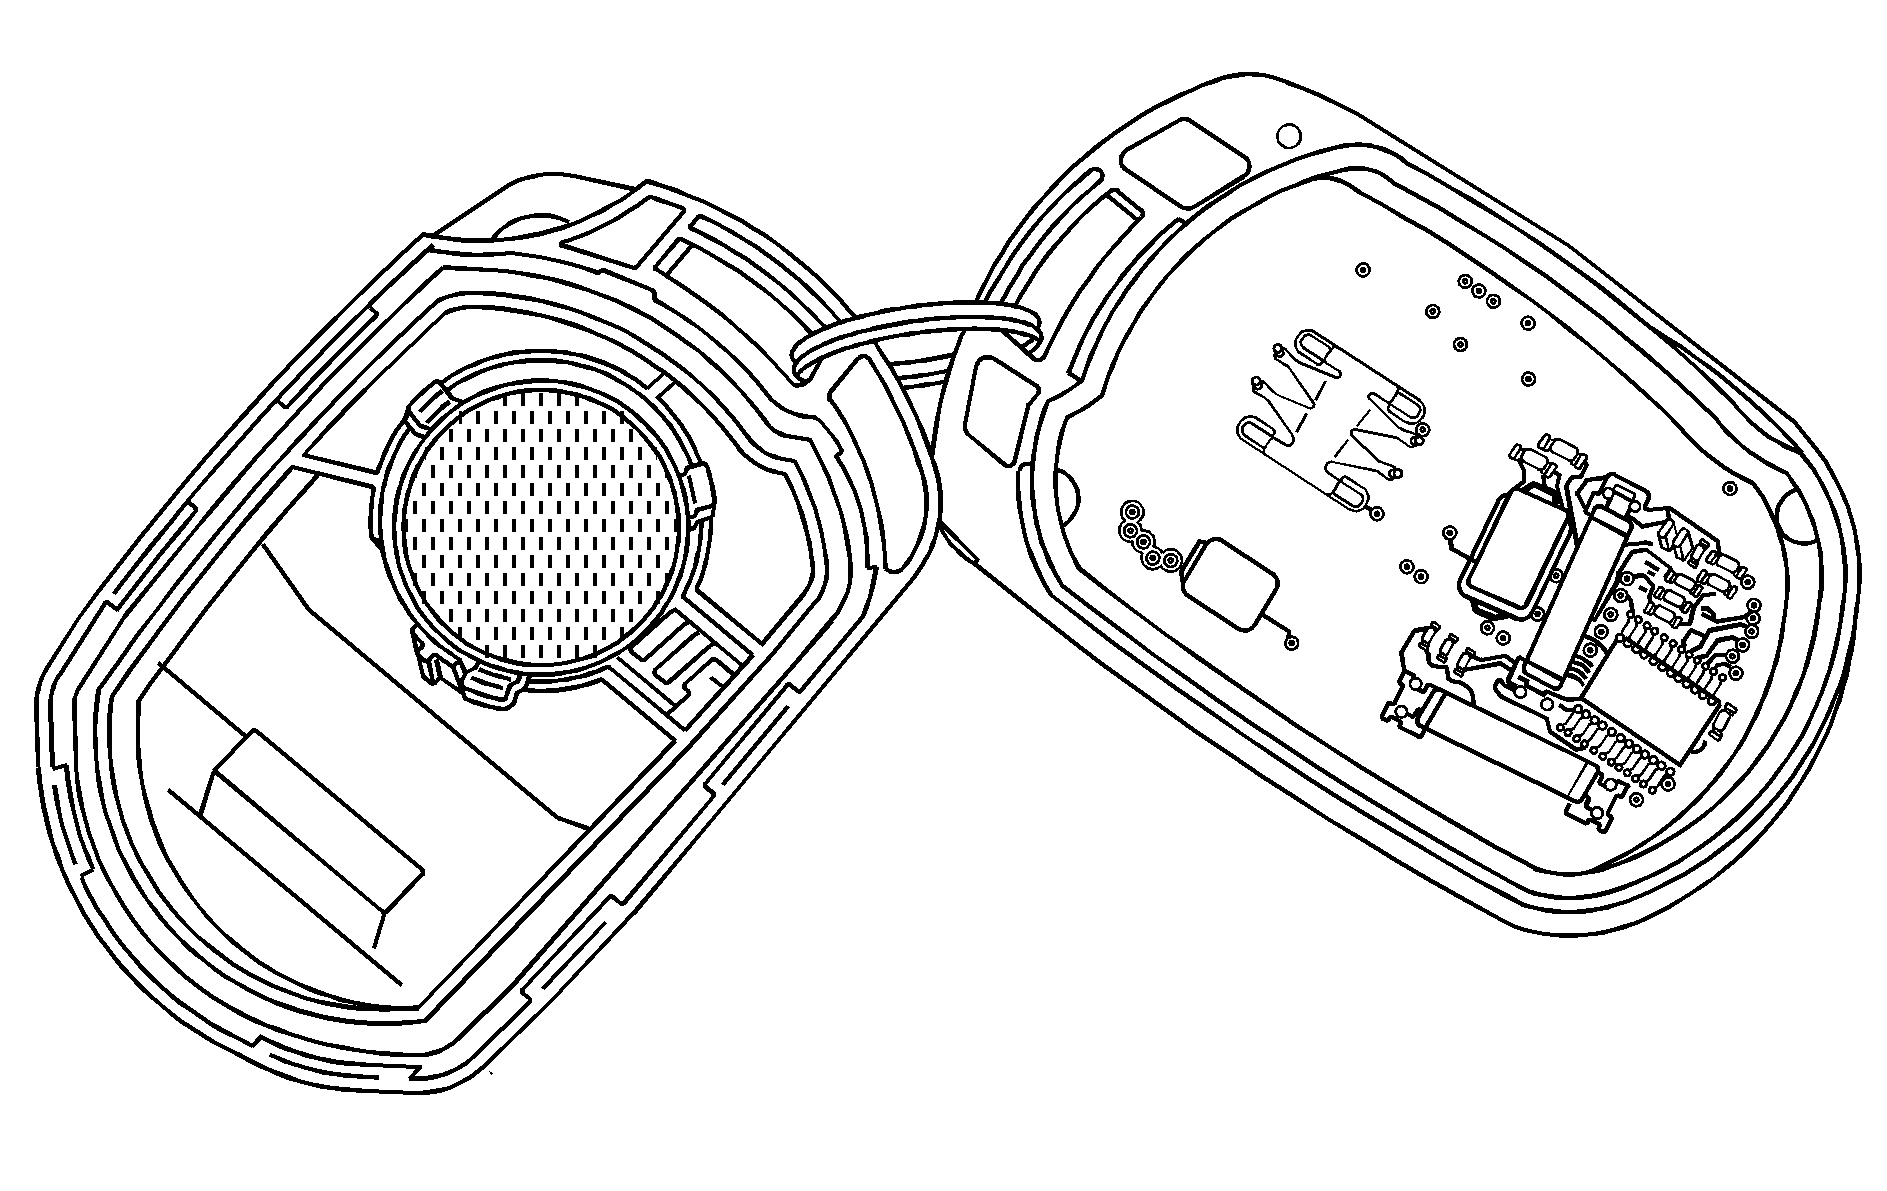
- Insert a coin or similar object into the slot on the back of the transmitter and gently pry apart the front and back.
- Gently pull the battery out of the transmitter.
- Put the new battery in the transmitter, positive (+) side down. Use a battery, type CR2032, or equivalent.
- Reassemble the transmitter. Make sure to put it together so water will not get in.
- Test the transmitter.
