Differential Side Bearings Assemble Base
Tools Required
| • | DT-48008
Press Support/Pinion Bearing Installer |
| • | J 42155
Getrag Axle Differential Housing Lifting Tool |
| • | J 42170
Getrag Axle Bearing Race Installer |
| • | J 42173
Getrag Axle Ring Gear Holder |
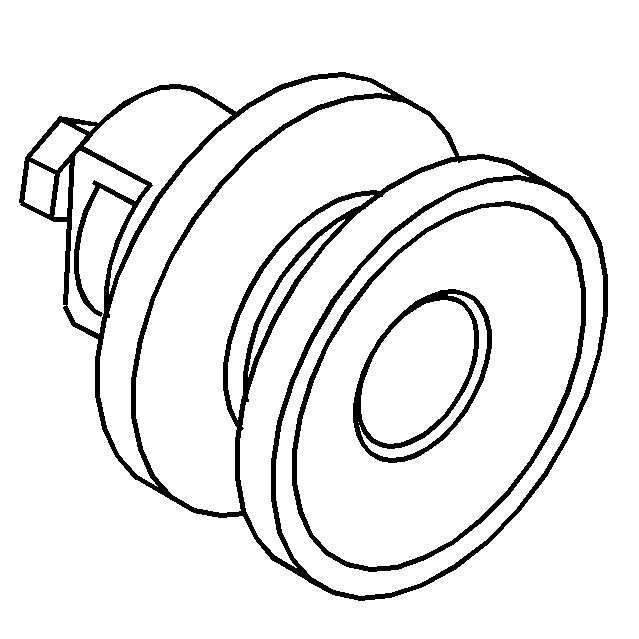
- Remove the
J 42168-9
(2) and thumbscrew from the
J 42168-1
(1).
- Remove the
J 42168-1
(1) from the left bearing cup bore of the differential housing.
Important: Level the tool in order to obtain accurate measurements.
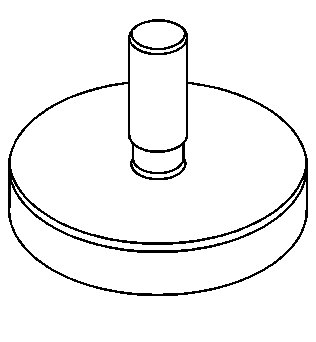
- Install the DT-48009-2 into a vice.
- Position the bearing cup (2) onto the DT-48009-2 (3).
- Position the differential case (1) onto the DT-48009-2 (3) and into the bearing cup (2). Rotate the differential, in both directions, in order to seat the bearing to the race.
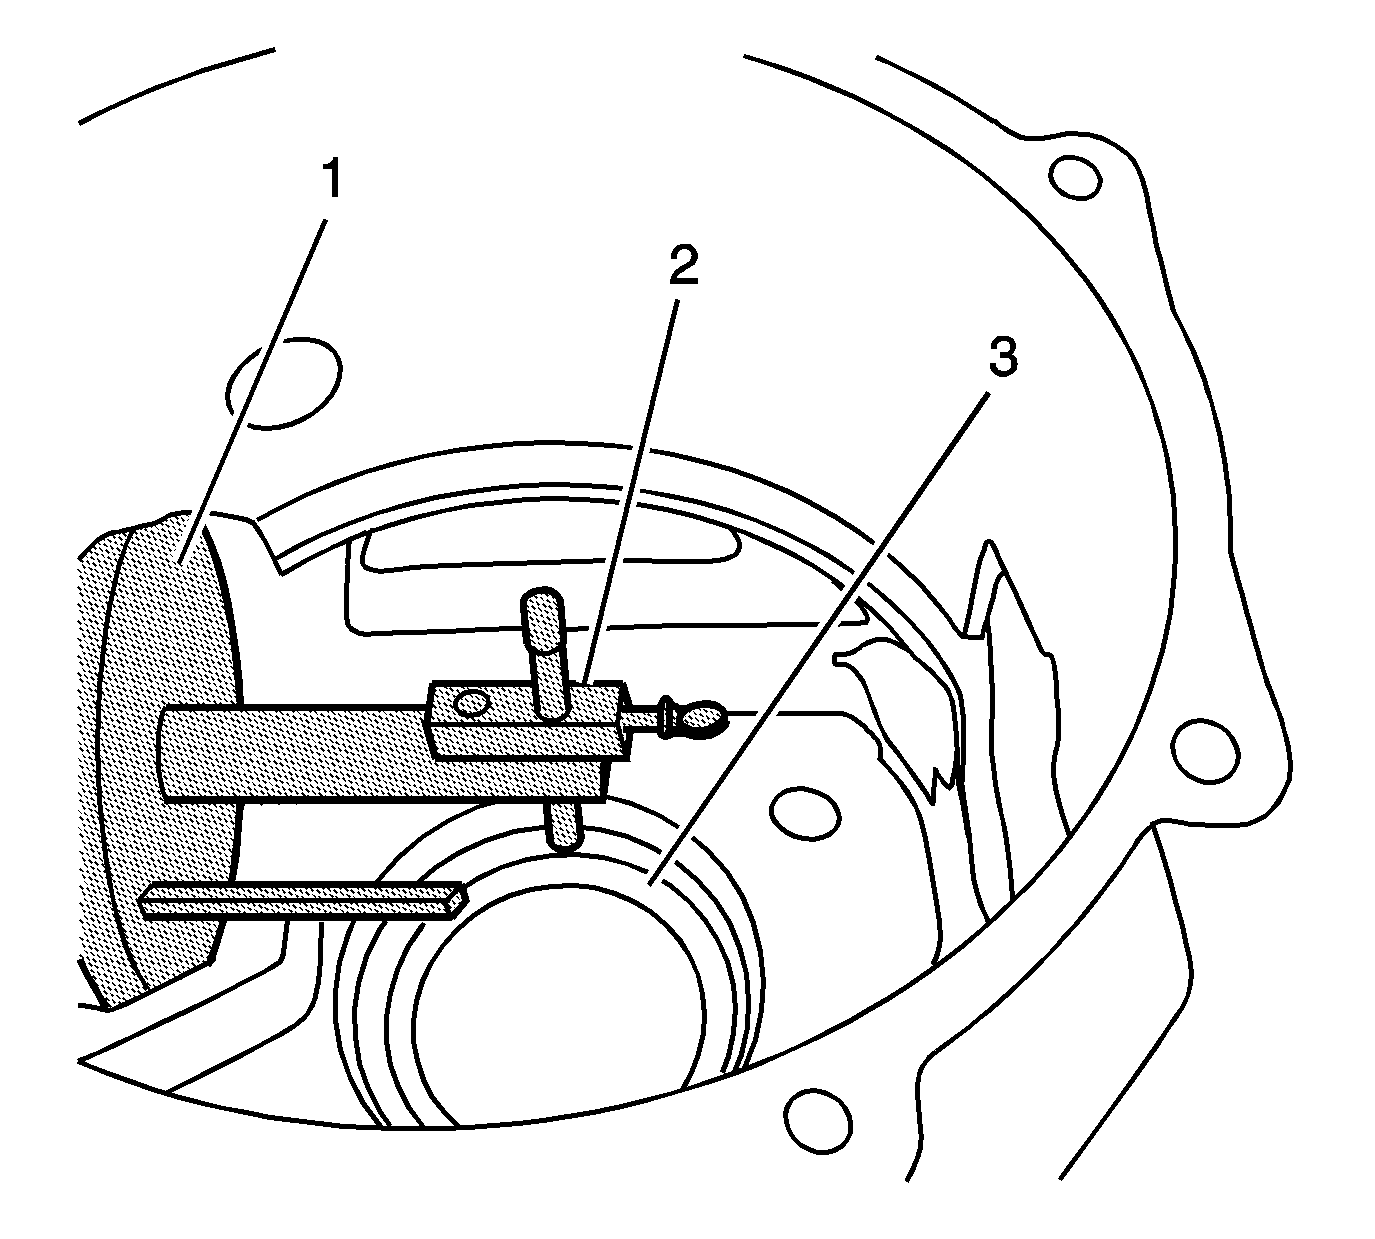
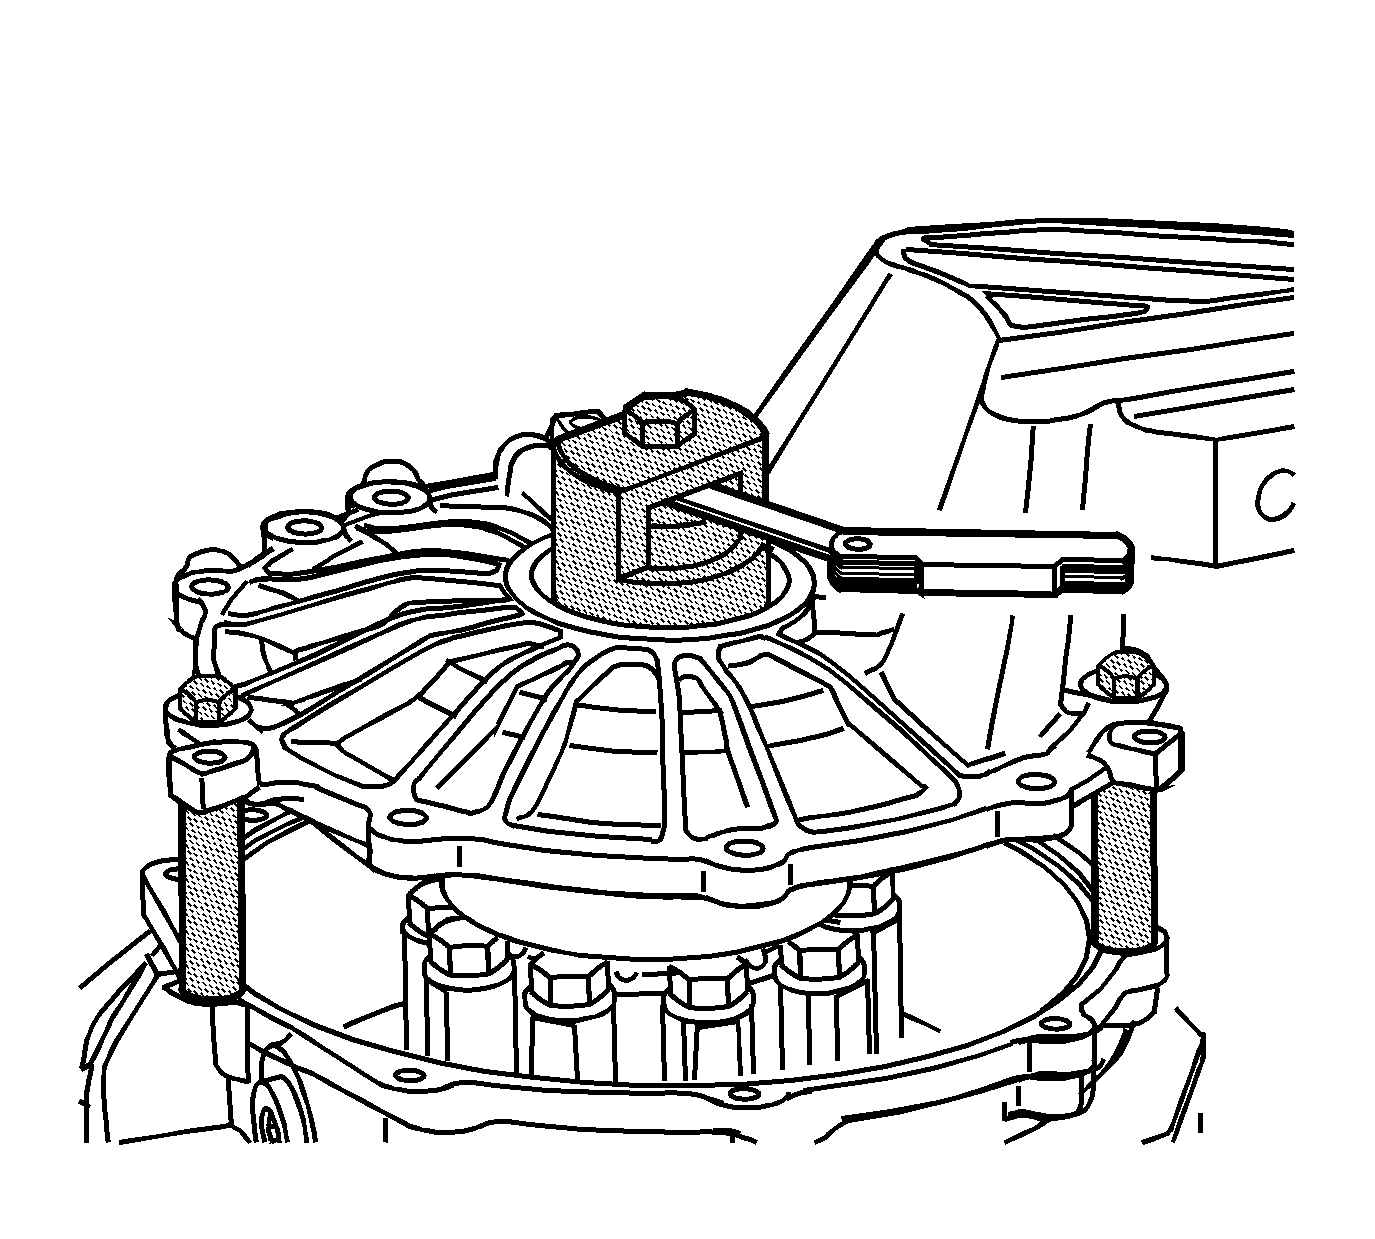
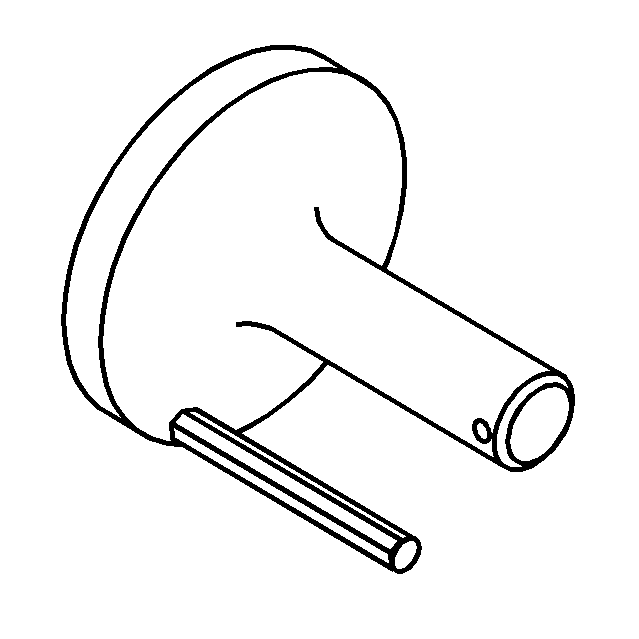
- Install the DT-48009-3 (2) into the hole in
J 42168-2
(1). Loosen the thumbscrew and allow the rod to contact the bottom of the bearing race bore, machined surface (3).
- Tighten the thumbscrew.
- Remove the DT-48009-3 (2) from the
J 42168-2
(1).
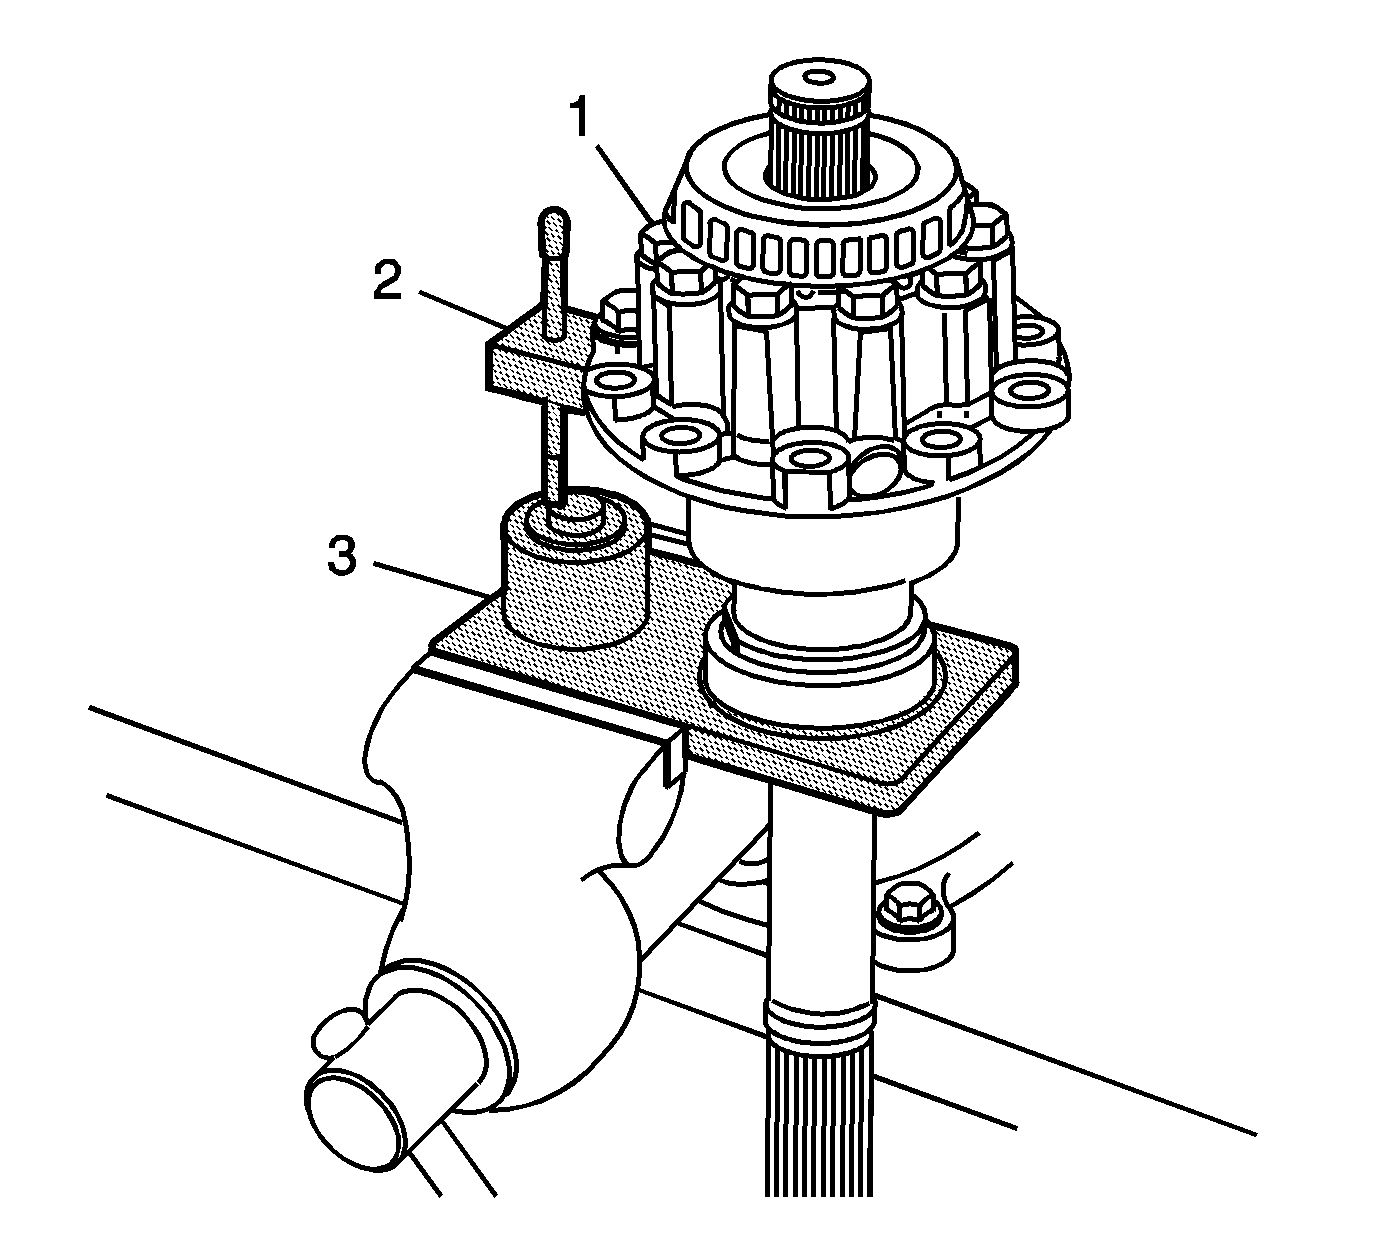
- Using a ring gear bolt, attach the
DT-48009-3 (2) to the ring gear side of the differential (1).
- Rotate the differential until the rod of the DT-48009-3 (2) is above the DT-48009-2 (3) gage block.
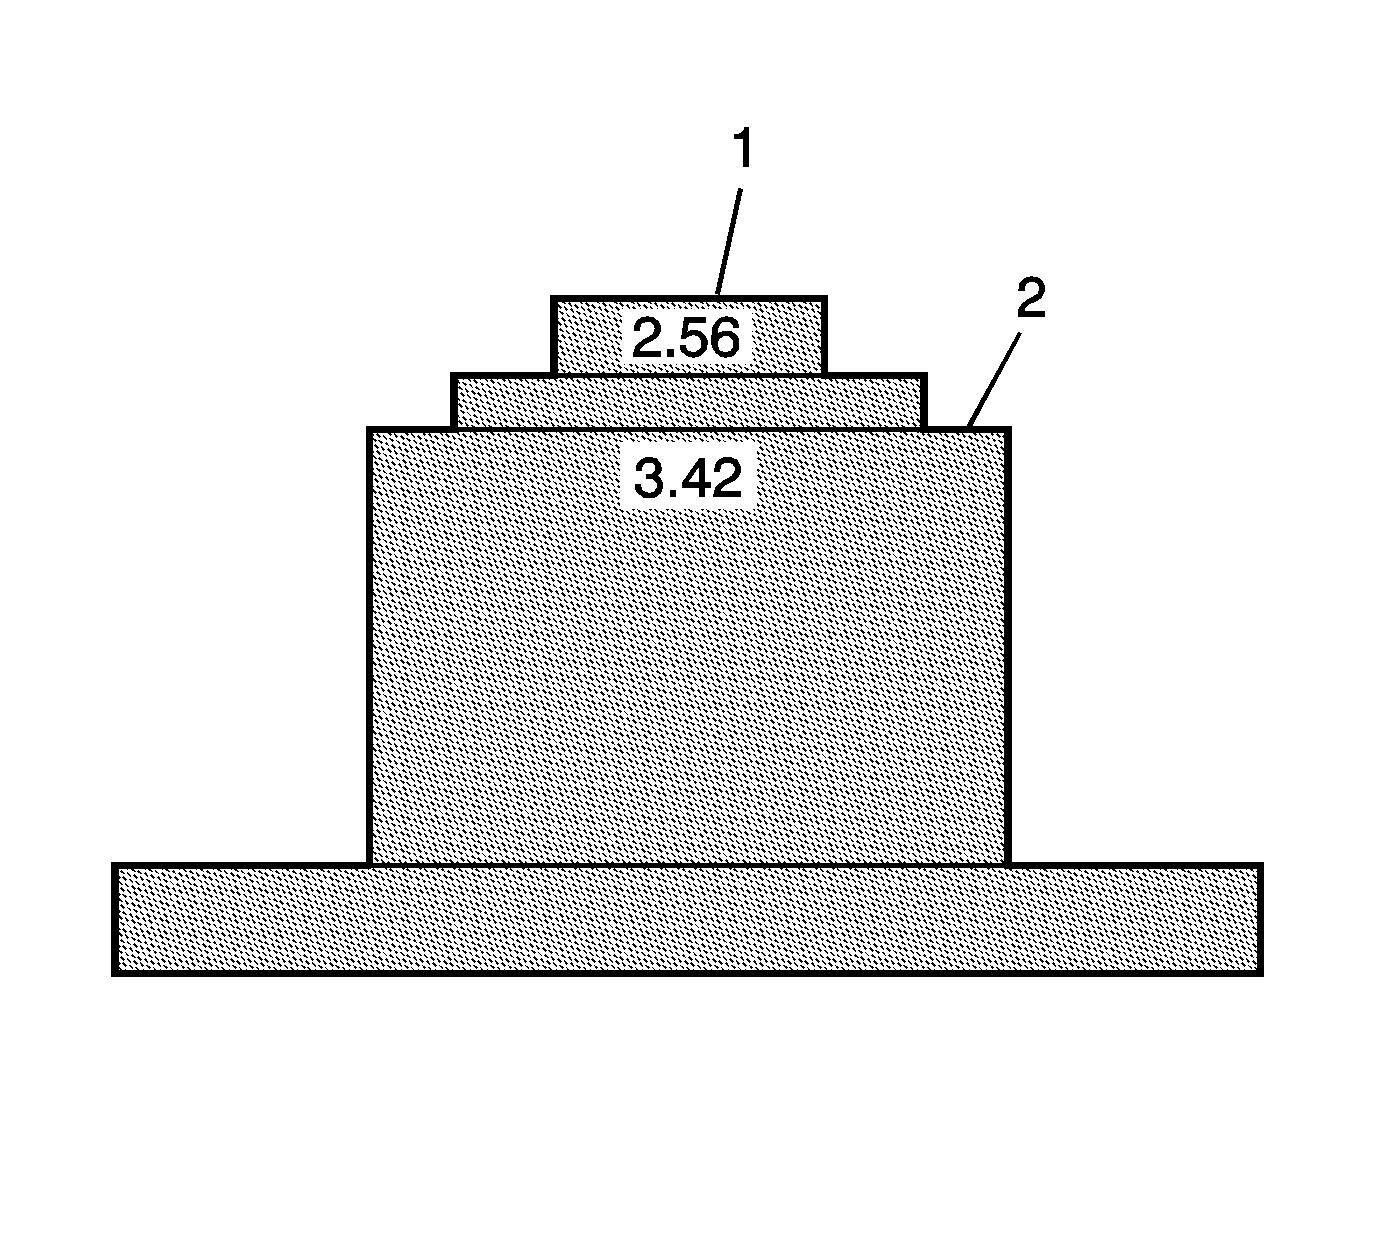
- The DT-48009-2 upper gage block location (1) is used when
servicing 2.56 ratio differentials. The lower gage block location (2) is used when servicing the 3.42 ratio differentials.
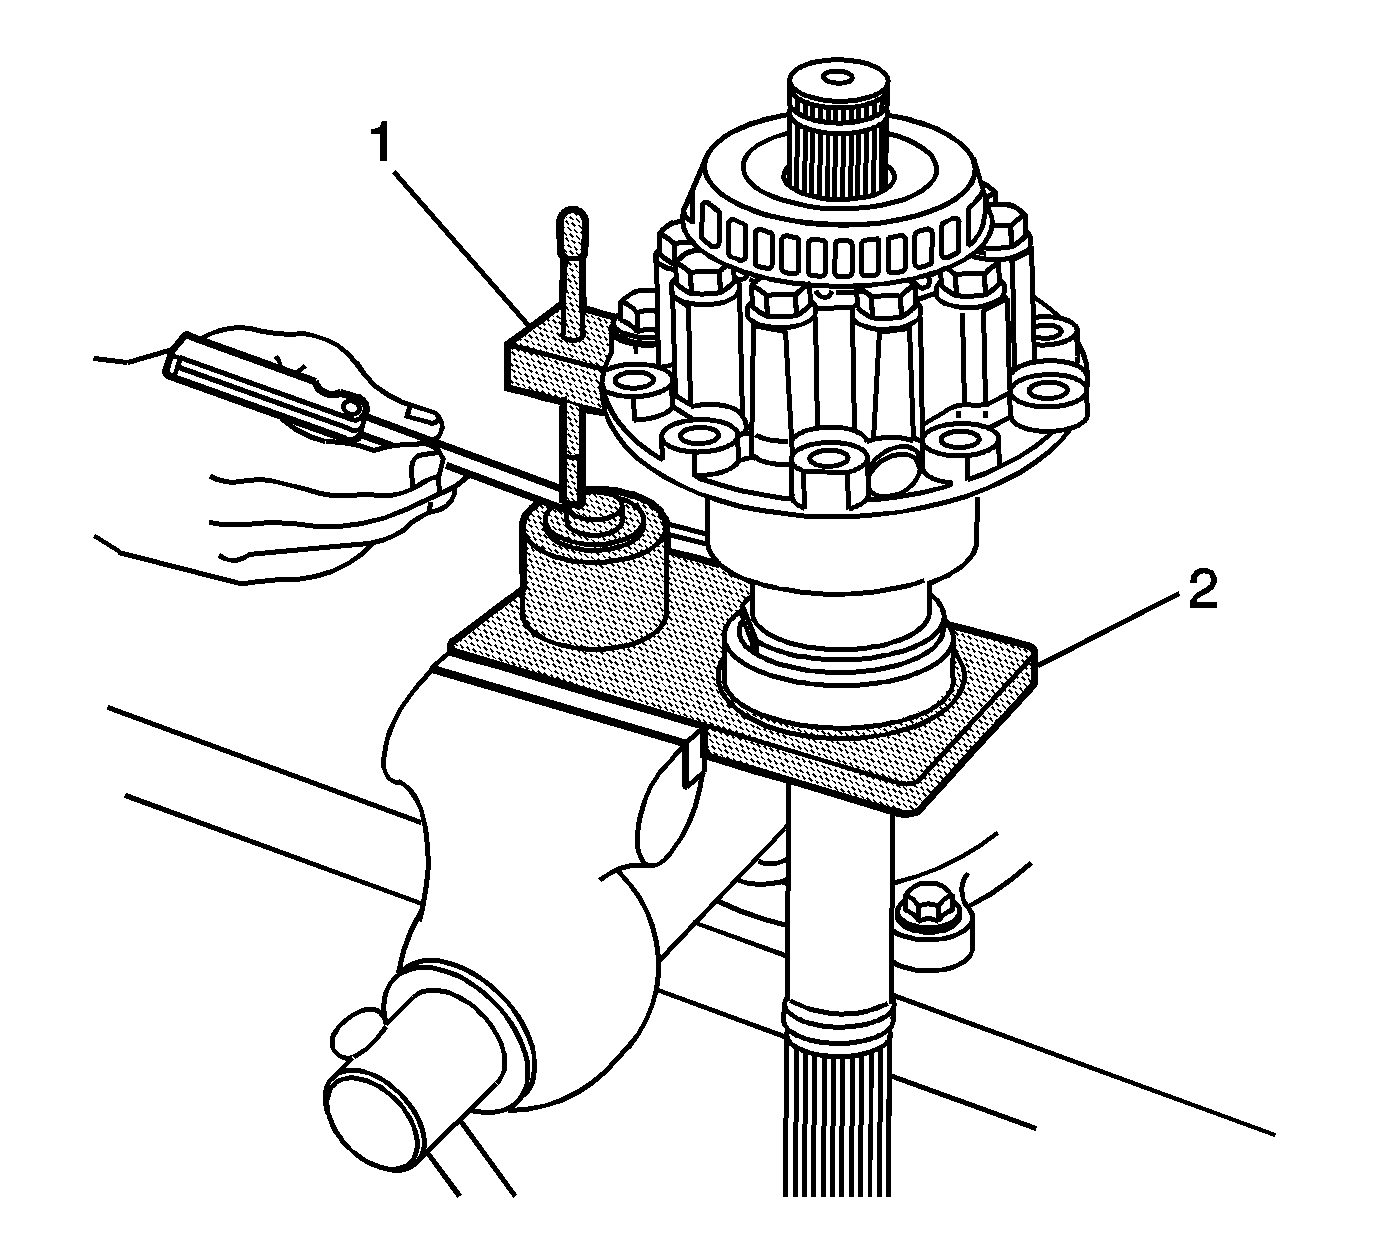
- Using a feeler gage, measure the distance
between the rod of the DT-48009-3 (1) and the gage block of the DT-48009-2 (2). Record the measurement as dimension C1.
- Subtract C1 value from a C nominal value of 5 mm (0.197 in). Record that calculation as C2.
Refer to the applicable calculation table in
Spacer and Shim Specifications
.
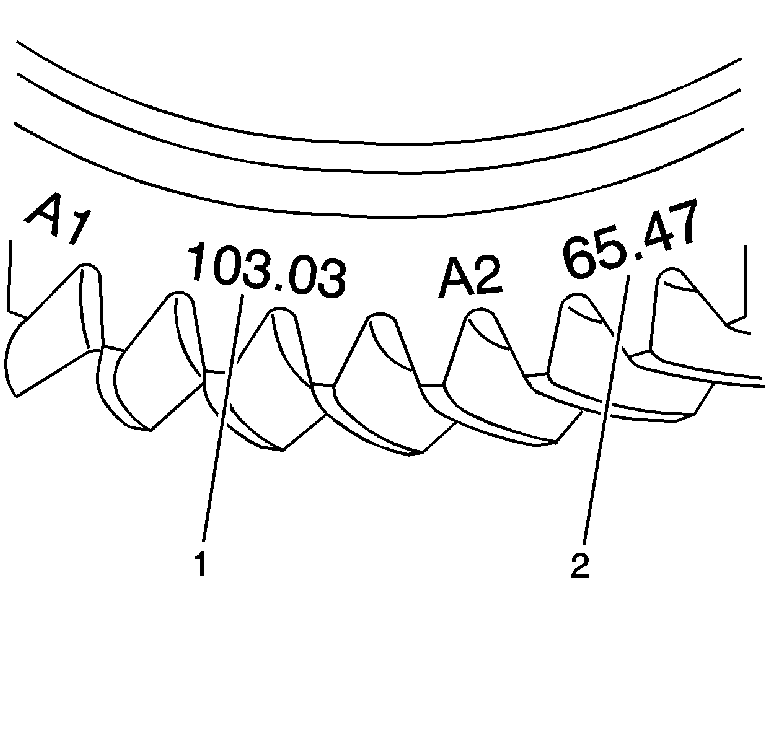
- Locate the A2 value (2) on the side of the ring gear.
Important: The A2 value is a manufacturing variation between the ring gear and pinion. The A2 value may be higher, lower, or equal to 65.5 mm (2.58 in), 3.42 ratio differentials, or 74.5 mm (2.93 in),
2.56 ratio differential, nominal value. When subtracting the D nominal value from the A2 value, the C3 calculation may compute to a positive, negative, or zero total.
- Subtract the D nominal value of either 65.5 mm (2.58 in) or 74.5 mm (2.93 in) from the A2 value. Record the calculation as C3.
- Add the C2 value to the C3 value for the proper left side differential bearing shim thickness. The C3 value may be a positive, negative, or zero value.
- Select shims equal to the calculated
value. It may be necessary to round the shim or shims total to obtain the proper shim sizes. If the shim thickness calculation is past the midpoint value, round the number to the next decimal value. Refer to
Rear Axle Specifications
.
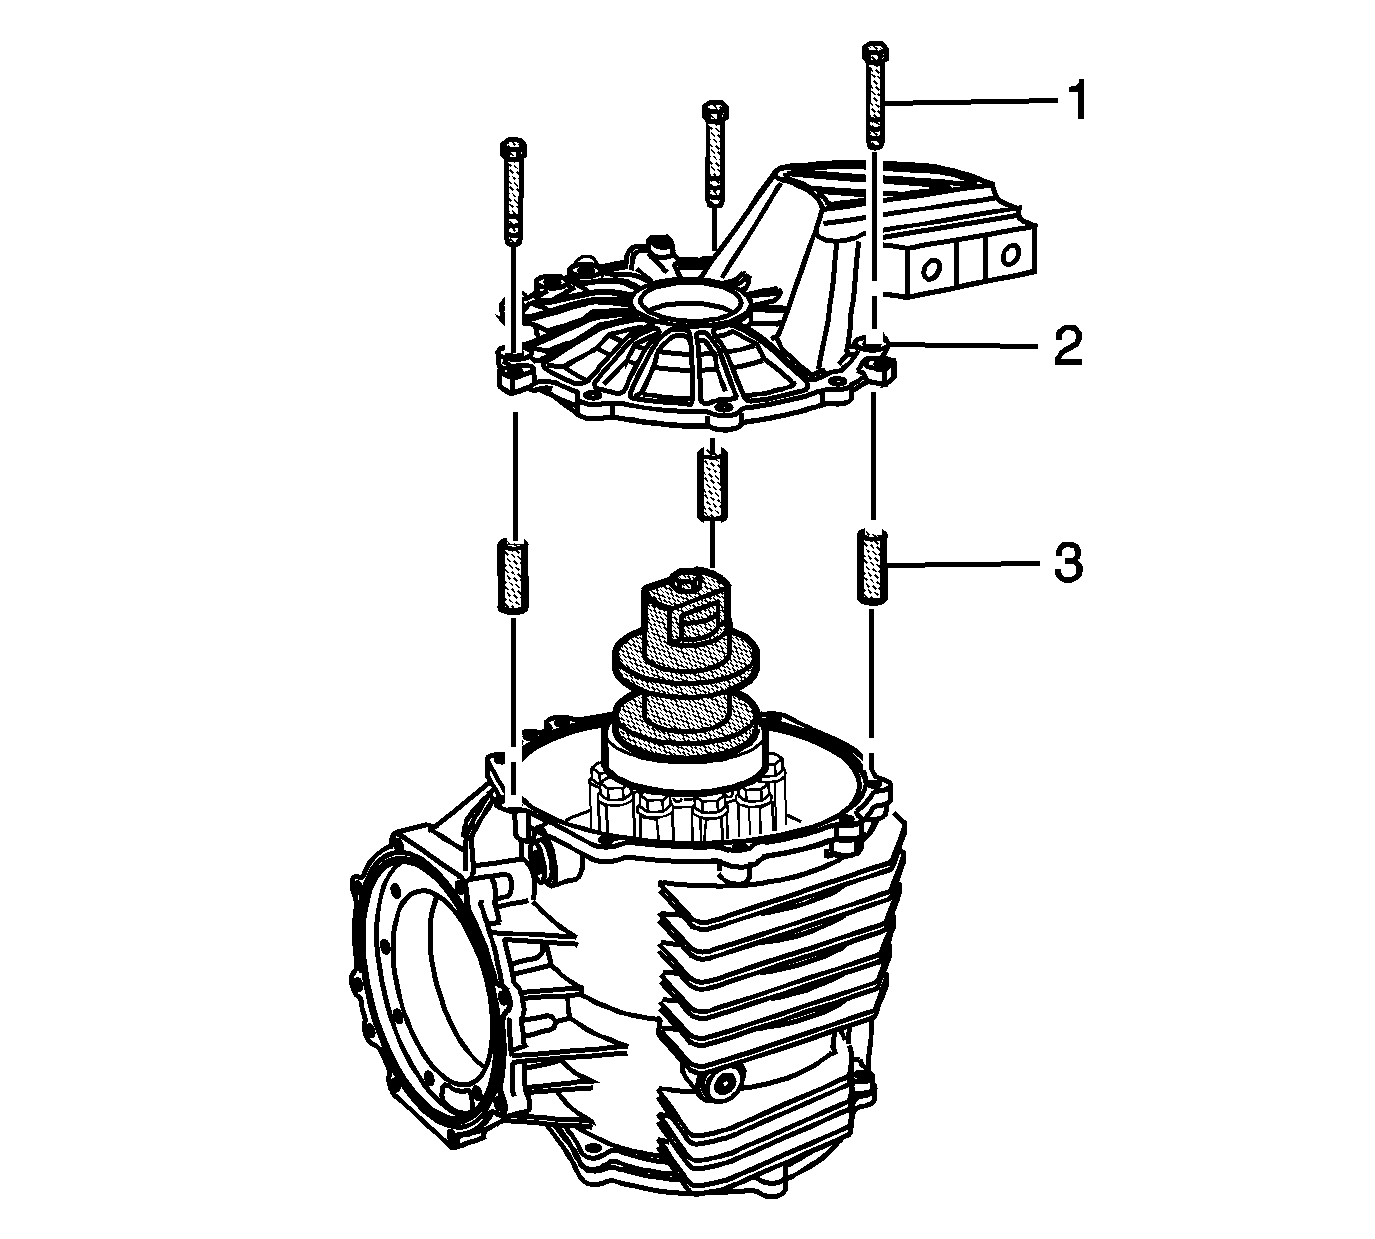
- Remove the pinion housing/cage bolts (1).
- Remove the pinion housing/cage (2) from the differential.
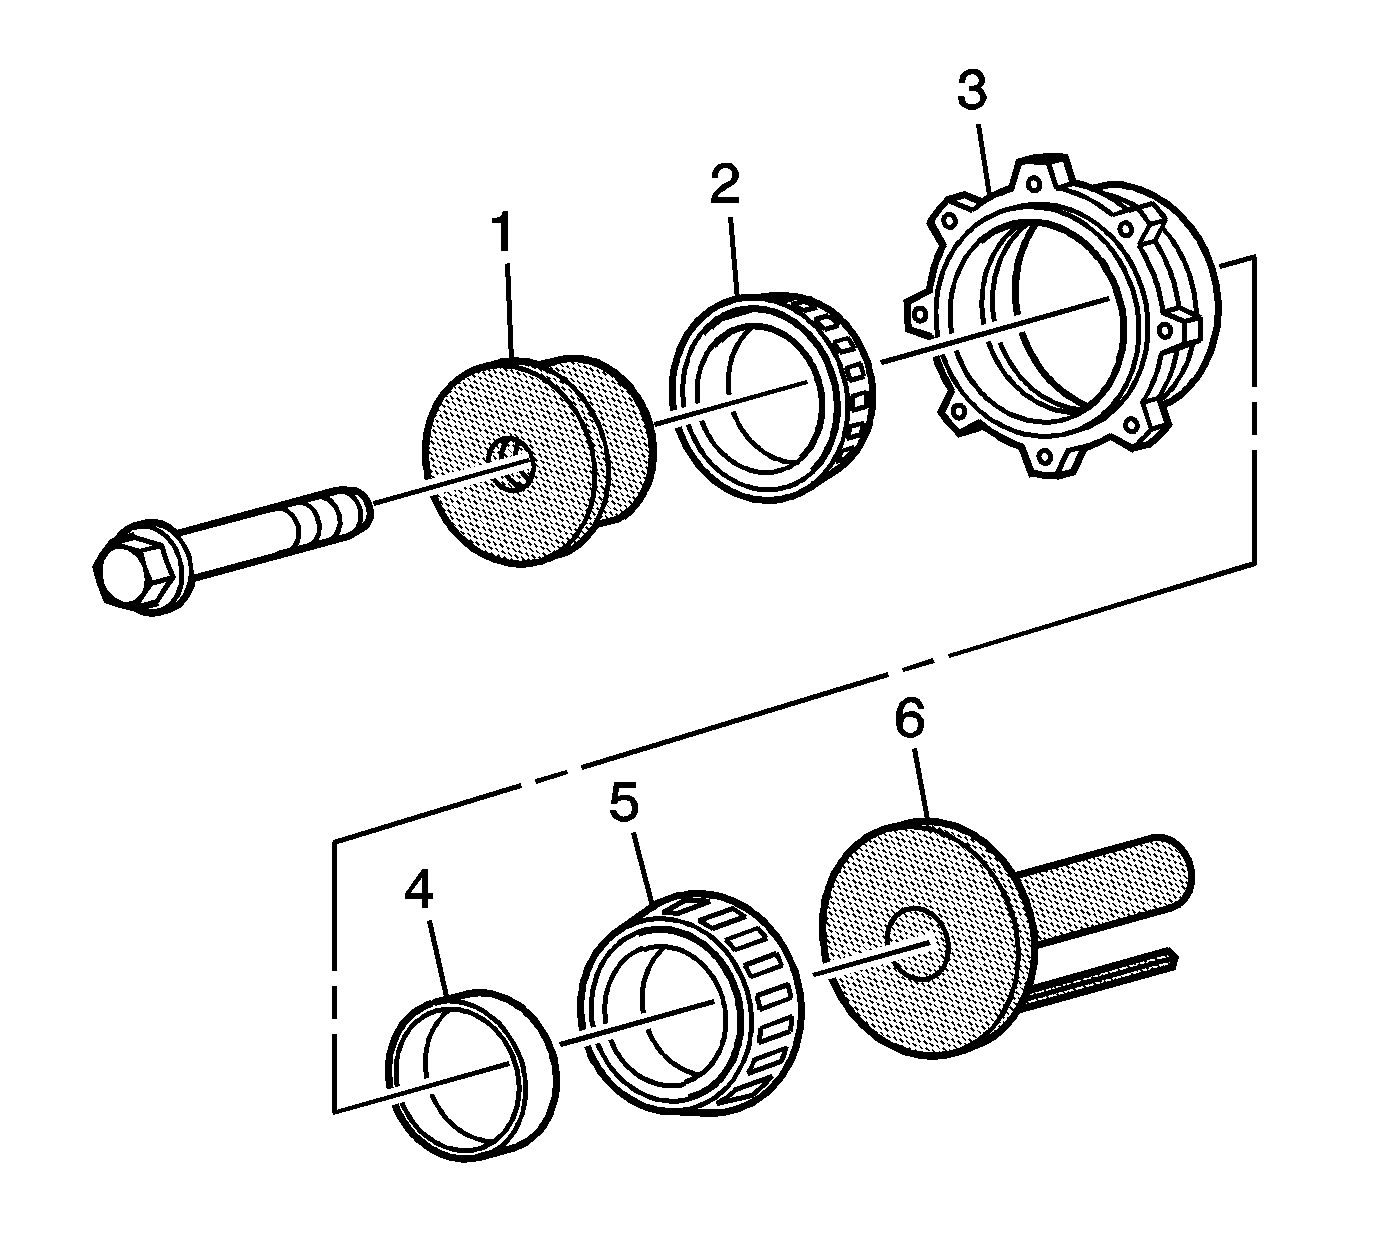
- Remove the
J 42168-11
(1), bearings (2 and 5), spacer (4), and the
J 42168-2
(6) from the pinion housing/cage (3).
Notice: Use the DT-48008 to support the differential housing in the press to prevent damage to
the differential housing.
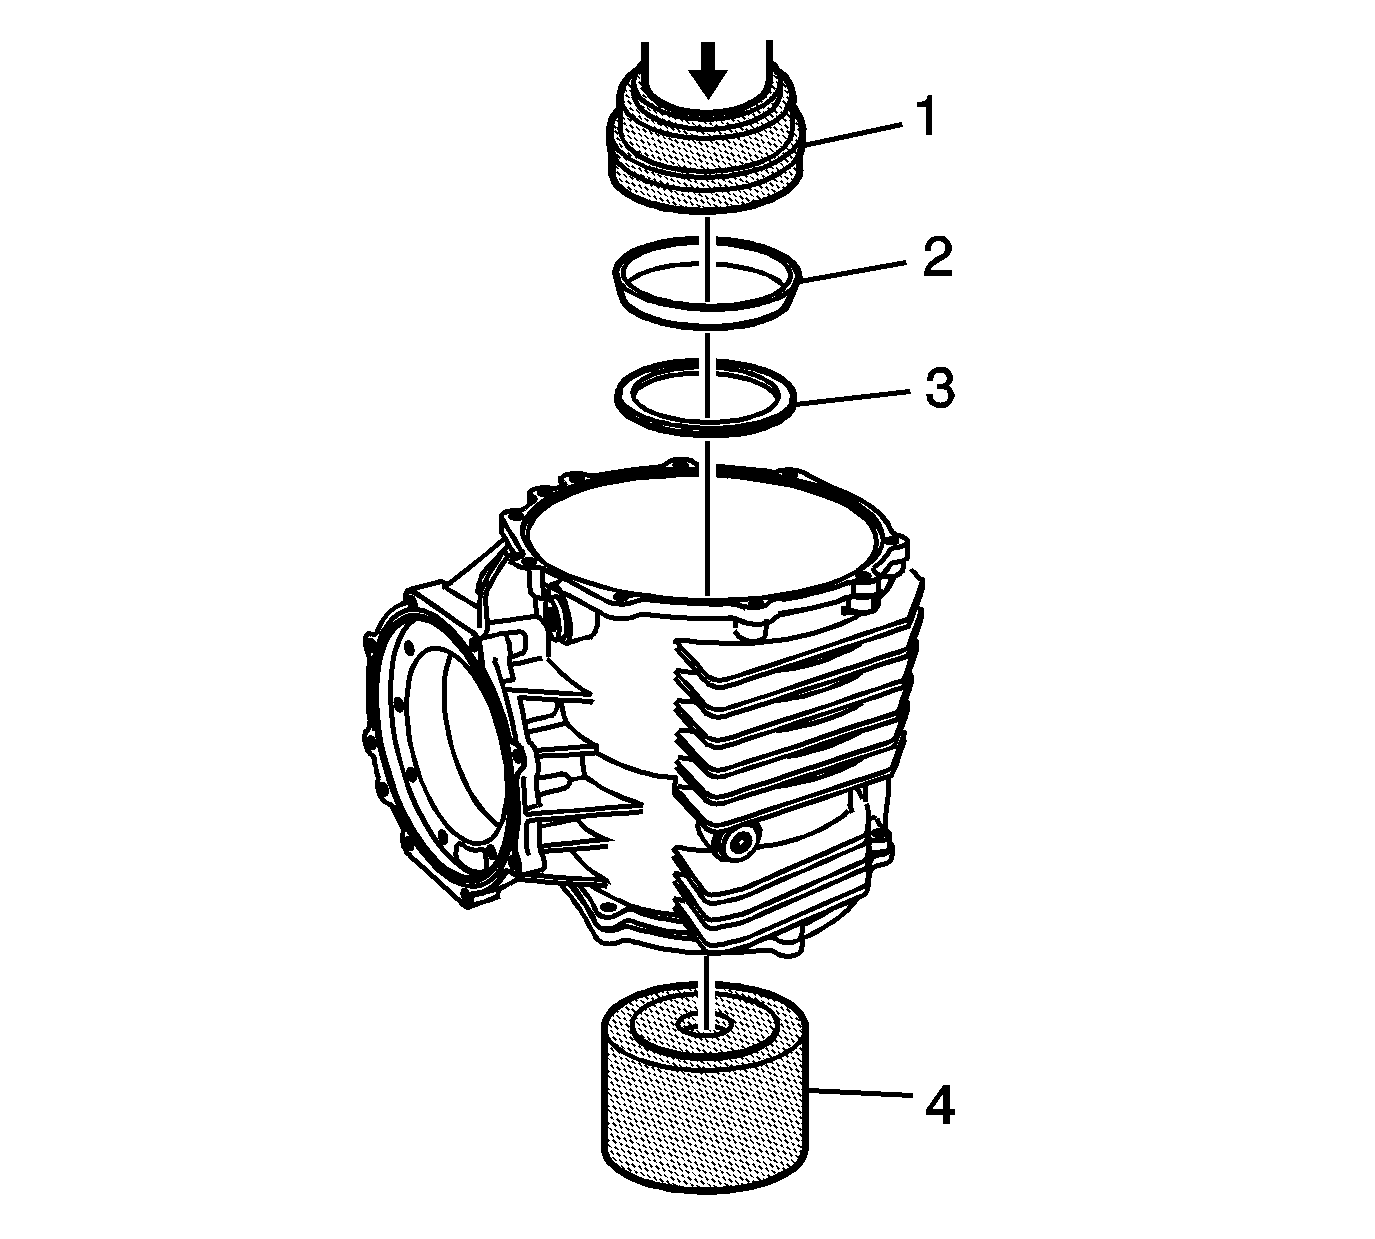
- Use the
DT-48008
(4), the
J 42170
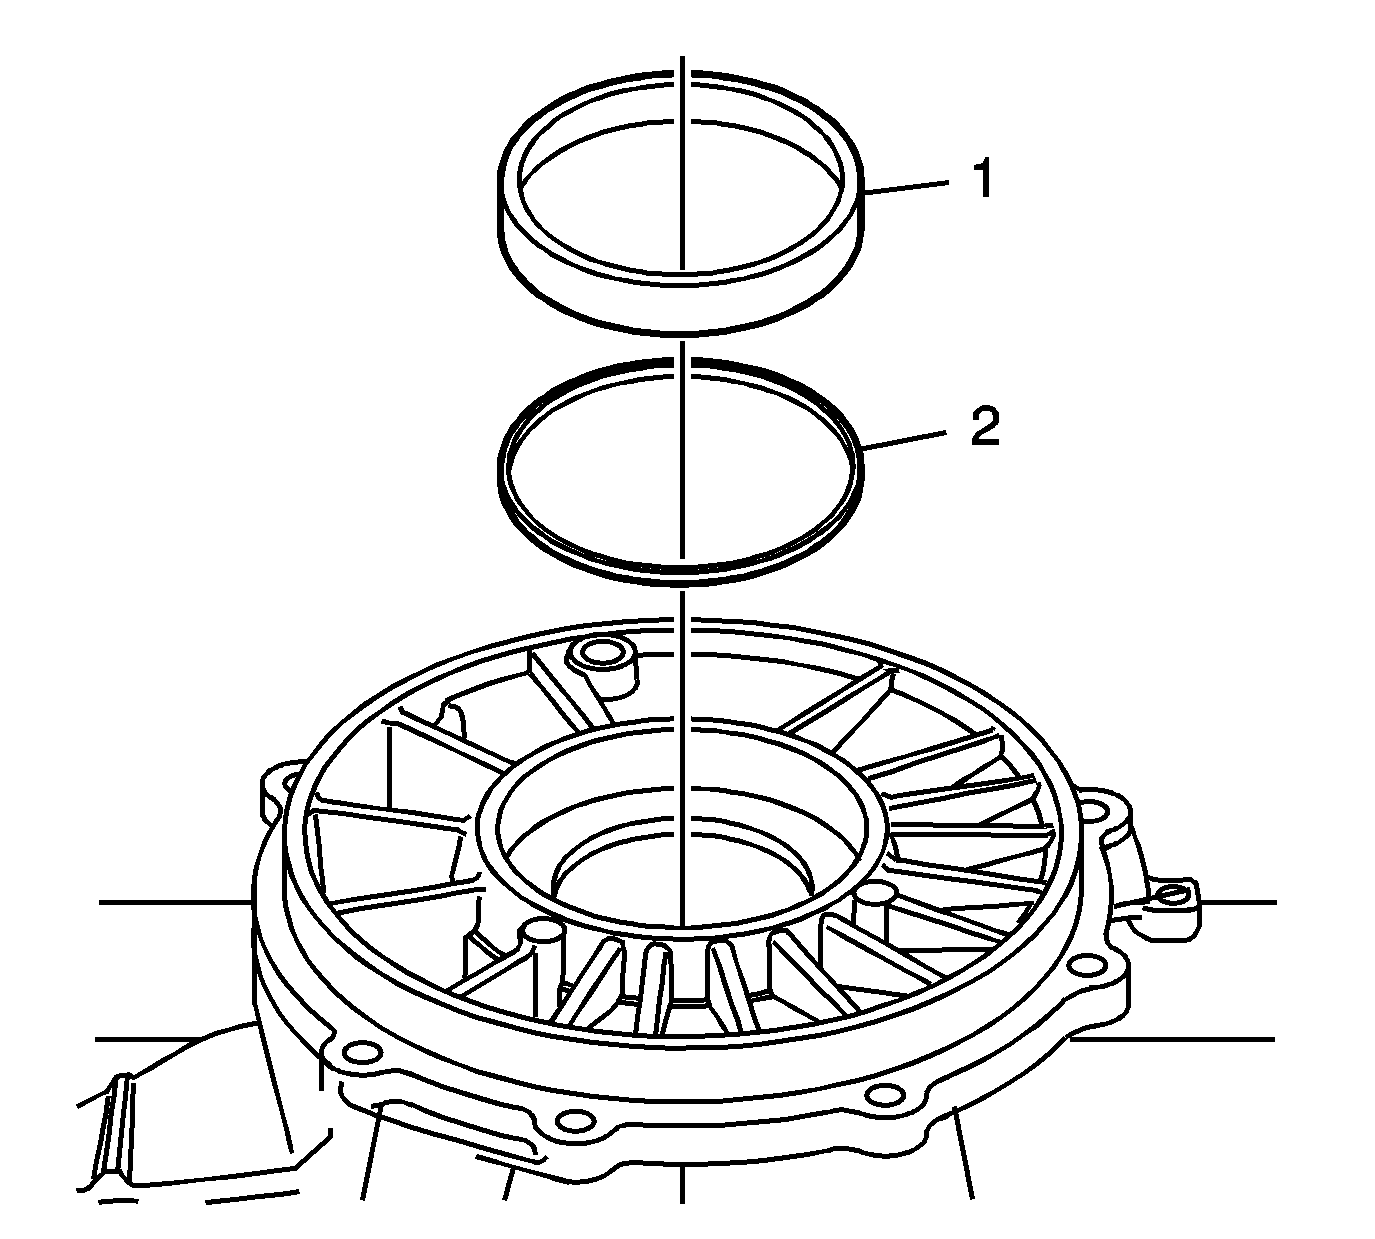
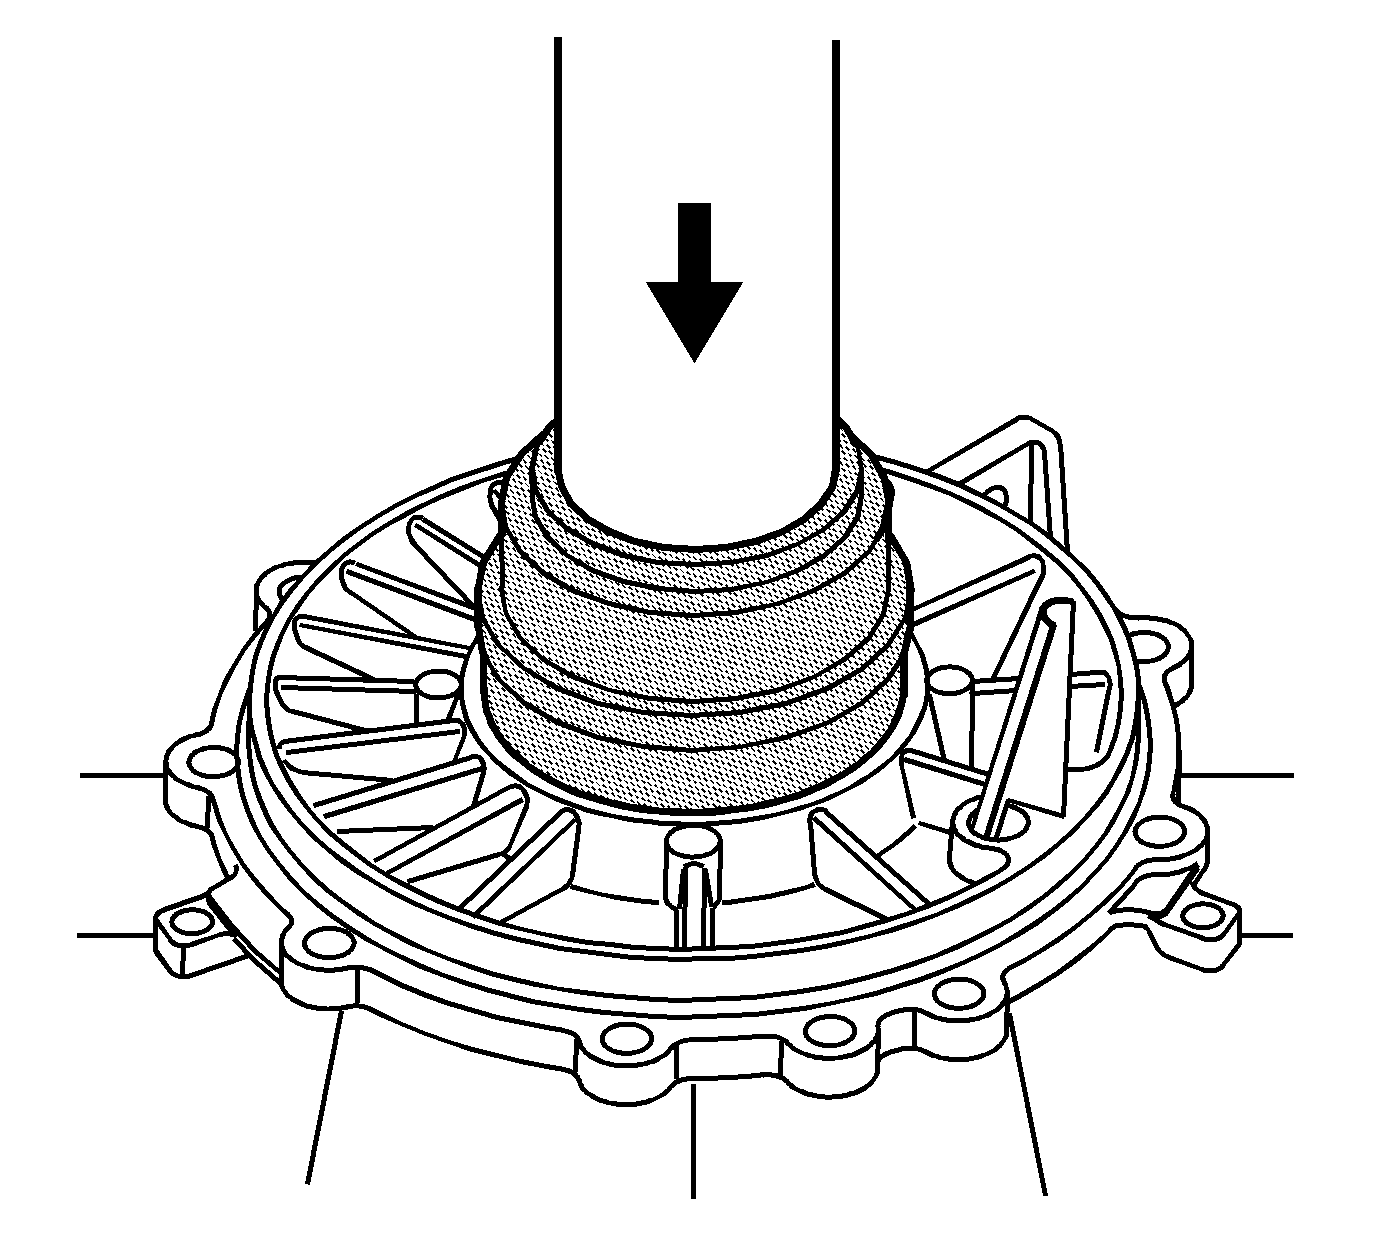
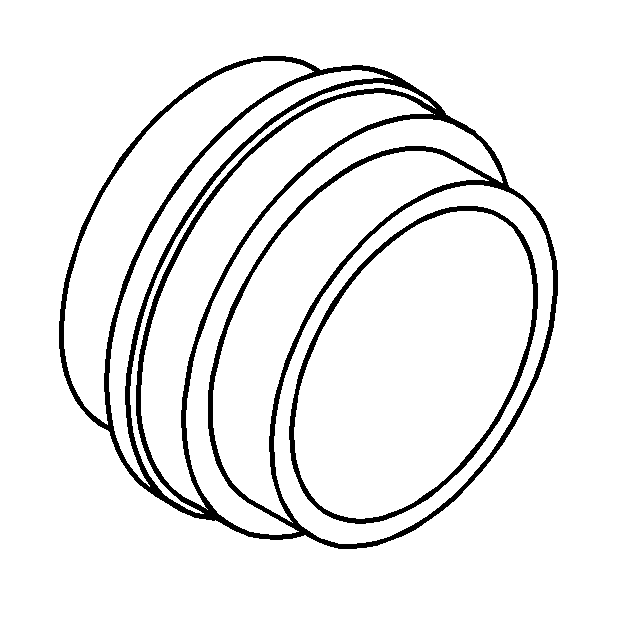
(1) and a hydraulic press in order to install the selected shim (3) and bearing race (2)
to the differential housing.
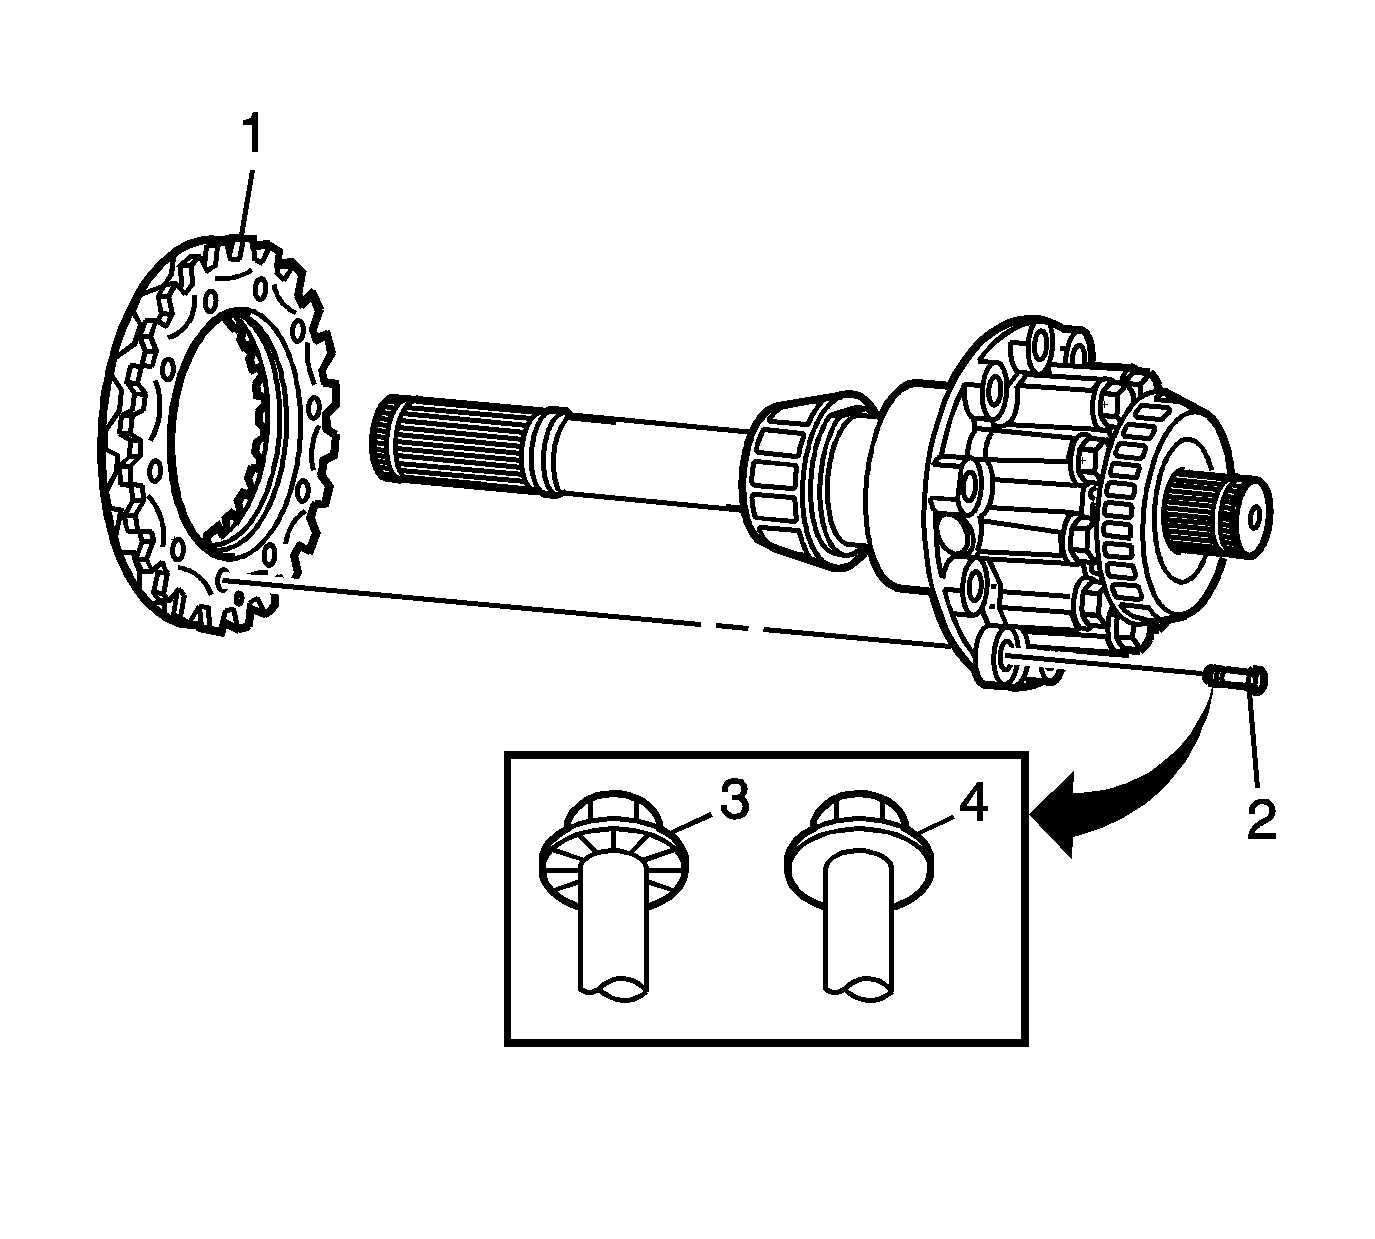
- Install the ring gear (1) to the differential.
Use several bolts to properly align the ring gear to the case.
A hammer and brass punch may be used to aid in seating the ring gear onto the differential case.
Important: Two types of ring gear bolts may be available for replacement. First design bolts (3) have serrations under the head and are torqued to 195 N·m (144 lb ft). The second design (4)
are smooth under the head and are torqued to 145 N·m (107 lb ft).
- Install the NEW ring gear bolts (2).
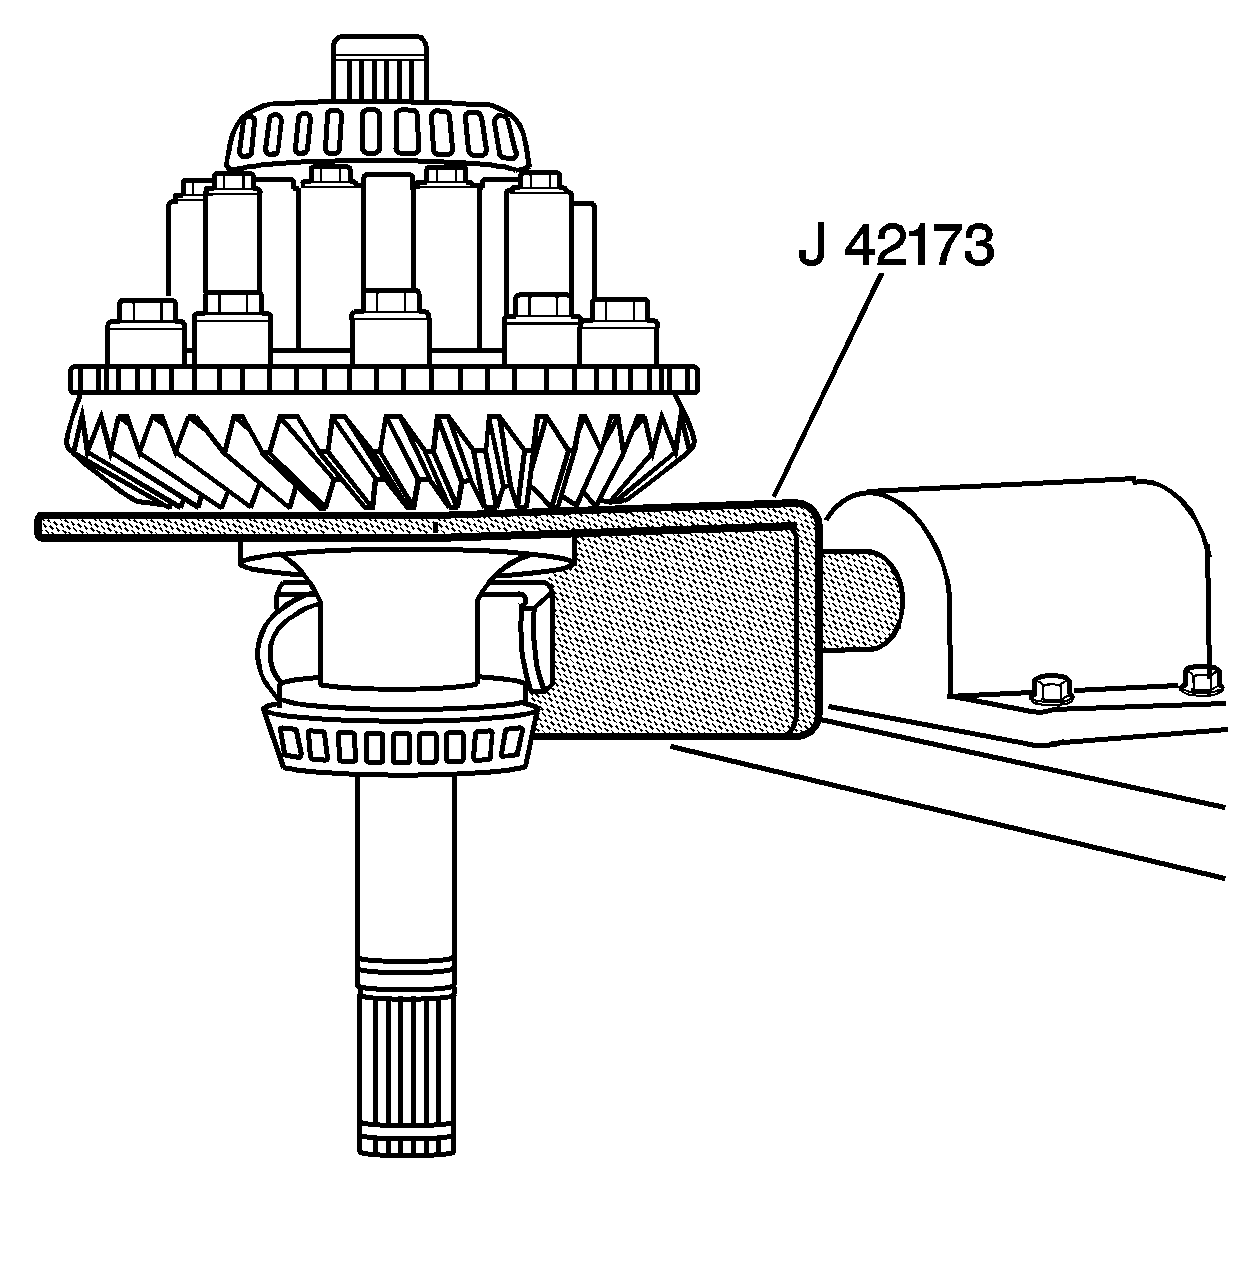
- Position the differential assembly onto the
J 42173
.
Tighten
Tighten the ring gear bolts to 195 N·m (144 lb ft) - 1st design.
Tighten
Tighten the ring gear bolts to 145 N·m (107 lb ft) - 2nd design.
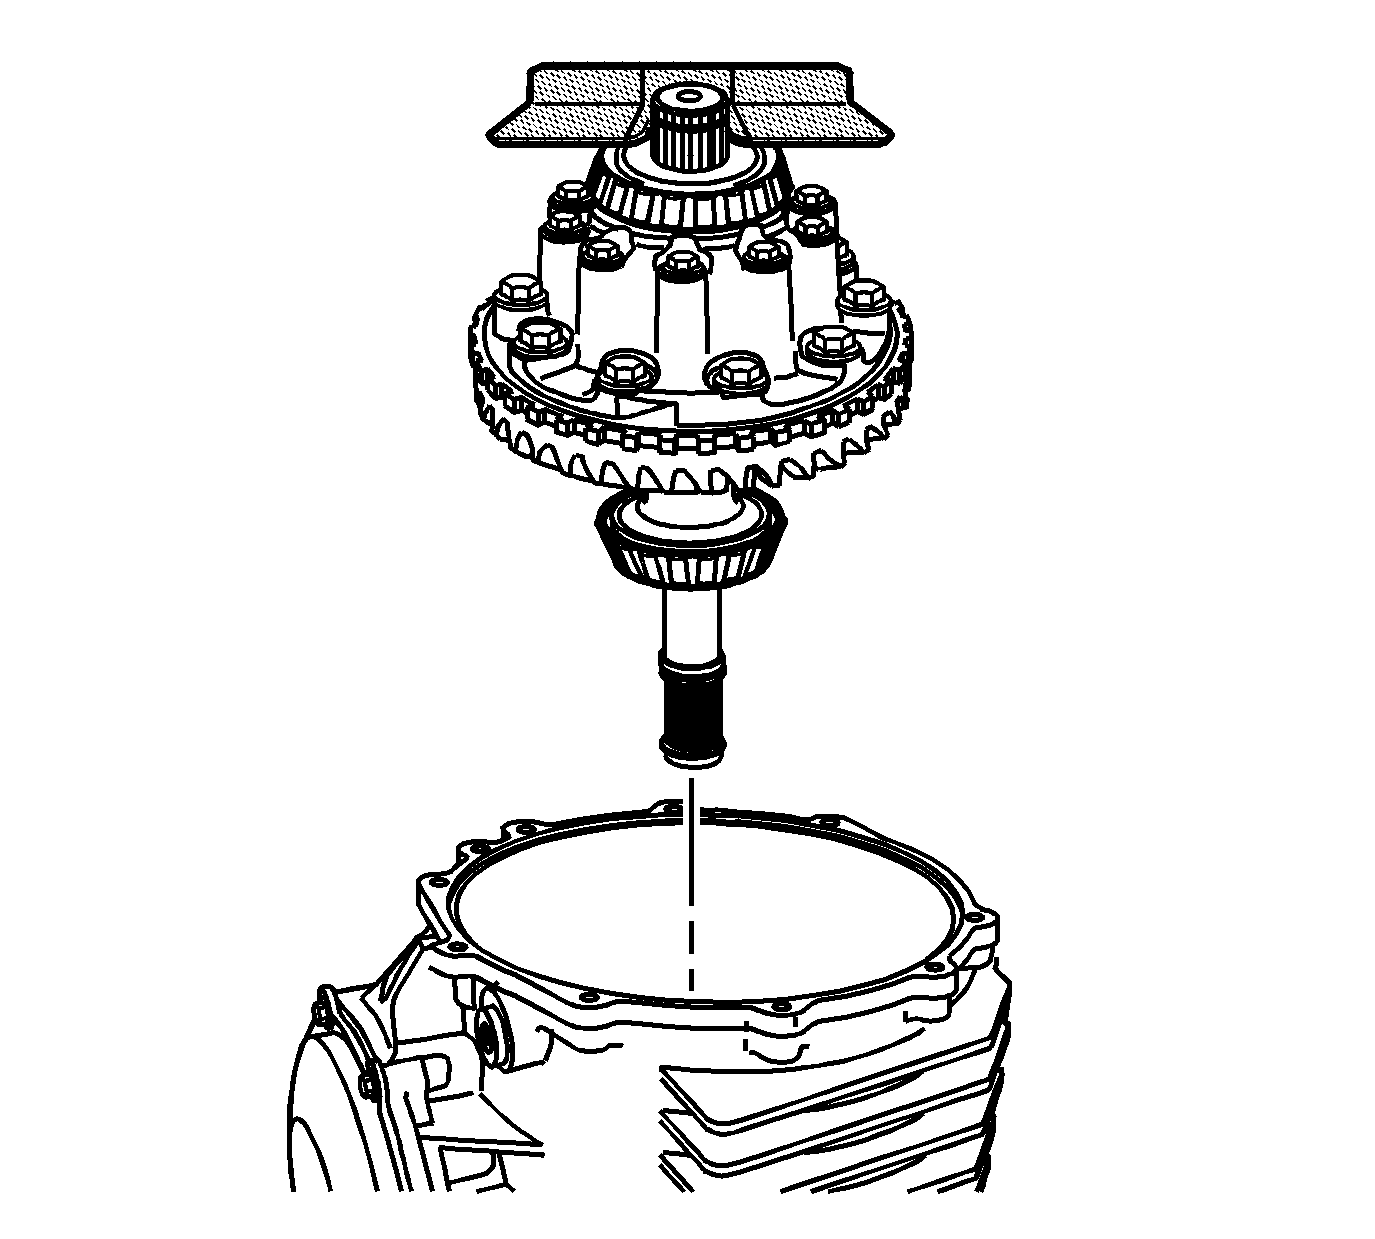
- Use the
J 42155
in order to install the differential
case into the differential housing.
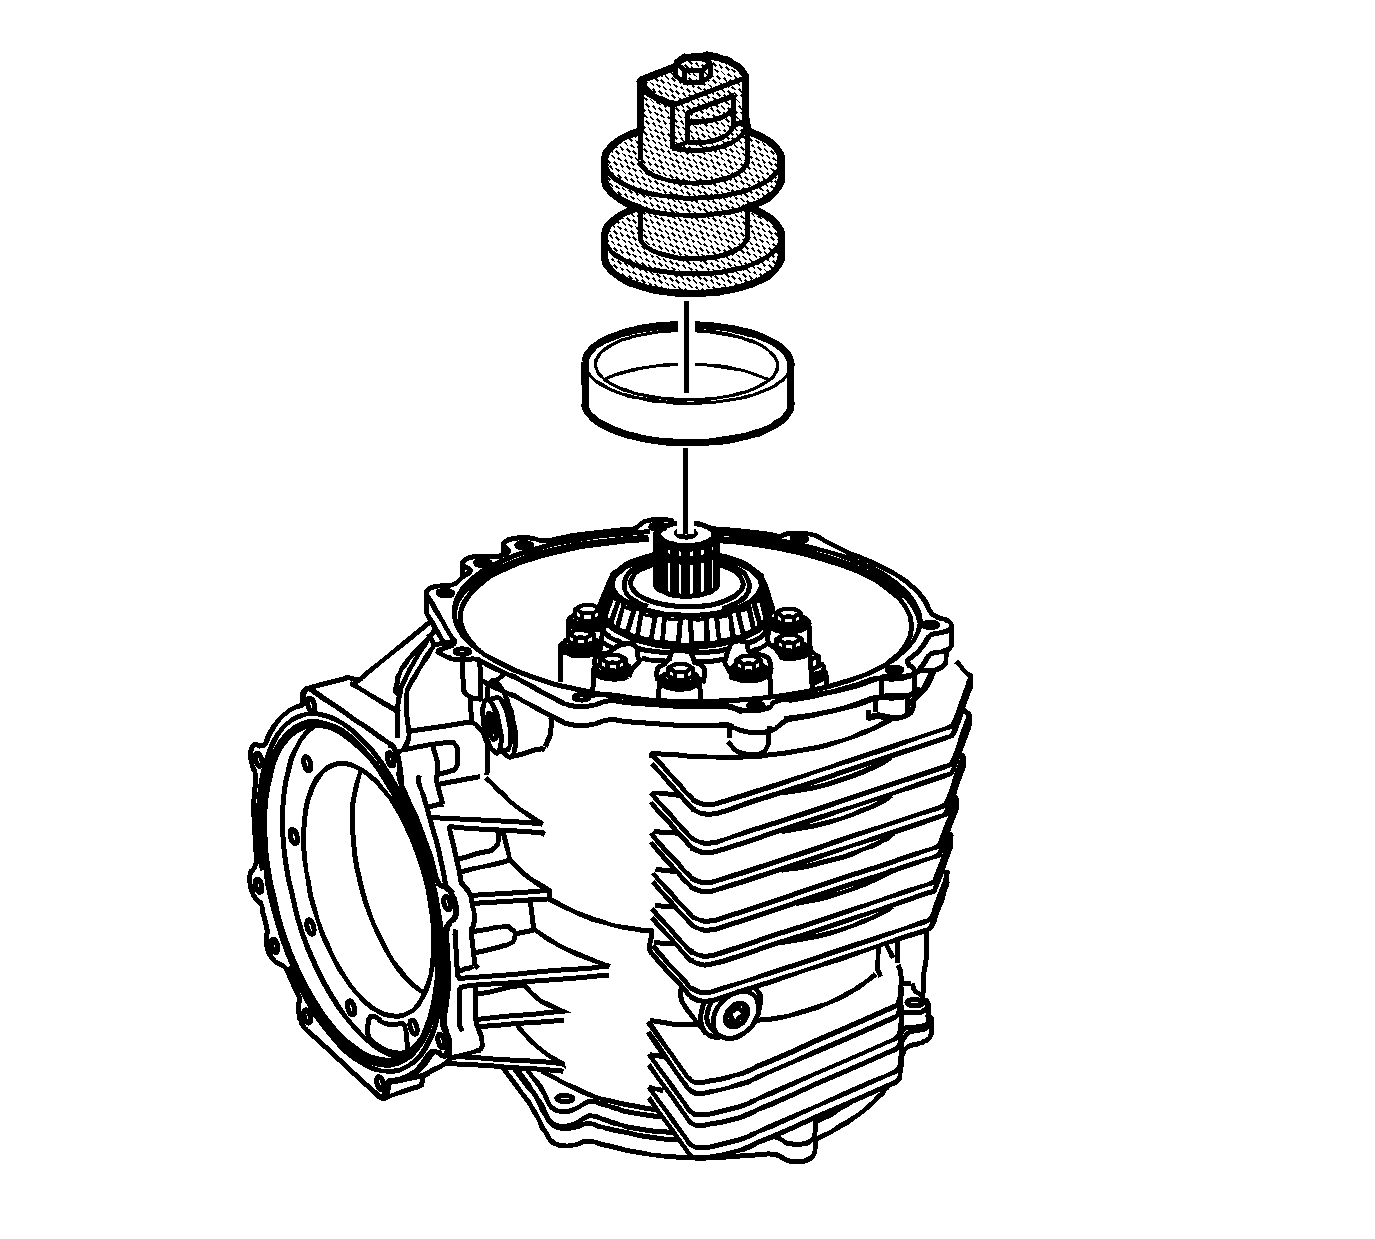
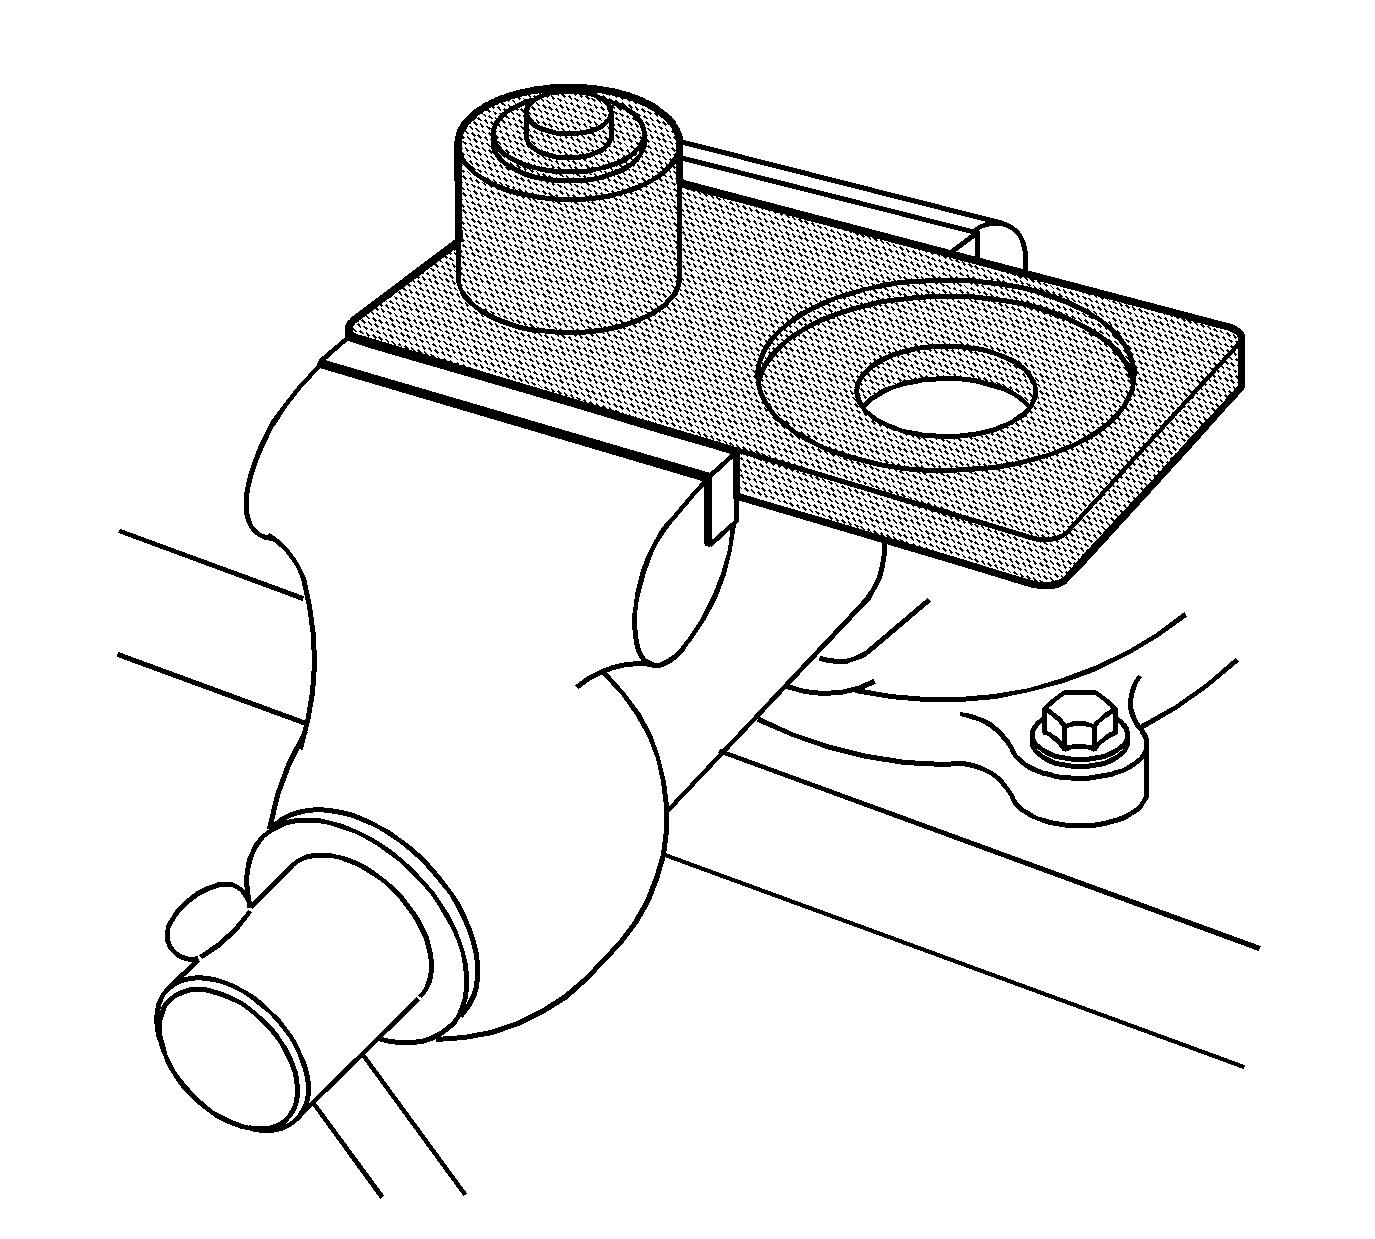
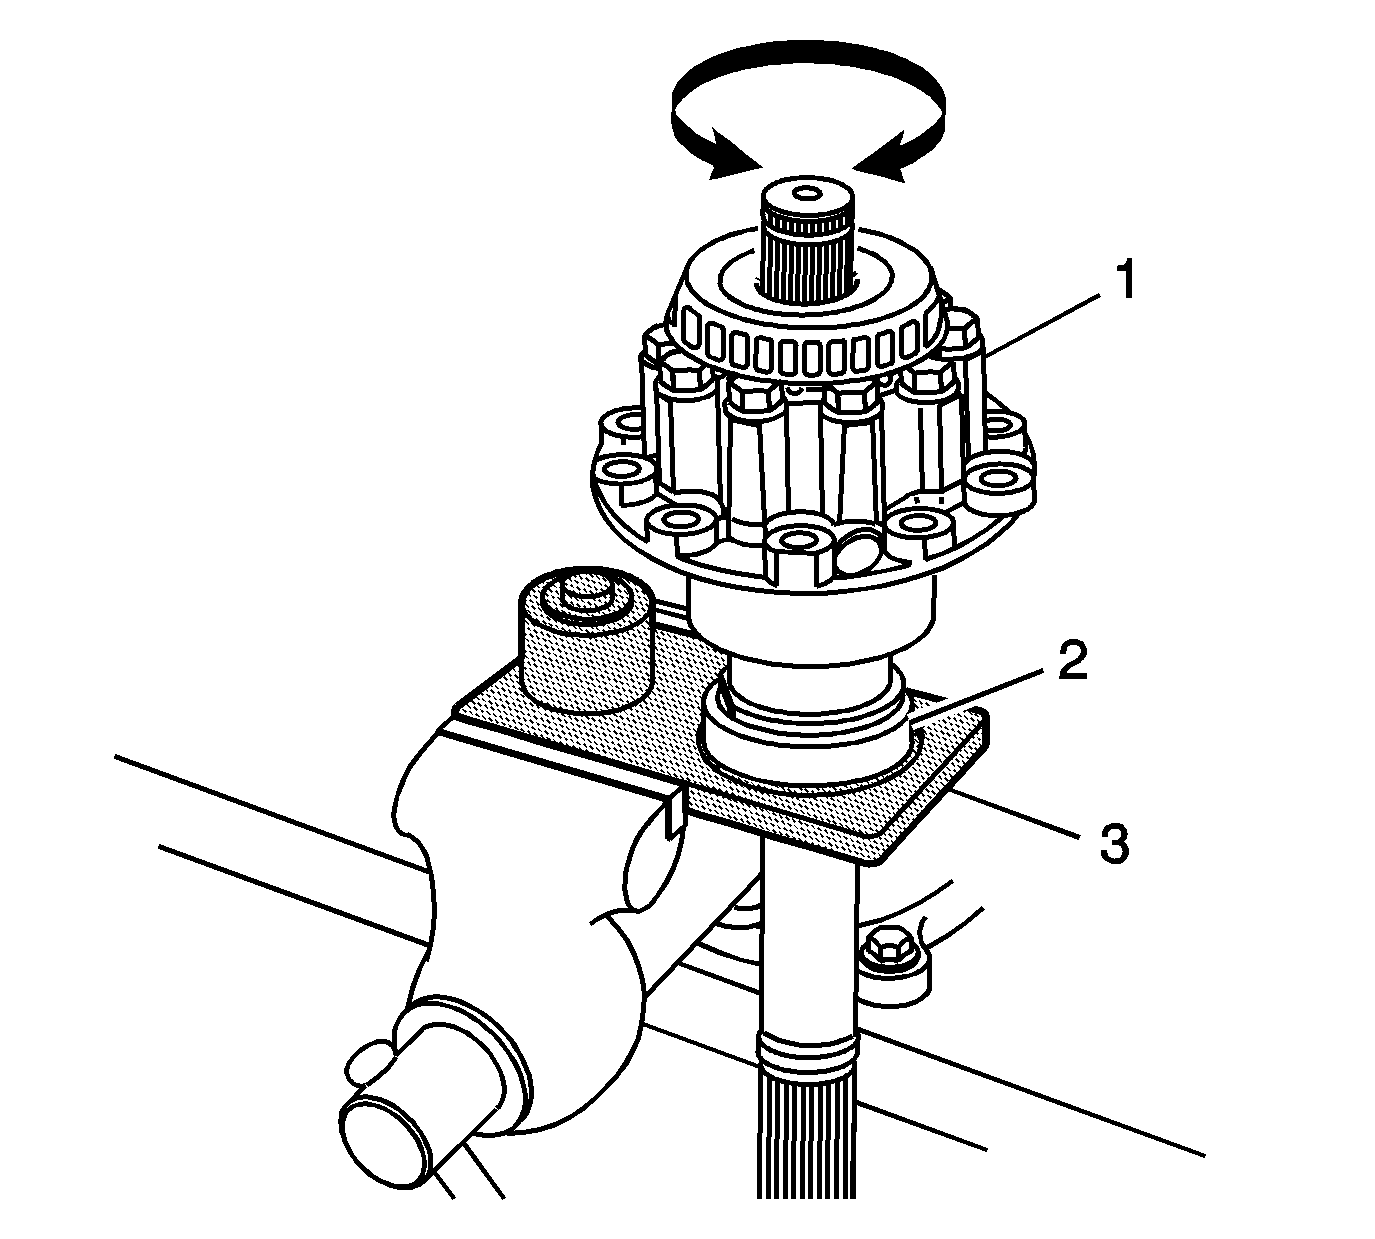
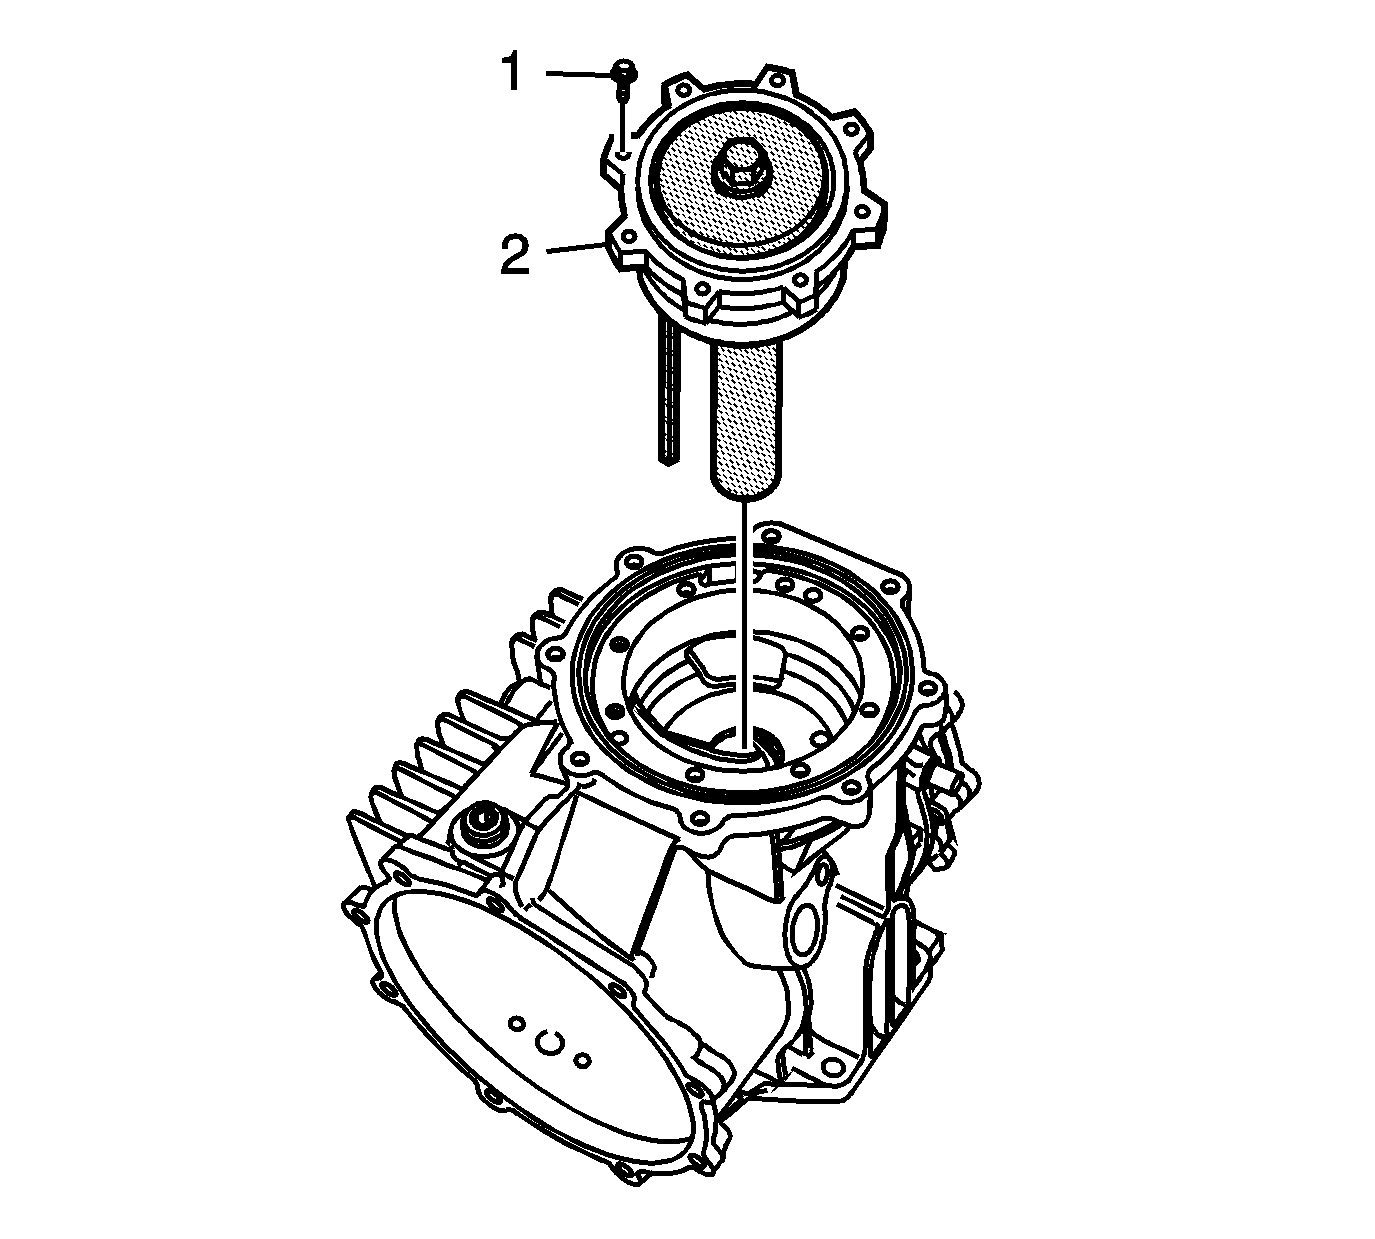
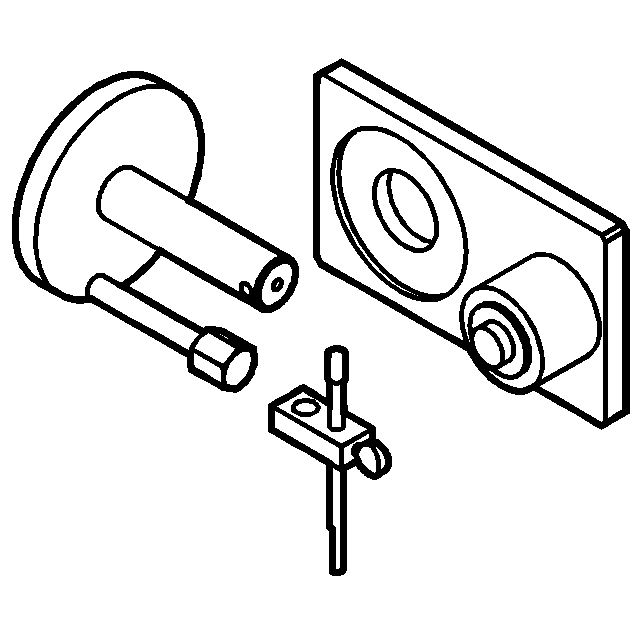
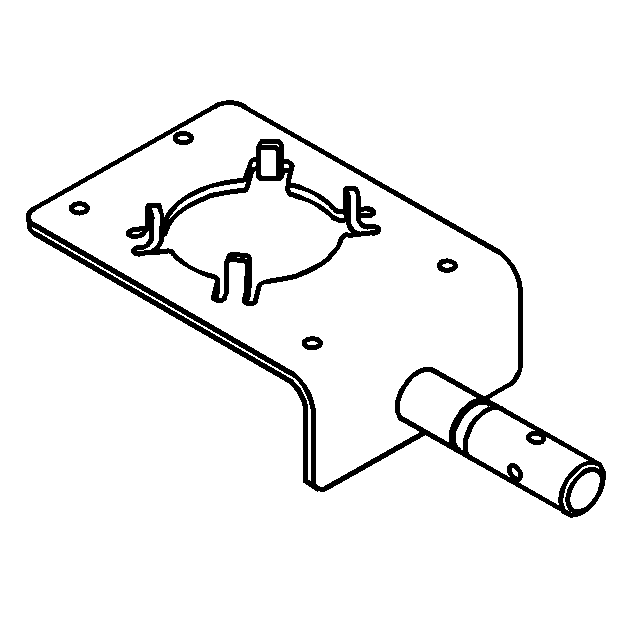
- Install the right side bearing cup, and the
J 42168-15
onto the differential.
Important: In order to perform the shim selection procedure:
| • | The oil seal must be removed from the right cover. |
| • | The pinion housing/cage must NOT be installed to the differential case. |
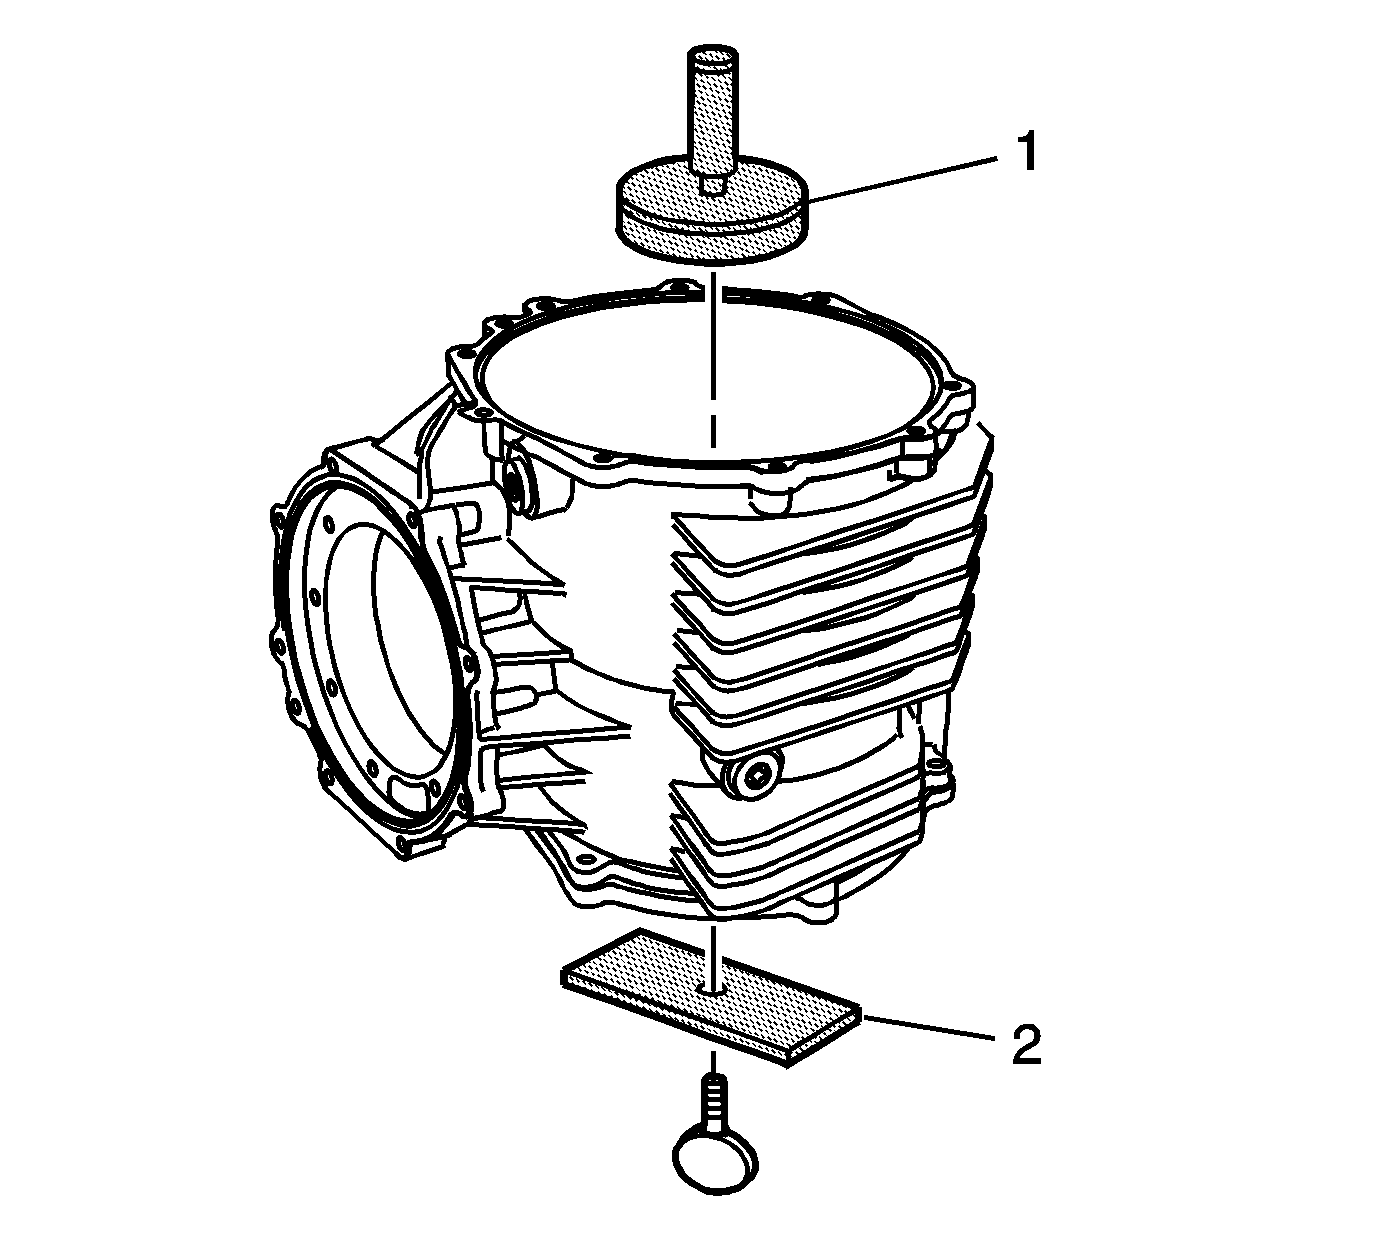
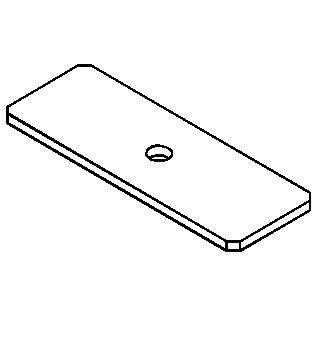
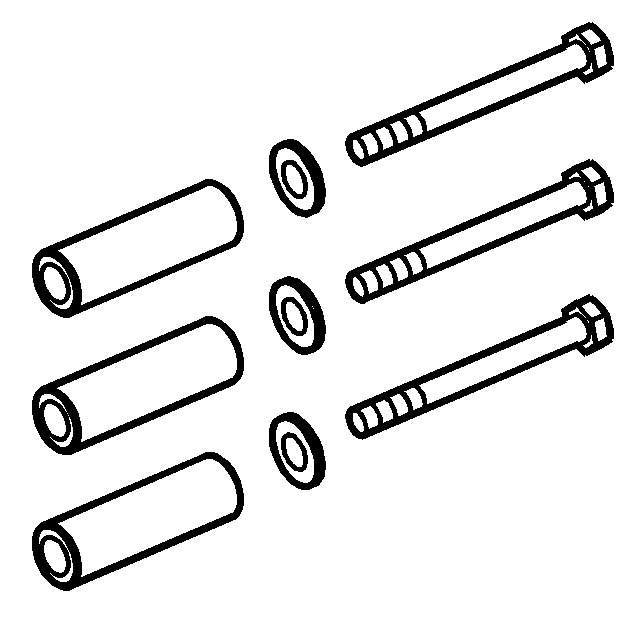
- Install the right cover (2) and
J 42168-16
bolts (1) and spacers (3) to the differential. Position the
J 42168-16
bolts and
spacers evenly apart.
Tighten
Tighten the bolts to 30 N·m (22 lb ft).
- Insert a feeler gage into the
J 42168-15
and measure the gap. The measured dimension is the right side differential bearing shim size.
- Remove the bolts (1), cover (2), and tools.
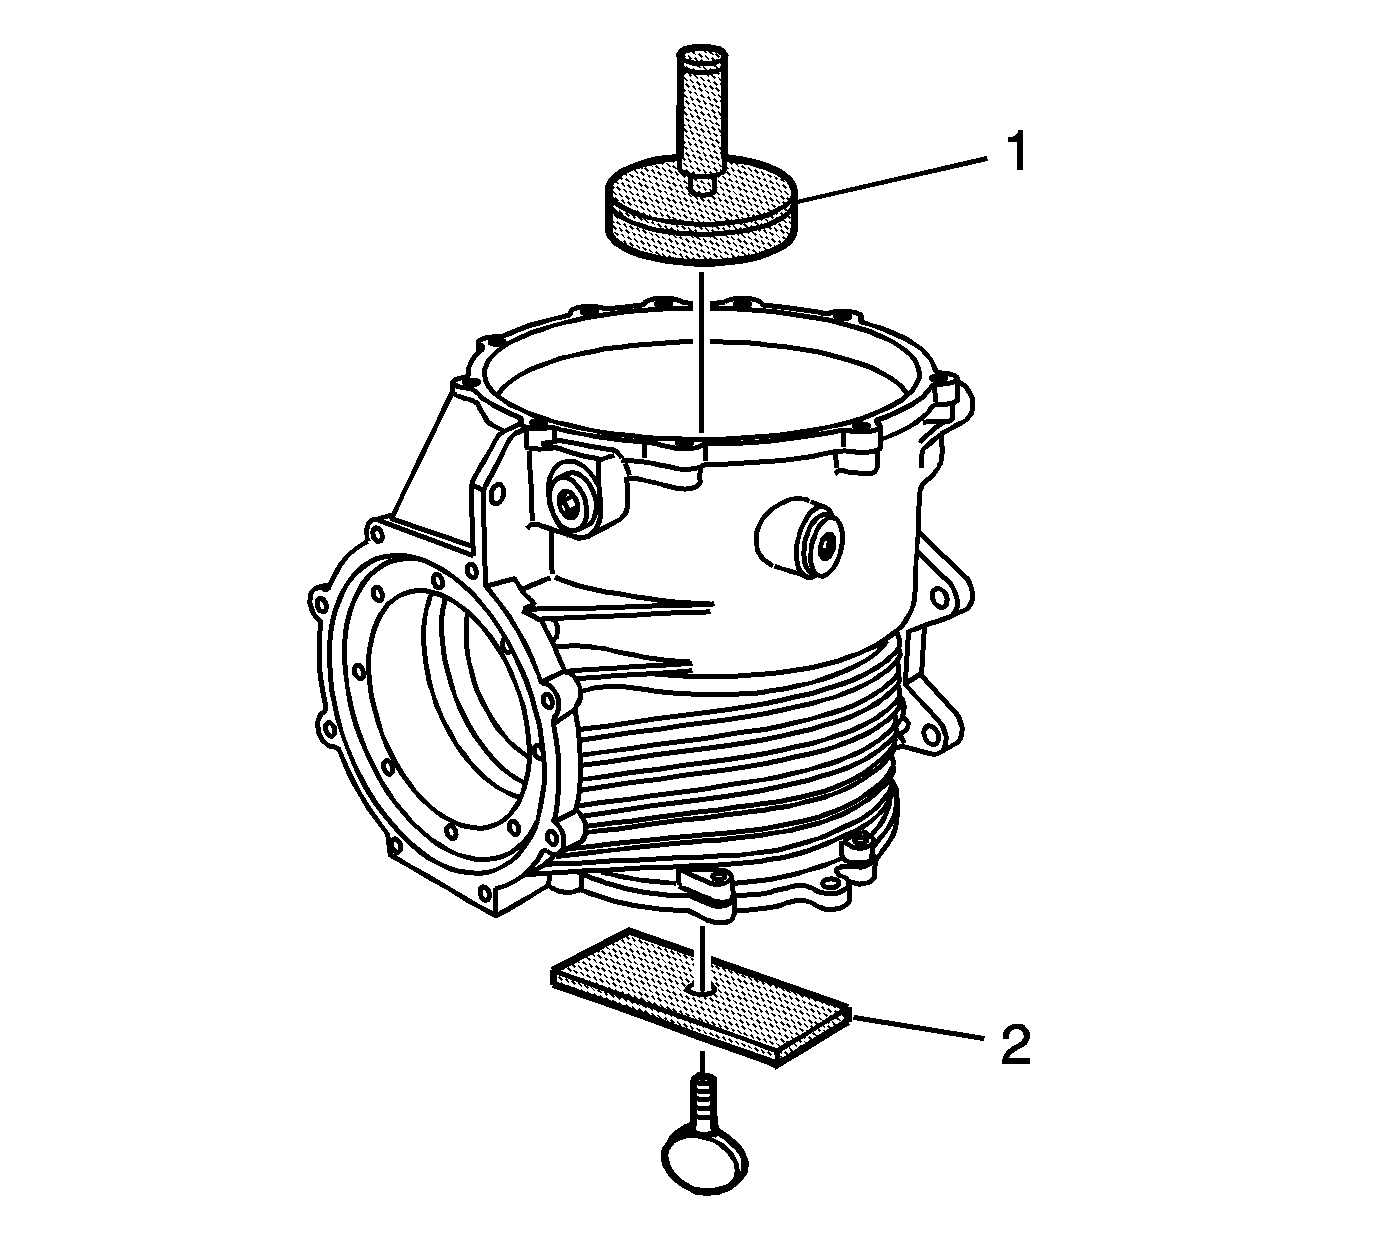
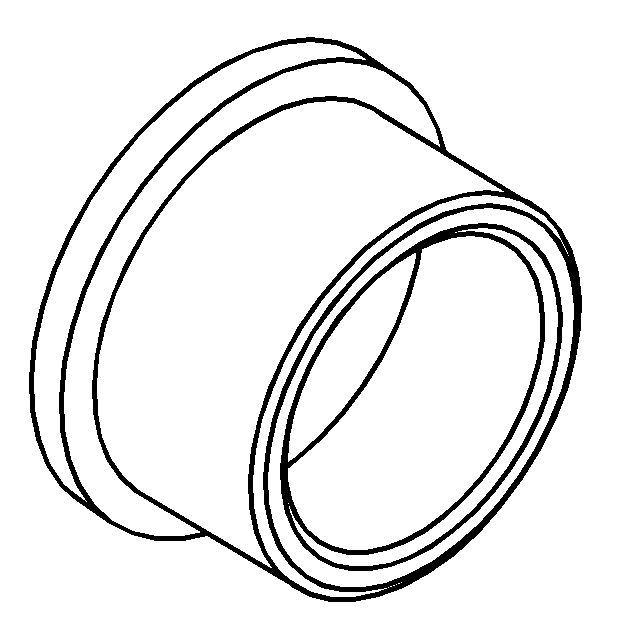
- Install the selected shim (2) and bearing cup (1) to the right cover.
- Using the
J 42170
and a hydraulic
press, install the shim or shims and bearing cup into the right cover. Refer to
Rear Axle Assemble
.
Differential Side Bearings Assemble Z06
Tools Required
| • | DT-48008
Press Support/Pinion Bearing Installer |
| • | J 42155
Getrag Axle Differential Housing Lifting Tool |
| • | J 42170
Getrag Axle Bearing Race Installer |
| • | J 42173
Getrag Axle Ring Gear Holder |
- Remove the
J 42168-9
(2) and thumbscrew from the
J 42168-1
(1).
- Remove the
J 42168-1
(1) from the left bearing cup bore of the differential housing.
Important: Level the tool in order to obtain accurate measurements.
- Install the DT-48009-2 into a vice.
- Position the bearing cup (2) onto the DT-48009-2 (3).
- Position the differential case (1) onto the DT-48009-2 (3) and into the bearing cup (2). Rotate the differential, in both directions, in order to seat the bearing to the race.
- Install the DT-48009-3 (2) into the hole in DT-48009-1 (1).
Loosen the thumbscrew and allow the rod to contact the bottom of the bearing race bore, machined surface (3).
- Tighten the thumbscrew.
- Remove the DT-48009-3 (2) from the DT-48009-1 (1).
- Using a ring gear bolt, attach the
DT-48009-3 (2) to the ring gear side of the differential (1).
- Rotate the differential until the rod of the DT-48009-3 (2) is above the DT-48009-2 (3) gage block.
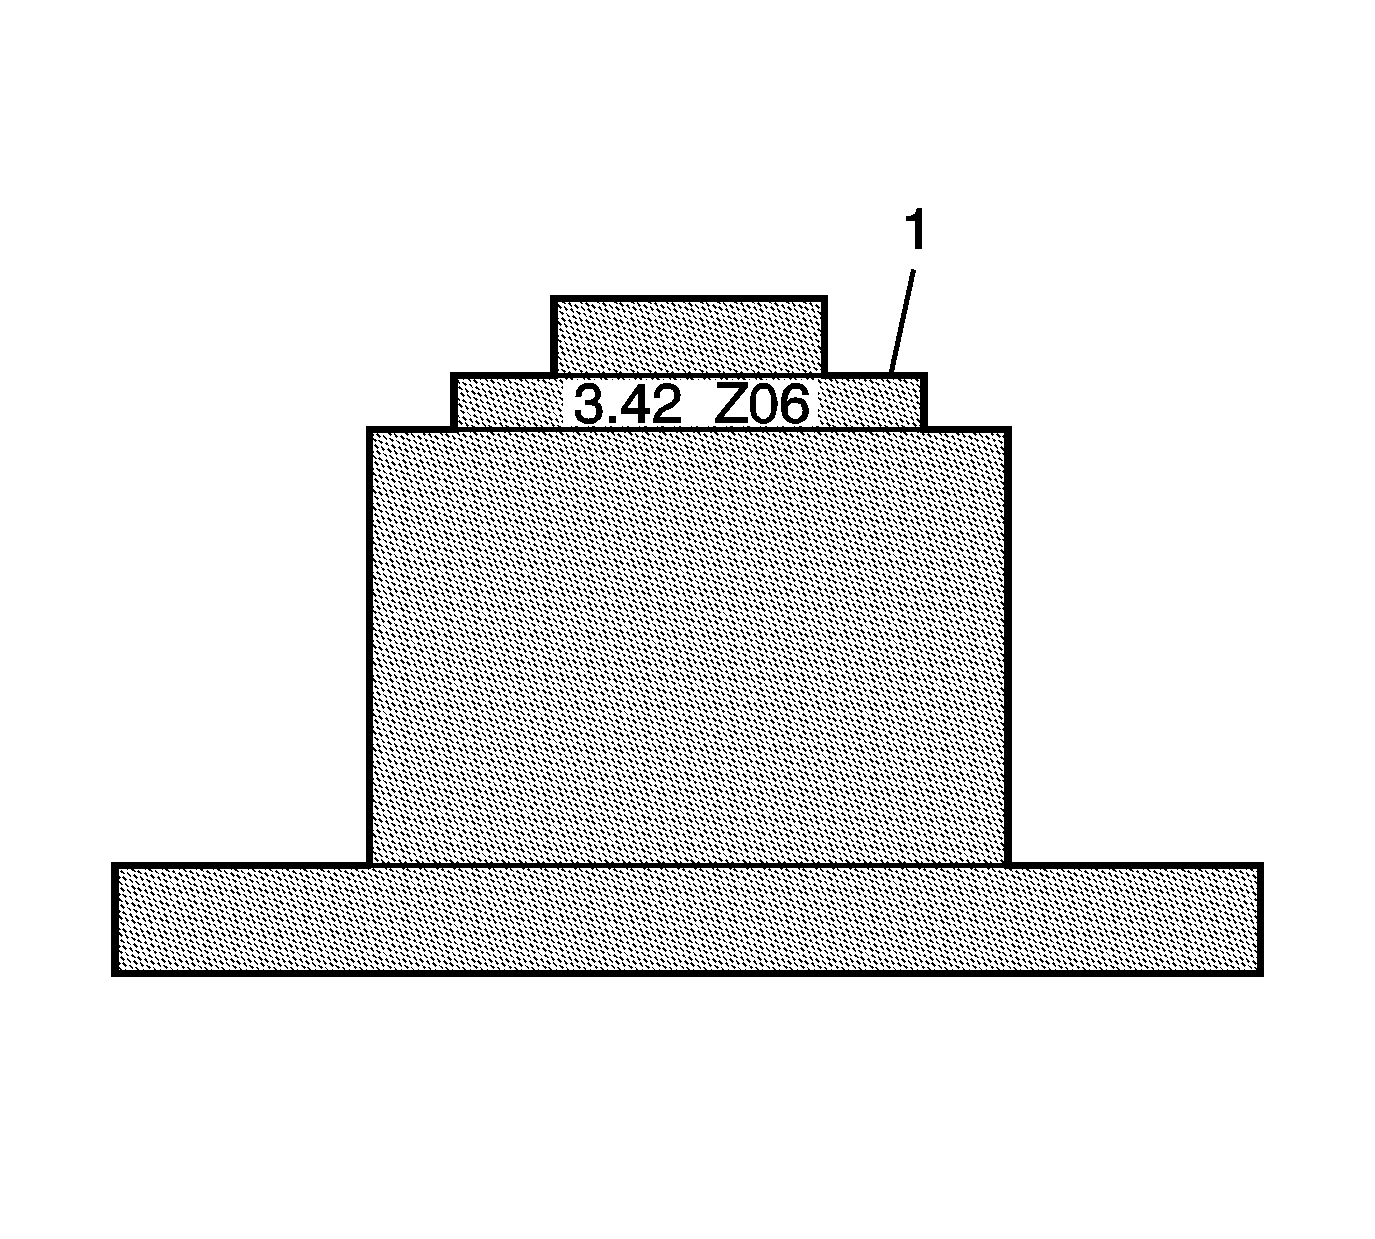
- The DT-48009-2 center gage block location (1) is used when
servicing 3.42 Z06 ratio differentials.
- Using a feeler gage, measure the distance
between the rod of the DT-48009-3 (1) and the gage block of the DT-48009-2 (2). Record the measurement as dimension C1.
- Subtract C1 value from a C nominal value of 3 mm (0.118 in). Record that calculation as C2.
Refer to the applicable calculation table in
Spacer and Shim Specifications.

- Locate the A2 value (2) on the side of the ring
gear.
Important: The A2 value is a manufacturing variation between the ring gear and pinion. The A2 value may be higher, lower, or equal to 65.8 mm (2.59 in) of the differential nominal value. When subtracting the D nominal
value from the A2 value, the C3 calculation may compute to a positive, negative, or zero total.
- Subtract the D nominal value of 65.8 mm (2.59 in) from the A2 value. Record the calculation as C3.
- Add the C2 value to the C3 value for the proper left side differential bearing shim thickness. The C3 value may be a positive, negative, or zero value.
- Select shims equal to the calculated
value. It may be necessary to round the shim or shims total to obtain the proper shim sizes. If the shim thickness calculation is past the midpoint value, round the number to the next decimal value. Refer to
Rear Axle Specifications.
- Remove the pinion housing/cage bolts (1).
- Remove the pinion housing/cage (2) from the differential.
- Remove the
J 42168-11
(1), bearings (2 and 5), spacer (4), and DT-48009-1 (6) from the pinion housing/cage (3).
Notice: Use the DT-48008 to support the differential housing in the press to prevent damage to
the differential housing.
- Use the
DT-48008
(4), the
J 42170
(1) and a hydraulic press in order to install the selected shim (3) and bearing race (2)
to the differential housing.
- Install the ring gear (1) to the differential.
Use several bolts to properly align the ring gear to the case.
A hammer and brass punch may be used to aid in seating the ring gear onto the differential case.
Important: Two types of ring gear bolts may be available for replacement. First design bolts (3) have serrations under the head and are torqued to 195 N·m (144 lb ft). The second design (4)
are smooth under the head and are torqued to 145 N·m (107 lb ft).
- Install the NEW ring gear bolts (2).
- Position the differential assembly onto the
J 42173
.
Tighten
Tighten the ring gear bolts to 195 N·m (144 lb ft) - 1st design.
Tighten
Tighten the ring gear bolts to 145 N·m (107 lb ft) - 2nd design.
- Use the
J 42155
in order to install the differential
case into the differential housing.
- Install the right side bearing cup, and the
J 42168-15
onto the differential.
Important: In order to perform the shim selection procedure:
| • | The oil seal must be removed from the right cover. |
| • | The pinion housing/cage must NOT be installed to the differential case. |
- Install the right cover (2) and
J 42168-16
bolts (1) and spacers (3) to the differential. Position the
J 42168-16
bolts and
spacers evenly apart.
Tighten
Tighten the bolts to 30 N·m (22 lb ft).
- Insert a feeler gage into the
J 42168-15
and measure the gap. The measured dimension is the right side differential bearing shim size.
- Remove the bolts (1), cover (2), and tools.
- Install the selected shim (2) and bearing cup (1) to the right cover.
- Using the
J 42170
and a hydraulic
press, install the shim or shims and bearing cup into the right cover. Refer to
Rear Axle Assemble.
