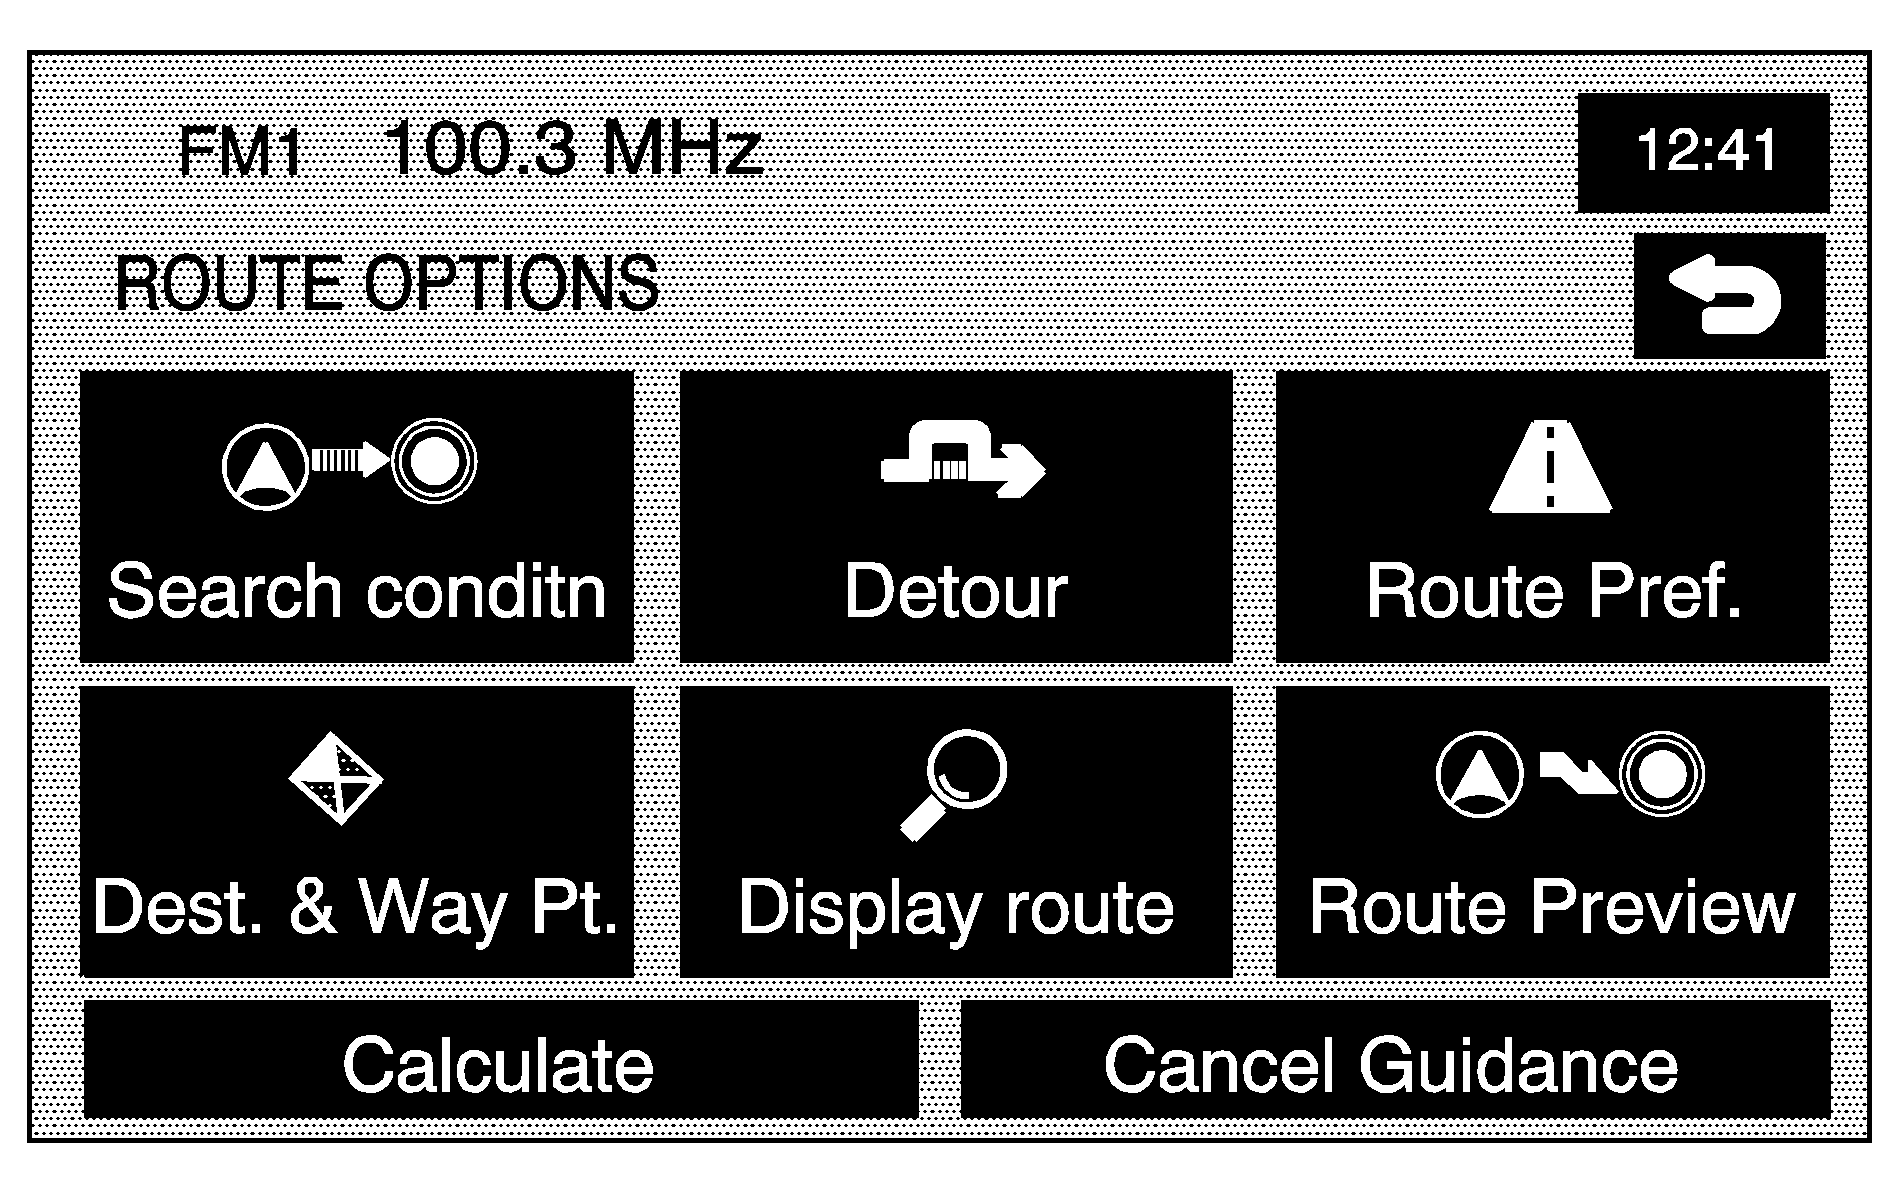
Select Route Options from the NAV. MENU screen to access the ROUTE OPTIONS screen. This menu has many features to customize route guidance. A route must first be set to use these features. See Enter Destination for more information on entering a destination.
Search Condition
Search Conditn (Search Condition): This feature accesses the SEARCH CONDITION screen.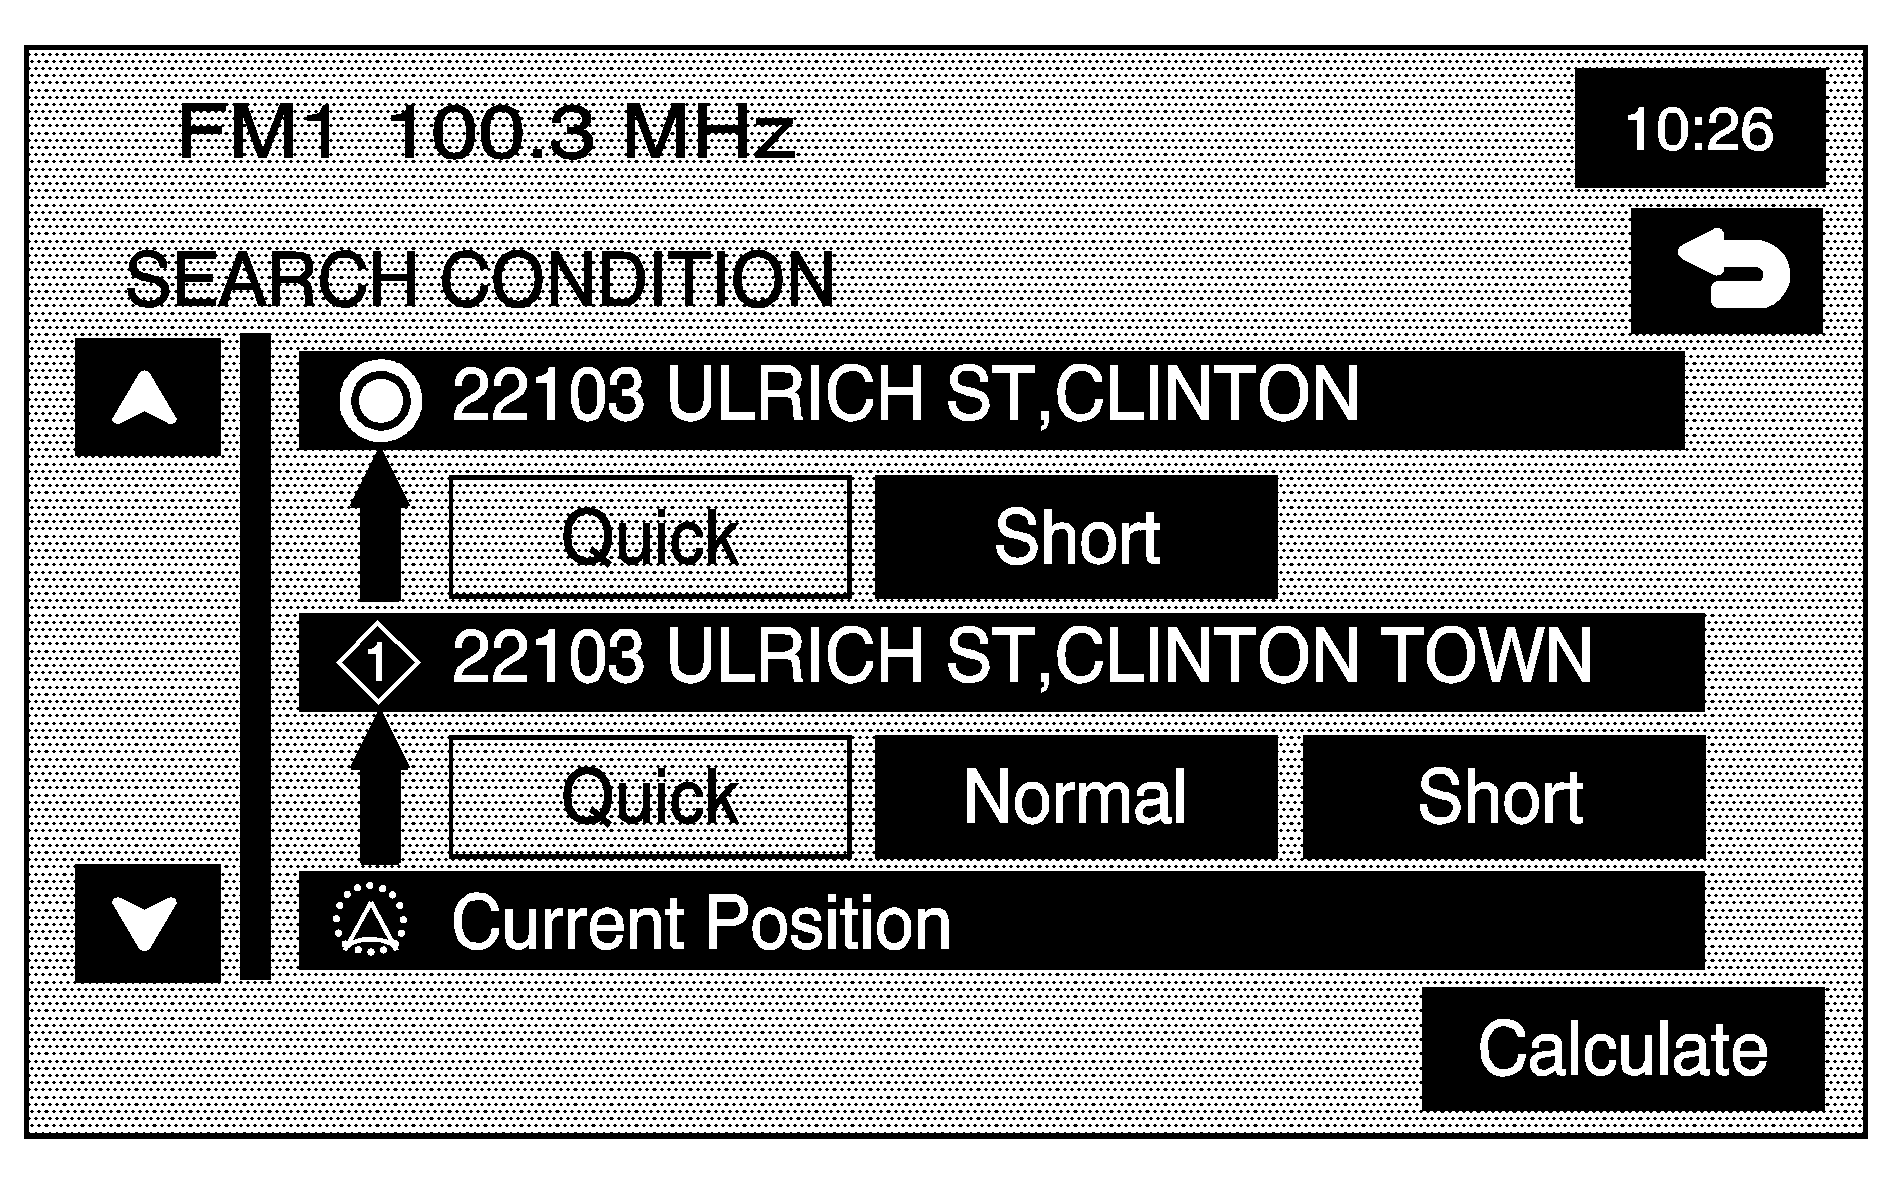
The search condition screen lets you view your current destination and to change the planning methods between each destination. Each distance between waypoints and final destination can have an individual setting.
/ (Scroll Arrows): Use the up and down arrows to scroll through each route.Quick/ Normal/Short: Select one of the route preference options to change the planning method.
Calculate: After selecting the new methods, select Calculate to plan the route with the changes. The map screen displays.
Detour
Detour: Select a detour if there is construction work, or traffic delays that prevent the original route from being used.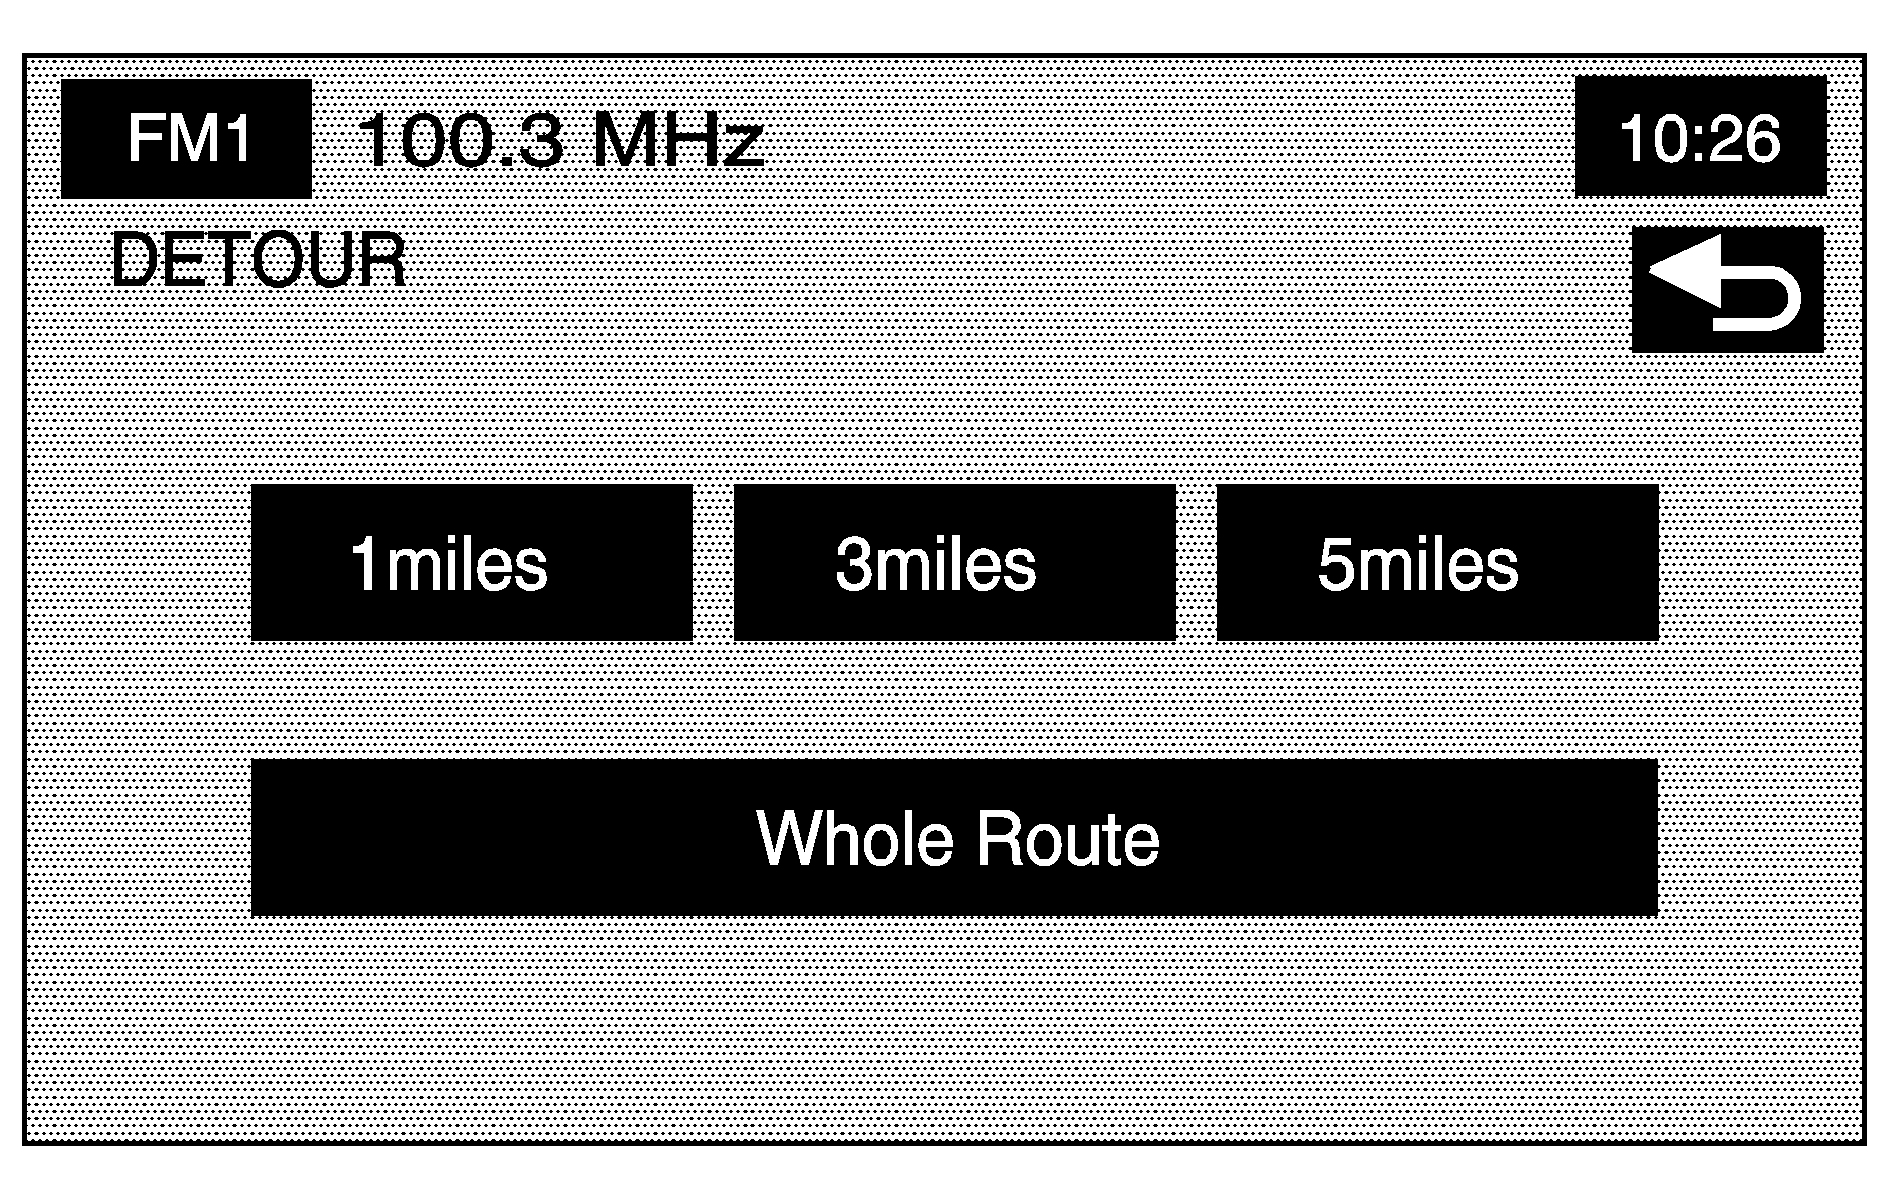
From this screen, you can select a 1 mile, 3 mile, or 5 mile detour or select to detour the whole route. After selecting the detour, the system calculates the alternate route and the new route displays on the map screen.
Route Preferences
Route Pref. (Route Preferences): You can select to have certain types of roads/ferries included in your route. See "Getting Started on Your Route" under Enter Destination for more information.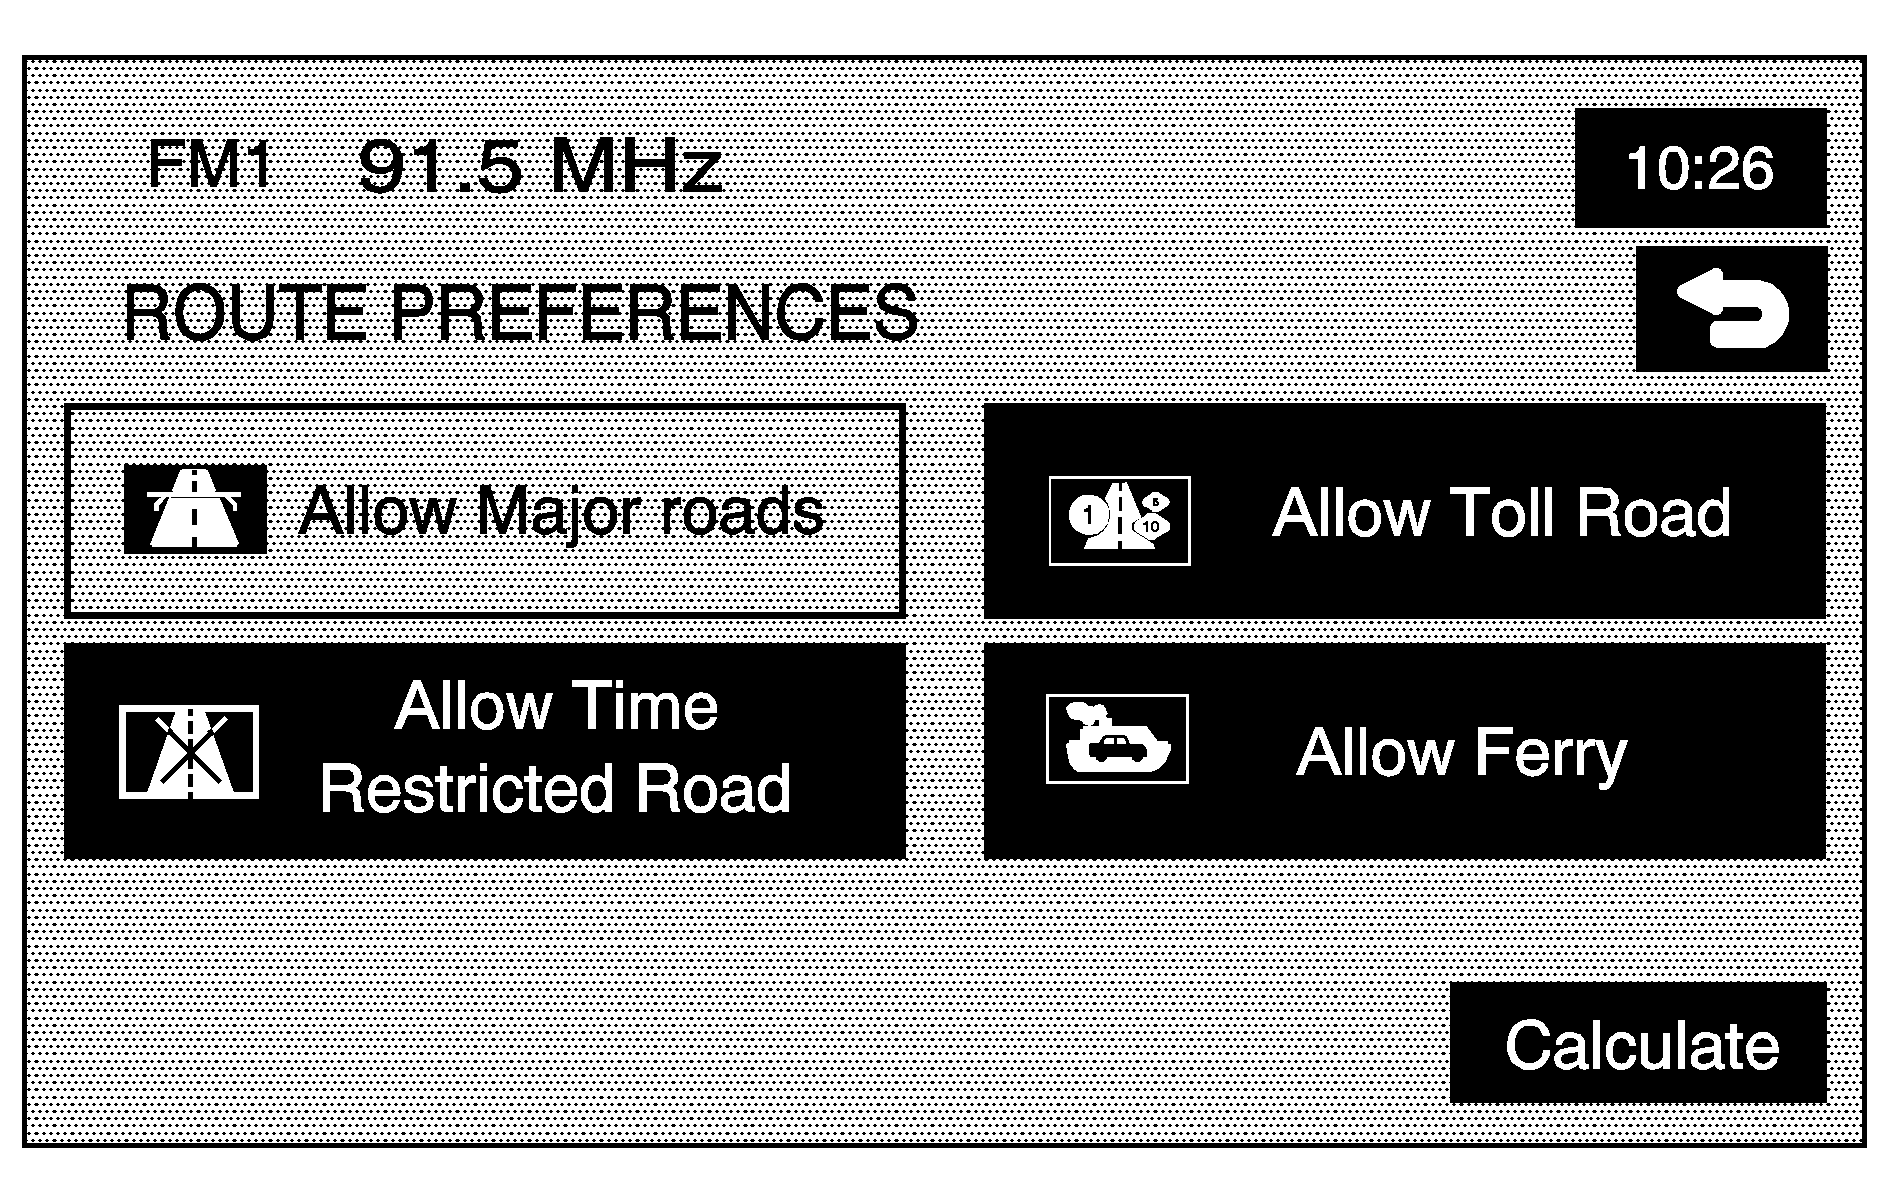
The following route preferences can be selected on or off:
(Allow Major Roads): This feature lets the system use expressways when calculating a route. If there is no way to reach your destination without using major roads, the system automatically includes major roads.(Allow Time Restricted Road): This feature lets the system use time restricted roads when calculating a route. These are roads that may be closed during the winter season.
(Allow Toll Road): This feature lets the system use toll roads or pay roads when calculating a route.
(Allow Ferry): This feature lets the system use ferries when calculating a route.
Calculate: Select this screen button to update the changes in the current route. The map screen displays.
If any of these features are turned off, the button is dark and there is a red slash through the icon on the map screen.
Once the route preferences have been set, select the back button to return to the previous screen.
Destination and Waypoint
Dest. & Way Pt. (Destination and Waypoint): This feature lets you edit the selected destination and waypoints using this screen. See "Dest. and Way Pt. (Destination and Way Point)" under Stored Locations for information on storing destinations and waypoints.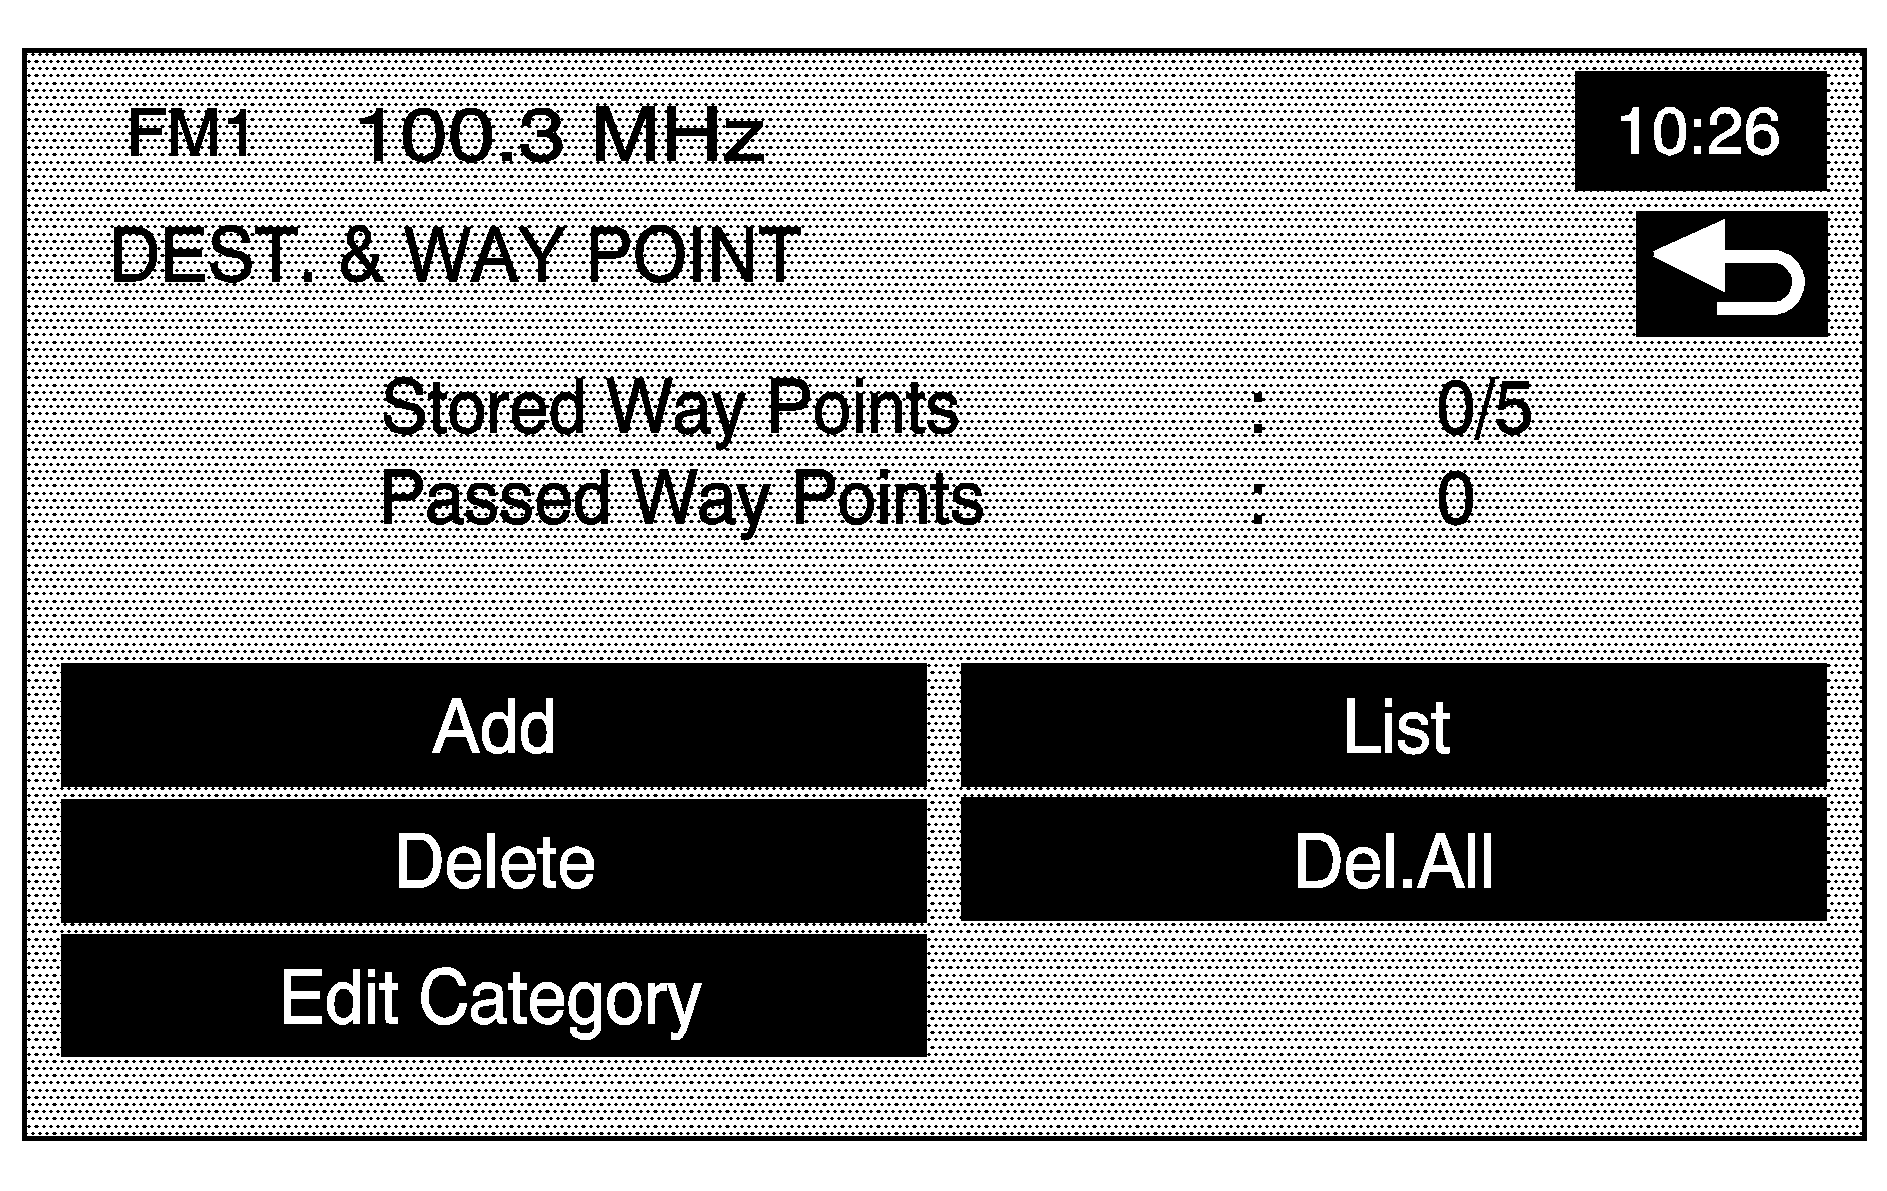
Up to five waypoints and one destination can be entered. The following functions are available:
Add: This button accesses the Store Dest. & Waypoint screen. A waypoint can be added or the destination can be changed.List: Touch this button to change the order of the stops in the route and to change the location of the stops.
Delete/Del. All: These buttons let you delete waypoints on the route or delete the entire route.
Display route
Display route: Select this button from the ROUTE OPTIONS menu to view the entire route. The start point and destination, the time it takes to reach the destination, and distance, including the distance that is routed on each road type will display.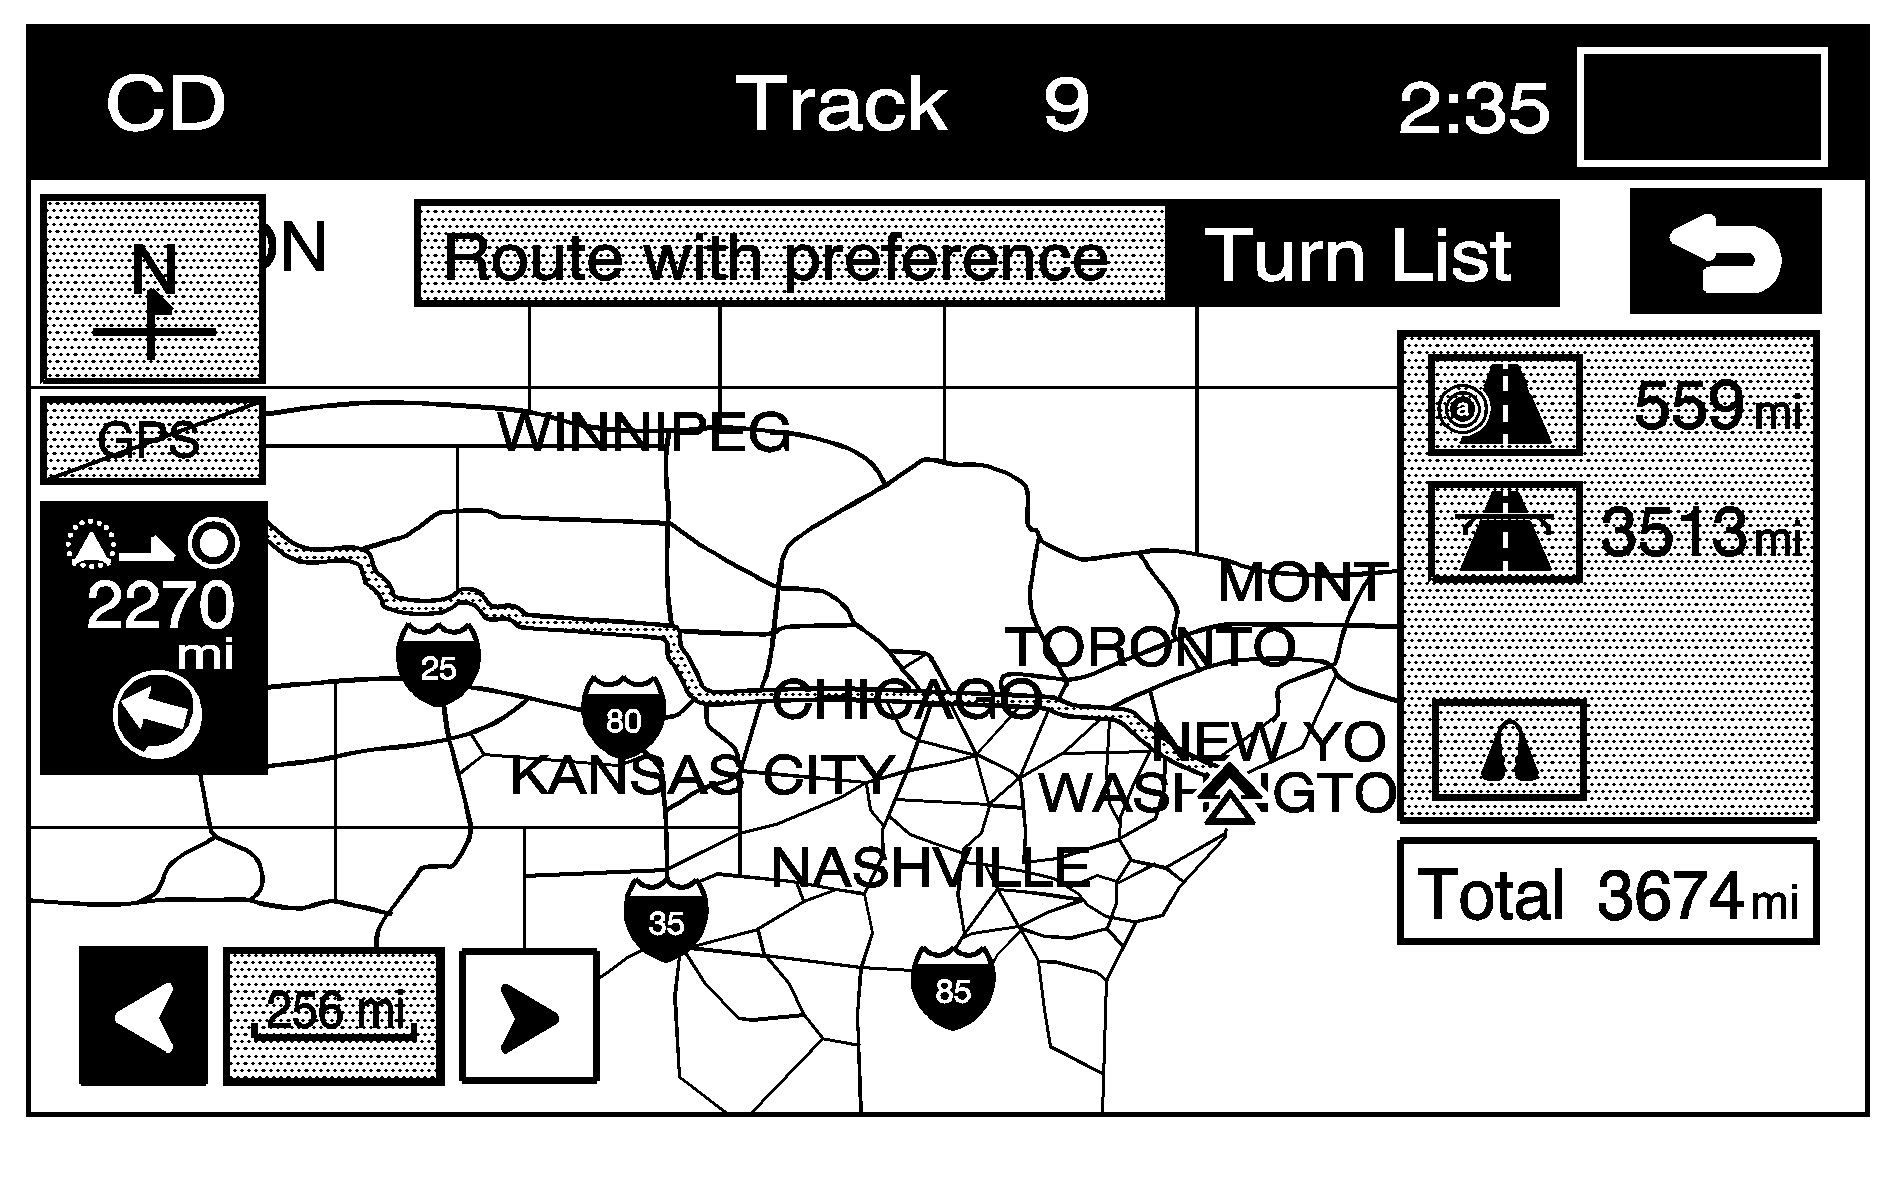
Turn List: Edit the route by selecting the Turn List screen button. A list of every turn on the route displays. With the turn list displayed, you can select to avoid streets/turns on the route.
Avoid: To avoid a street, select the Avoid screen button next to the turn. To cancel the avoided turn, select Avoid again to deselect it.
Reroute: After selections have been made, press the Reroute screen button to replan the route.
Delete: To cancel an avoided turn after the route has been replanned, press the Delete screen button. A list of all of the avoided turns display. Select the street that you want to add back to the route. A confirmation window displays. Select Yes to have the avoided street added back to the route. The Turn List screen displays.
Del. All (Delete All): To cancel all of the avoided turns after the route has been replanned, press the Delete screen button. A list of all of the avoided turns display. Select the Del. All screen button. A confirmation window displays. Select Yes to have all of the avoided streets added back to the route. The Turn List screen displays.
Route Preview
Route Preview: Select this button from the ROUTE OPTIONS menu to preview the entire route in either direction and to edit the route.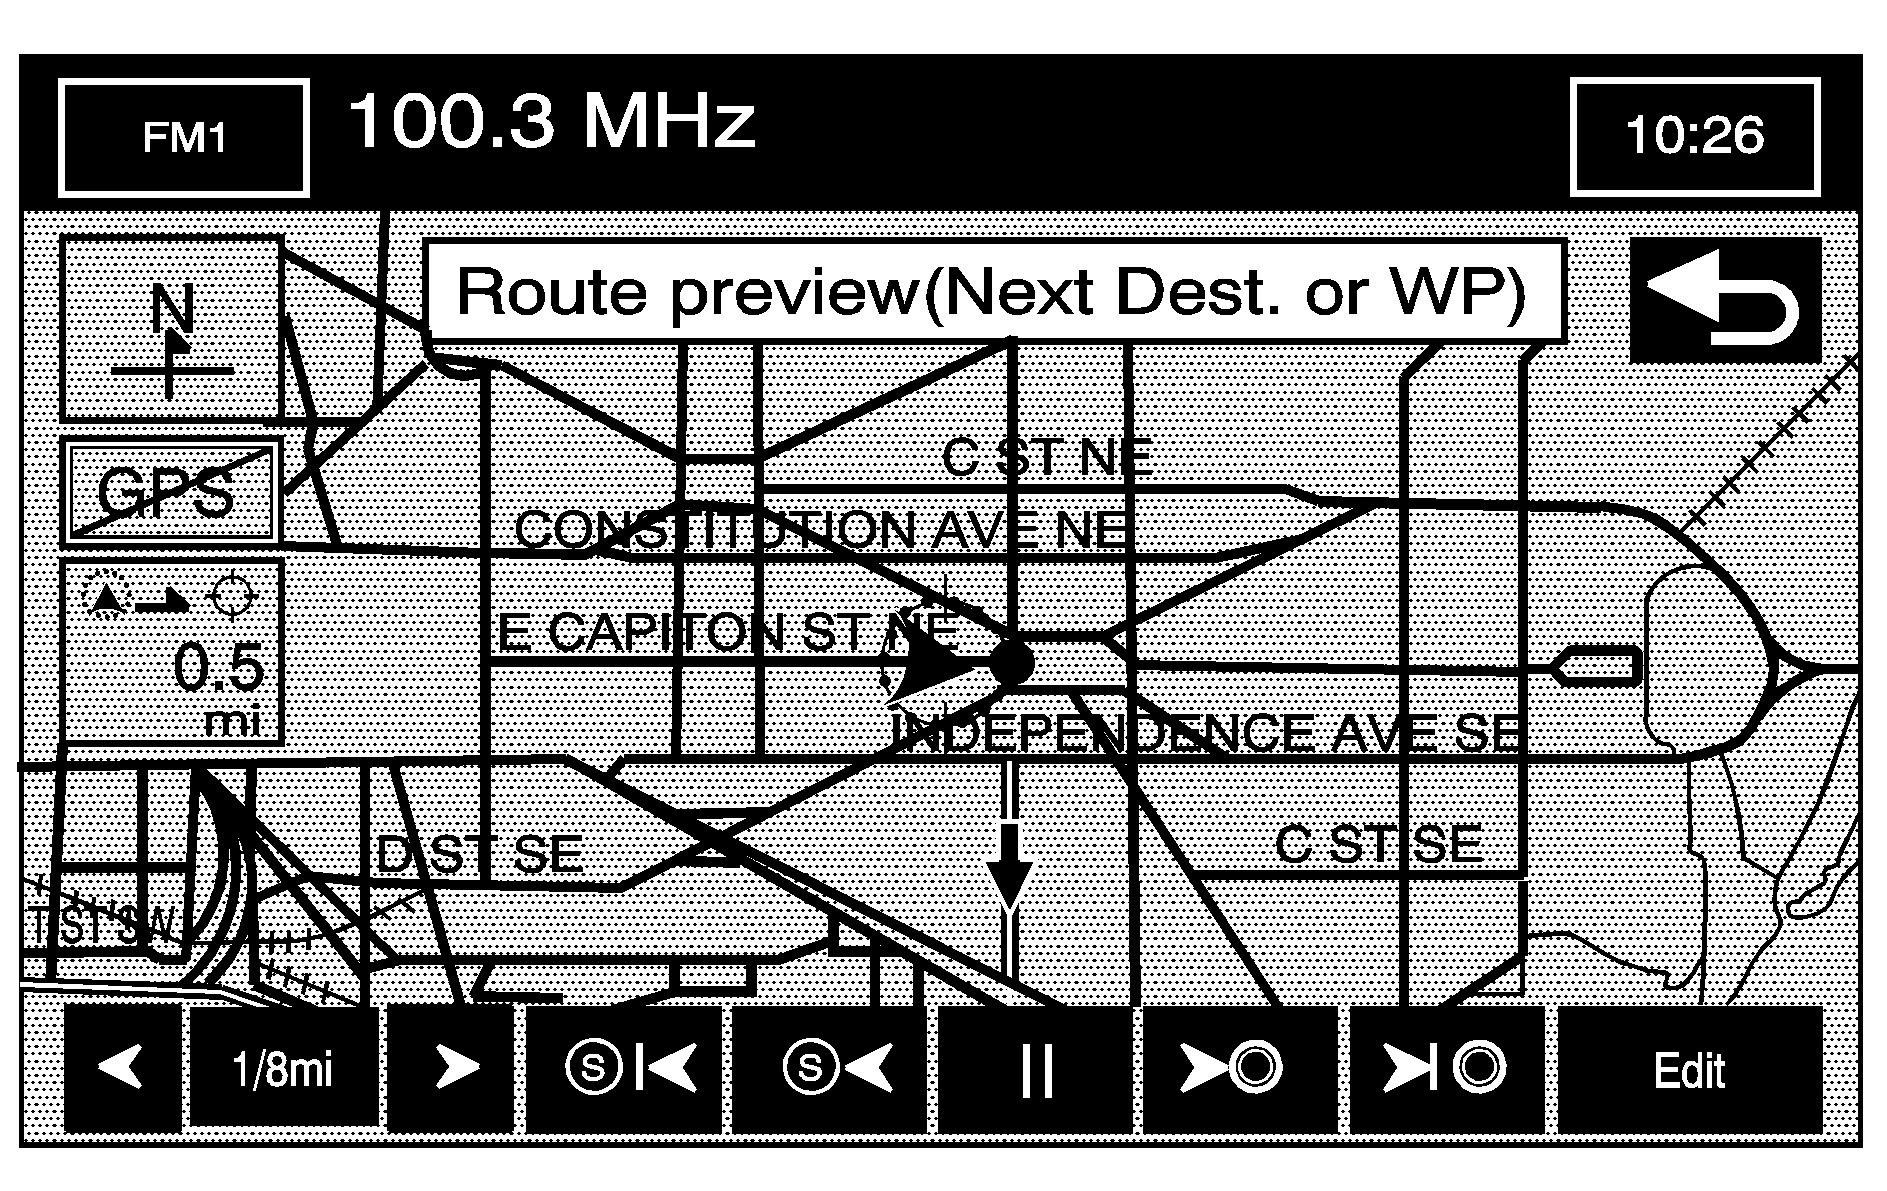
Use the screen buttons at the bottom of the navigation screen to move through the route.
(Skip to Start Point): Touch this screen button to skip backward to the start point, the previous waypoint, or the previous available POI, depending on the mode selected.(Scroll to Start Point): Touch this screen button to start a smooth scroll of the route backwards to the start point, previous waypoint, or the previous available POI, depending on the mode selected. Touch this button again to increase the scroll speed.
(Pause): Touch this screen button to pause the smooth scroll. Push either scroll button ( ) to restart the scroll.
(Scroll to Destination): Touch this screen button to start a smooth scroll of the route toward the destination, next waypoint or next available POI, depending on the mode selected. Touch this button again to increase the scroll speed.
(Skip to Destination): Touch this screen button to skip forward to the destination, next waypoint or next available POI, depending on the mode selected.
Edit: Touch this screen button to change the way the skip/scroll function operates. Select to have the skip/scroll go to the start point/destination or to the next available POI or waypoint.
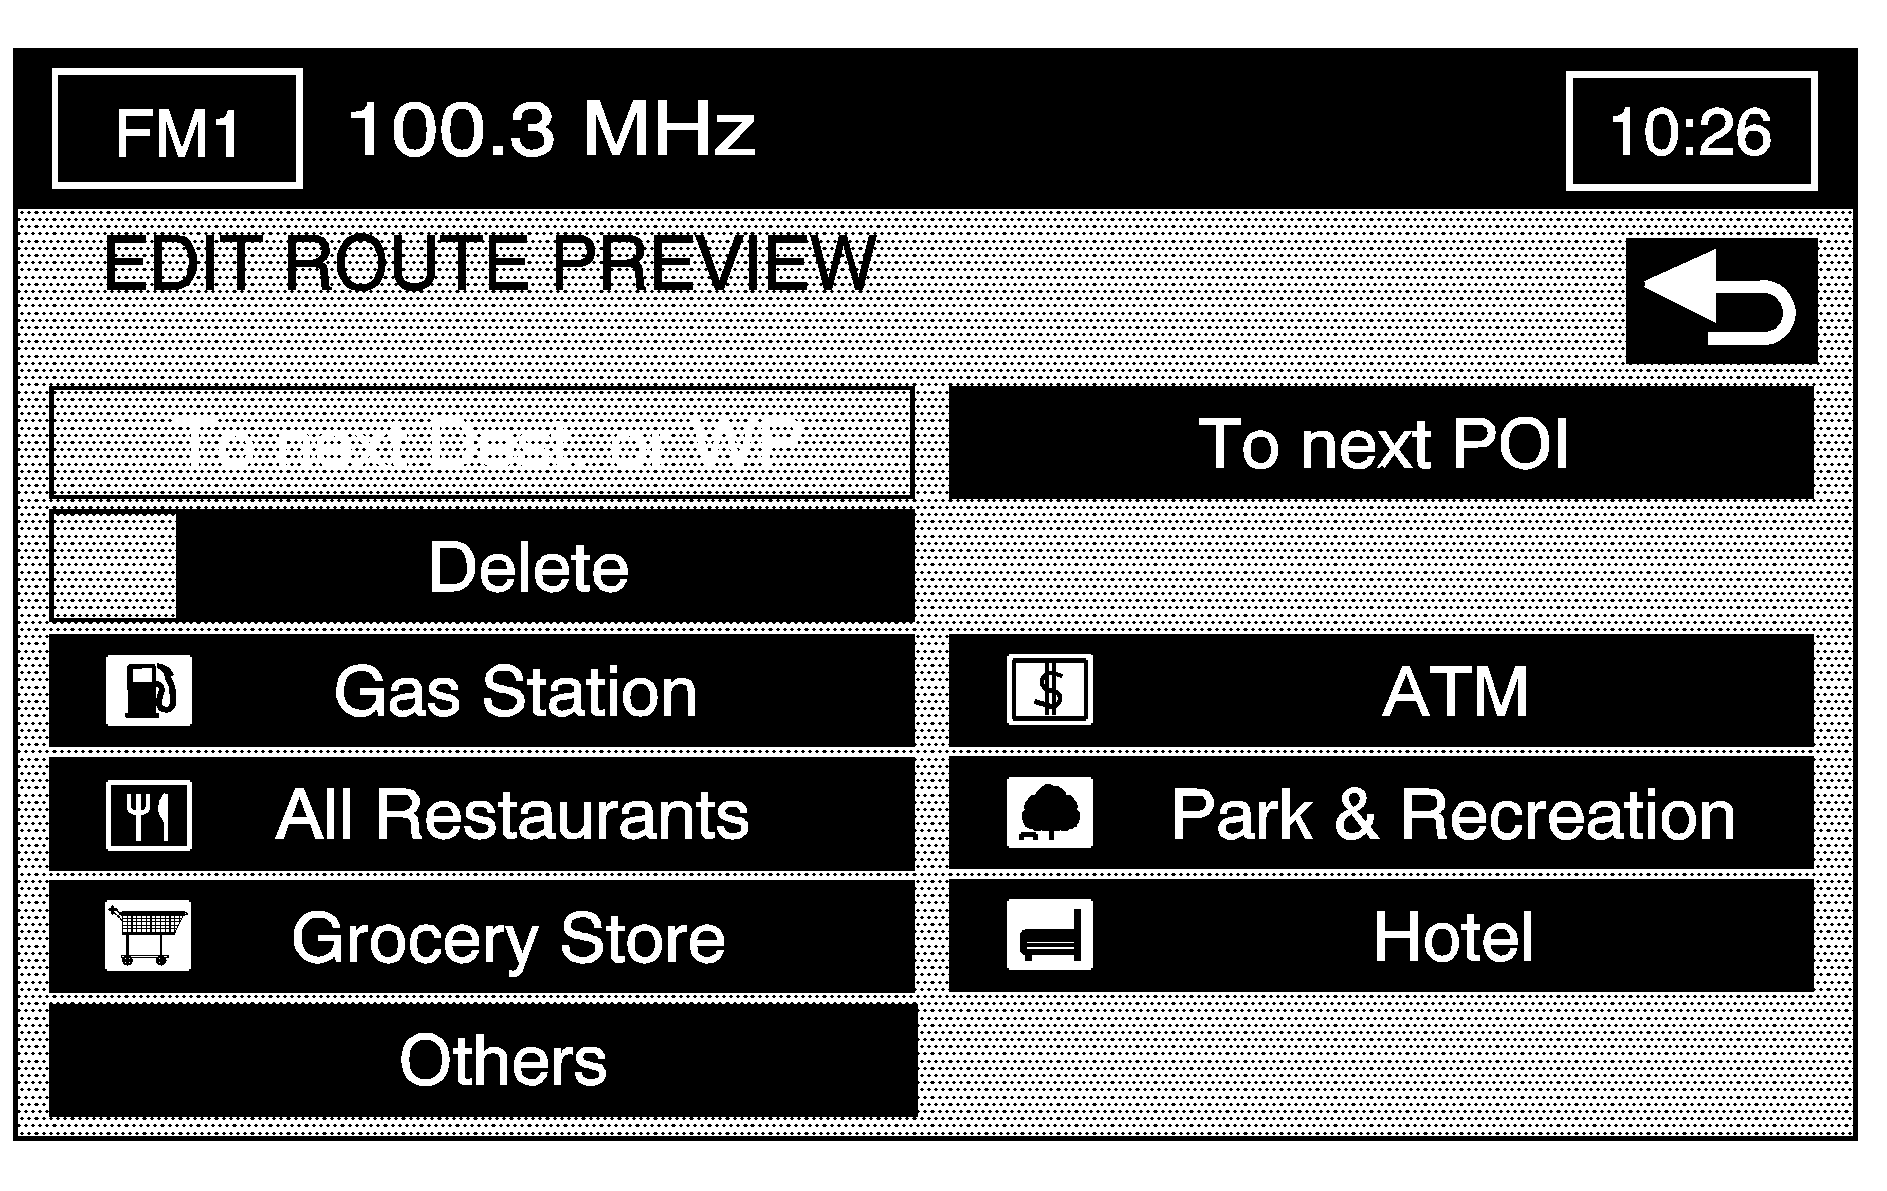
To next Dest. (Destination) or WP (Waypoint): Select this button to have the skip/scroll functions skip/scroll to the next destination or waypoint.
To next POI: To select this option, a POI category must be selected. Select this button to have the skip/scroll functions skip/scroll to the next available POI for the category. To change the POI category, touch the corresponding screen button next to the category. Touch the Delete screen button to have no POIs appear on the map. The default POIs are the same as those in the Quick POI group listing.
Calculate: Touch this screen button to calculate the route with the changes.
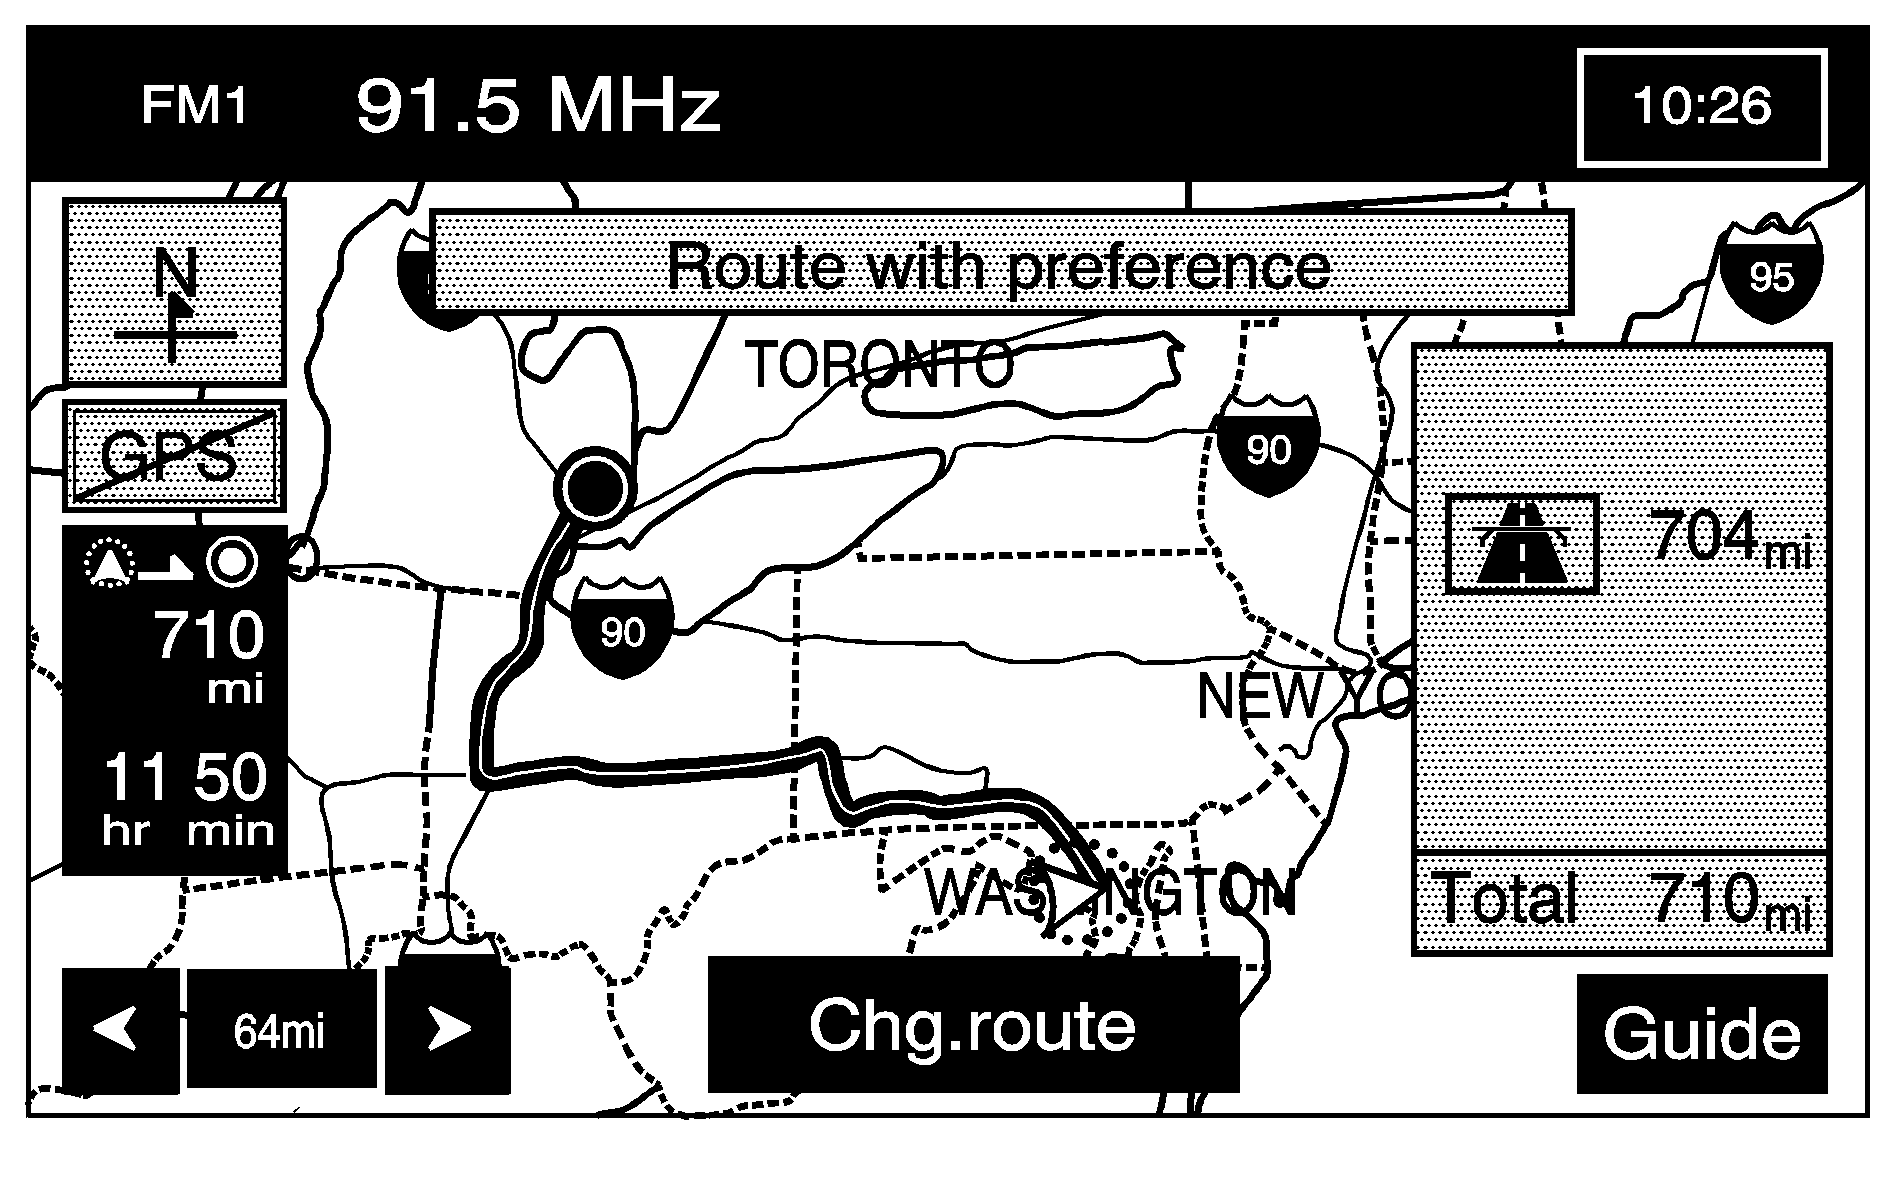
Once the route has been calculated, this screen displays. From this map screen, touch Guide to begin route guidance or touch Chg. route to return to the ROUTE OPTIONS screen.
Cancel Guidance: Touch this screen button to cancel the current route.