For 1990-2009 cars only
Removal Procedure
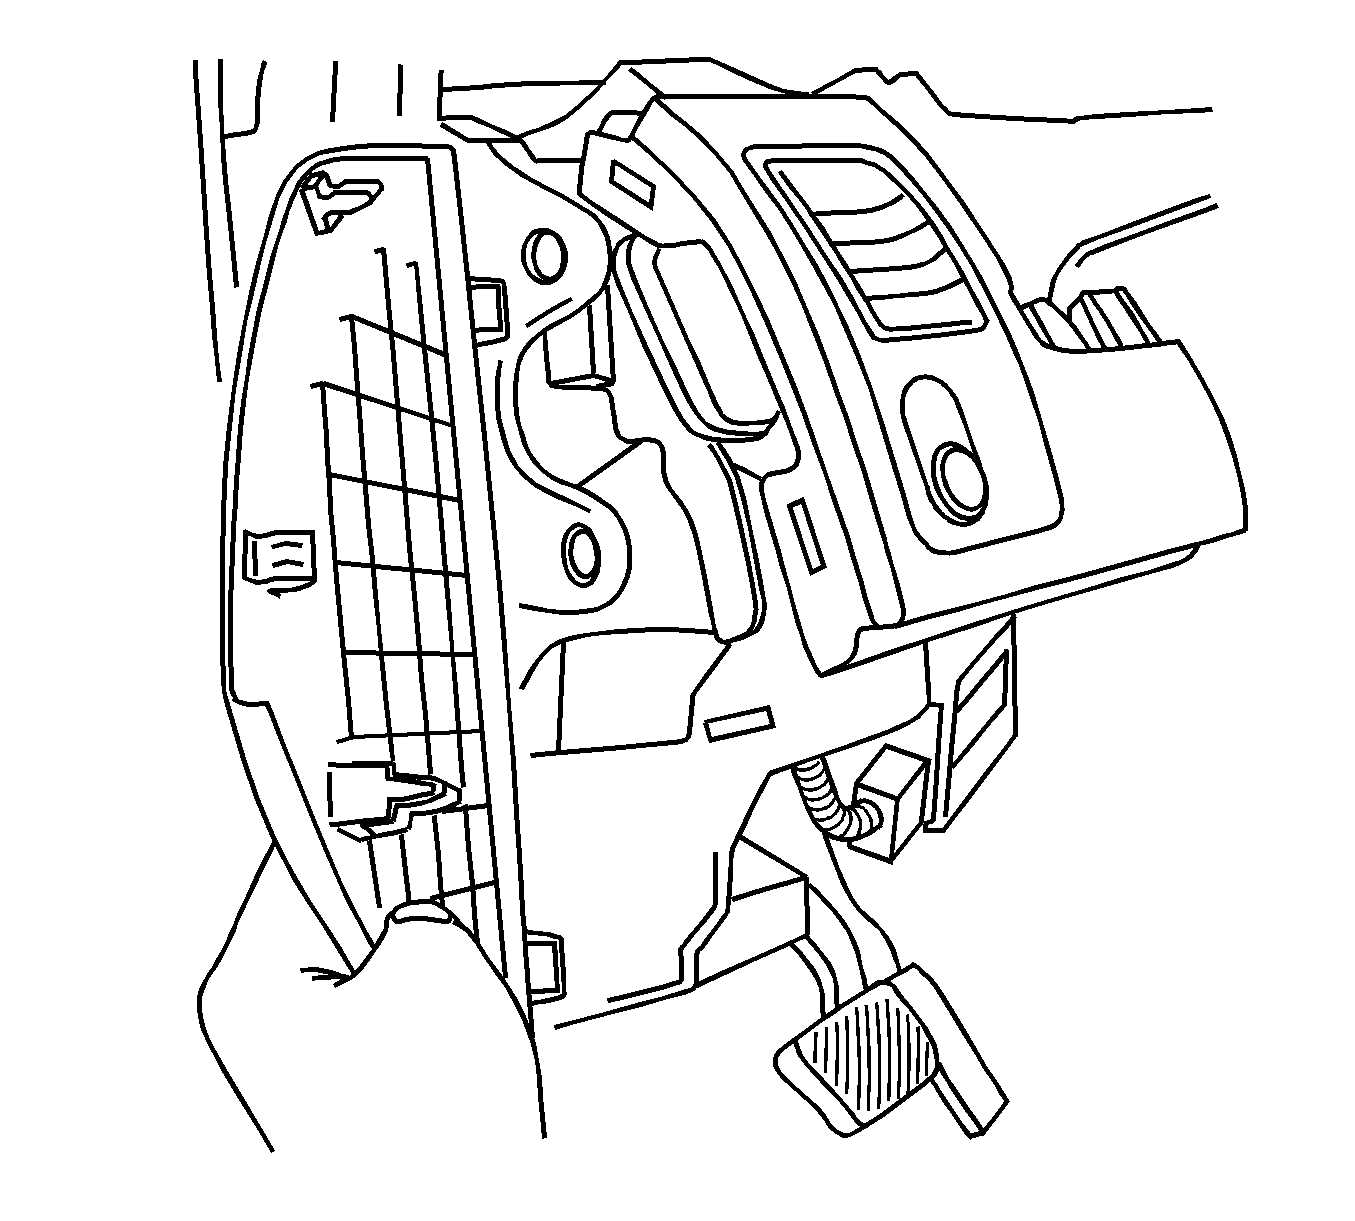
- Remove the left side knee bolster.
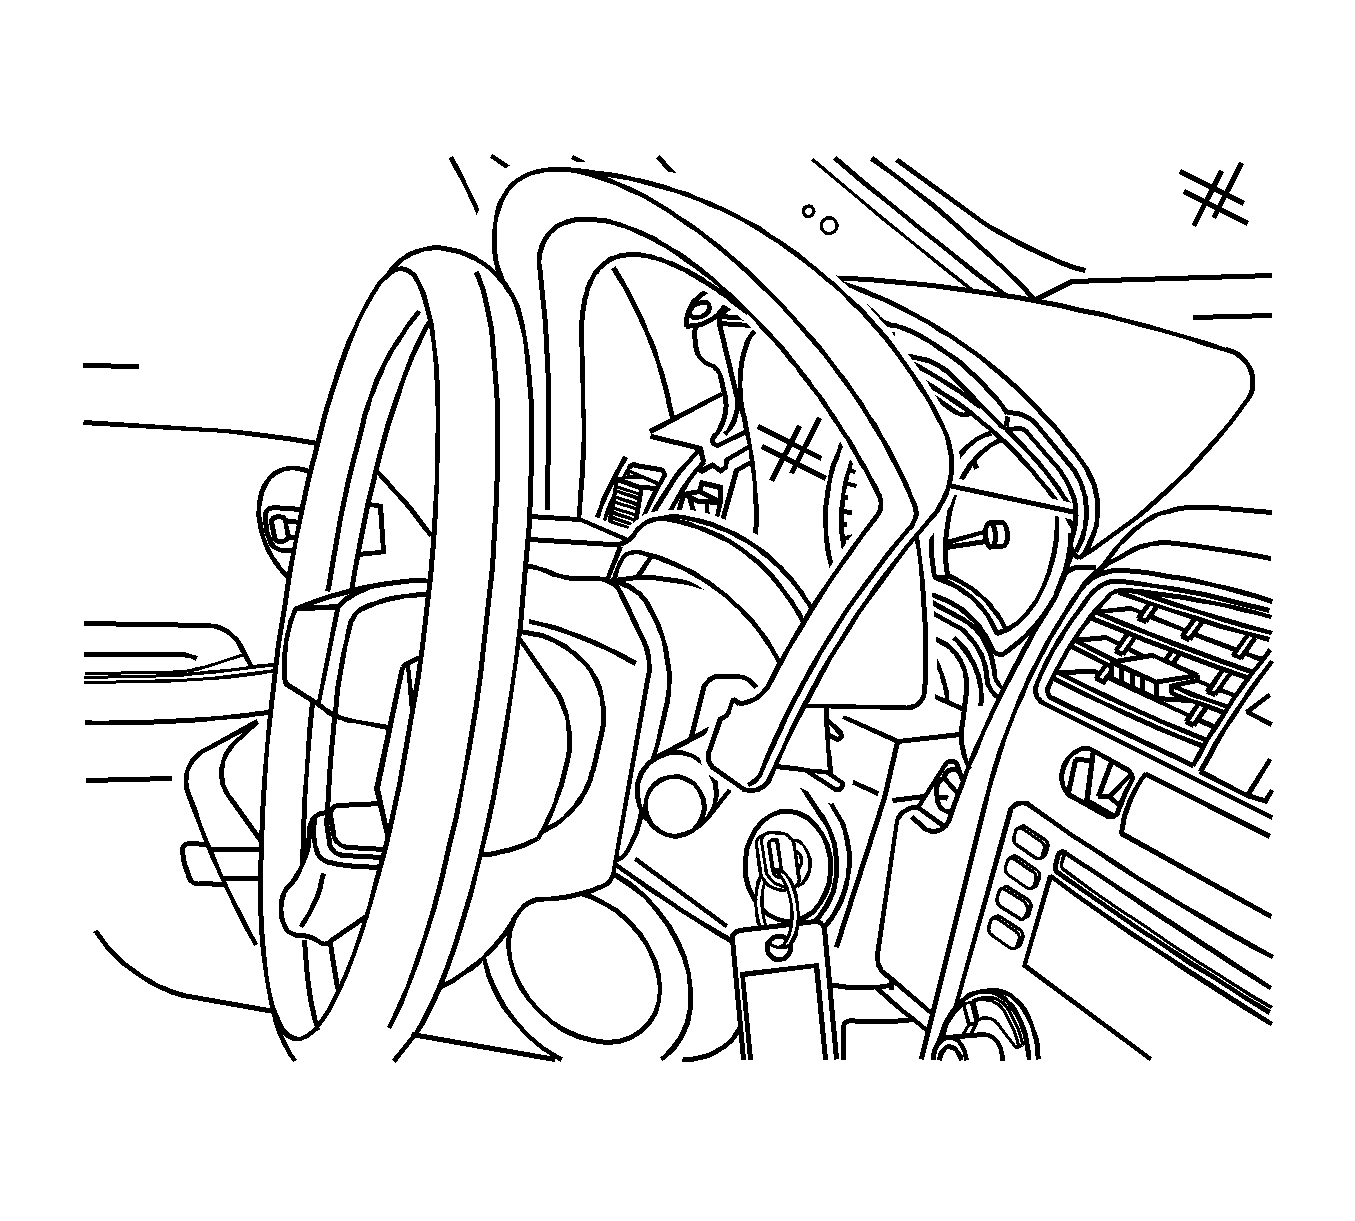
- Remove the cluster trim bezel.
- Remove the left side end cap.
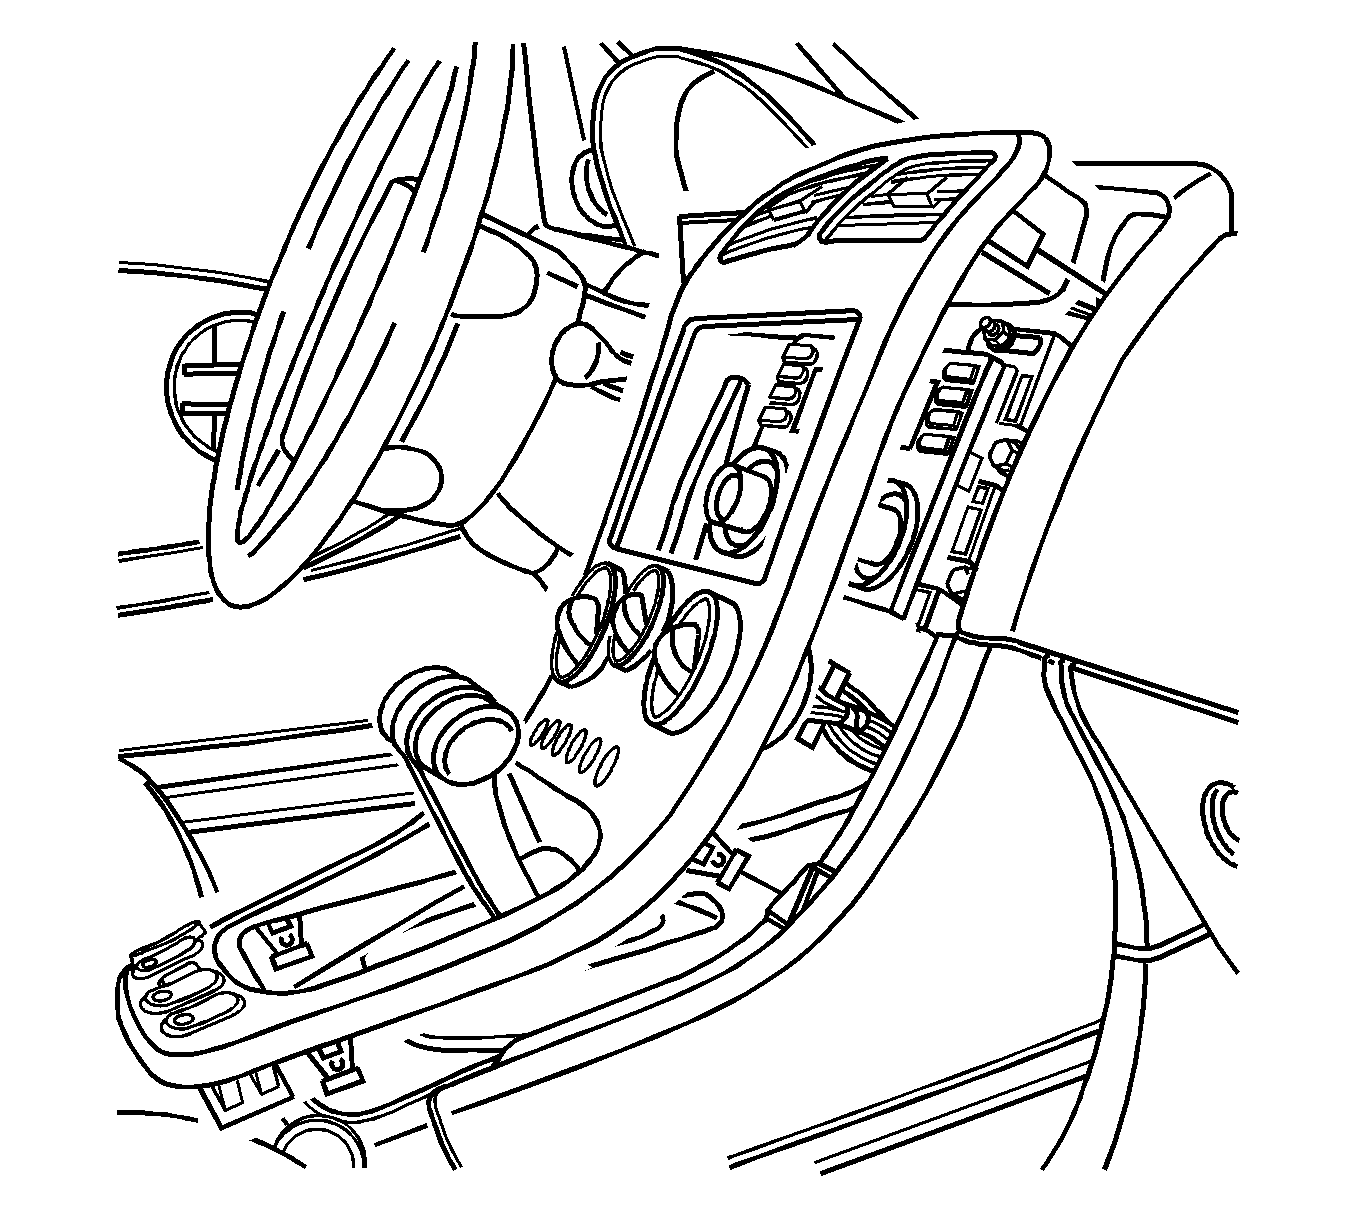
- Pull the center console trim bezel away from the upper trim panel.
- Remove the upper trim pad. Refer to Instrument Panel Upper Trim Panel Replacement .
- Remove the left front air deflector.
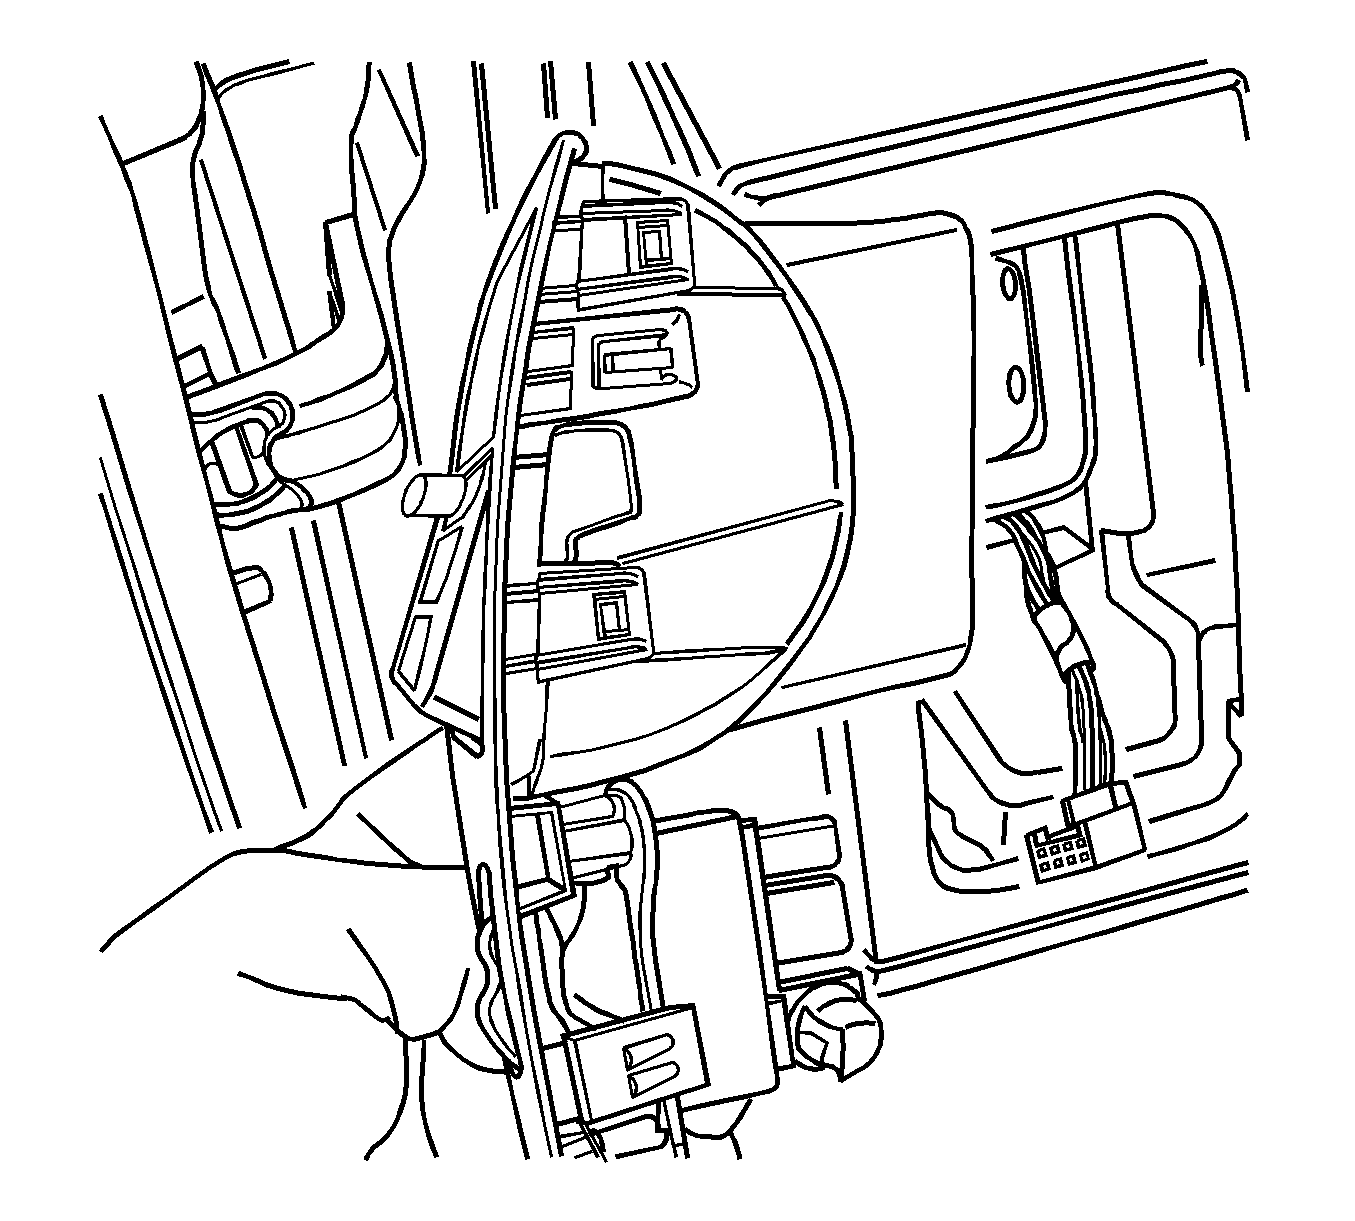
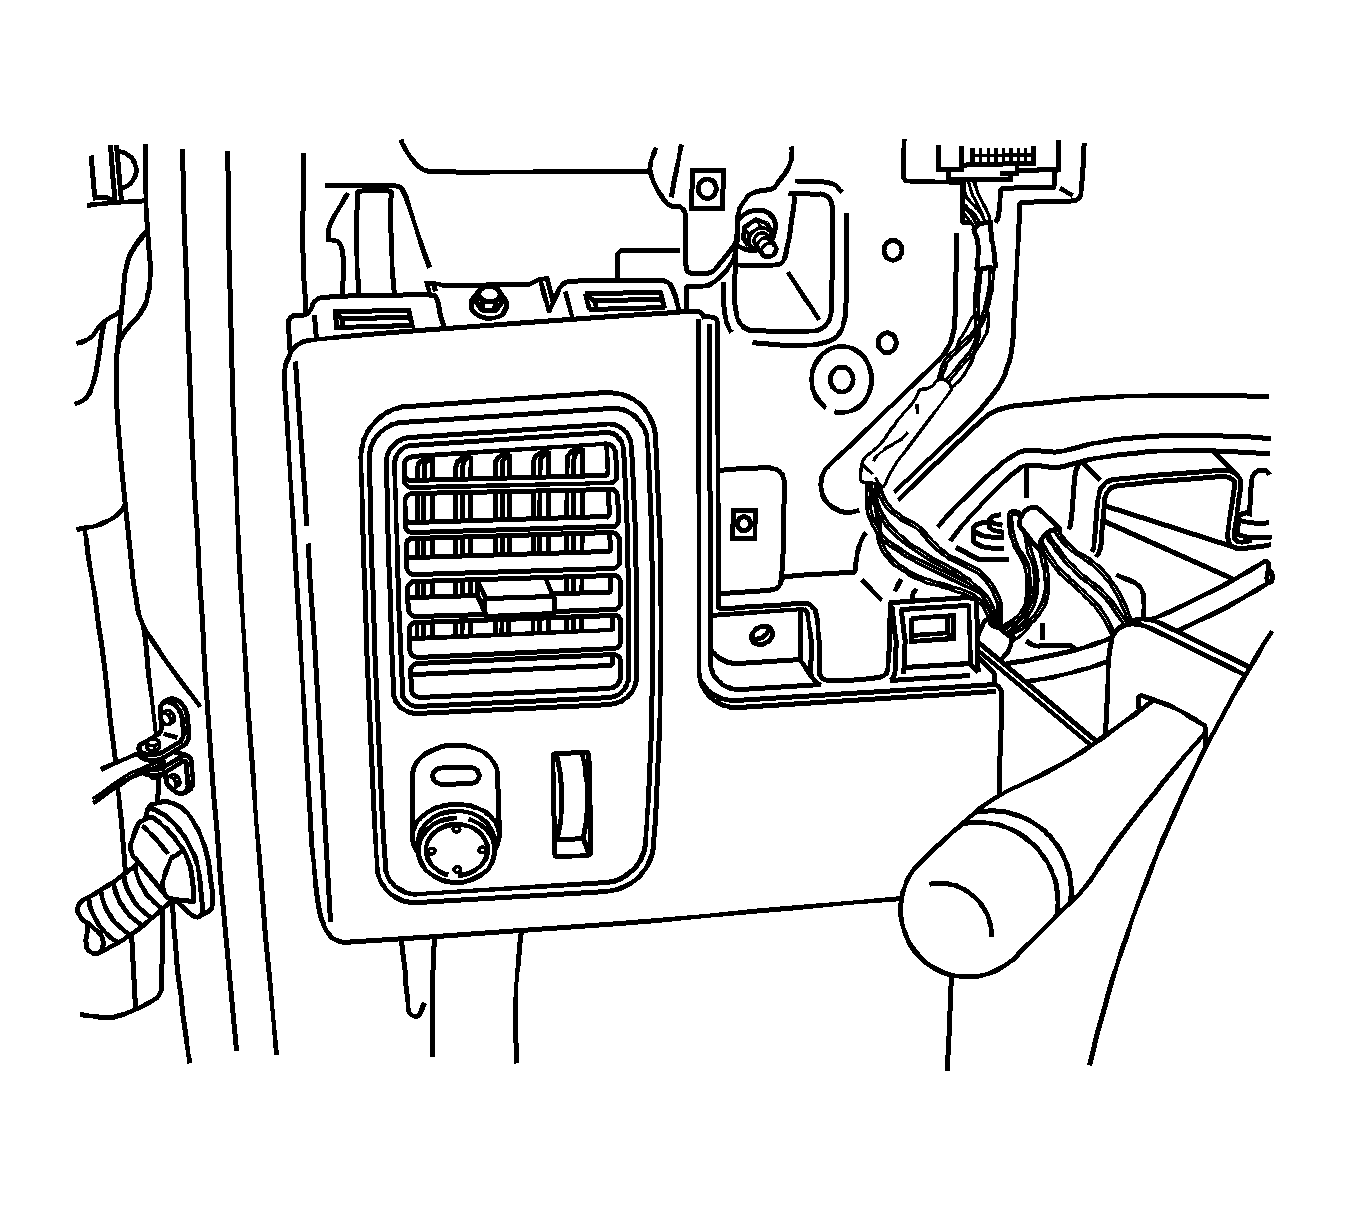
- Disconnect the electrical connectors from the dimmer and power switch.
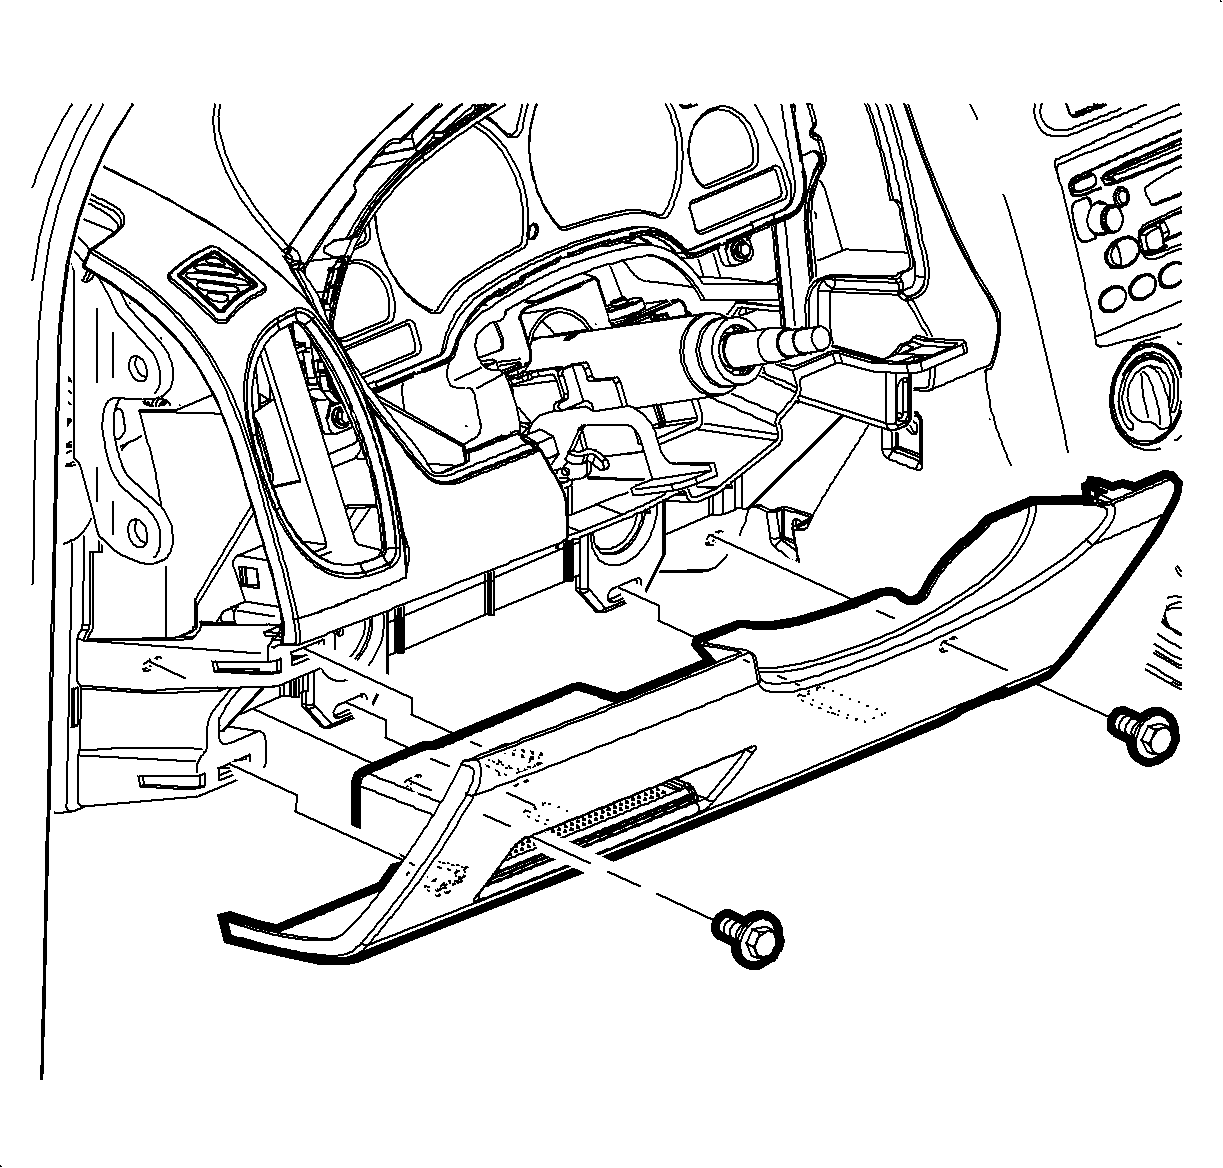
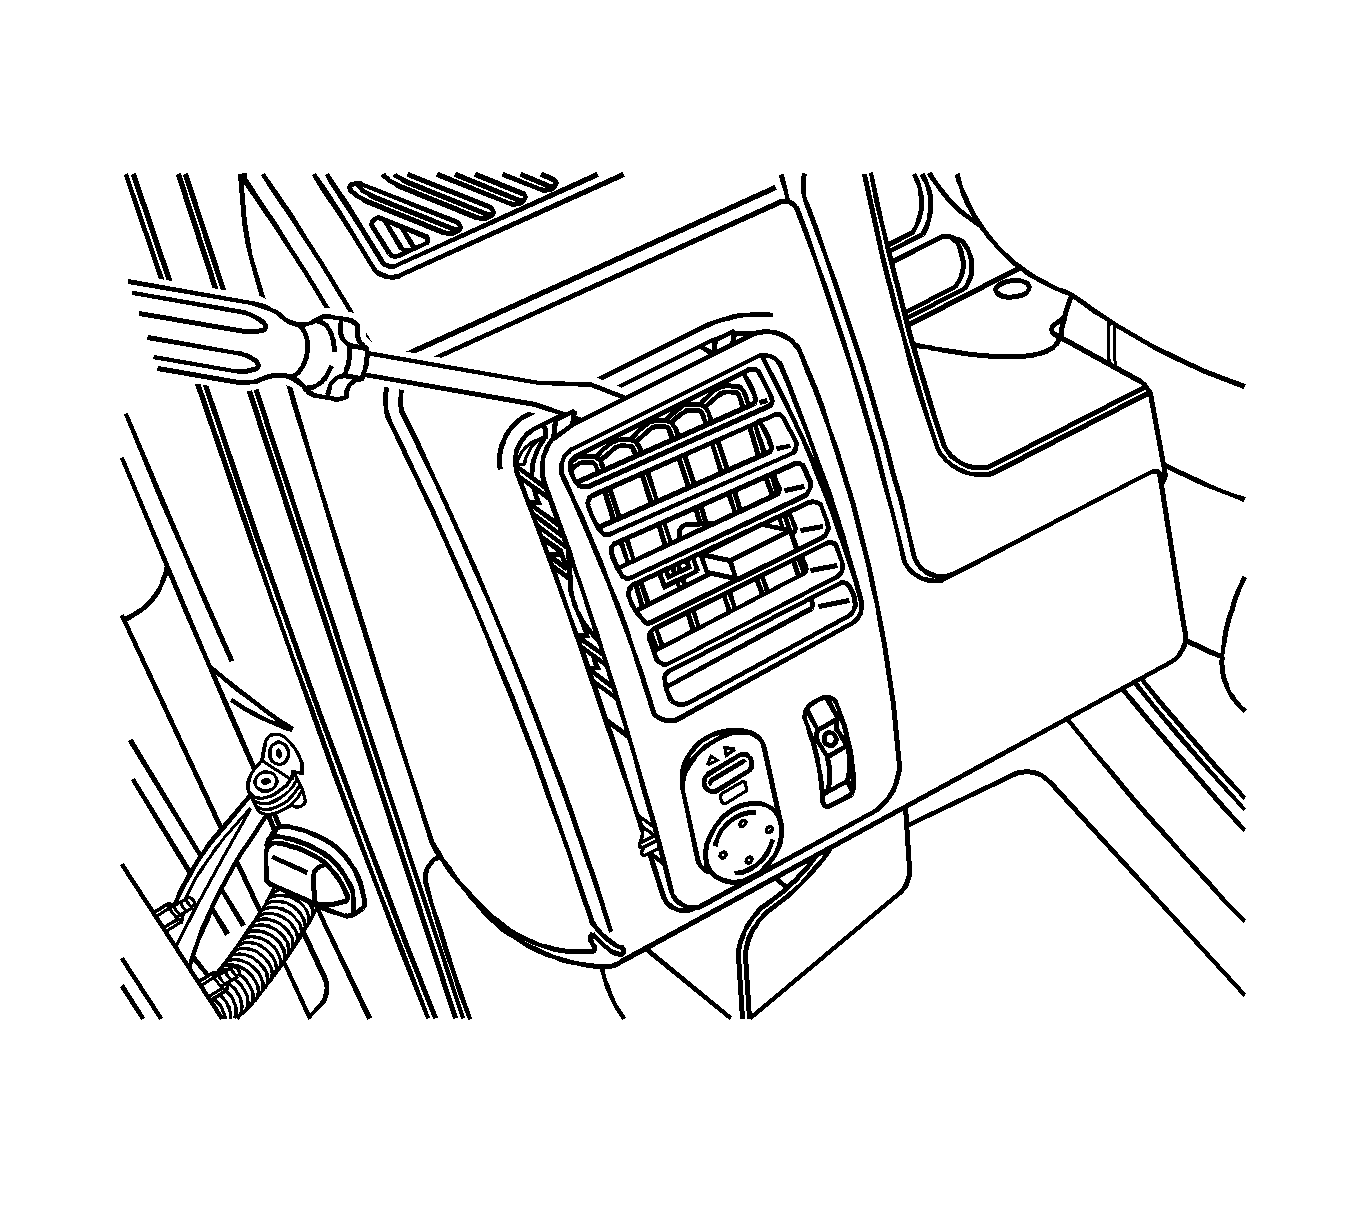
- Remove the fasteners holding the trim plate.
- Remove the trim plate from the vehicle.
Installation Procedure
- Align the trim plate to the vehicle.
- Install the trim plate fasteners to the I/P.
- Connect the electrical connectors to the dimmer switch and the power mirror.
- Install the left front air deflector.
- Install the upper trim panel. Refer to Instrument Panel Upper Trim Panel Replacement .
- Align the center console trim bezel. Snap the bezel into place.
- Install the left side end cap.
- Install the cluster trim bezel. Fasten the bezel into place.
- Install the left side knee bolster.
- Inspect the I/P for proper operation.

Notice: Refer to Fastener Notice in the Preface section.
Tighten
Tighten the fasteners to 2.5 N·m (22 lb in).


Tighten
Tighten the fasteners to 2.5 N·m (22 lb in).
