For 1990-2009 cars only
Tools Required
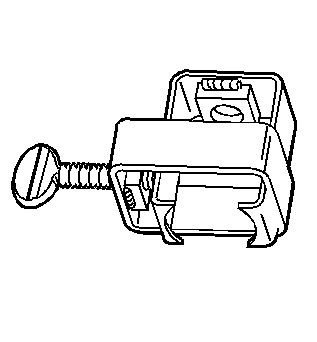
| • | J 38868 Output Shaft Assembly Remover and Installer |
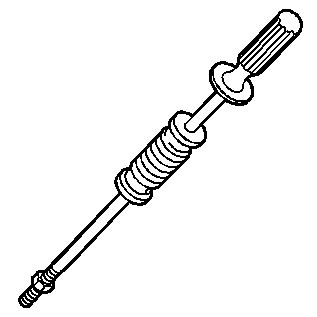
| • | J 6125-1B Slide Hammer with Adapter |
Removal Procedure
- Raise and support the vehicle. Refer to Lifting and Jacking the Vehicle .
- Drain the transfer case fluid. Refer to Transfer Case Fluid Replacement .
- Remove the propeller shaft. Refer to Propeller Shaft Replacement .
- Remove the right wheel drive shaft. Refer to Front Wheel Drive Shaft Replacement .
- Remove the intermediate shaft. Refer to Intermediate Shaft Replacement .
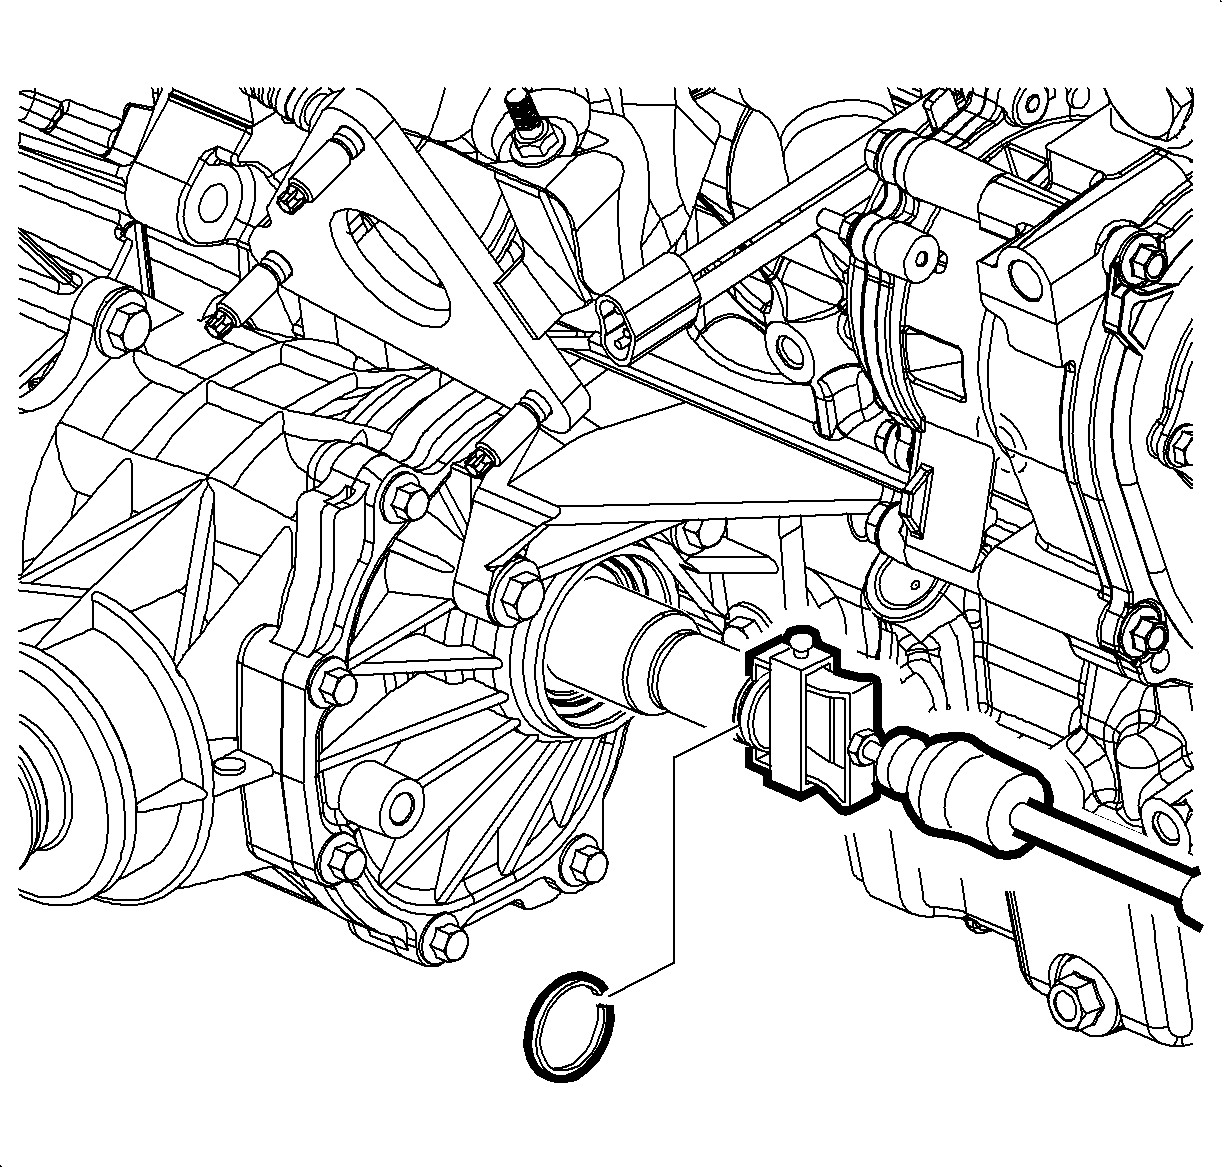
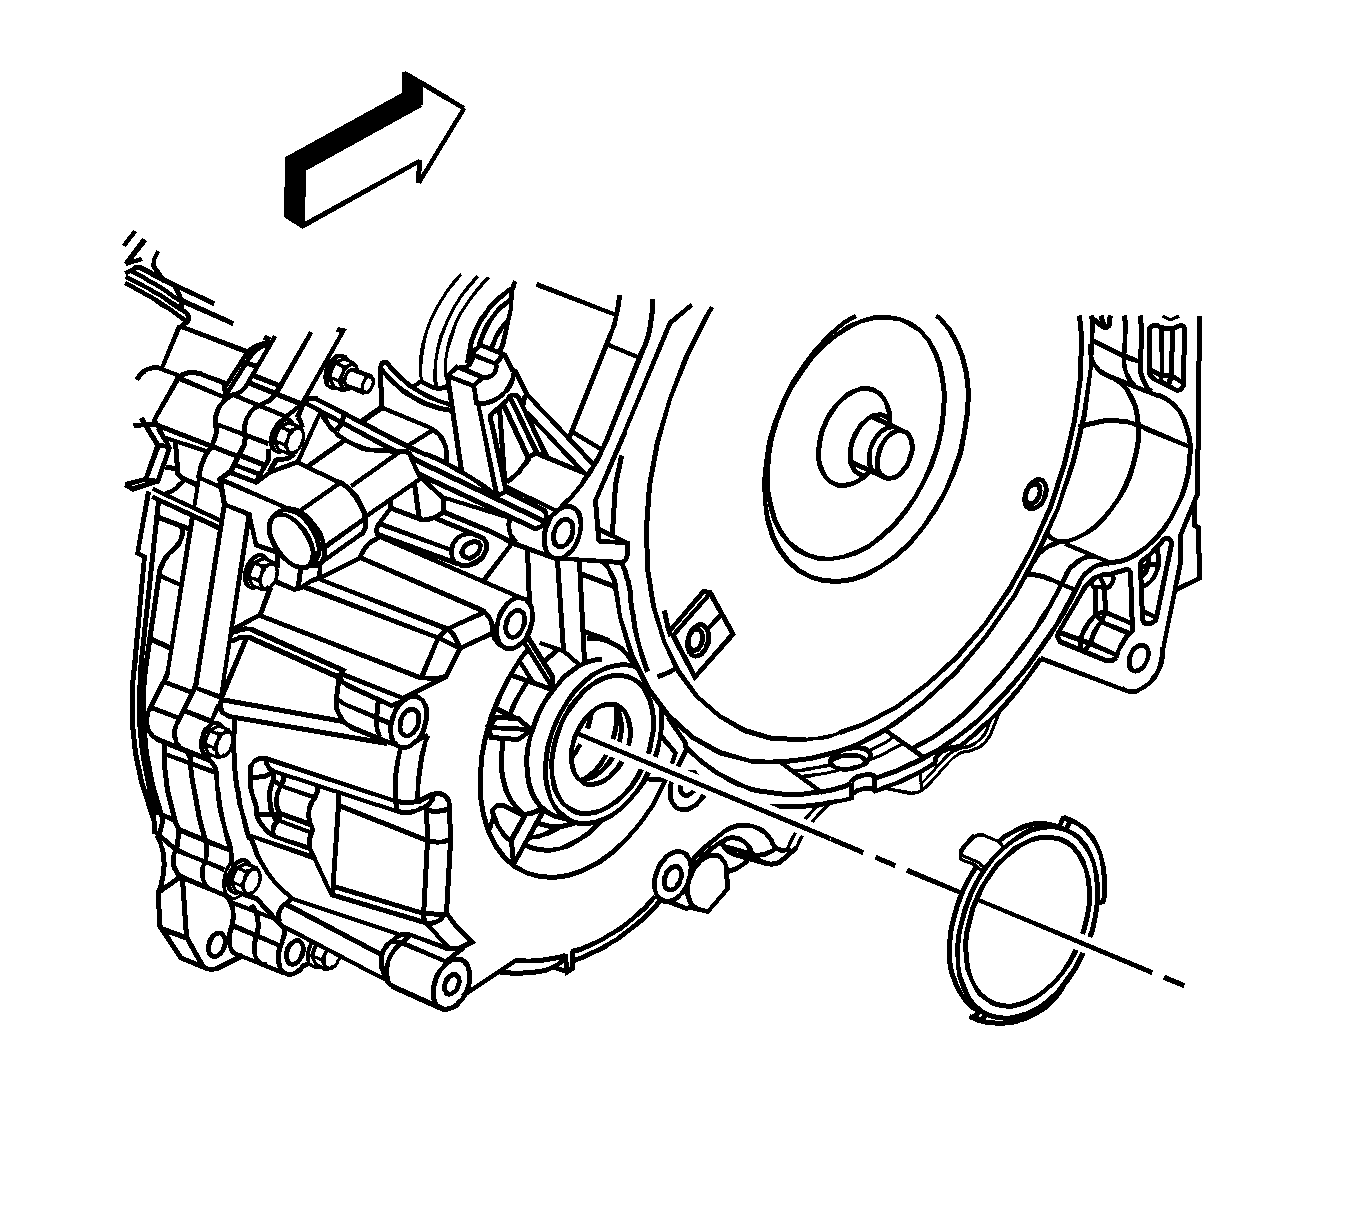
- Remove the retainer ring from the stub shaft for tool installation. Discard the used retainer ring.
- Remove the stub shaft using the J 6125-1B and J 38868 .
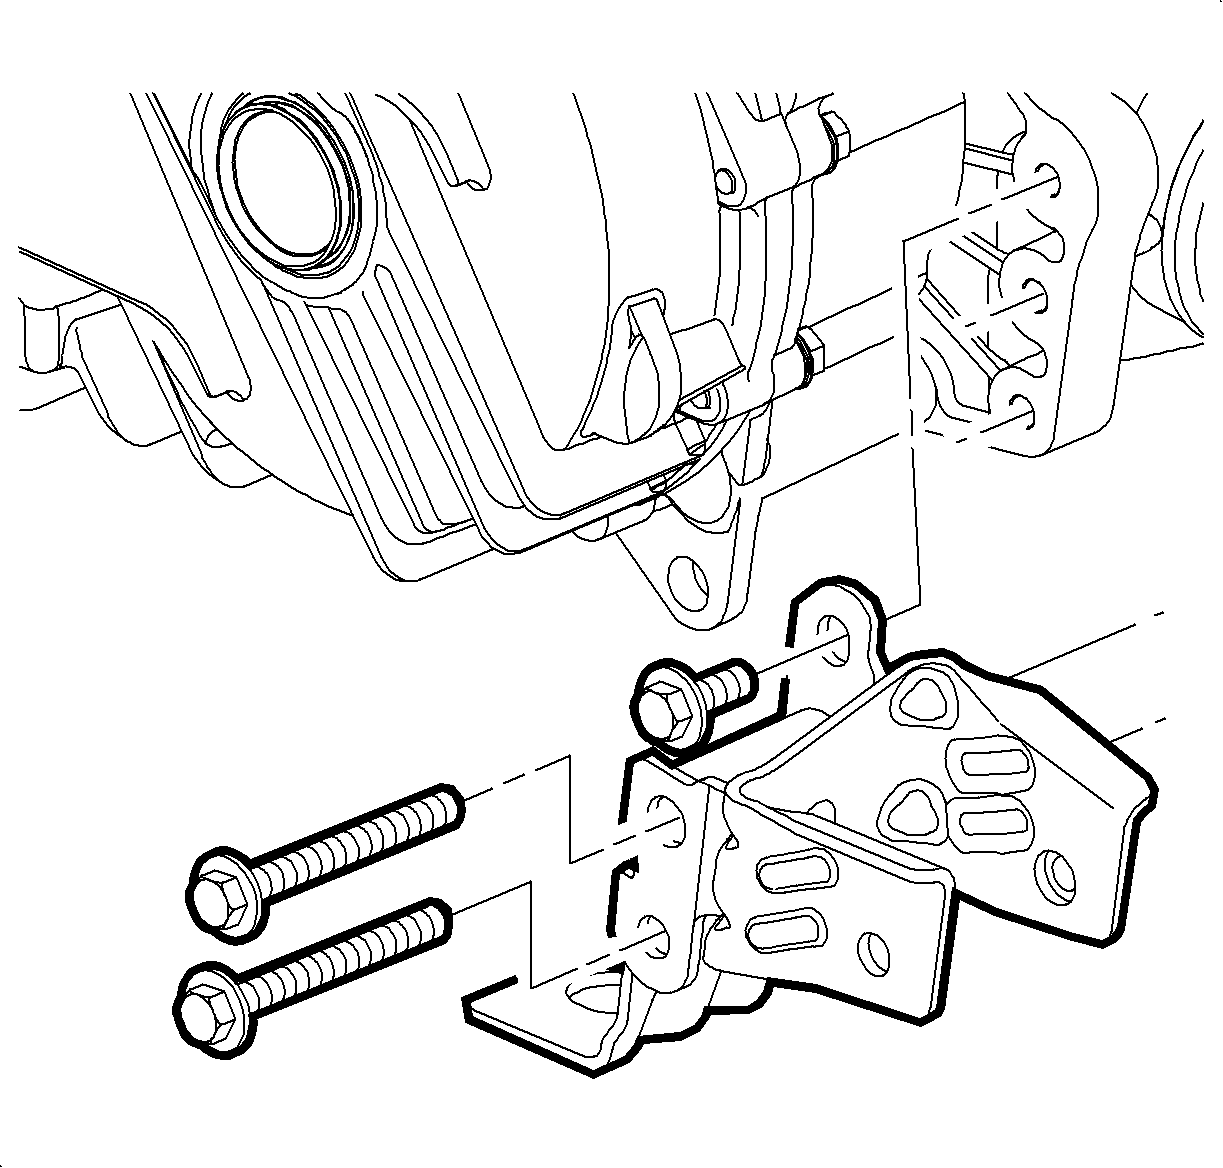
- Remove the transfer case mounting bracket. Refer to Transfer Case Bracket Replacement .
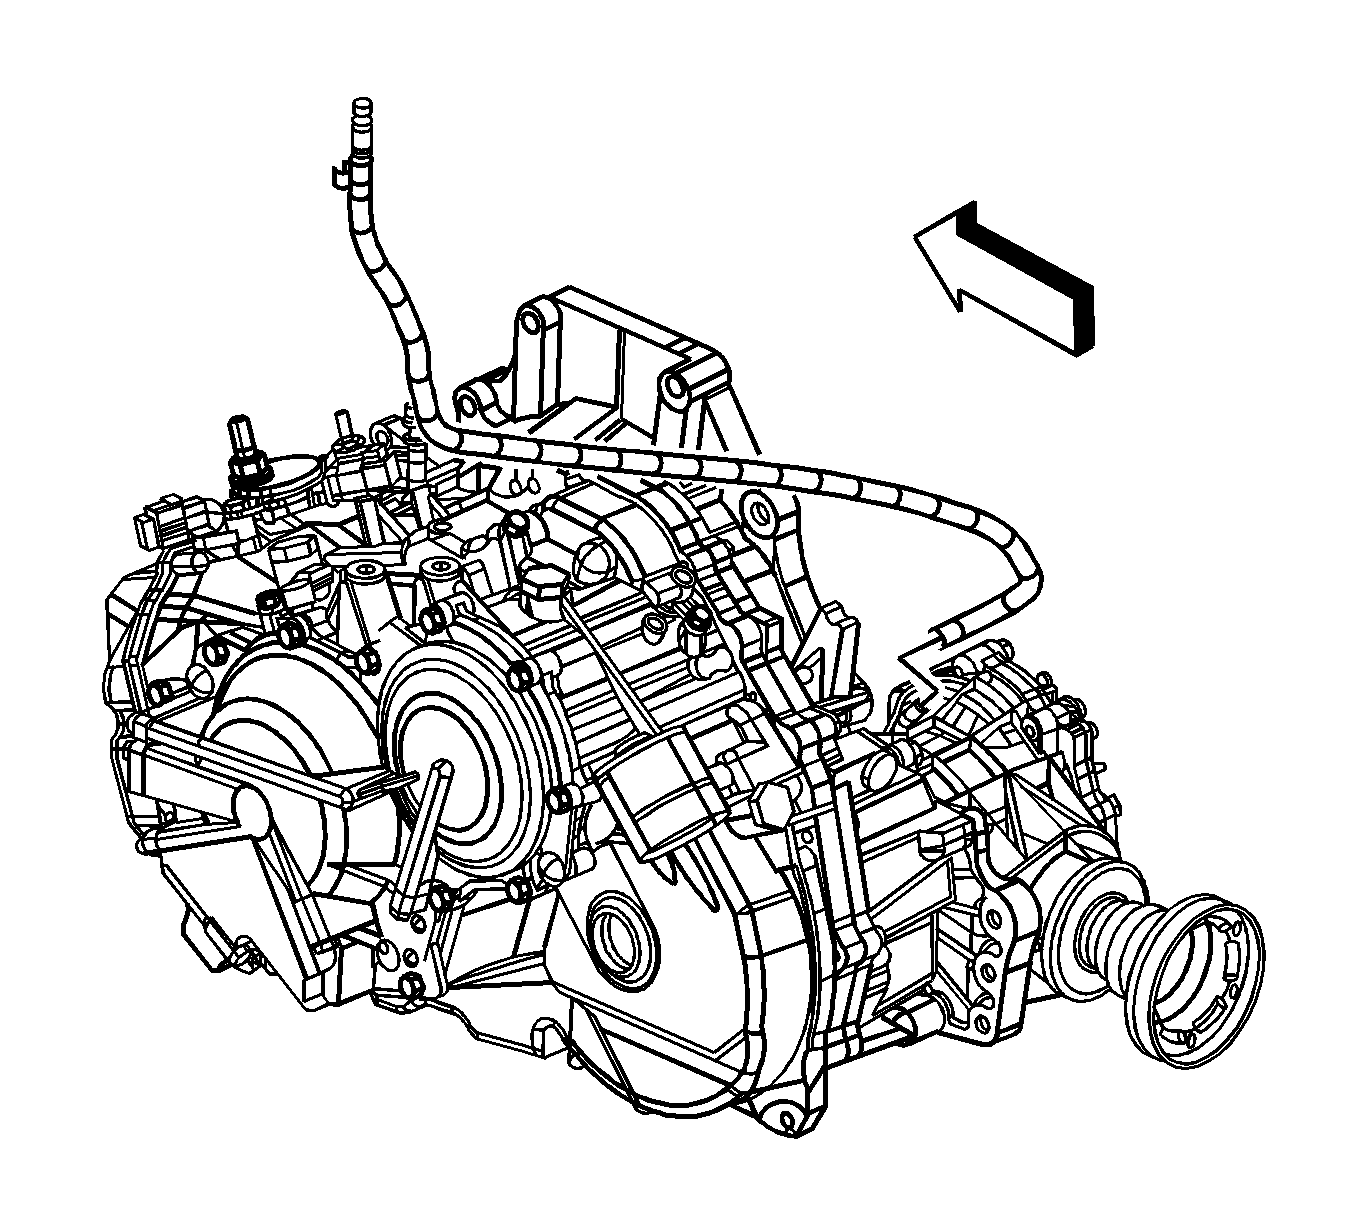
- Disconnect the transfer case vent hose.
- Support the transaxle with a jackstand.
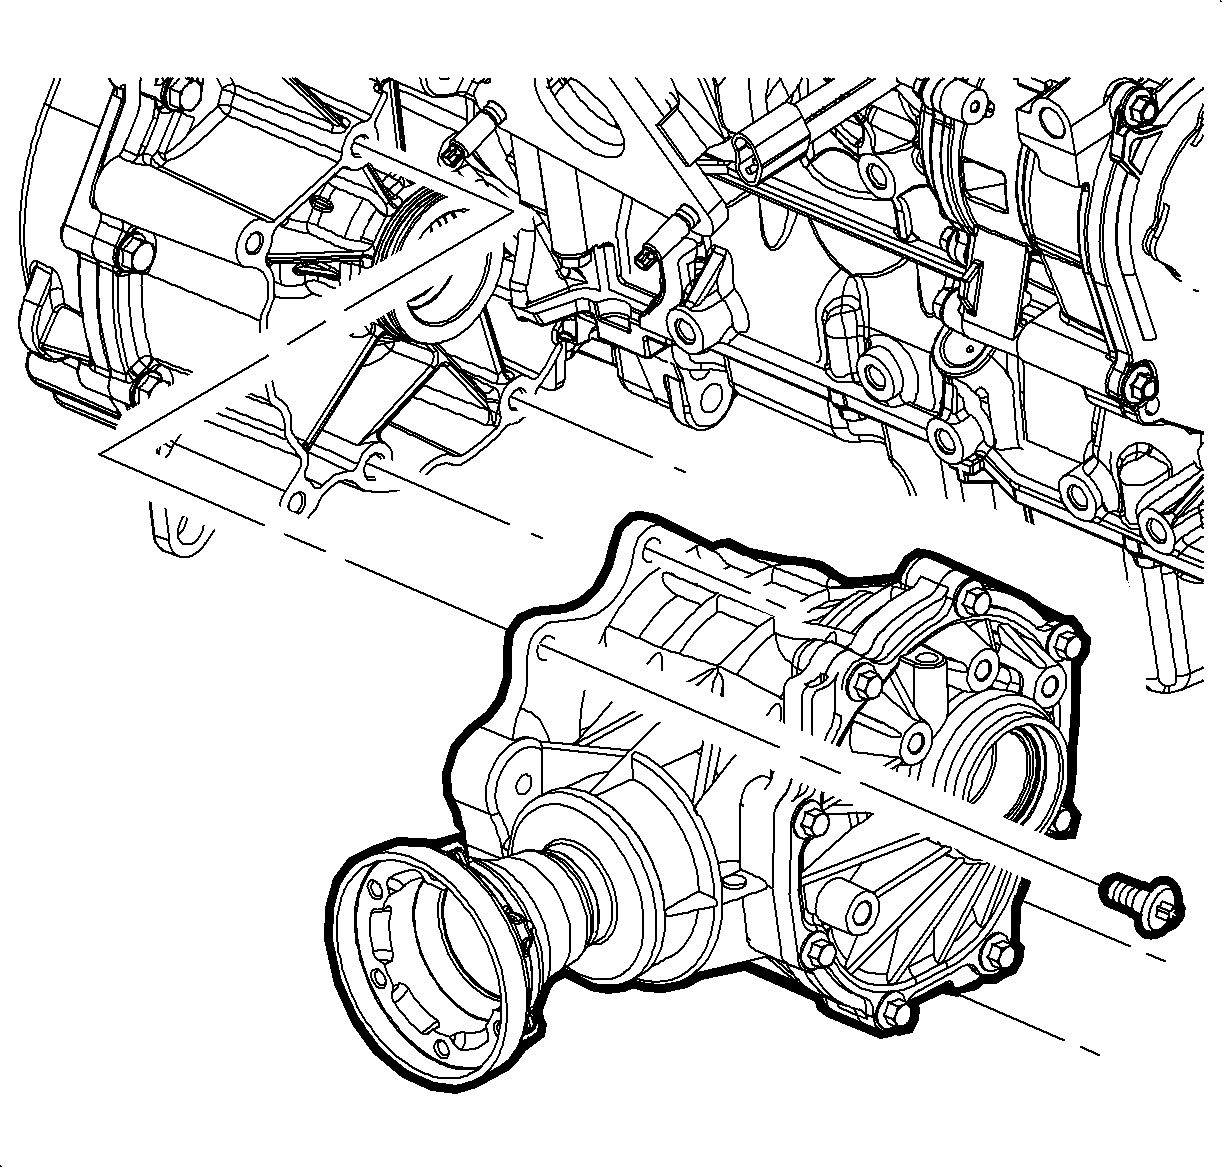
- Remove the 4 bolts securing the transfer case to the transaxle.
- Remove the 3 bolts (4) securing the rear transaxle mount (3) to the vehicle frame.
- Slide the transfer case away from the transaxle.
- Rotate the transfer case so that the propeller shaft drive flange faces the transaxle.
- Lift and rotate the transfer case so that the propeller shaft drive flange is pointing down toward the floor.
- Lower the transfer case through the opening between the engine oil pan and the vehicle frame.
- Remove the 3 bolts and rear transaxle mount from the transfer case.
Important: Remove the rear transaxle mount from the transfer case after the transfer case has been removed from the vehicle.

Installation Procedure
- Install the rear transaxle mount to the transfer case.
- Install the 3 bolts securing the rear transaxle mount to the transfer case.
- Ensure the torque converter cover is in the proper location.
- With the transfer case propeller shaft drive flange pointing down toward the floor, lift the transfer case up between the engine oil pan and the vehicle frame.
- Rotate and align the transfer case with the transaxle.
- Install the 4 bolts securing the transfer case to the transaxle.
- Install the 3 bolts (4) securing the rear transaxle mount (3) to the vehicle frame.
- Remove the jackstand supporting the transaxle.
- Connect the transfer case vent hose.
- Install the transfer case mounting bracket. Refer to Transfer Case Bracket Replacement .
- Install the stub shaft using the J 6125-1B and J 38868 .
- Install a NEW retainer ring on the stub shaft.
- Install the intermediate shaft. Refer to Intermediate Shaft Replacement .
- Install the right wheel drive shaft. Refer to Front Wheel Drive Shaft Replacement .
- Fill the transfer case with fluid. Refer to Transfer Case Fluid Replacement .
- Lower the vehicle.
Notice: Refer to Fastener Notice in the Preface section.
Tighten
Tighten the bolts to 110 N·m (81 lb ft).
Tighten
Tighten the bolts to 60 N·m (44 lb ft).
Tighten
Tighten the bolts to 50 N·m (37 lb ft).
