For 1990-2009 cars only
Air Conditioning Compressor Hose Replacement LNJ
Special Tools
J 39400-A Halogen Leak Detector
Removal Procedures
- Recover the refrigerant. Refer to Refrigerant Recovery and Recharging.
- Remove the left headlamp. Refer to Headlamp Replacement.
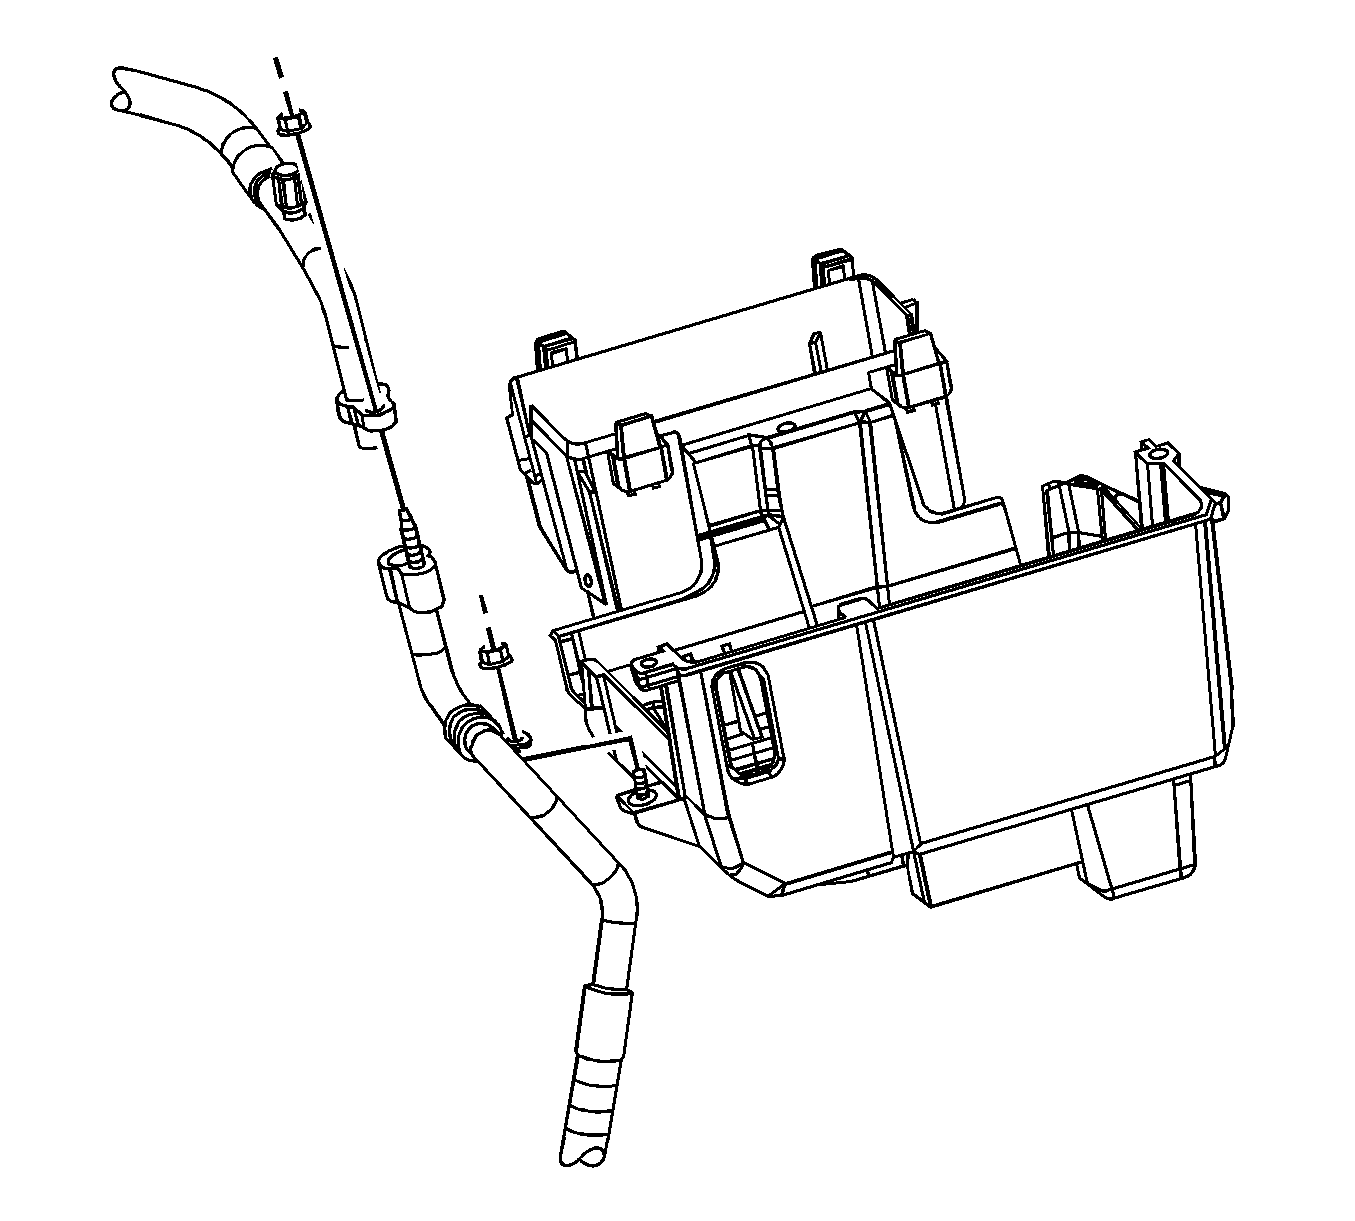
- Remove the compressor hose retainer nut from the battery box.
- Remove the evaporator outlet hose nut from the evaporator outlet hose.
- Remove the evaporator outlet hose from the compressor hose.
- Install a protective cap to the evaporator outlet hose to prevent contamination and desiccant saturation.
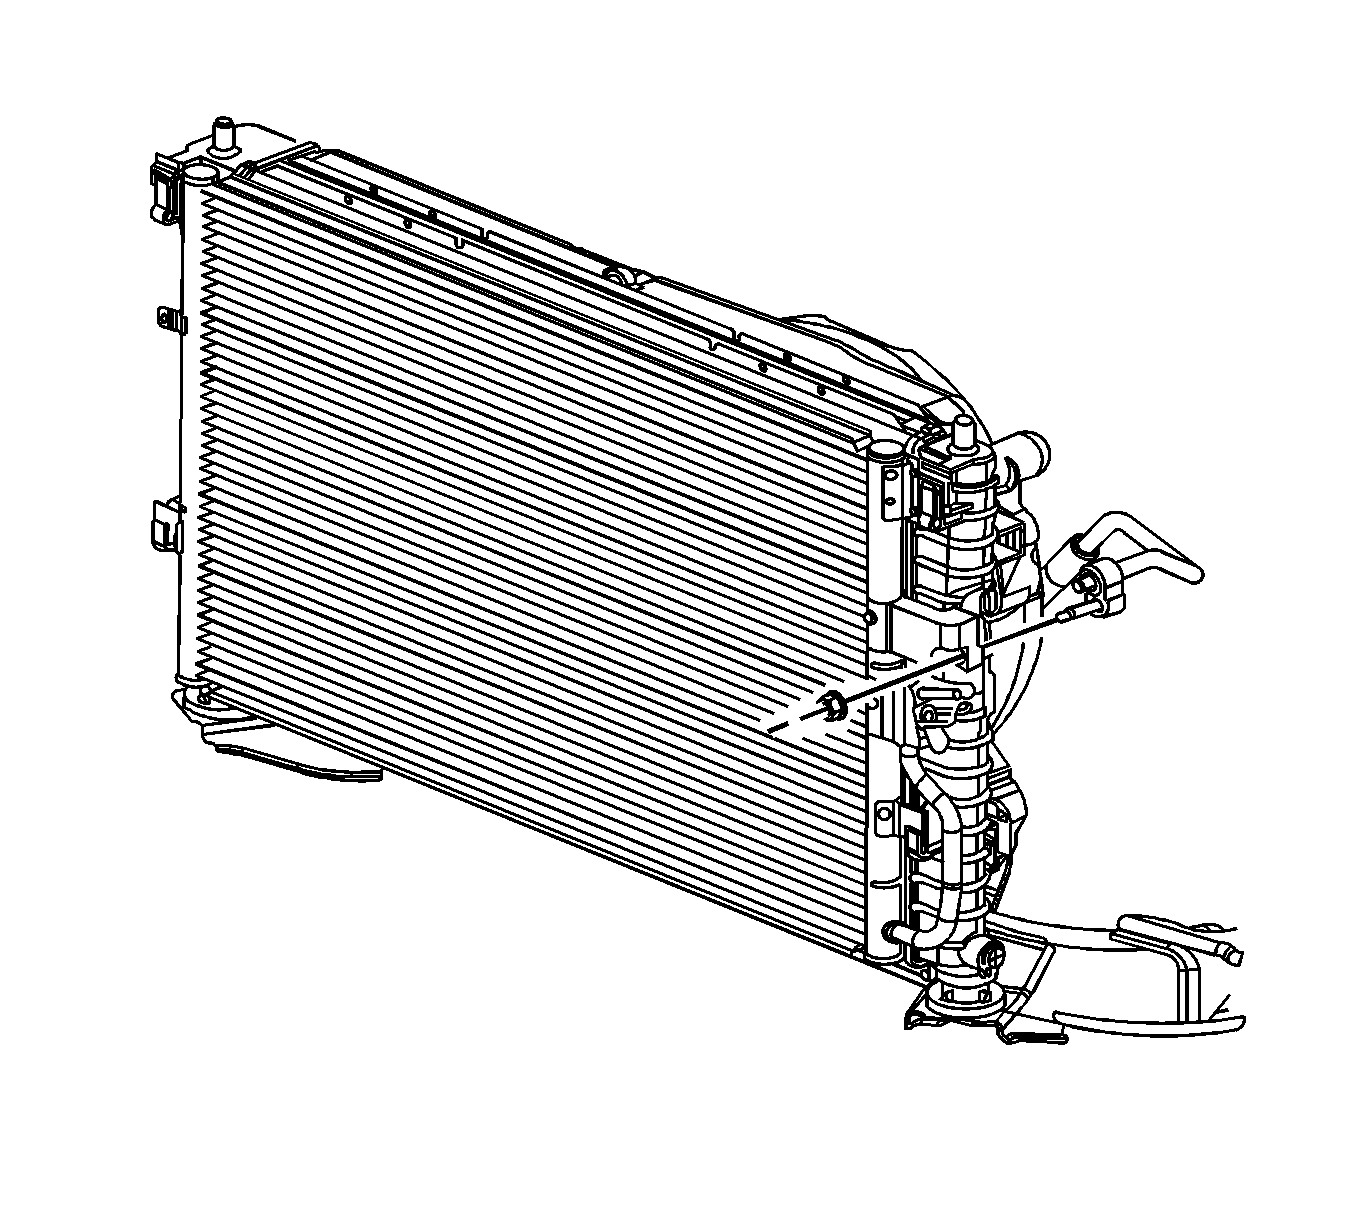
- Remove the compressor hose nut from the condenser.
- Remove the compressor hose from the condenser.
- Install a protective cap to the condenser to prevent contamination and desiccant saturation.
- Raise and support the vehicle. Refer to Lifting and Jacking the Vehicle.
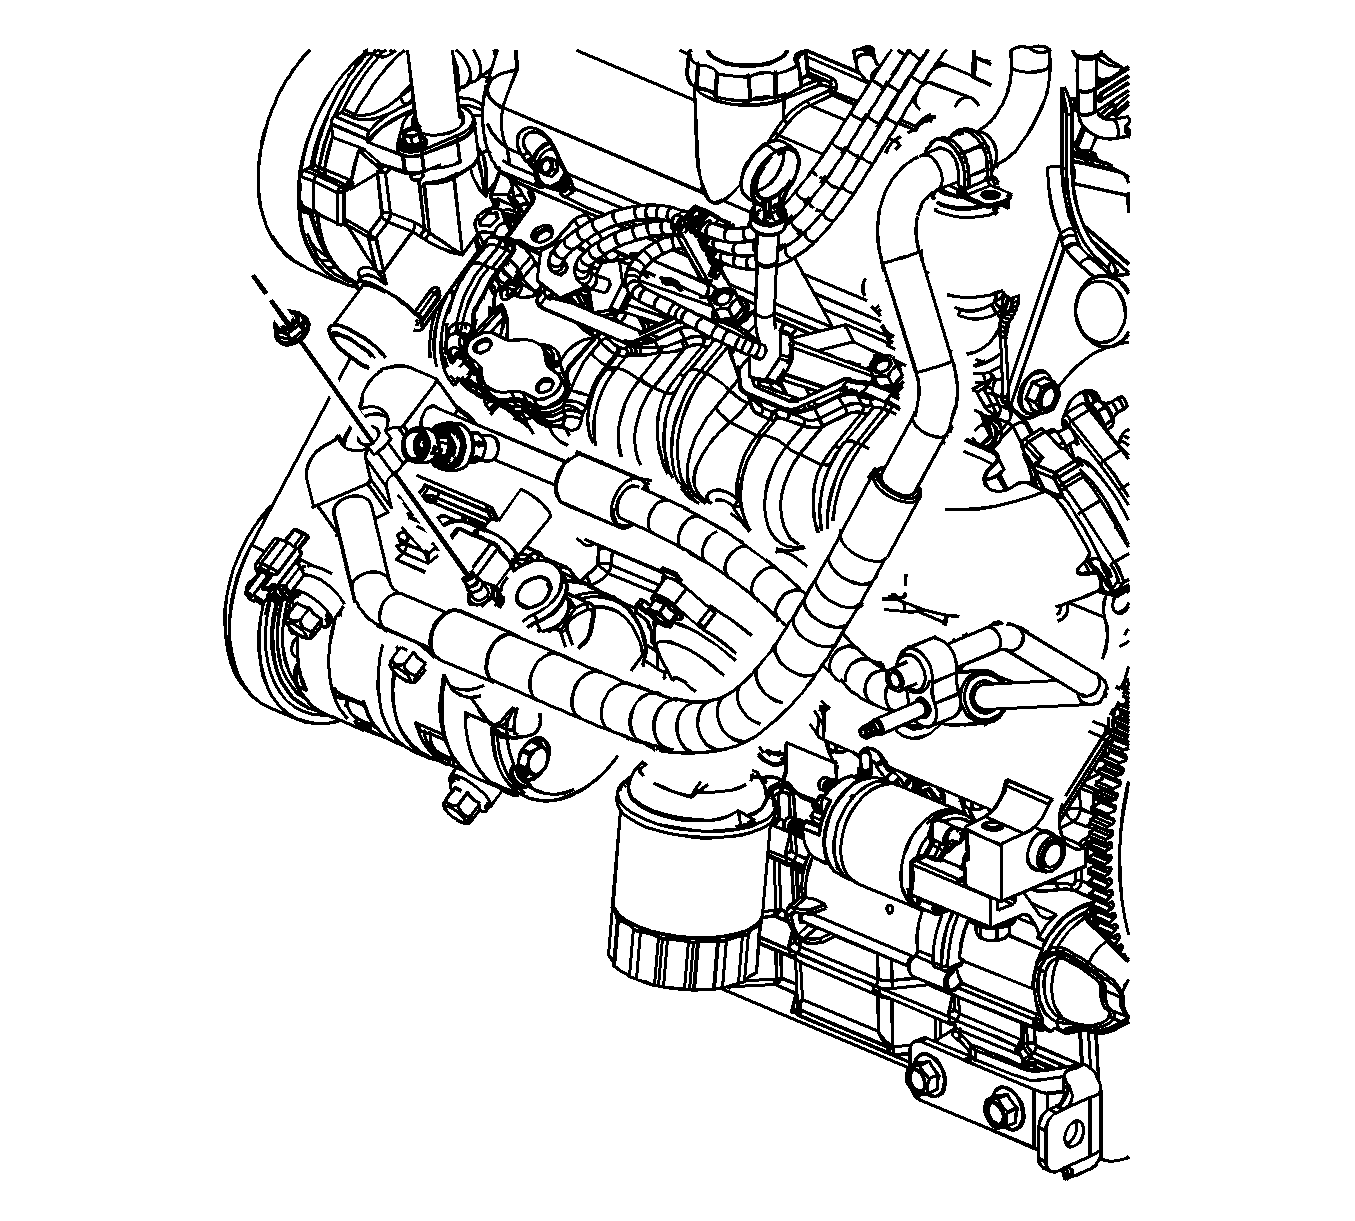
- Disconnect the electrical connector from the pressure transducer.
- Remove the compressor hose nut at the compressor.
- Remove the compressor hose from the compressor.
- Install a protective cap to the compressor to prevent contamination and desiccant saturation.
- Remove the compressor hose from the vehicle.
- Remove and discard the sealing washers from the compressor hose. Refer to Sealing Washer Replacement.


Installation Procedure
- Remove protective cap from compressor end of the compressor hose and the compressor.
- Install new seal washers to the compressor hose. Refer to Sealing Washer Replacement.
- Install the compressor hose to the compressor.
- Install the compressor hose nut to the compressor and tighten the nut to 20 N·m (15 lb ft).
- Connect the electrical connector to the pressure transducer.
- Lower the vehicle.
- Position the compressor hose in the vehicle.
- Install a new sealing washer to the evaporator outlet hose. Refer to Sealing Washer Replacement.
- Install the evaporator outlet hose to the compressor hose.
- Install the evaporator outlet hose nut to the evaporator outlet hose and tighten the nut to 20 N·m (15 lb ft).
- Install a new sealing washer to the compressor hose at the condenser.
- Install the compressor hose to the condenser.
- Install the compressor hose nut to the condenser and tighten to 20 N·m (15 lb ft).
- Install the compressor hose retainer nut to the battery box and tighten to 9 N·m (80 lb in).
- Install the left headlamp. Refer to Headlamp Replacement.
- Recharge the A/C system. Refer to Refrigerant Recovery and Recharging.
- Test the affected A/C joints for leaks using J 39400-A .

Caution: Refer to Fastener Caution in the Preface section.


Air Conditioning Compressor Hose Replacement LY7

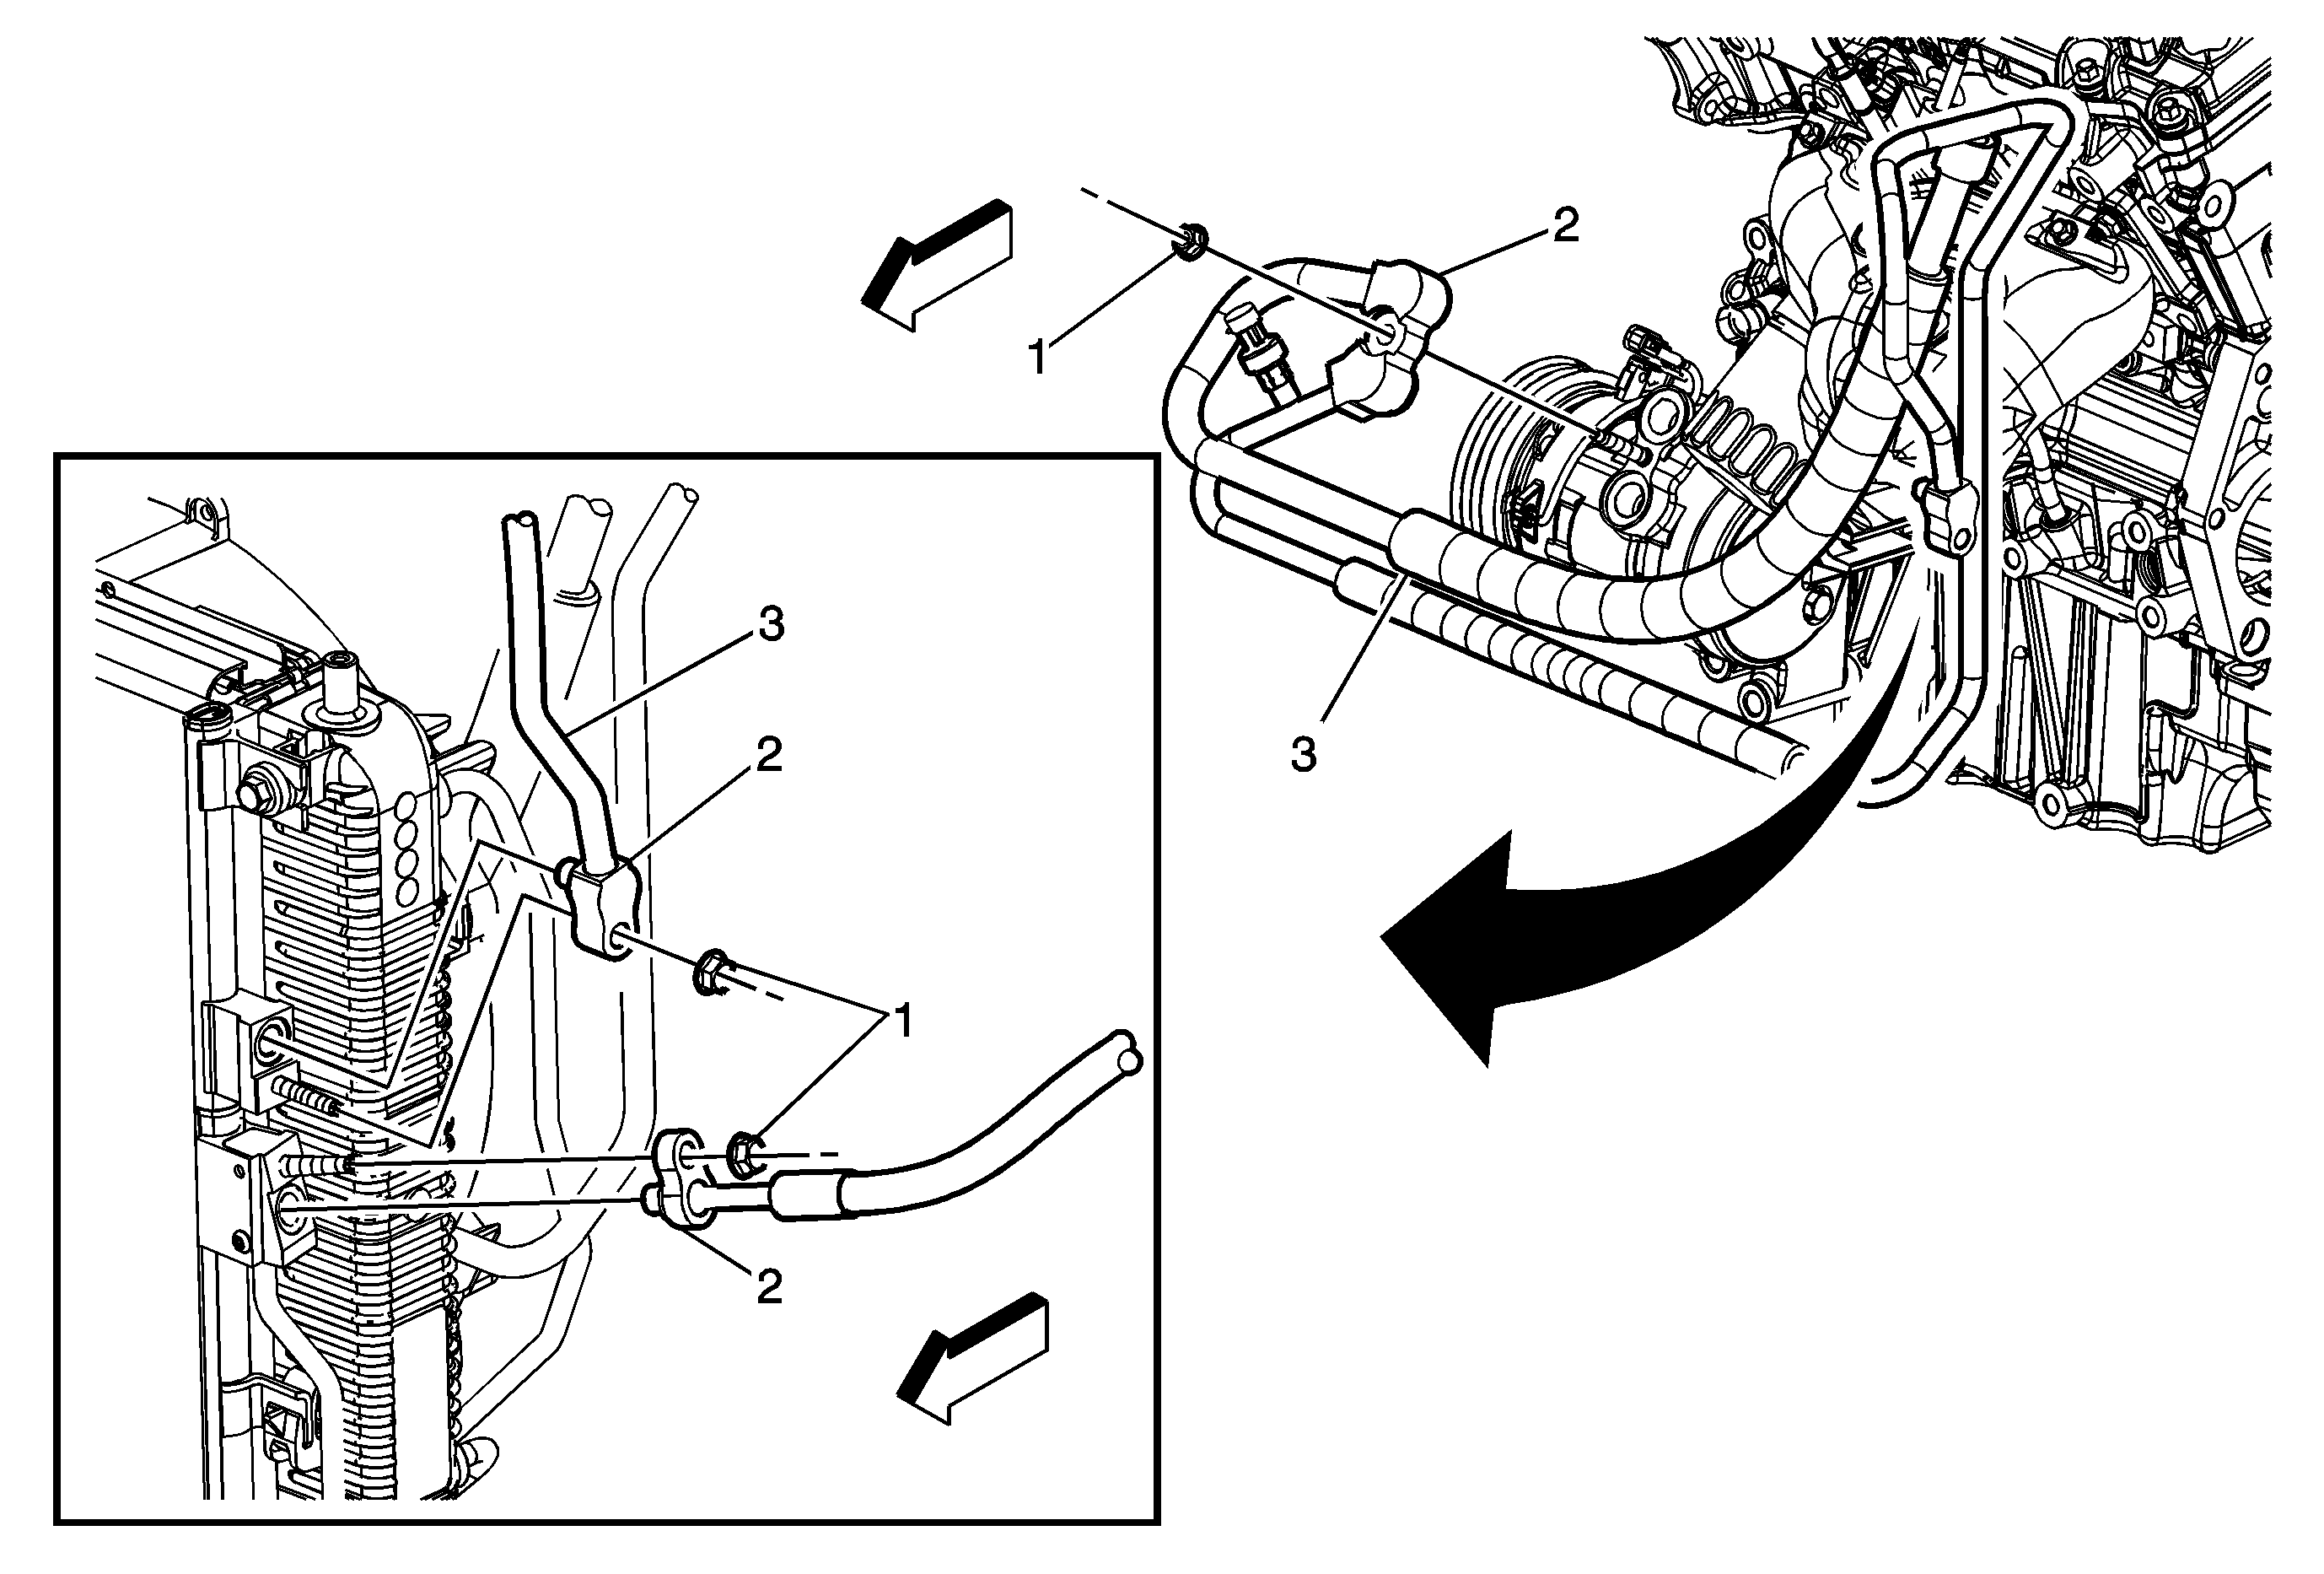
Callout | Component Name |
|---|---|
Preliminary Procedures
| |
1 | Compressor Hose Assembly Nut (Qty: 2) Caution: Refer to Fastener Caution in the Preface section. Tighten |
2 | Sealing Washer Tip |
3 | A/C Compressor Assembly Hose ProcedureRemove hose through radiator core support. |
