For 1990-2009 cars only
Tools Required
J 37096 Camshaft and Intermediate Shaft Sprocket Removal Tool
Removal Procedure
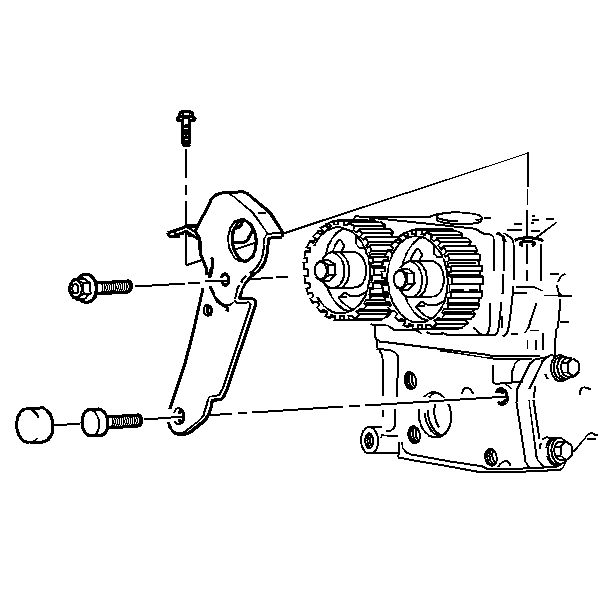
- Remove the camshaft tensioner actuator mounting bracket. Refer to Timing Belt Tensioner Actuator Bracket Replacement .
- Remove the camshaft timing belt. Note the rotation of the belt for installation. Refer to Timing Belt Replacement .
- Remove the camshaft timing belt idler pulleys. Refer to Timing Belt Idler Pulley Replacement .
- Remove the front engine lift bracket.
- Remove both of the cooling fans. Refer to Cooling and Radiator.
- Remove the engine coolant hoses from the water pump. Refer to Cooling and Radiator.
- Remove the heater pipe retaining screws from the frame. Refer to HVAC.
- Remove the starter motor. Refer to Engine Electrical.
- Remove the crankshaft balancer. Refer to Crankshaft Balancer Replacement .
- Remove the generator and lay aside. Refer to Engine Electrical.
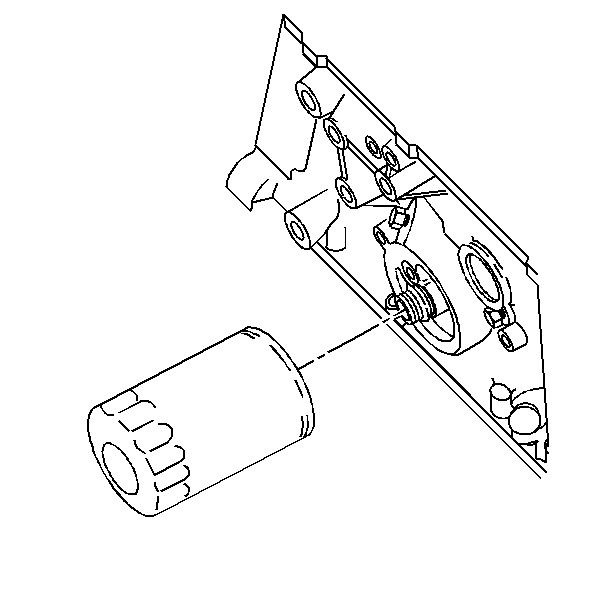
- Remove the oil filter.
- Remove the engine oil cooler. Refer to Engine Oil Cooler Replacement .
- Remove the oil pan front retaining nuts and bolts. Refer to Oil Pan Replacement .
- Loosen the remaining oil pan bolts. Refer to Oil Pan Replacement .
- Remove the A/C compressor and lay it aside. Refer to HVAC.
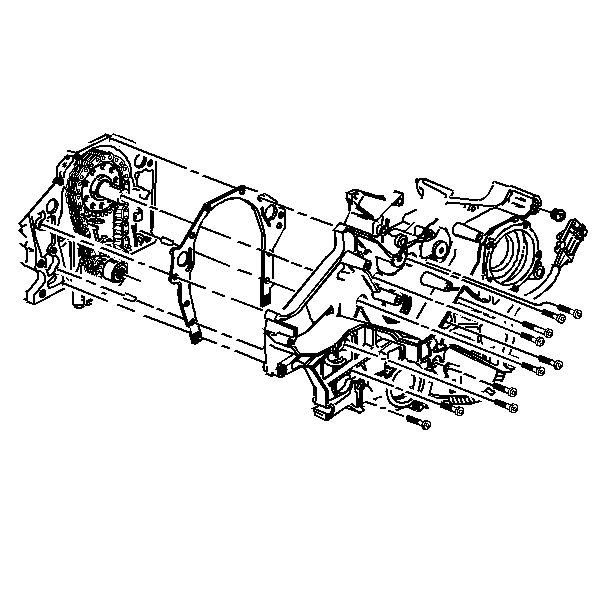
- Remove the lower front cover bolts.
- Install the J 37096 into position.
- Lower the vehicle.
- Remove the intermediate shaft belt sprocket. Refer to Camshaft Drive Sprocket Replacement .
- Remove the forward lamp relay center screws. Position the relay center aside.
- Remove the water pump pulley. Refer to Cooling and Radiator.
- Remove the upper front cover bolts.
- Remove the front cover.
- Remove the gasket.
- Clean the mating surfaces of the front cover and the cylinder block.
- Clean the sealing surfaces with degreaser.


Installation Procedure
- Install the new gasket. Do not damage the sealing surfaces.
- Apply GM sealer P/N 1052080 or equivalent to the lower edges of the sealing surface of the front cover.
- Install the front cover.
- Apply thread sealant GM P/N 1052080 or equivalent to the cover bolts.
- Install the upper front cover bolts.
- Tighten the bolts enough to pull the front cover against the engine block.
- Install the water pump pulley. Refer to Cooling and Radiator.
- Install the oil cooler coolant hose at the front engine cover. Refer to Engine Oil Cooler Replacement .
- Install the forward lamp relay center screws.
- Install the upper alternator retaining bolts. Refer to Engine Electrical.
- Install the intermediate drive shaft sprocket. Refer to Camshaft Drive Sprocket Replacement .
- Raise the vehicle. Suitably support the vehicle. Refer to General Information.
- Install the remaining front cover retaining bolts.
- Install the oil pan retaining bolts. Refer to Oil Pan Replacement .
- Install the crankshaft balancer. Refer to Crankshaft Balancer Replacement .
- Install the generator. Refer to Engine Electrical.
- Install the starter motor. Refer to Engine Electrical.
- Install the A/C compressor. Refer to HVAC.
- Install the engine oil cooler. Refer to Engine Oil Cooler Replacement .
- Install the engine oil cooler hoses. Refer to Oil Cooler Hose/Pipe Replacement .
- Install the oil filter.
- Lower the vehicle.
- Install the heater pipe bracket retaining screws at the frame. Refer to HVAC.
- Install both of the engine cooling fans. Refer to Cooling and Radiator.
- Install the front engine lift bracket.
- Install the camshaft timing belt idler pulleys. Refer to Timing Belt Idler Pulley Replacement .
- Install the camshaft timing belt. Refer to Timing Belt Replacement .
- Check the rotation of the camshaft timing belt.
- Install the camshaft timing belt tensioner mounting bracket. Refer to Timing Belt Tensioner Actuator Bracket Replacement .


Notice: Use the correct fastener in the correct location. Replacement fasteners must be the correct part number for that application. Fasteners requiring replacement or fasteners requiring the use of thread locking compound or sealant are identified in the service procedure. Do not use paints, lubricants, or corrosion inhibitors on fasteners or fastener joint surfaces unless specified. These coatings affect fastener torque and joint clamping force and may damage the fastener. Use the correct tightening sequence and specifications when installing fasteners in order to avoid damage to parts and systems.
Tighten
| • | Tighten the large front cover retaining bolts to 50 N·m (37 lb ft). |
| • | Tighten the small front cover retaining bolts to 25 N·m (18 lb ft). |


