Air Conditioning Condenser Replacement Gasoline Engine
Removal Procedure
- Disconnect the negative battery cable.
- Discharge and recover the refrigerant. Refer to Refrigerant Recovery and Recharging .
- Remove the front bumper. Refer to Front Bumper Fascia Replacement .
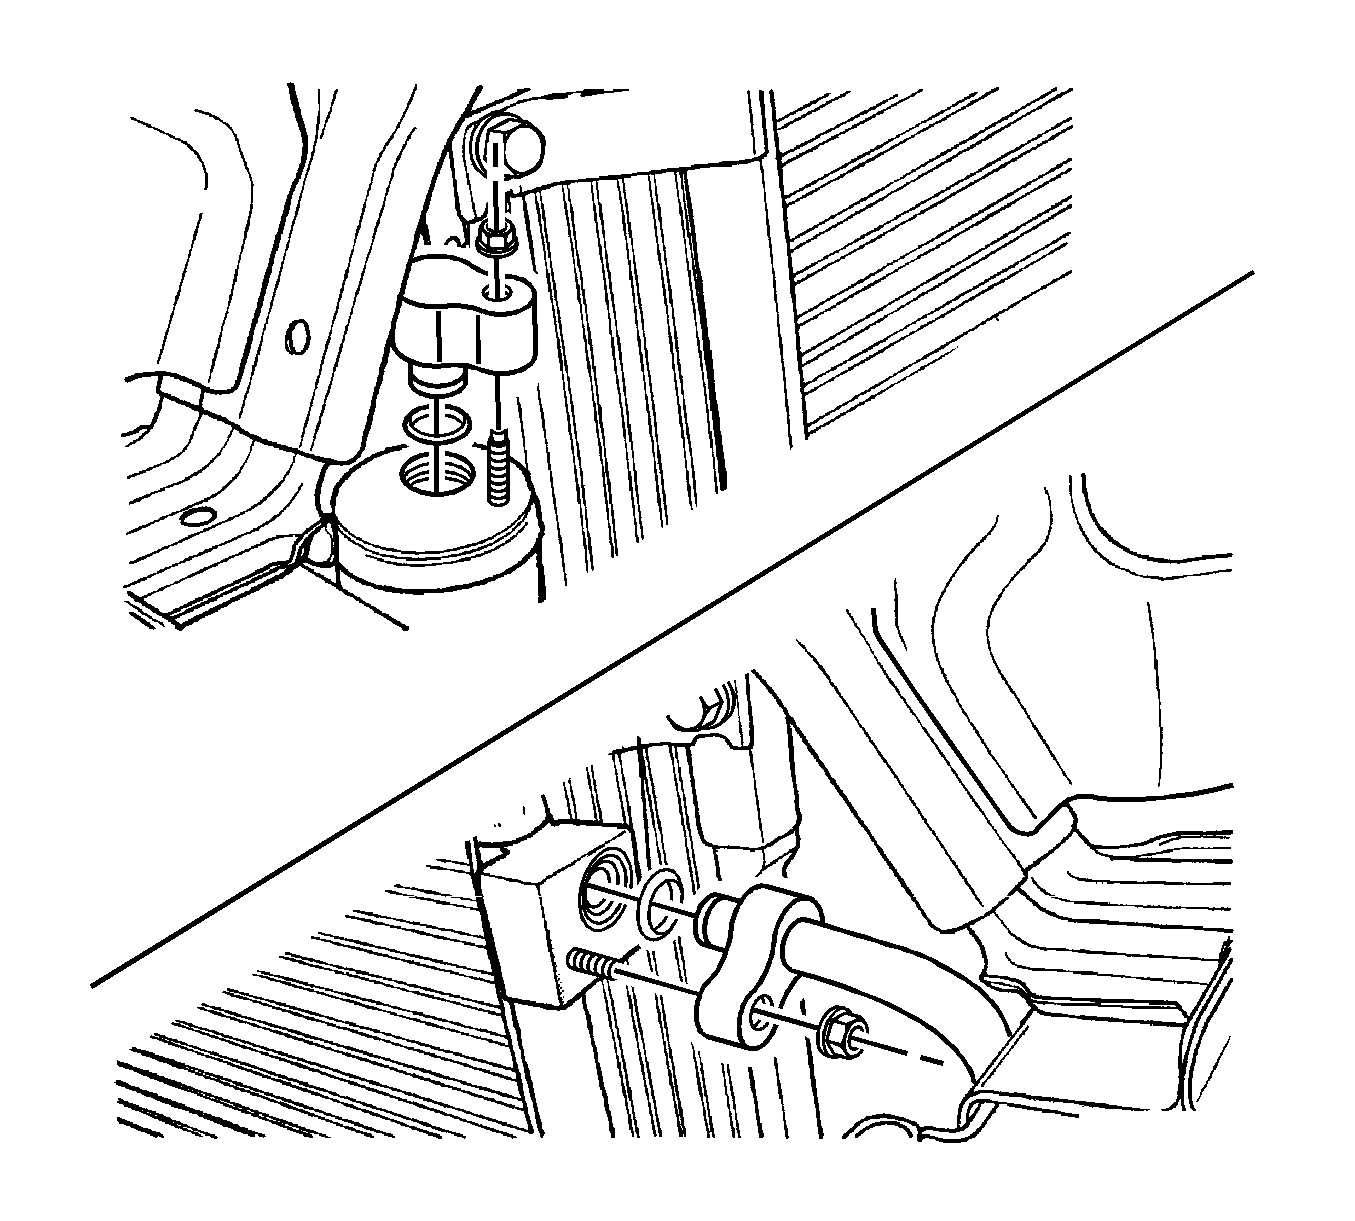
- Remove the discharge hose block-to-condenser retaining nut.
- Remove the discharge hose from the condenser.
- Remove the liquid pipe block-to-receiver-dryer retaining nut.
- Remove the liquid pipe from the receiver-dryer.
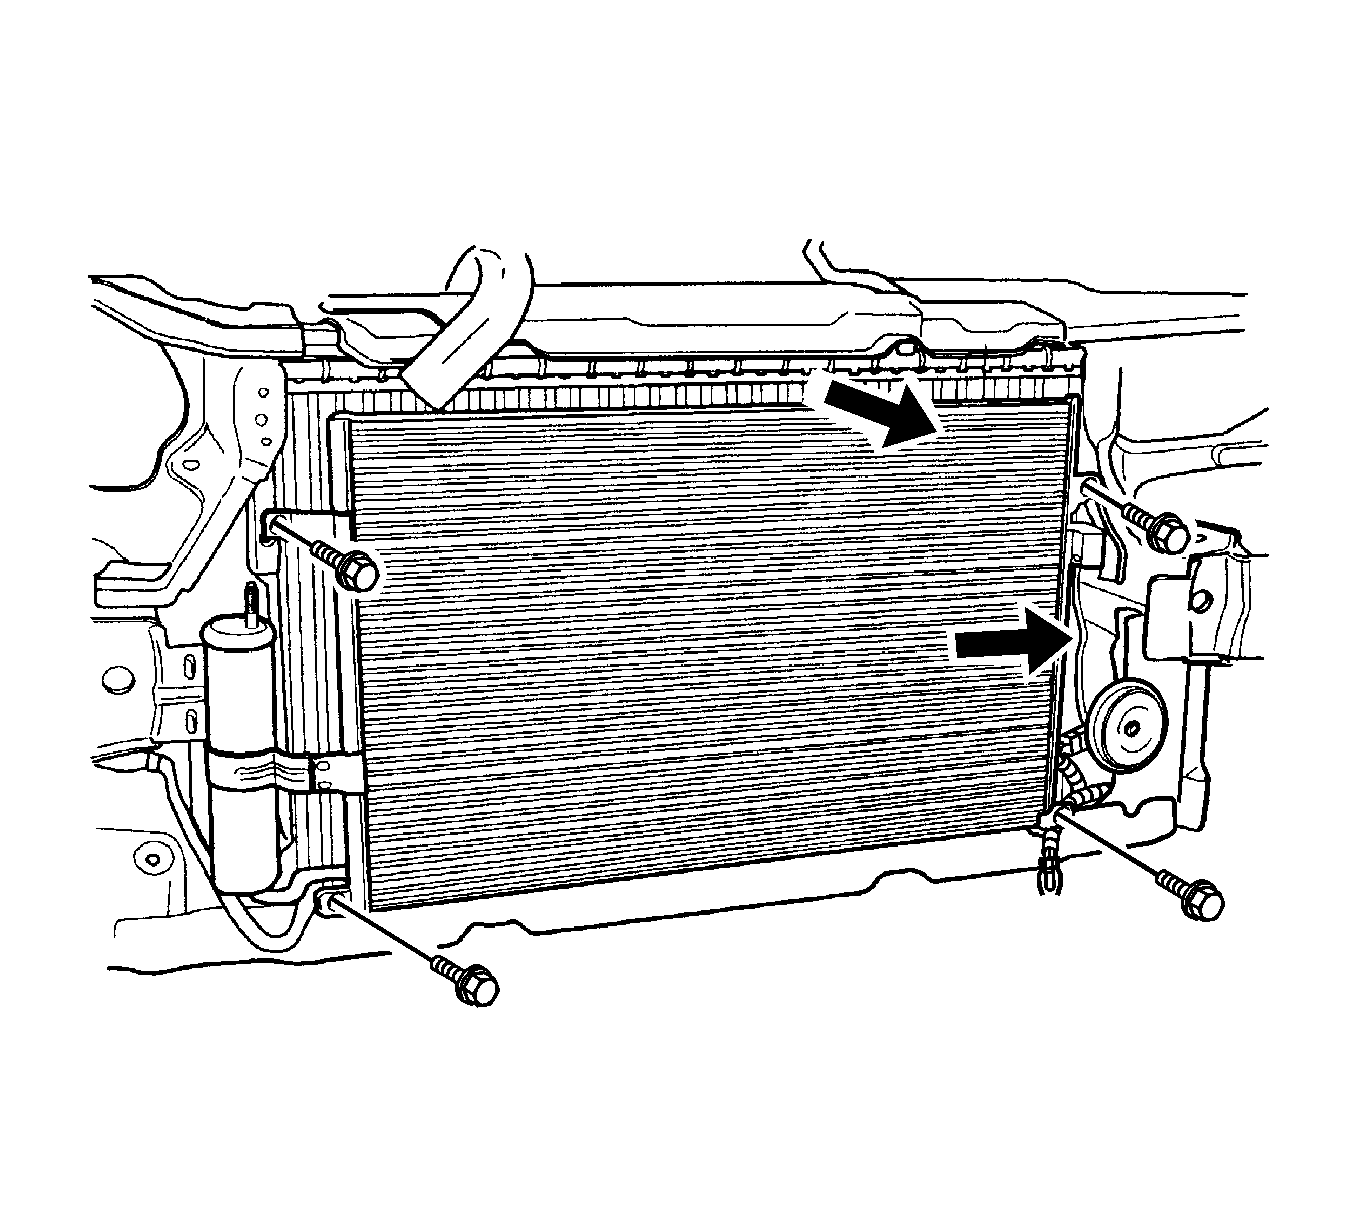
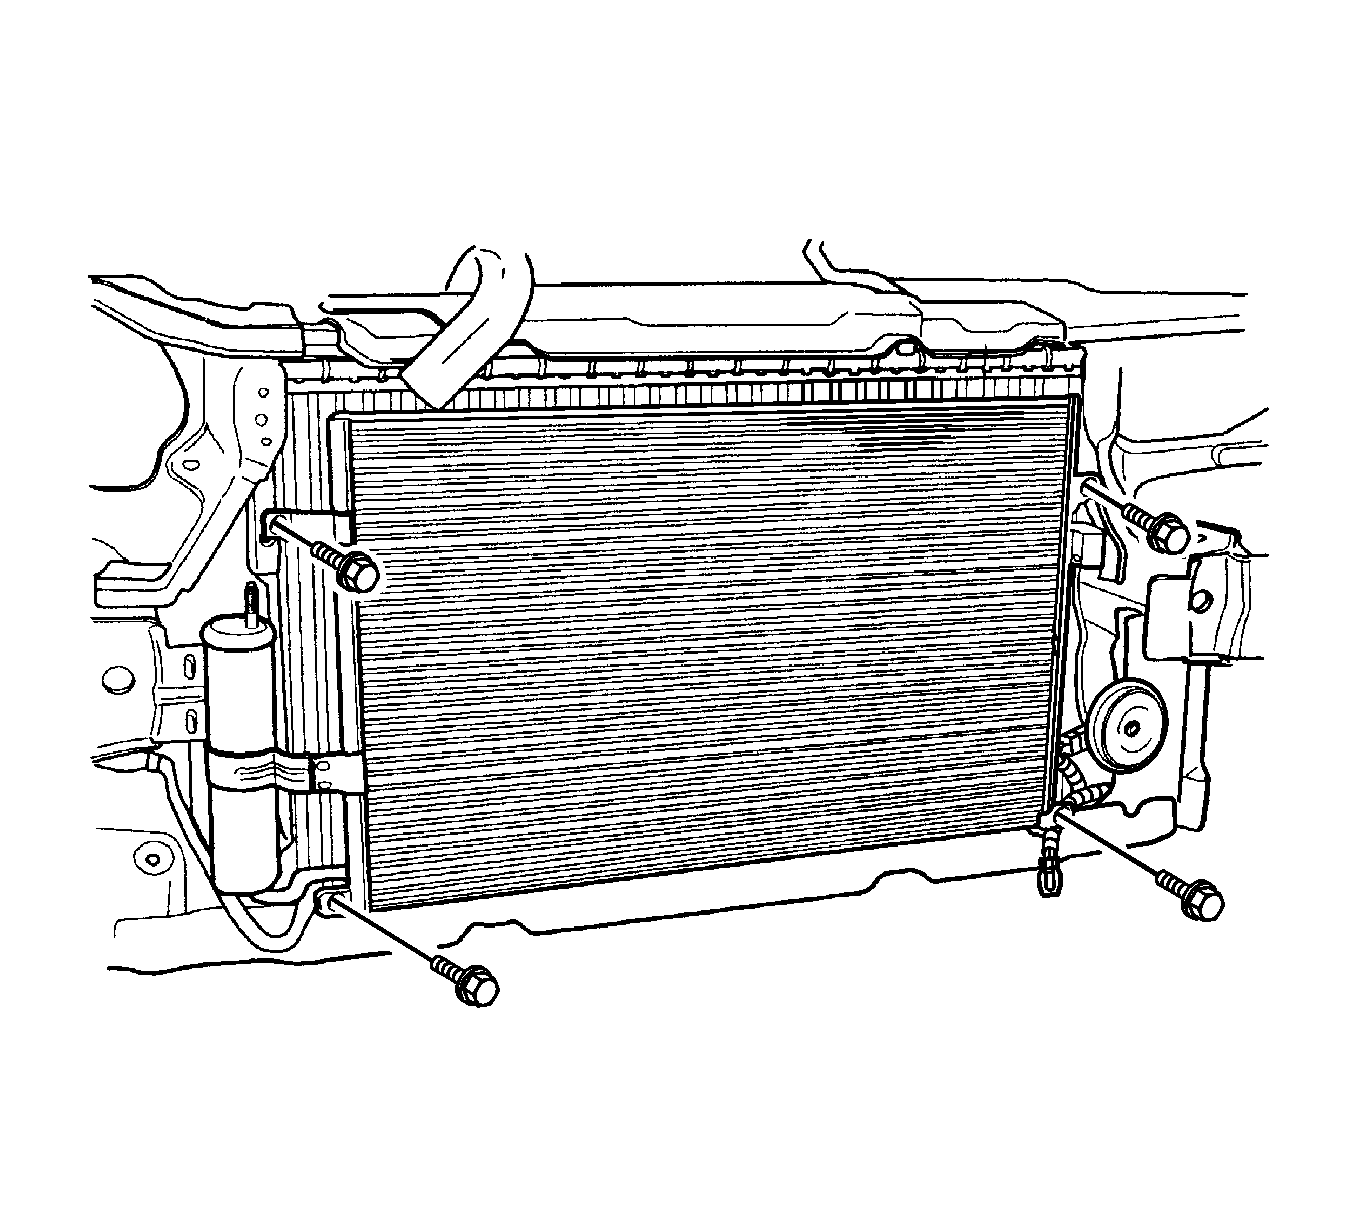
- Remover the condenser mount bolts.
- Remove the condenser.
- Cap all the open lines and the fittings to prevent contamination.
Caution: Refer to Battery Disconnect Caution in the Preface section.


Installation Procedure
- Position the condenser into the vehicle.
- Install the condenser mount bolts.
- Install a new O-ring onto the high-pressure pipe mounting block fitting on the receiver-dryer.
- Install the liquid pipe into the receiver-dryer.
- Install the liquid pipe block-to-receiver-dryer retaining nut.
- Install a new O-ring onto the discharge hose connecting block fitting.
- Install the discharge hose fitting into the condenser.
- Install the discharge hose connecting block-to-condenser retaining nut at the condenser connecting block.
- Install the front bumper. Refer to Front Bumper Fascia Replacement .
- Connect the negative battery cable.
- Evacuate and recharge the A/C system. Refer to Refrigerant Recovery and Recharging .
- Operate the HVAC control to verify the proper function of the heating and cooling systems.

Notice: Refer to Fastener Notice in the Preface section.
Tighten
Tighten the condenser mount bolts to 4 N·m (35 lb in).

Tighten
Tighten the liquid pipe block-to-receiver-dryer retaining nut to 14 N·m (10 lb ft).
Tighten
Tighten the refrigerant discharge hose block-to-condenser retaining nut to 16 N·m (12 lb ft).
Air Conditioning Condenser Replacement Diesel Engine
Removal Procedure
- Disconnect the negative battery cable.
- Discharge and recover the refrigerant. Refer to Refrigerant Recovery and Recharging .
- Remove the front bumper. Refer to Front Bumper Fascia Replacement .
- Remove the discharge hose block-to-condenser retaining nut.
- Remove the discharge hose from the condenser.
- Remove the liquid pipe block-to-receiver-dryer retaining nut.
- Remove the liquid pipe from the receiver-dryer.
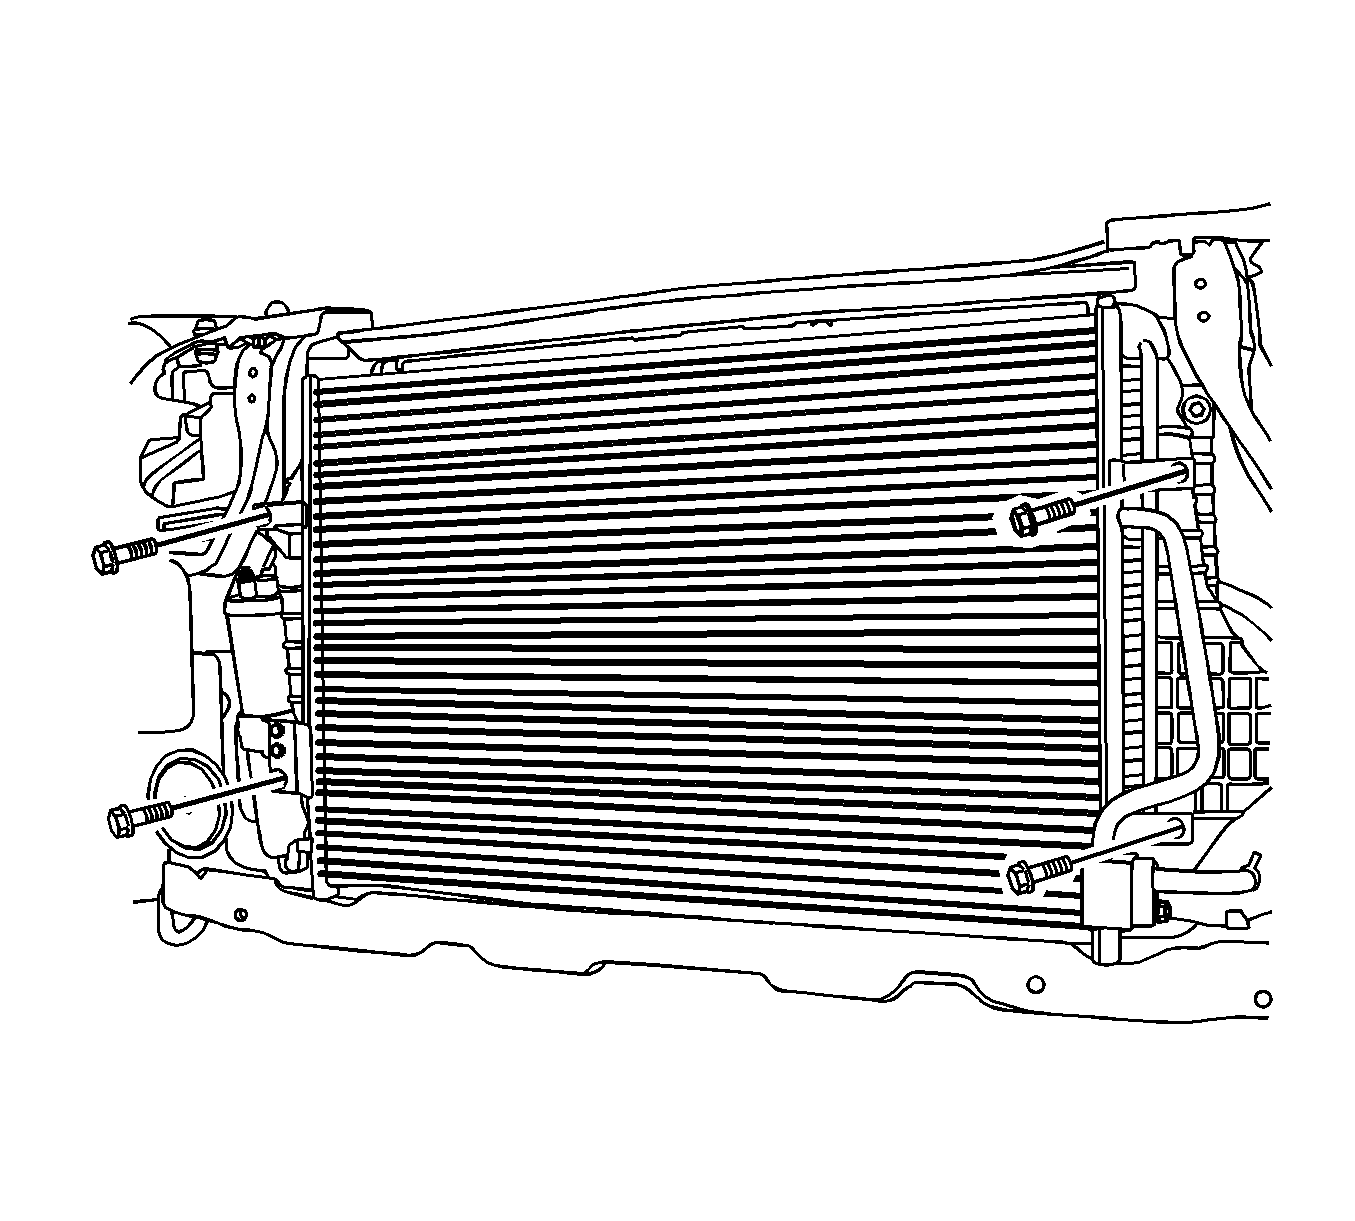
- Remover the condenser mount bolts.
- Remove the condenser.
- Cap all the open lines and the fittings to prevent contamination.
Caution: Refer to Battery Disconnect Caution in the Preface section.


Installation Procedure
- Position the condenser into the vehicle.
- Install the condenser mount bolts.
- Install a new O-ring onto the high-pressure pipe mounting block fitting on the receiver-dryer.
- Install the liquid pipe into the receiver-dryer.
- Install the liquid pipe block-to-receiver-dryer retaining nut.
- Install a new O-ring onto the discharge hose connecting block fitting.
- Install the discharge hose fitting into the condenser.
- Install the discharge hose connecting block-to-condenser retaining nut at the condenser connecting block.
- Install the front bumper. Refer to Front Bumper Fascia Replacement .
- Connect the negative battery cable.
- Evacuate and recharge the A/C system. Refer to Refrigerant Recovery and Recharging .
- Operate the HVAC control to verify the proper function of the heating and cooling systems.

Notice: Refer to Fastener Notice in the Preface section.
Tighten
Tighten the condenser mount bolts to 4 N·m (35 lb in).

Tighten
Tighten the liquid pipe block-to-receiver-dryer retaining nut to 14 N·m (10 lb ft).
Tighten
Tighten the refrigerant discharge hose block-to-condenser retaining nut to 16 N·m (12 lb ft).
