Removal Procedure
- Raise the vehicle. Refer to Lifting and Jacking the Vehicle in General Information.
- Position a suitable container to catch the engine oil.
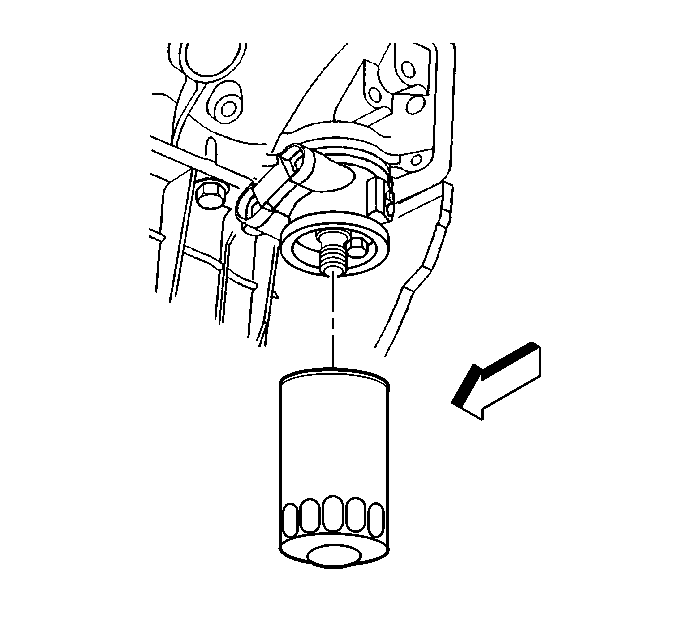
- Remove the engine oil filter (except Four Wheel Drive vehicle).
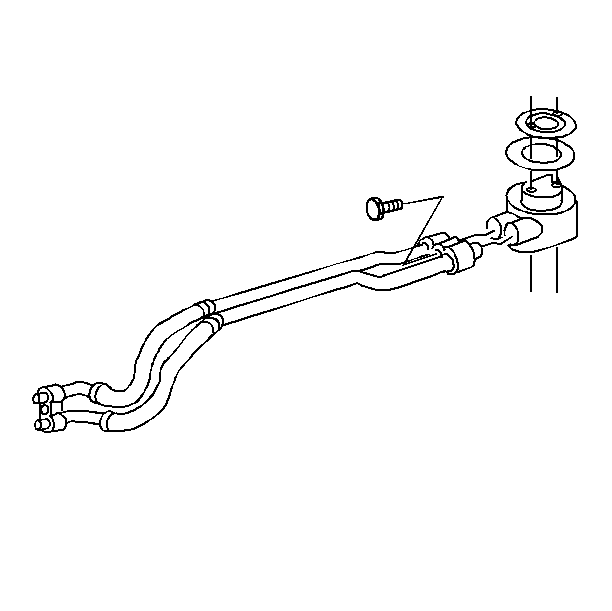
- Disconnect the engine oil cooler pipes (RWD vehicle) from the oil filter adapter. Refer to Engine Oil Cooler Hose/Pipe Replacement in Engine Cooling.
- Disconnect the remote oil filter inlet and outlet hoses (Four Wheel Drive vehicle) from the oil filter pipe adapter. Refer to Remote Oil Filter Adapter Pipe Replacement
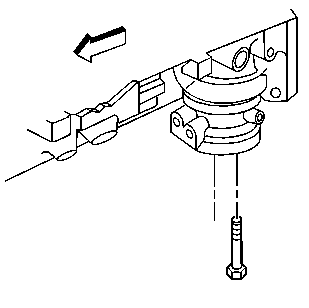
- Remove the bolts for the oil filter adapter RWD vehicle or the oil pipe adapter Four Wheel Drive vehicle.
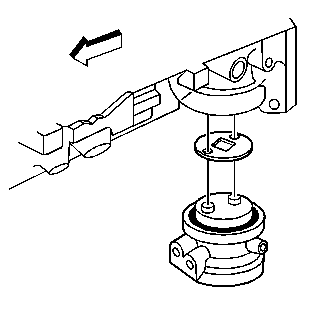
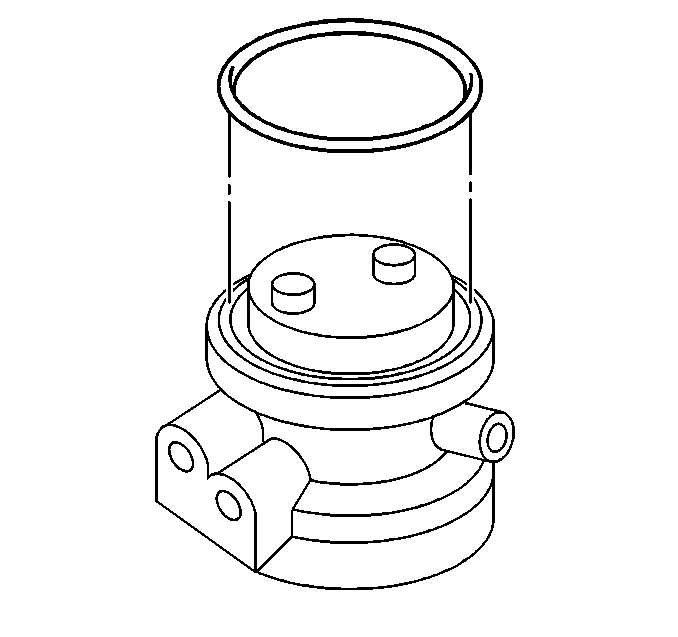
- Remove the oil filter adapter and the oil filter adapter gasket.
- Discard the oil filter adapter gasket.
- Remove the oil filter adapter seal (O-ring).
- Discard the oil filter adapter seal (O-ring).
- Clean all sealing surfaces.
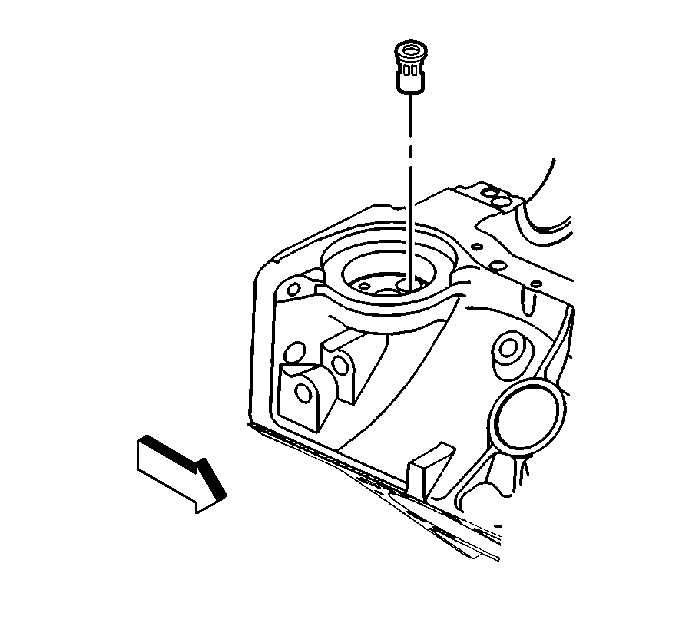
- Remove the oil filter bypass valve.
- Clean and inspect valve bore for damage.
Installation Procedure
- Install a NEW oil filter bypass valve.
- Install a NEW seal (O-ring) into the groove in the oil filter adapter.
- Install the oil filter adapter with a NEW oil filter adapter gasket.
- Install the oil filter adapter bolts.
- Connect the engine oil cooler pipes (RWD vehicle) to the oil filter adapter. Refer to Engine Oil Cooler Hose/Pipe Replacement in Engine Cooling.
- Connect the remote oil filter inlet and outlet hoses (Four Wheel Drive vehicle) to the oil filter pipe adapter. Refer to Remote Oil Filter Adapter Pipe Replacement .
- Install the engine oil filter (except Four Wheel Drive vehicles). Refer to Engine Oil and Oil Filter Replacement .
- Lower the vehicle.
Caution: Wear safety glasses in order to avoid eye damage.
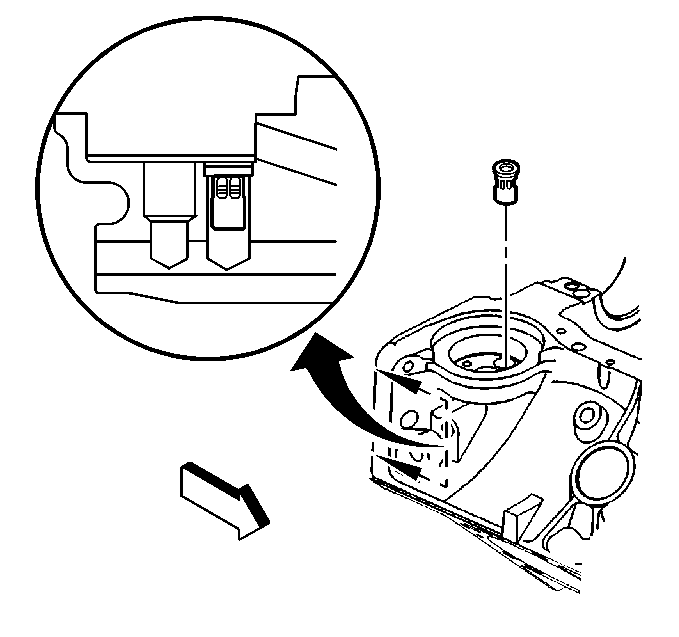
| 1.1. | Install the bypass valve into the oil gallery bore until slightly below flush with the surface of the block. |
| 1.2. | Using a pointed punch, stake the block area around the bypass valve. |
Stake in three locations 120 degrees apart.


Notice: Use the correct fastener in the correct location. Replacement fasteners must be the correct part number for that application. Fasteners requiring replacement or fasteners requiring the use of thread locking compound or sealant are identified in the service procedure. Do not use paints, lubricants, or corrosion inhibitors on fasteners or fastener joint surfaces unless specified. These coatings affect fastener torque and joint clamping force and may damage the fastener. Use the correct tightening sequence and specifications when installing fasteners in order to avoid damage to parts and systems.
Tighten
Tighten the oil filter adapter bolts to 21 N·m (15 lb ft).

