For 1990-2009 cars only
Removal Procedure
- Remove the side front door trim panel. Refer to Door Trim Panel Replacement .
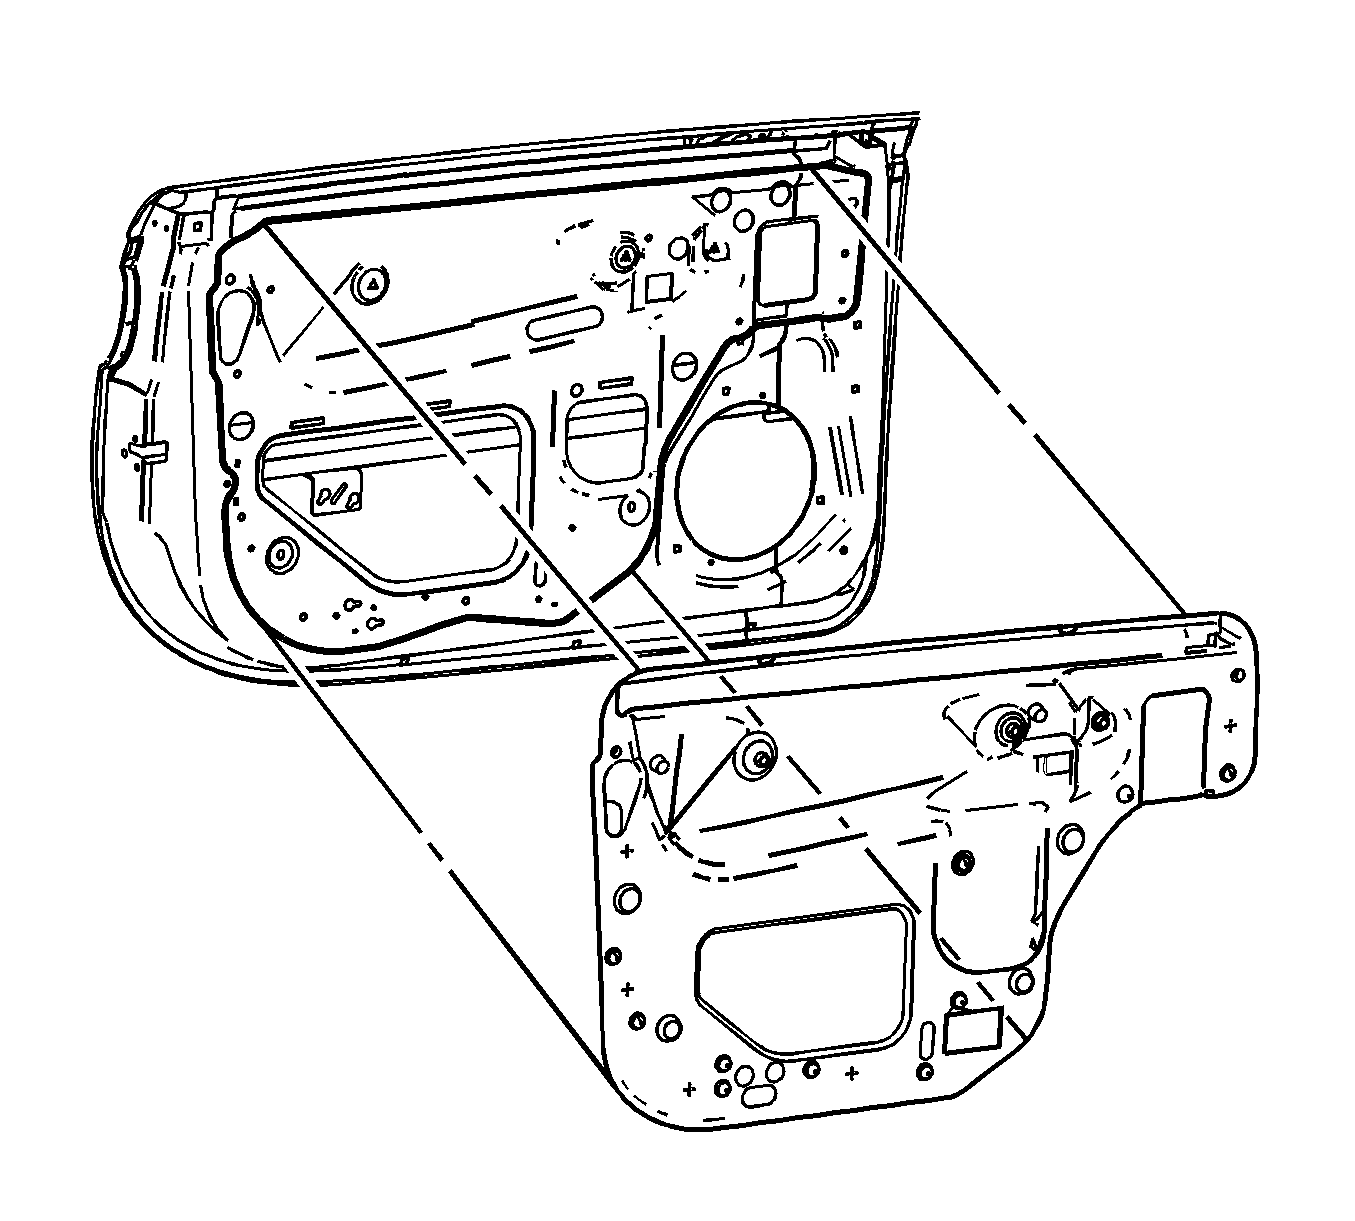
- Remove the front door water deflector. Refer to Front Side Door Water Deflector Replacement .
- Remove the door window. Refer to Door Window Replacement .
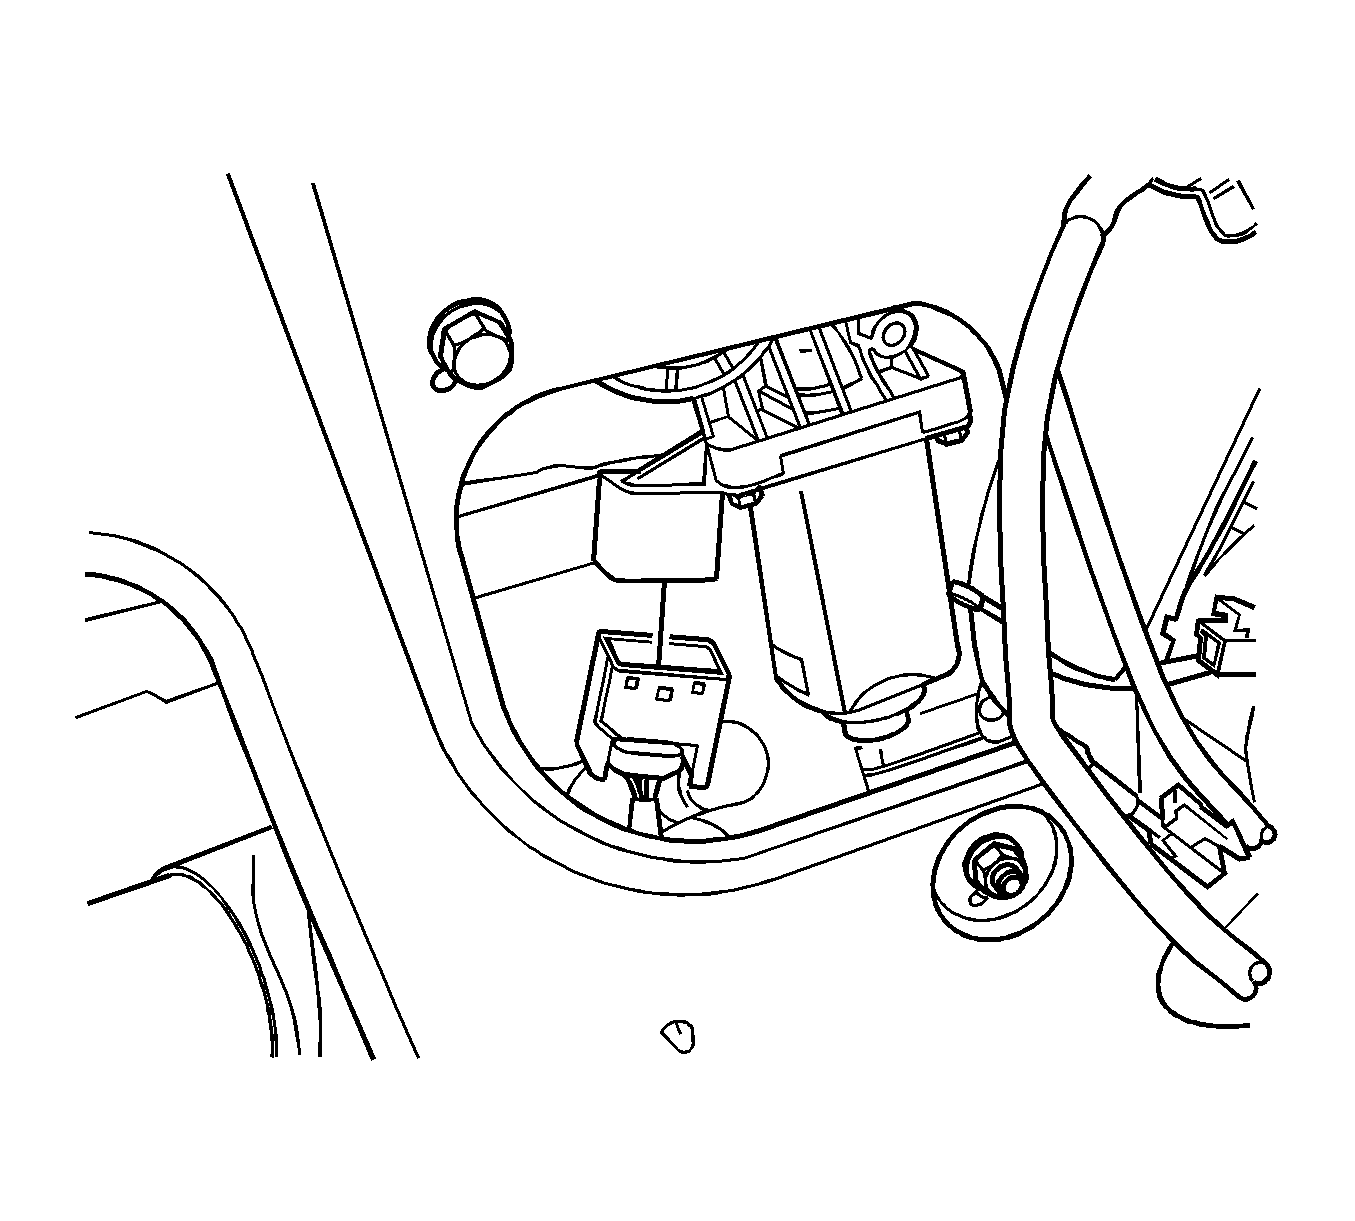
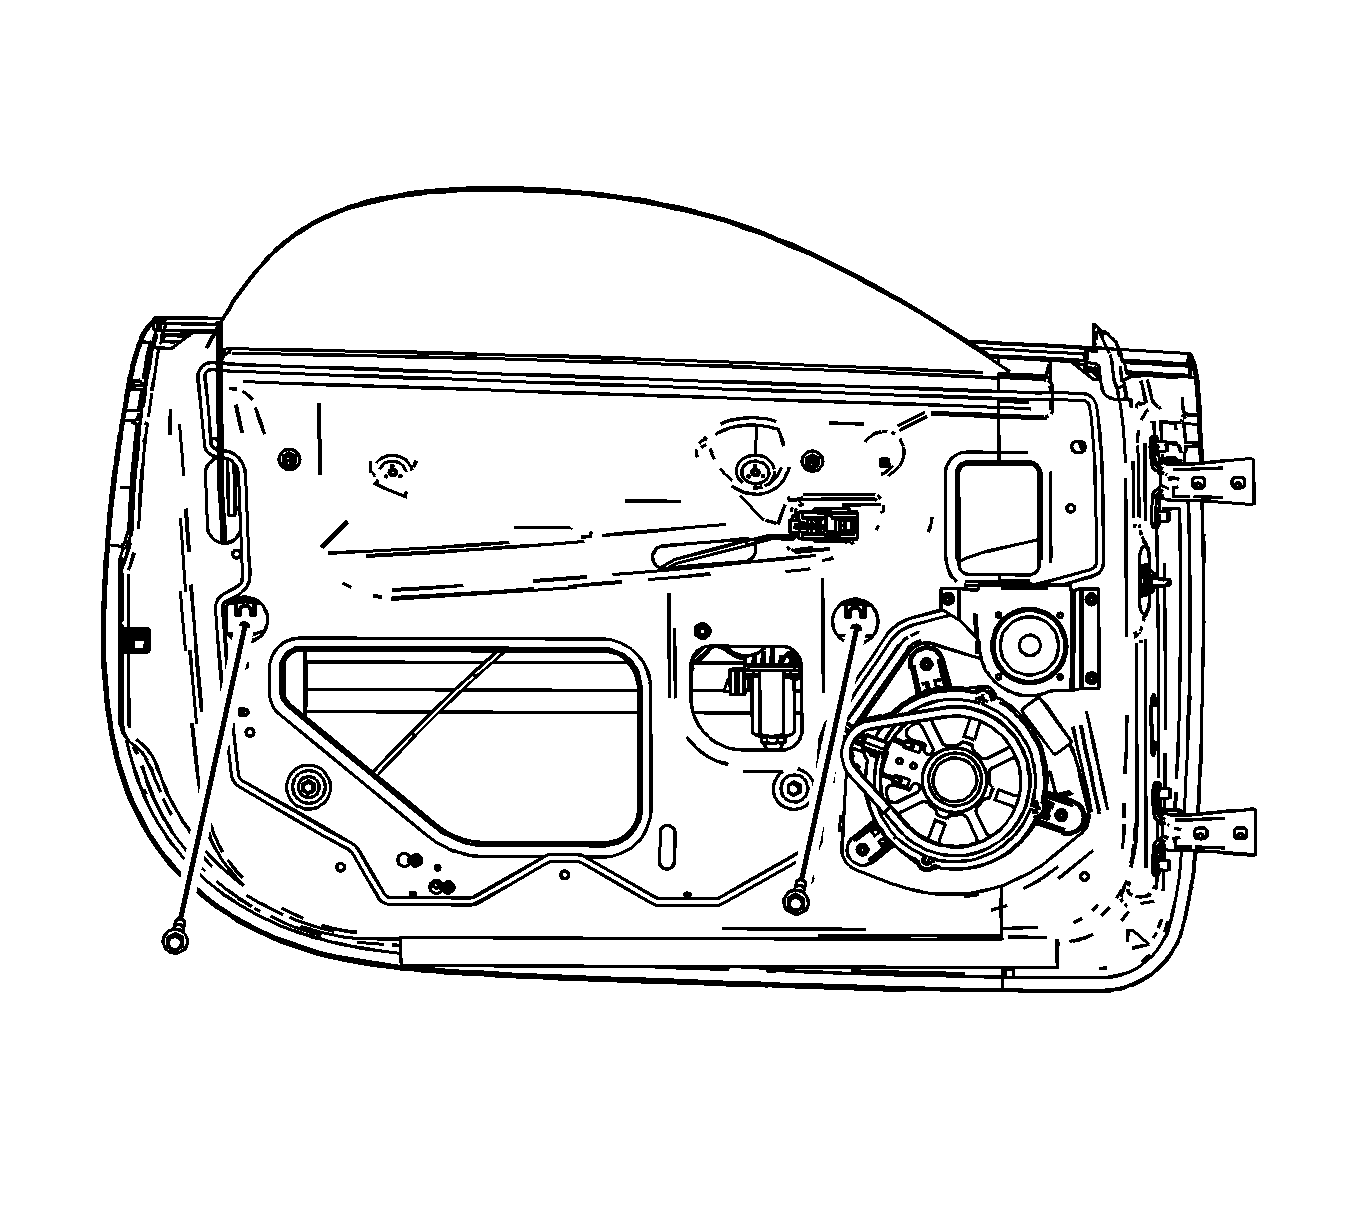
- Disconnect the window regulator electrical connector.
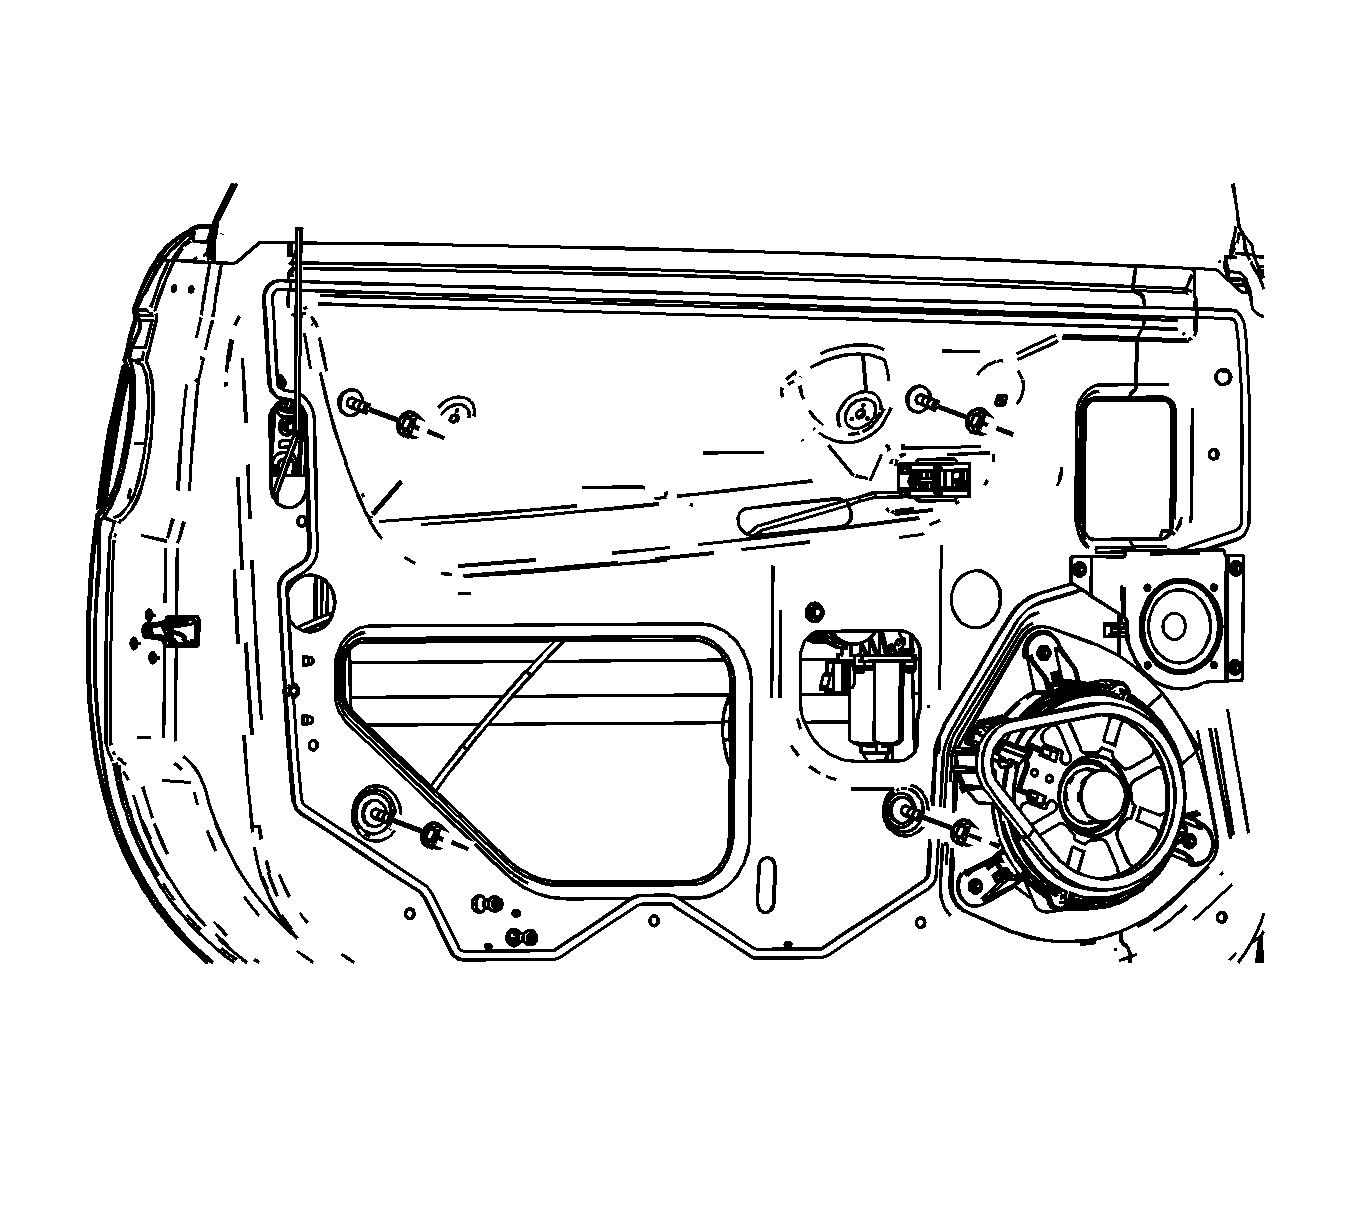
- Remove the nuts from the window regulator.
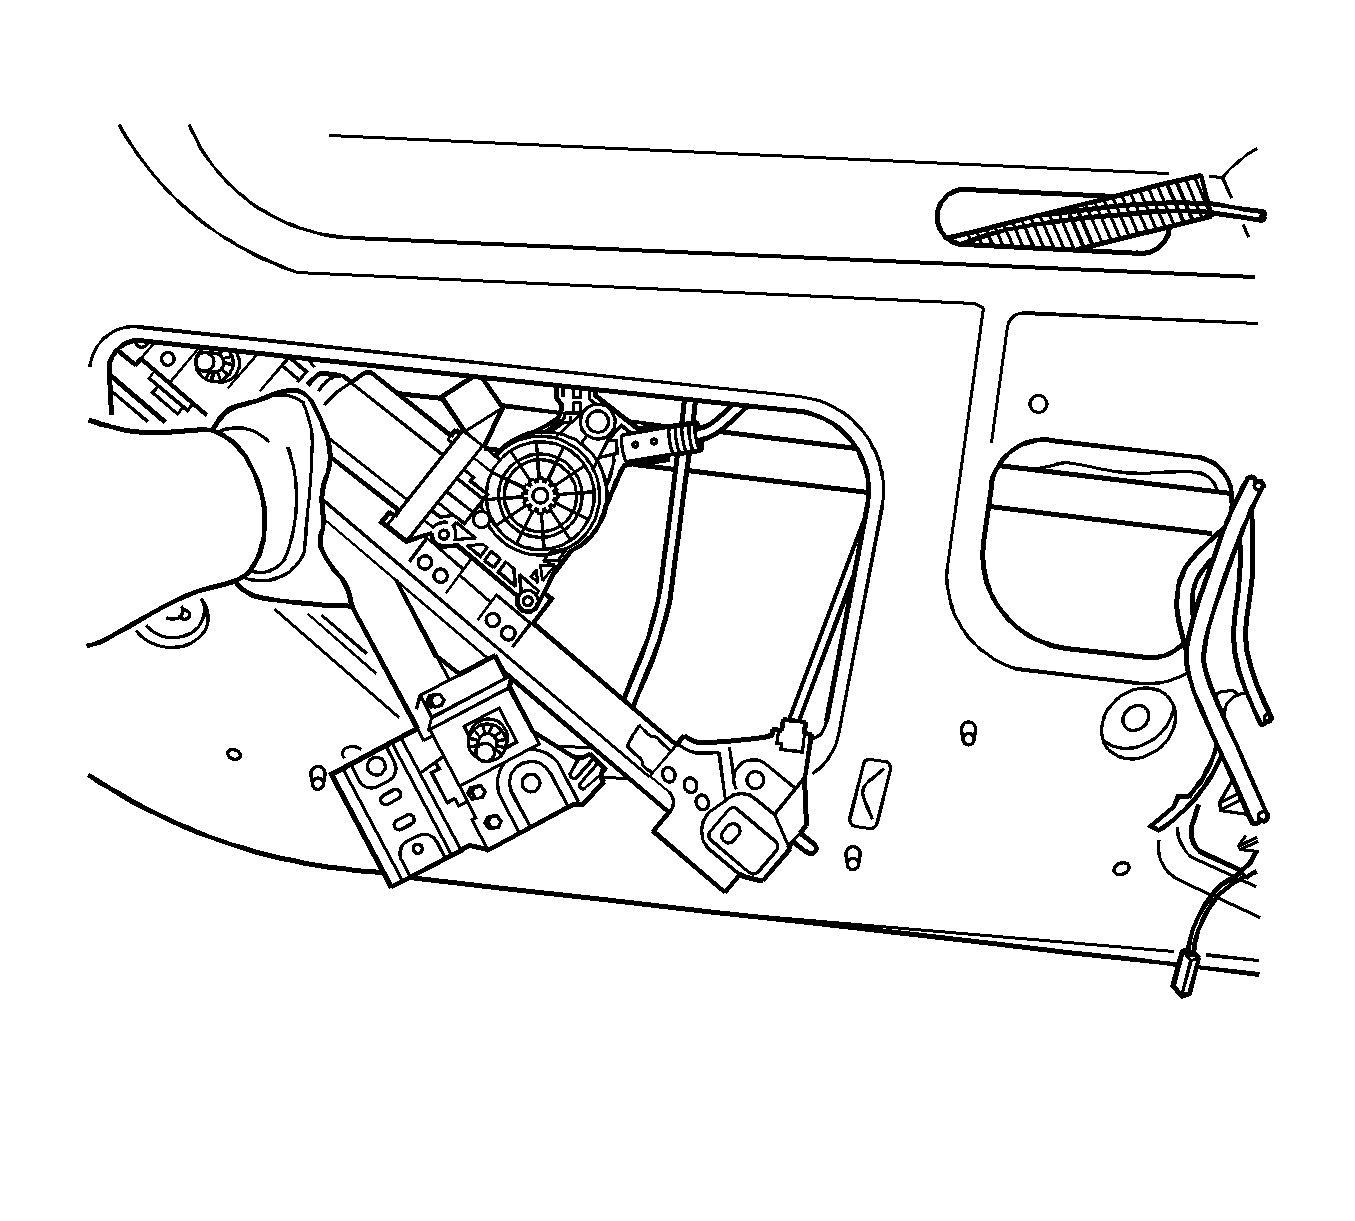
- Remove the window regulator assembly from the door by folding both sides together.
- Remove the regulator from the door through the opening in the door.
Installation Procedure
- Install the window regulator to the door through the opening in the door.
- Install the window regulator nuts.
- Align the window glass to the window regulator.
- Install the bolts that hold the window to the window regulator.
- Connect the window regulator electrical connector.
- Install the front door water deflector. Refer to Front Side Door Water Deflector Replacement .
- Install the side front door trim panel. Refer to Door Trim Panel Replacement .
- Lower the window. Inspect the operation.
- Reinitialize the windows. Refer to Power Window Reinitialization.

Important: To prevent a rattle condition, ensure the foam covered regulator cable is installed towards the outboard side of the door.
Notice: Refer to Fastener Notice in the Preface section.

Tighten
Tighten the nuts to 25 N·m (18 lb ft).
Tighten
Tighten the bolts to 7 N·m (61 lb in).

