For 1990-2009 cars only
Removal Procedure
- Remove the seats. Refer to Seat Replacement in Seats.
- Remove the console. Refer to Console Replacement in Instrument Panel, Gages and Console.
- Remove the rear upper garnish molding. Refer to Rear Upper Garnish Molding Replacement .
- Remove the door sill plate. Refer to Door Sill Plate Replacement .
- Remove the lock pillar trim. Refer to Body Lock Pillar Trim Panel Replacement .
- Remove the seat back bumpers. Refer to Front Seat Back Cushion Bumper Replacement .
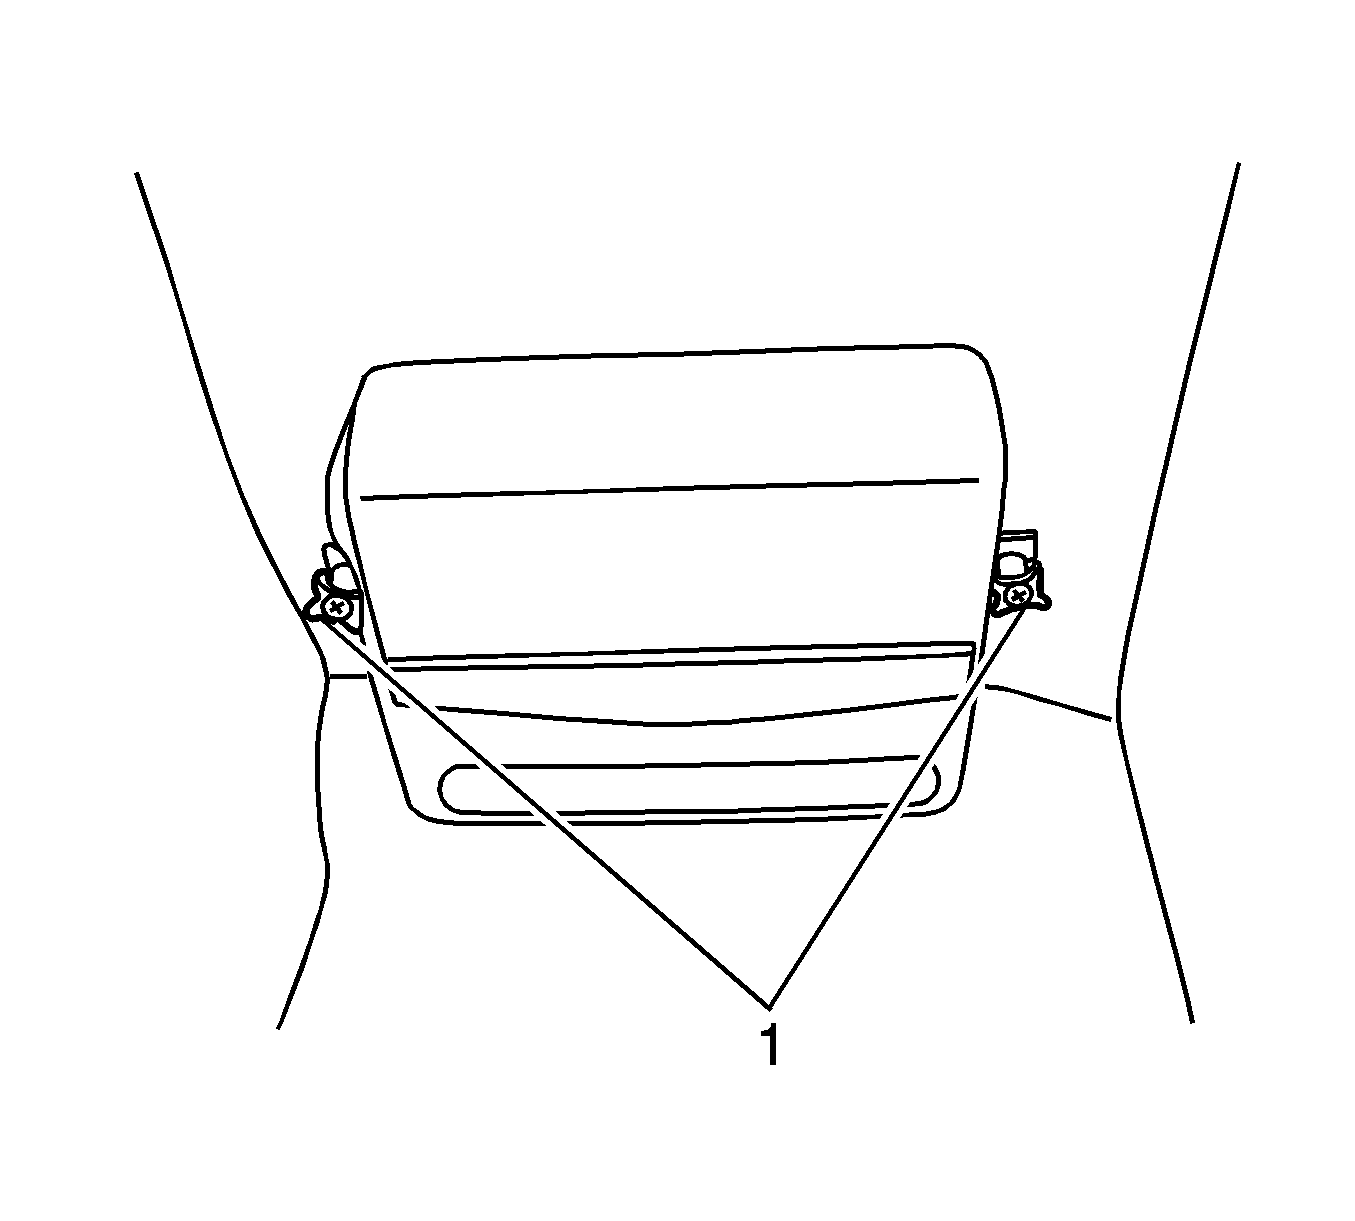
- Remove the tire inflator thumb screws (1).
- Remove the tire inflator from the vehicle.
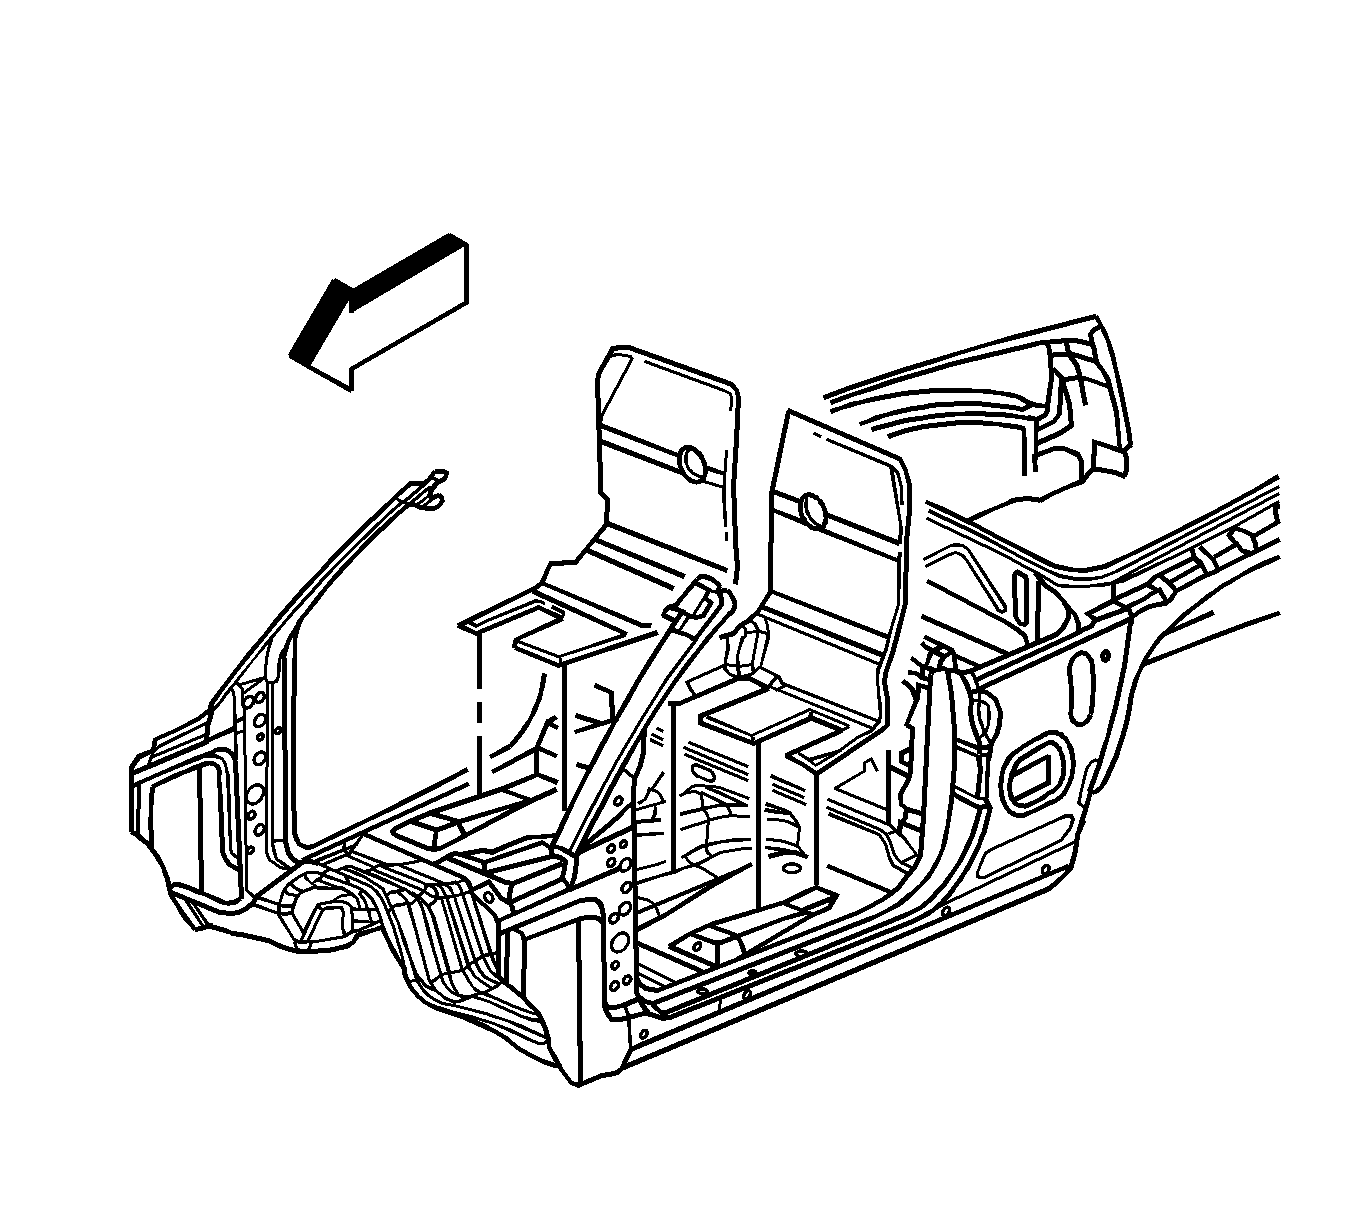
- Remove the rear carpet from the vehicle.
Installation Procedure
- Install the rear carpet into the vehicle.
- Install the tire inflator.
- Install the tire inflator thumb screws (1).
- Install the seat back bumpers. Refer to Front Seat Back Cushion Bumper Replacement .
- Install the lock pillar trim. Refer to Body Lock Pillar Trim Panel Replacement .
- Install the door sill plate. Refer to Door Sill Plate Replacement .
- Install the rear upper garnish molding. Refer to Rear Upper Garnish Molding Replacement .
- Install the console. Refer to Console Replacement in Instrument Panel, Gages and Console.
- Install the seats. Refer to Seat Replacement in Seats.
Notice: Refer to Fastener Notice in the Preface section.
Tighten
Tighten the fasteners to 2 N·m (18 lb in).
