For 1990-2009 cars only
Special Tools
| • | EN46567 (DW 110-020-A) Engine Assembly Support Fixture |
| • | DT 47535 (DW 260-230) Transaxle Remover/Installer Support or equivalent |
Removal Procedure
- Remove the air cleaner assembly. Refer to Air Cleaner Assembly Replacement.
- Remove the battery and battery tray. Refer to Battery Replacement.
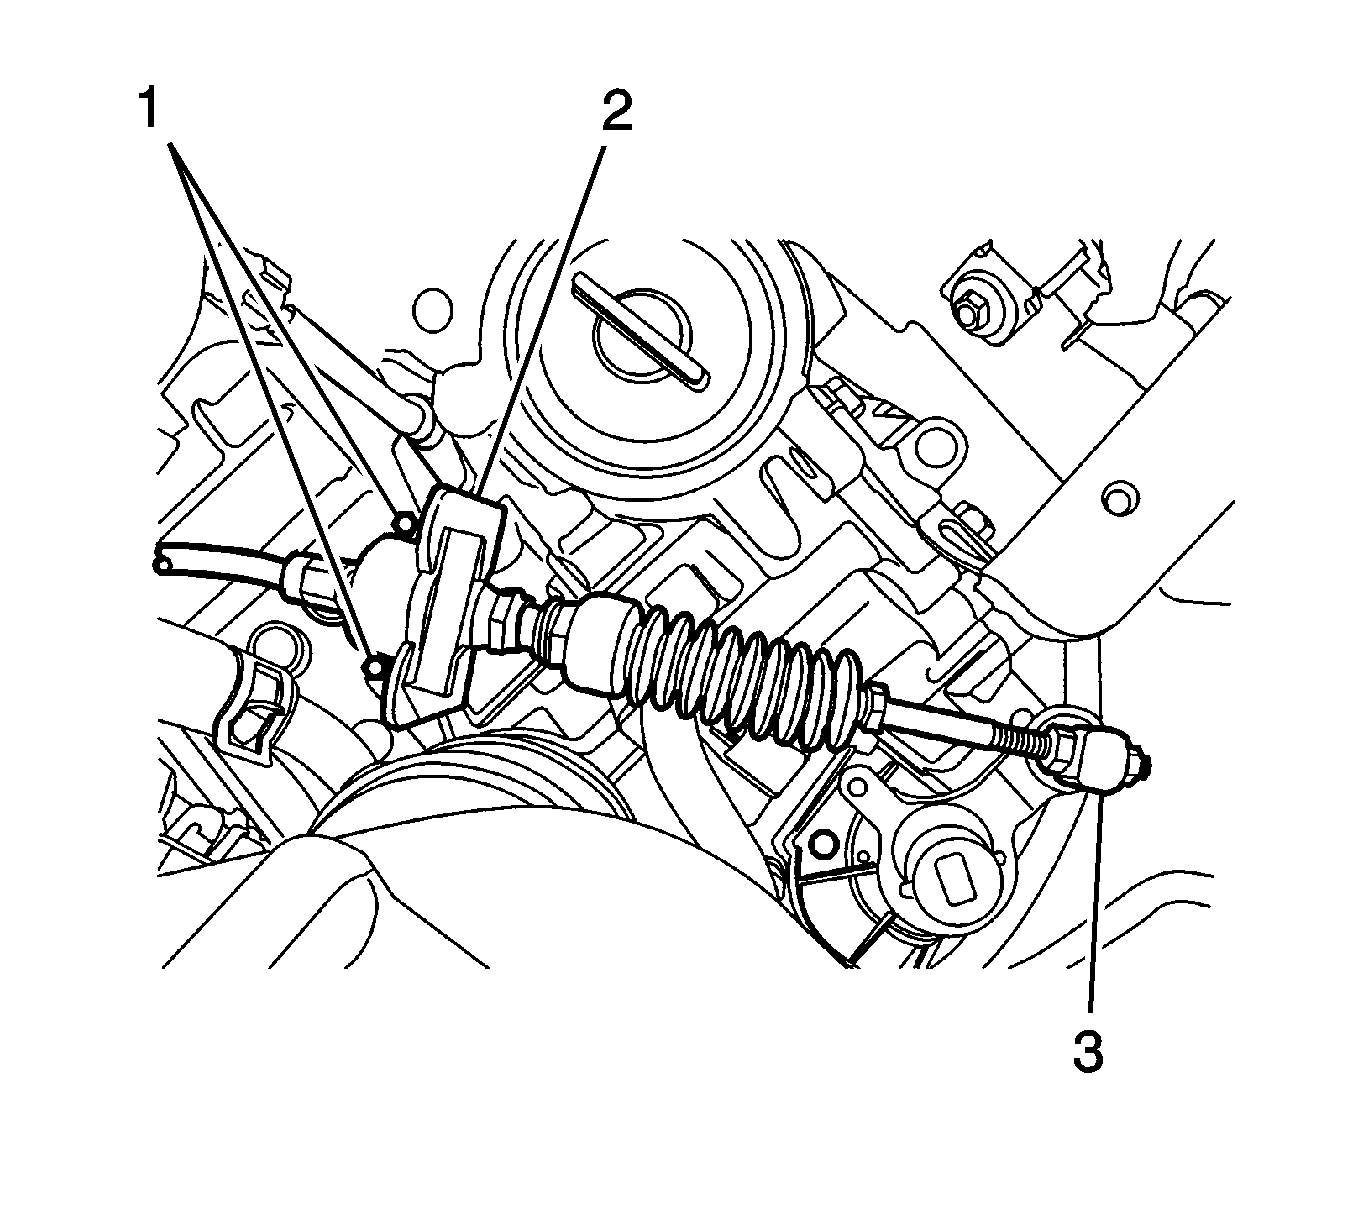
- Remove the select cable bracket bolts (1) and bracket.
- Remove the cable E-rings (2) and nut (3).
- Separate the select cable.
- Remove the engine wiring harness bending strap.
- Disconnect the connectors.
- Remove the radiator lower hose bracket retaining bolt.
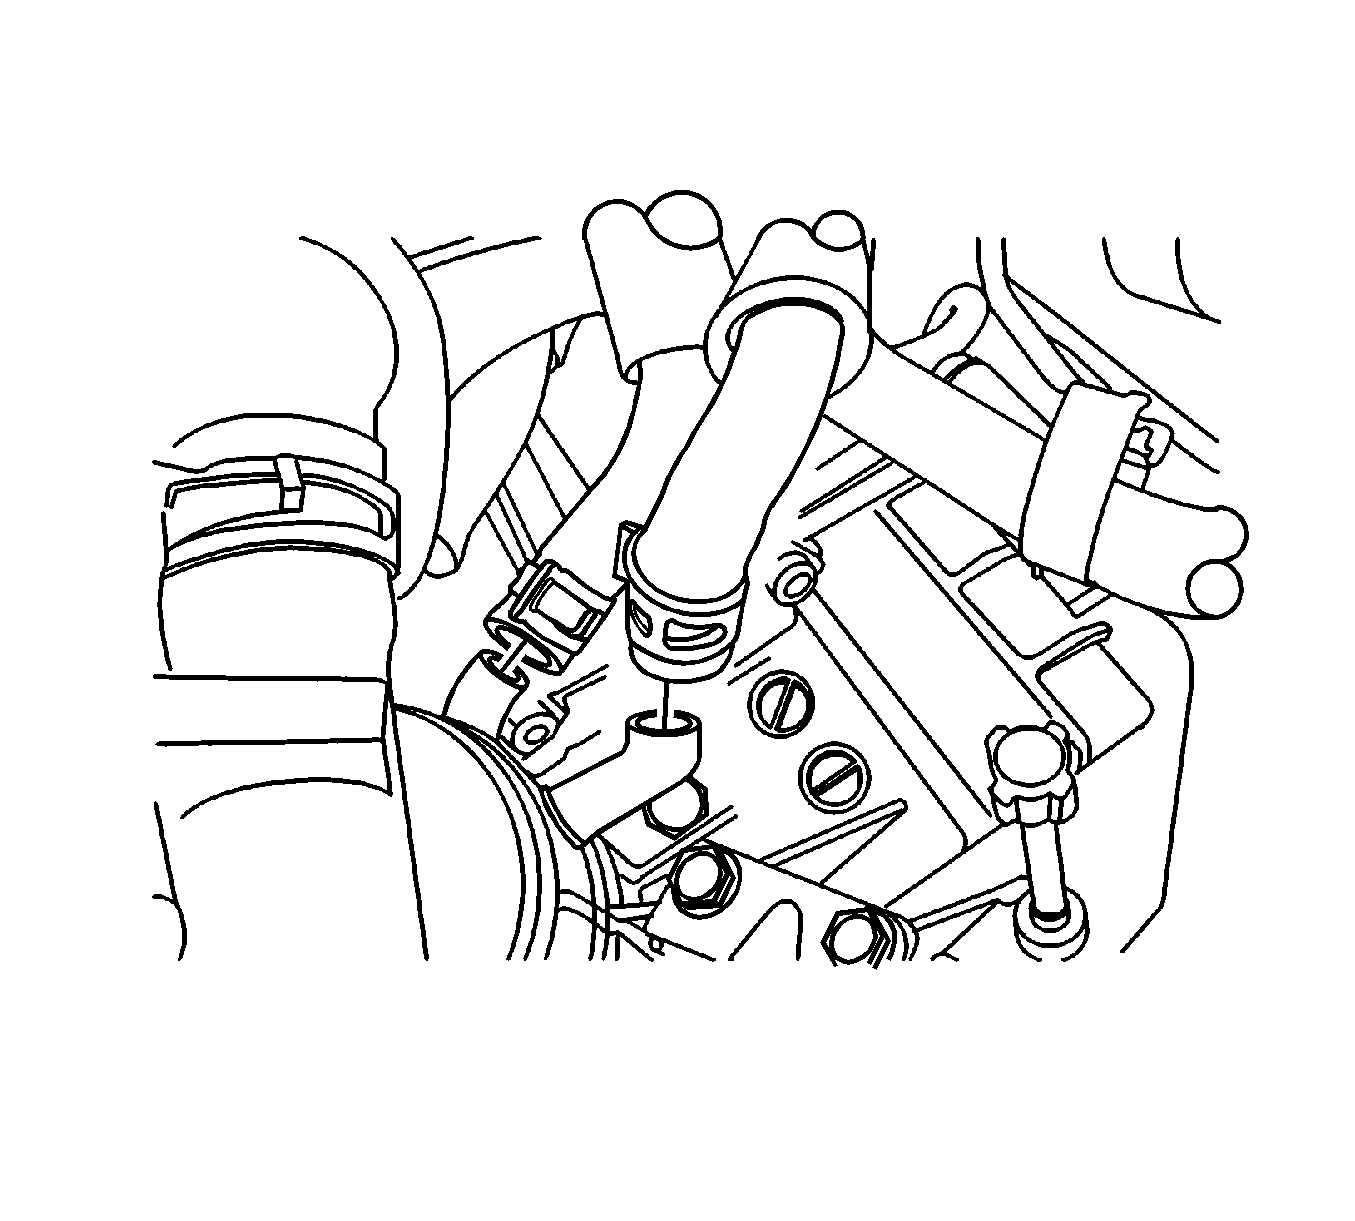
- Disconnect the clamps and oil cooler hoses.
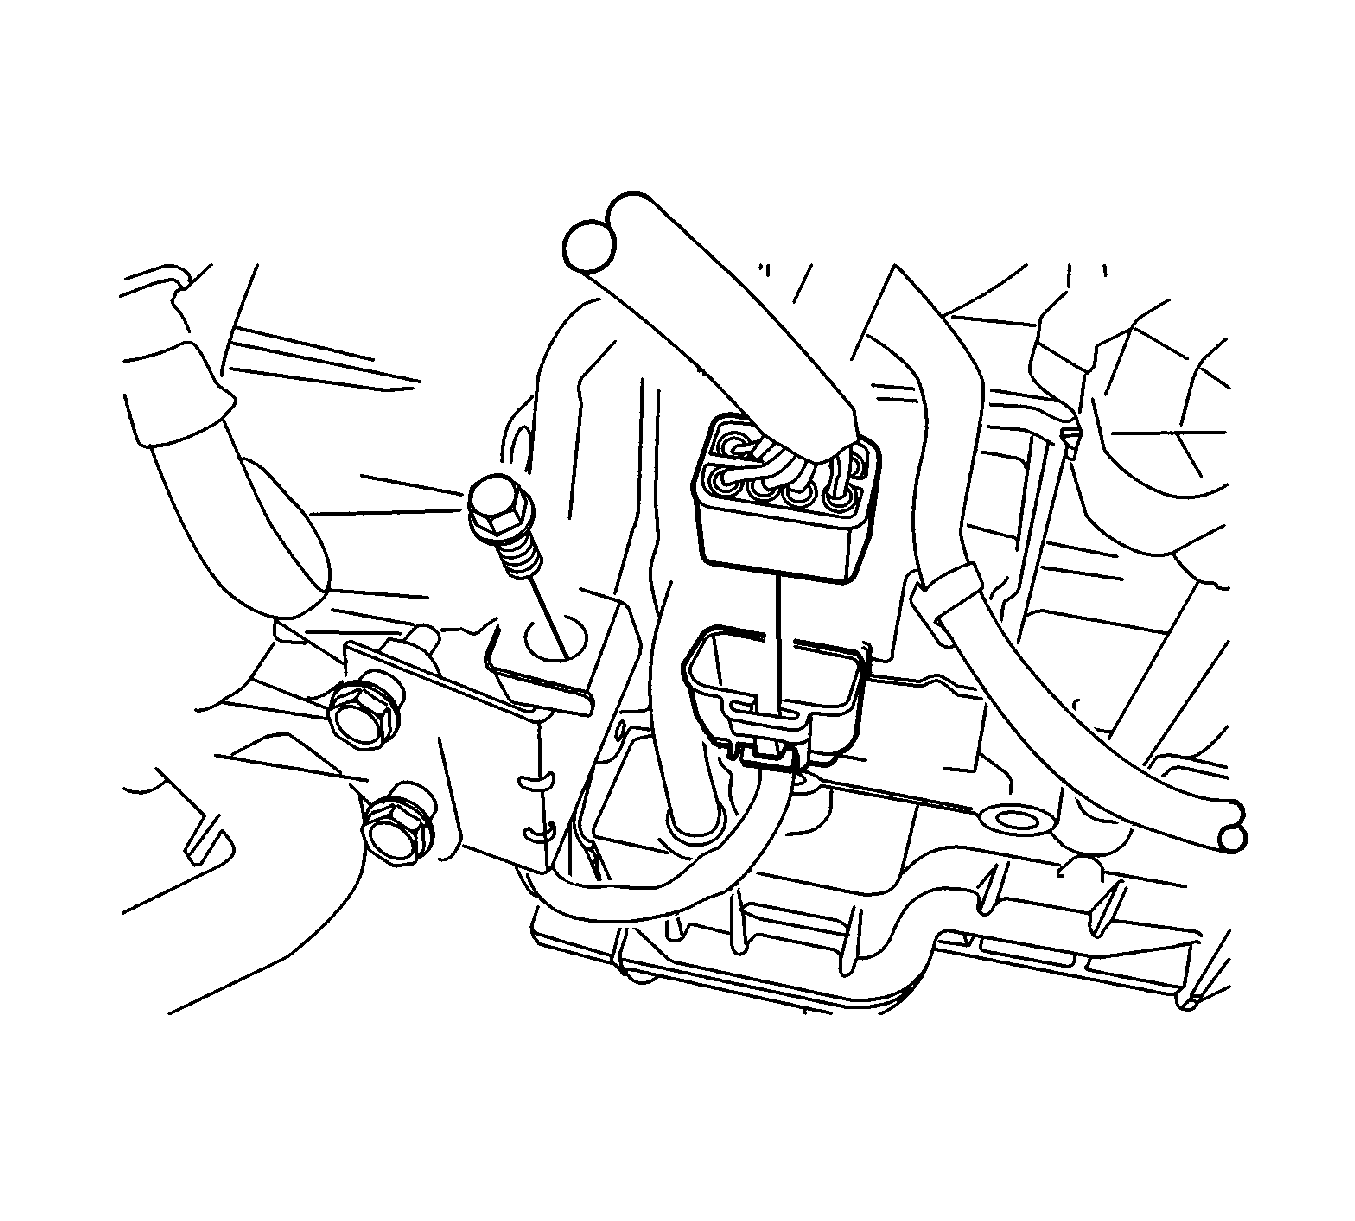
- Disconnect the turbine sensor.
- Remove the starter motor. Refer to Starter Motor Replacement.
- Remove the air inlet grille panel weatherstrip.
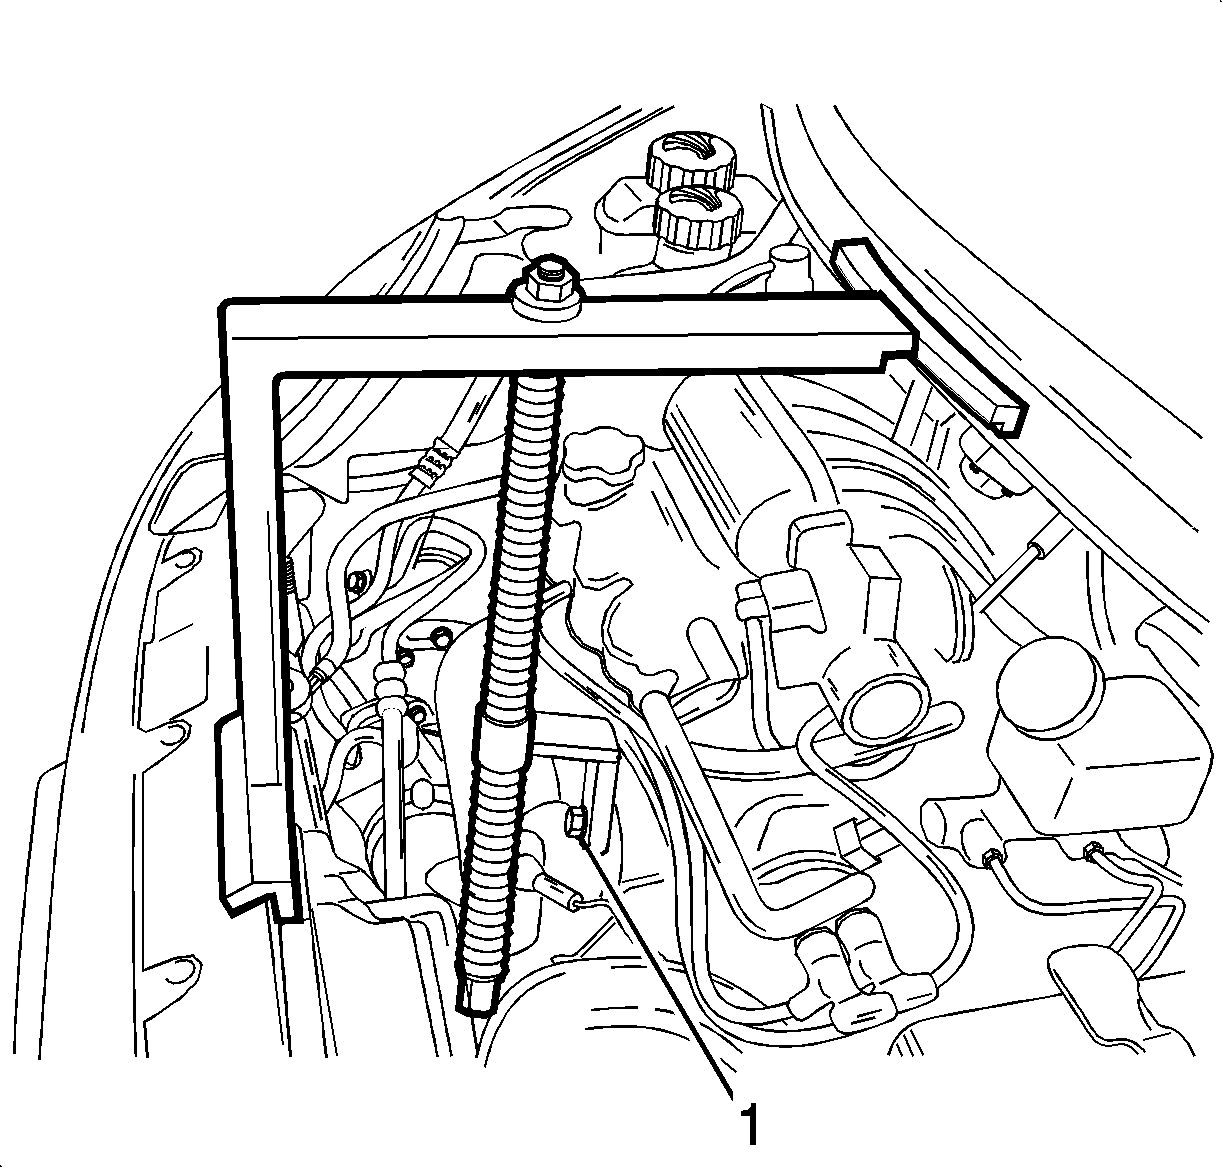
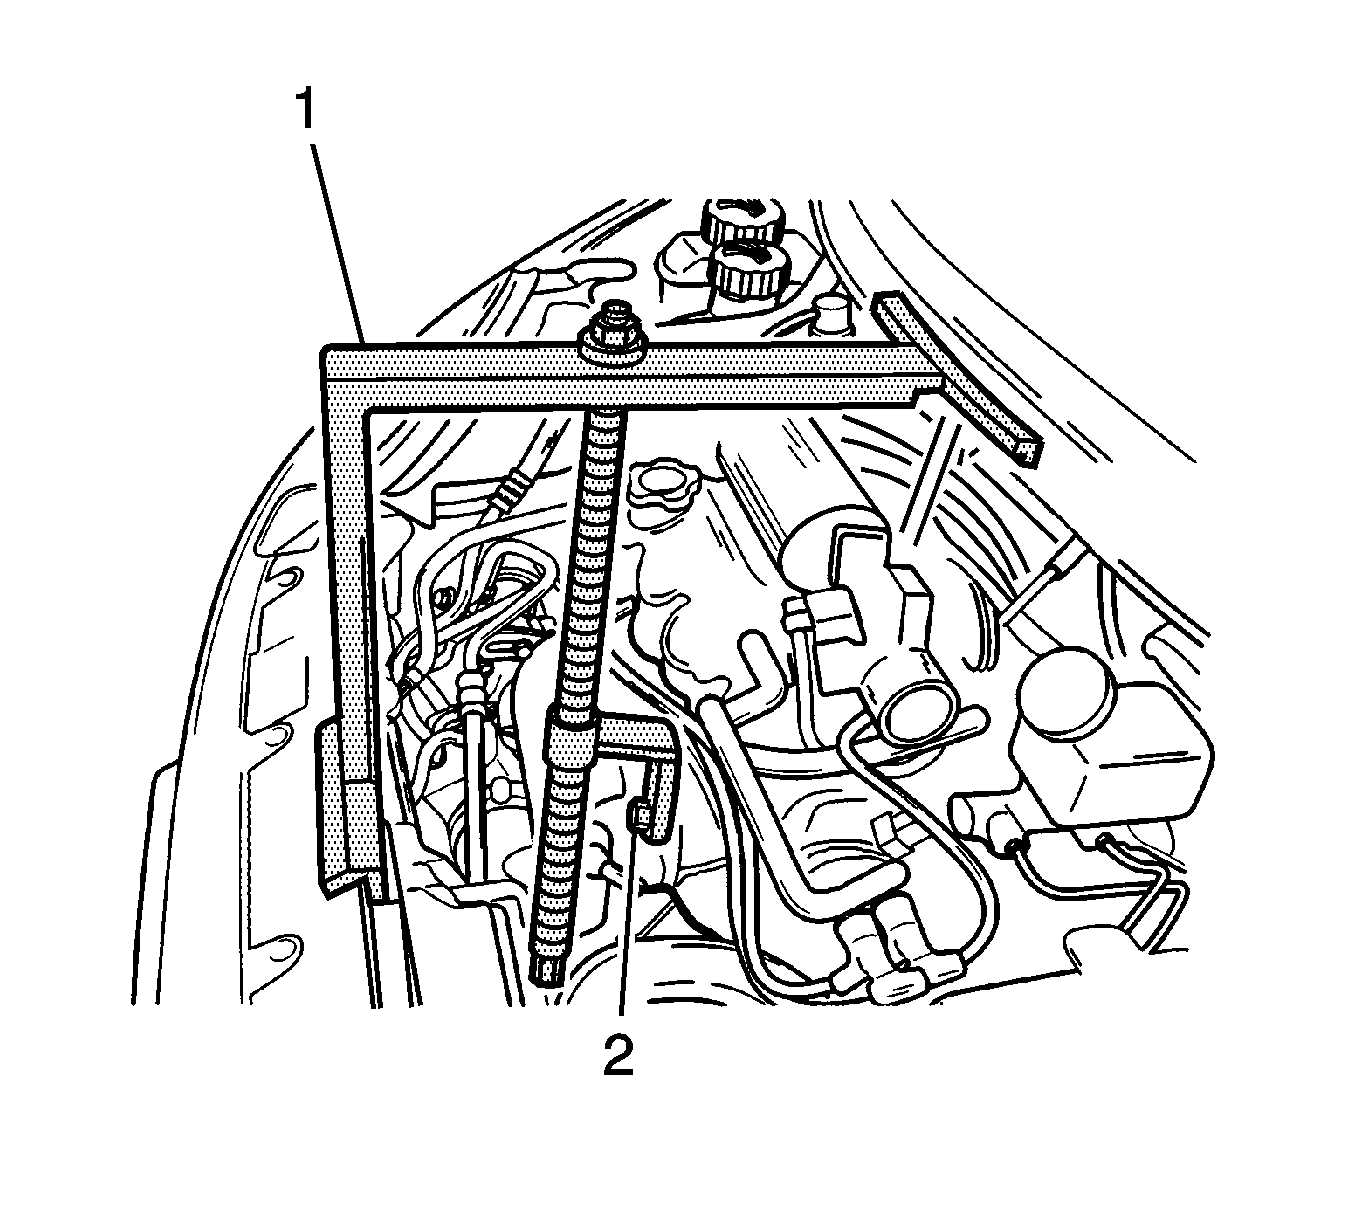
- Position the EN46567 (1), on the air inlet grille panel and the front upper panel.
- Tighten the engine fixture joint bolt after removing the exhaust manifold bolt.
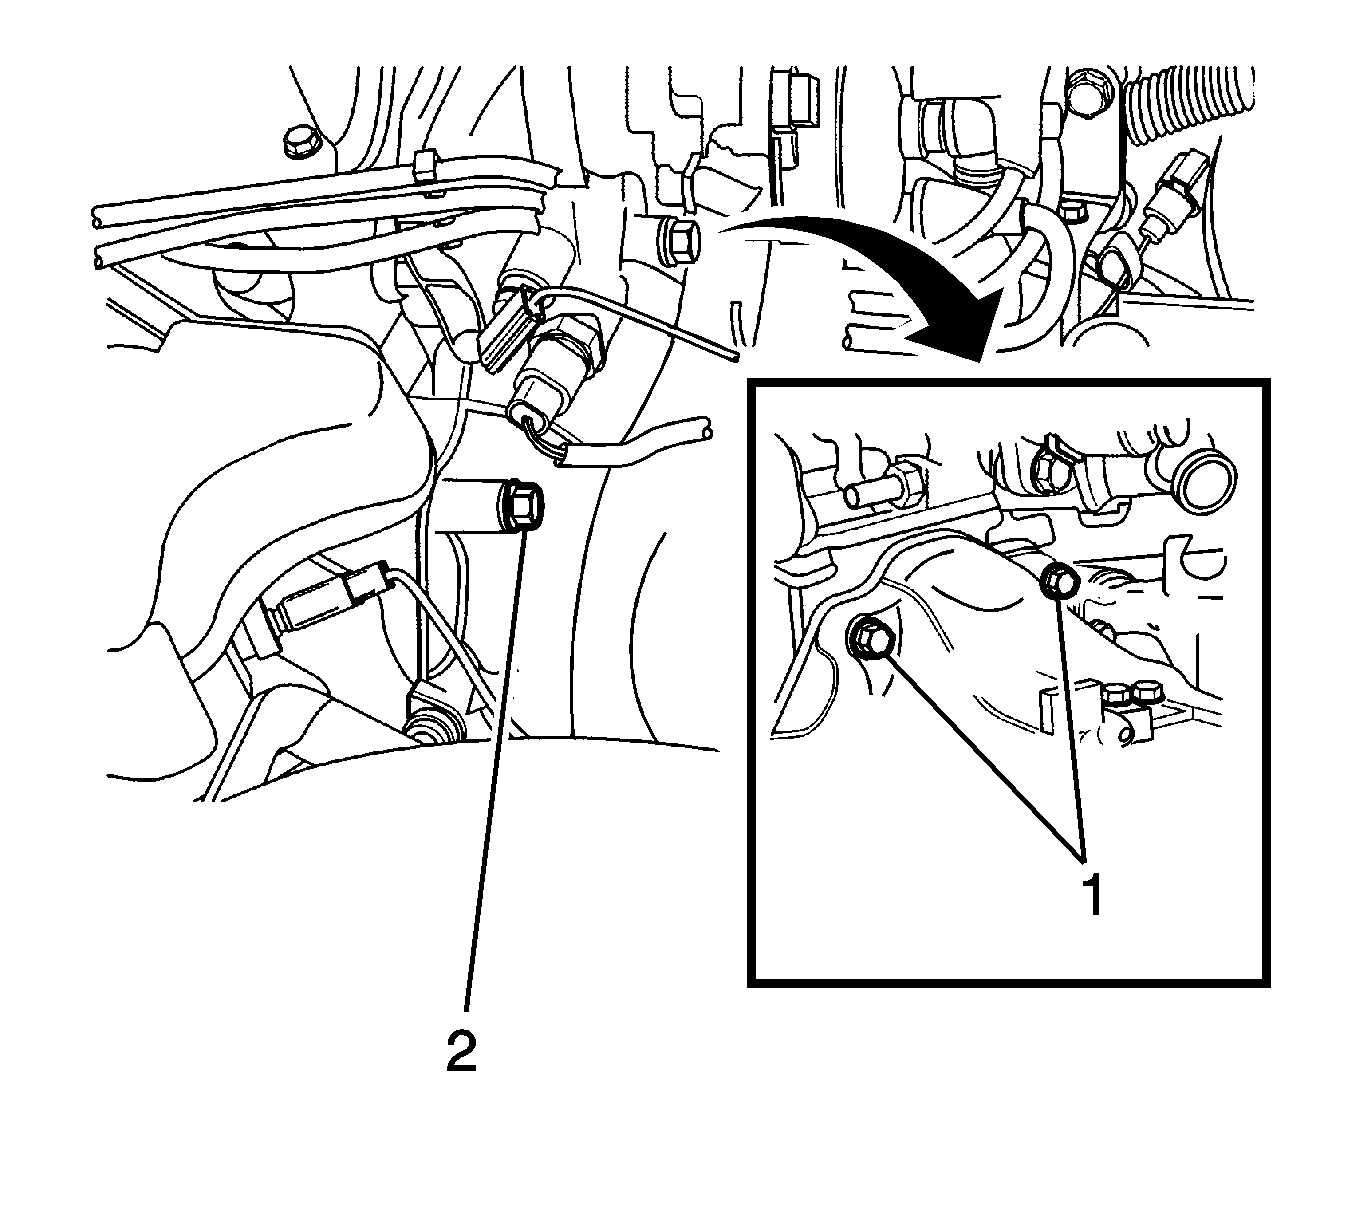
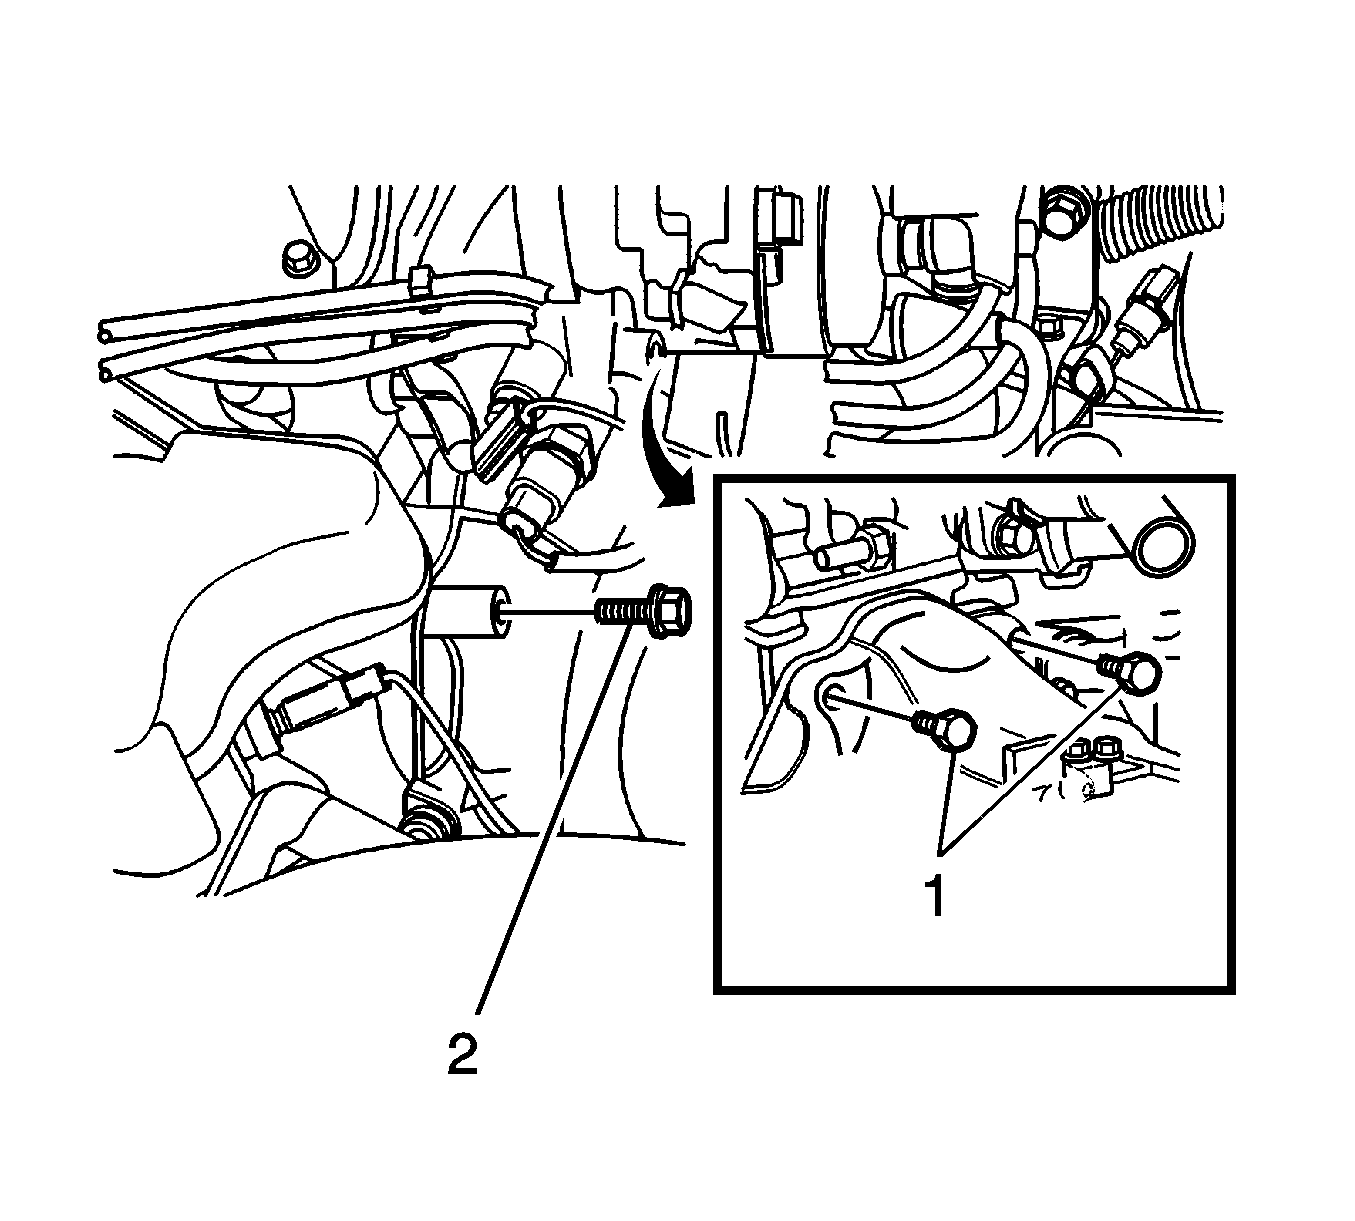
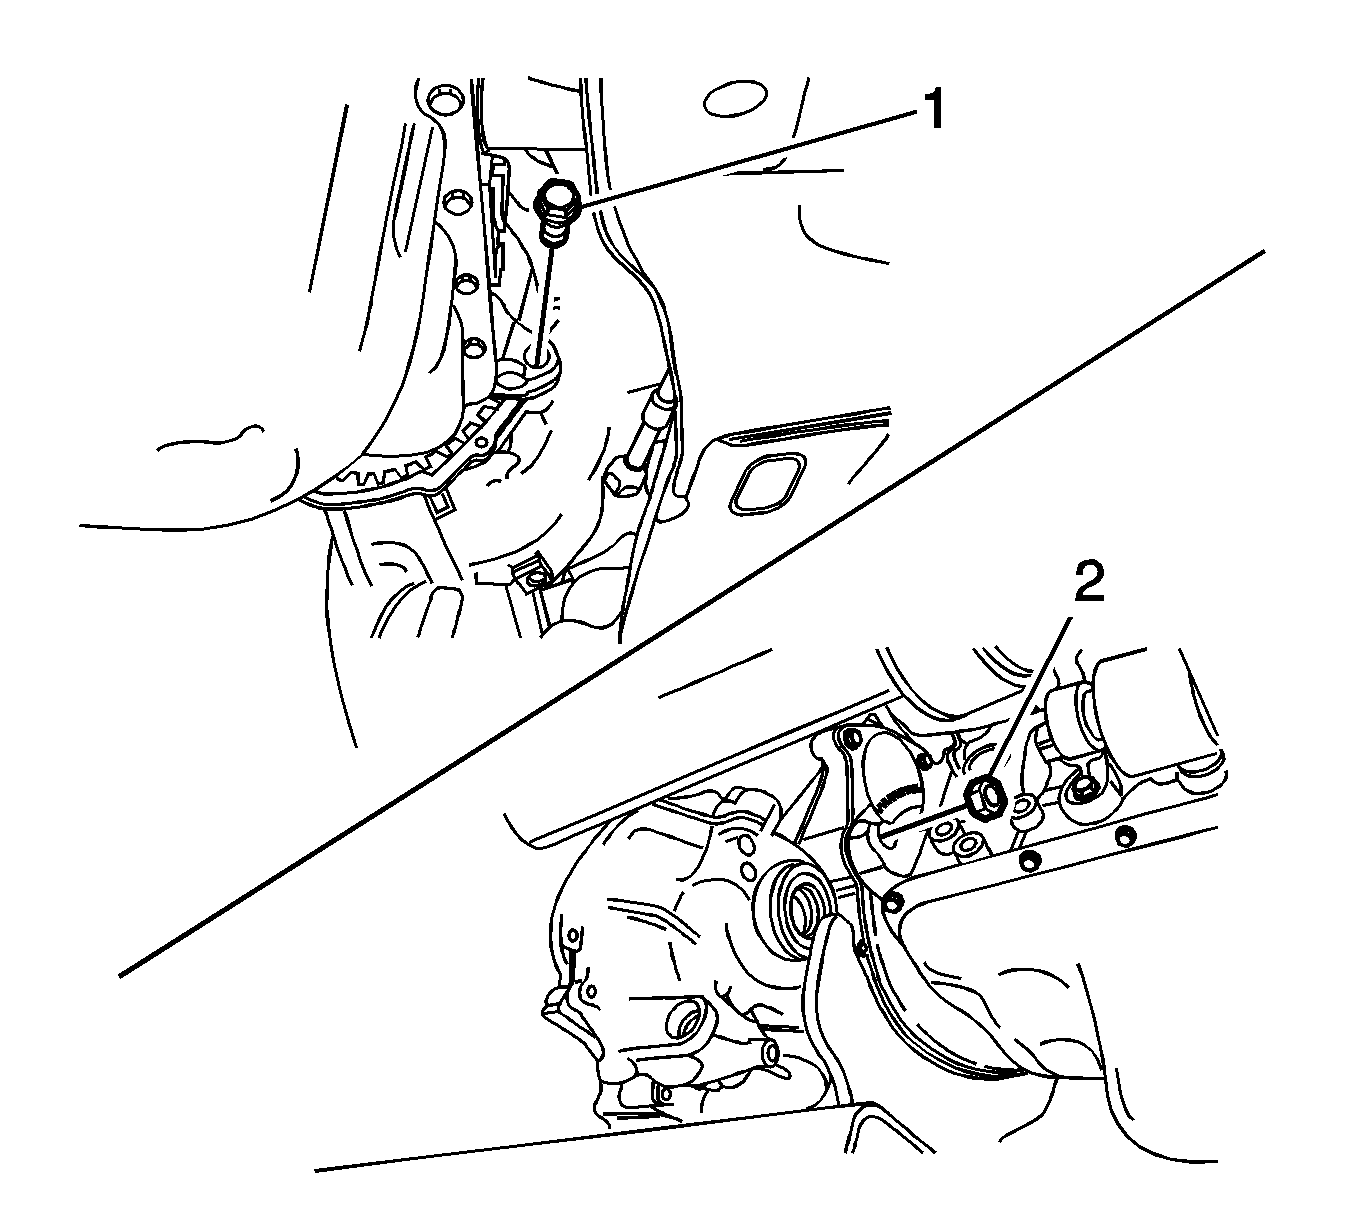
- Remove the transaxle upper exhaust manifold side bolt (1) and the thermostat housing side bolt (2).
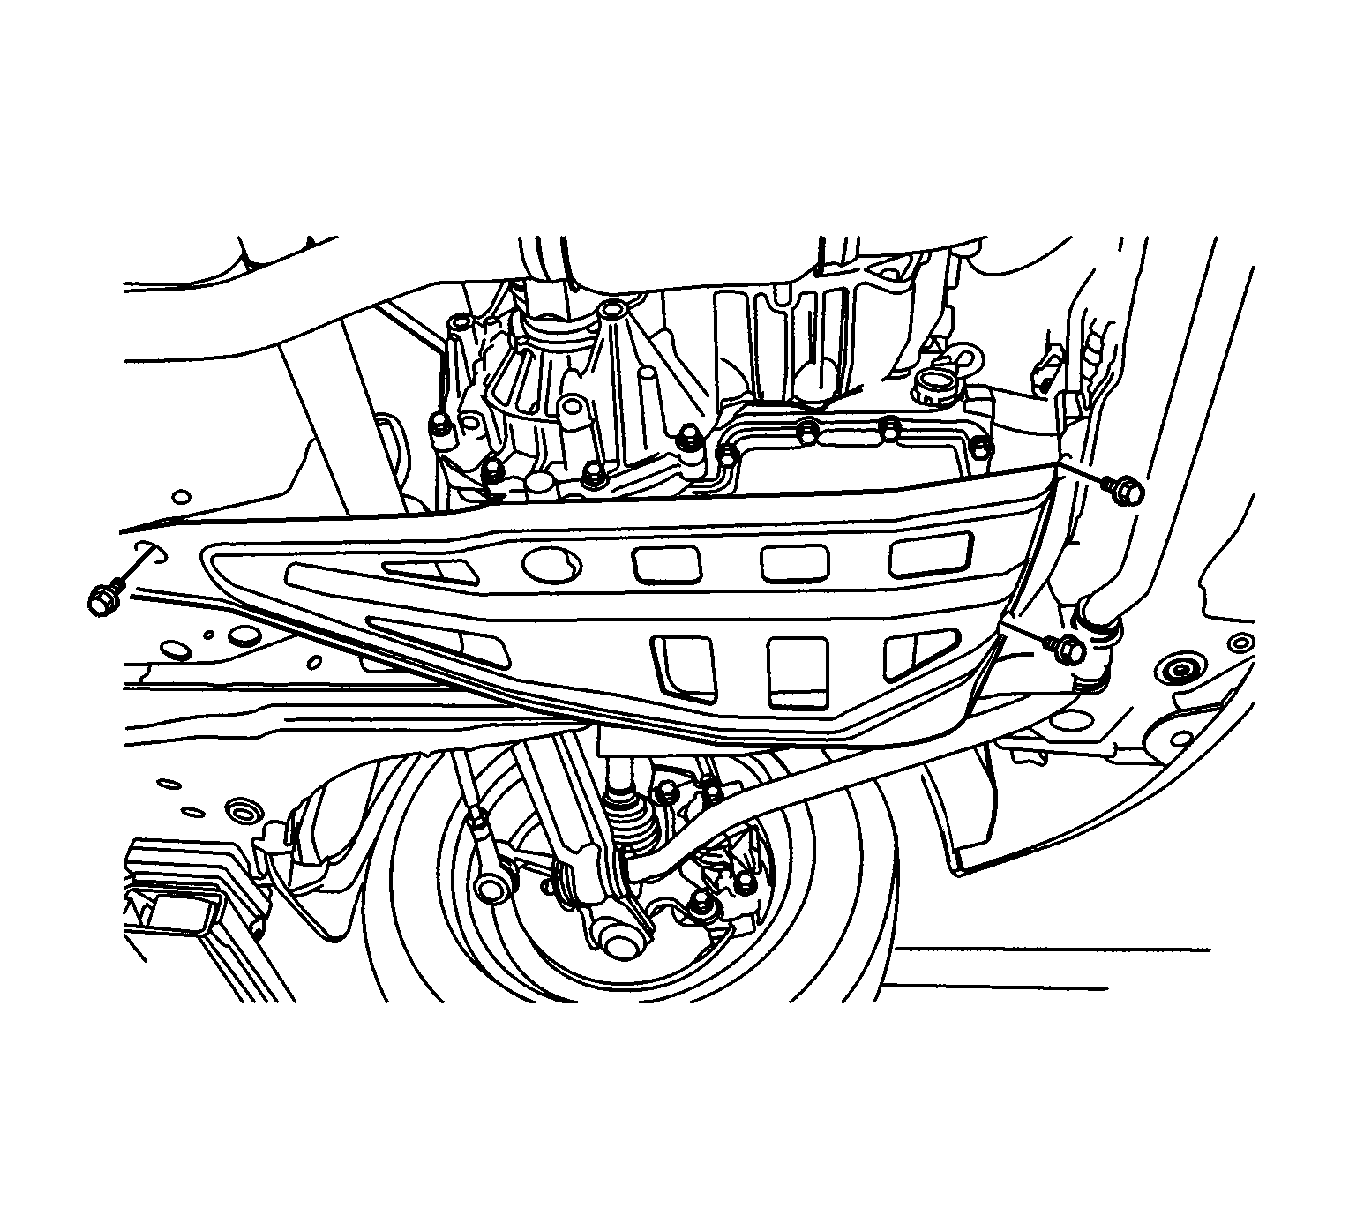
- Remove the transaxle under cover bolts and the transaxle under cover.
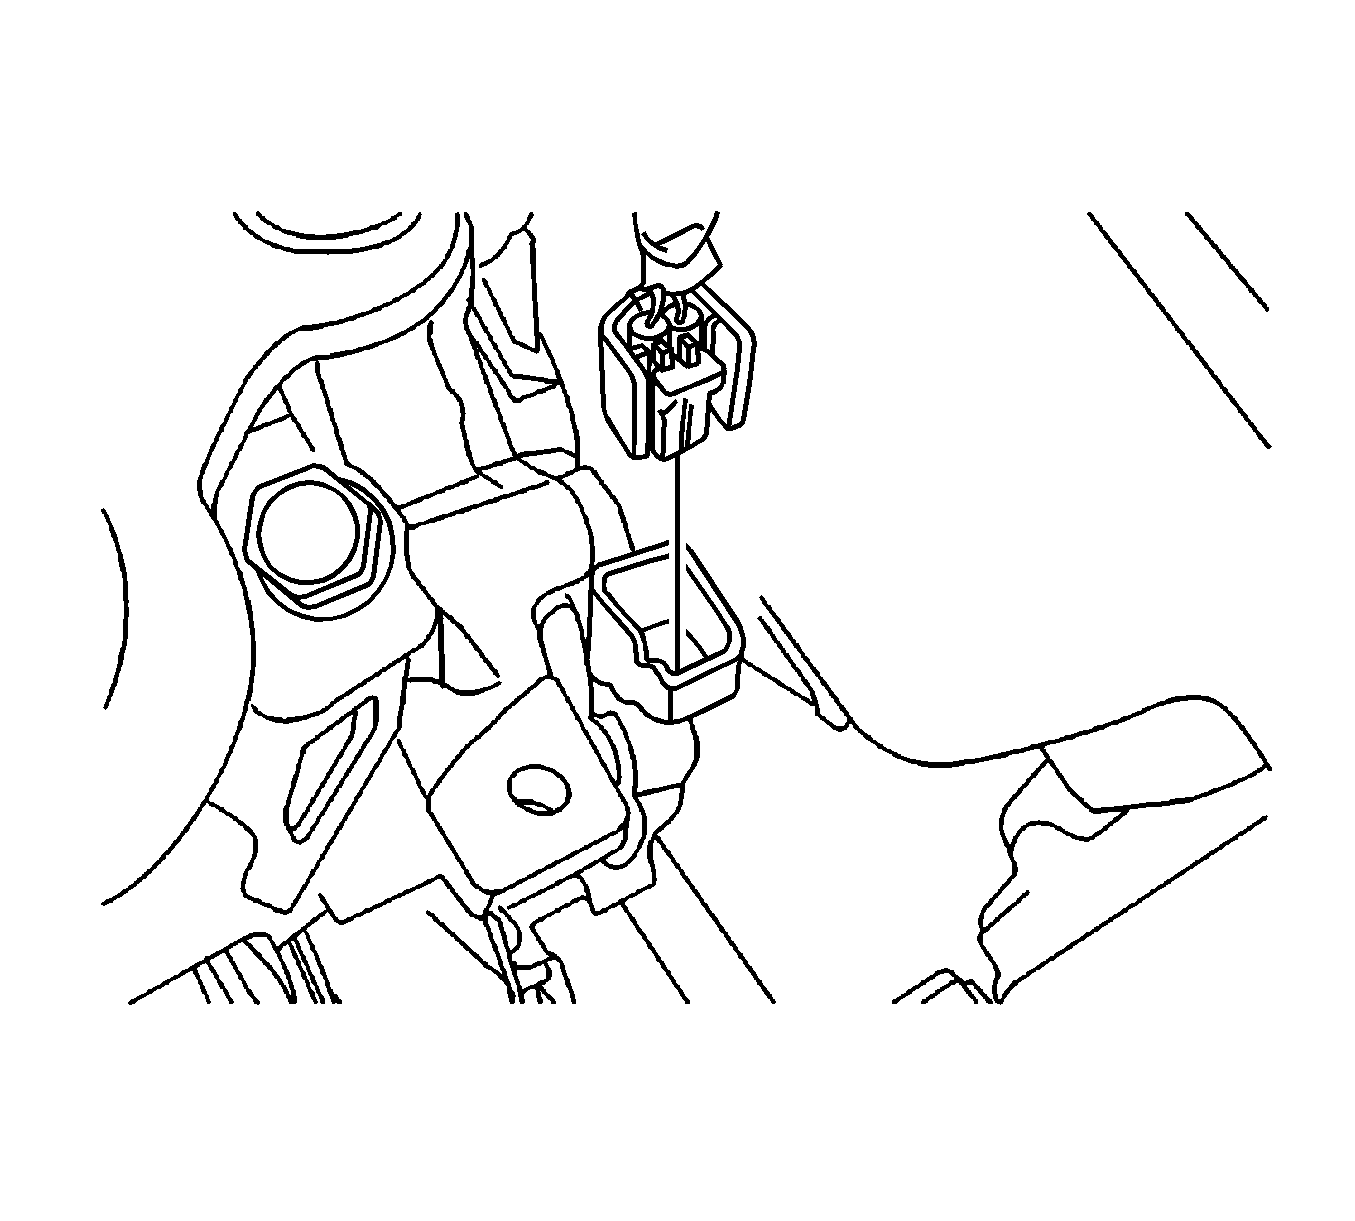
- Disconnect the vehicle speed sensor.
- Remove the front tires and wheels.
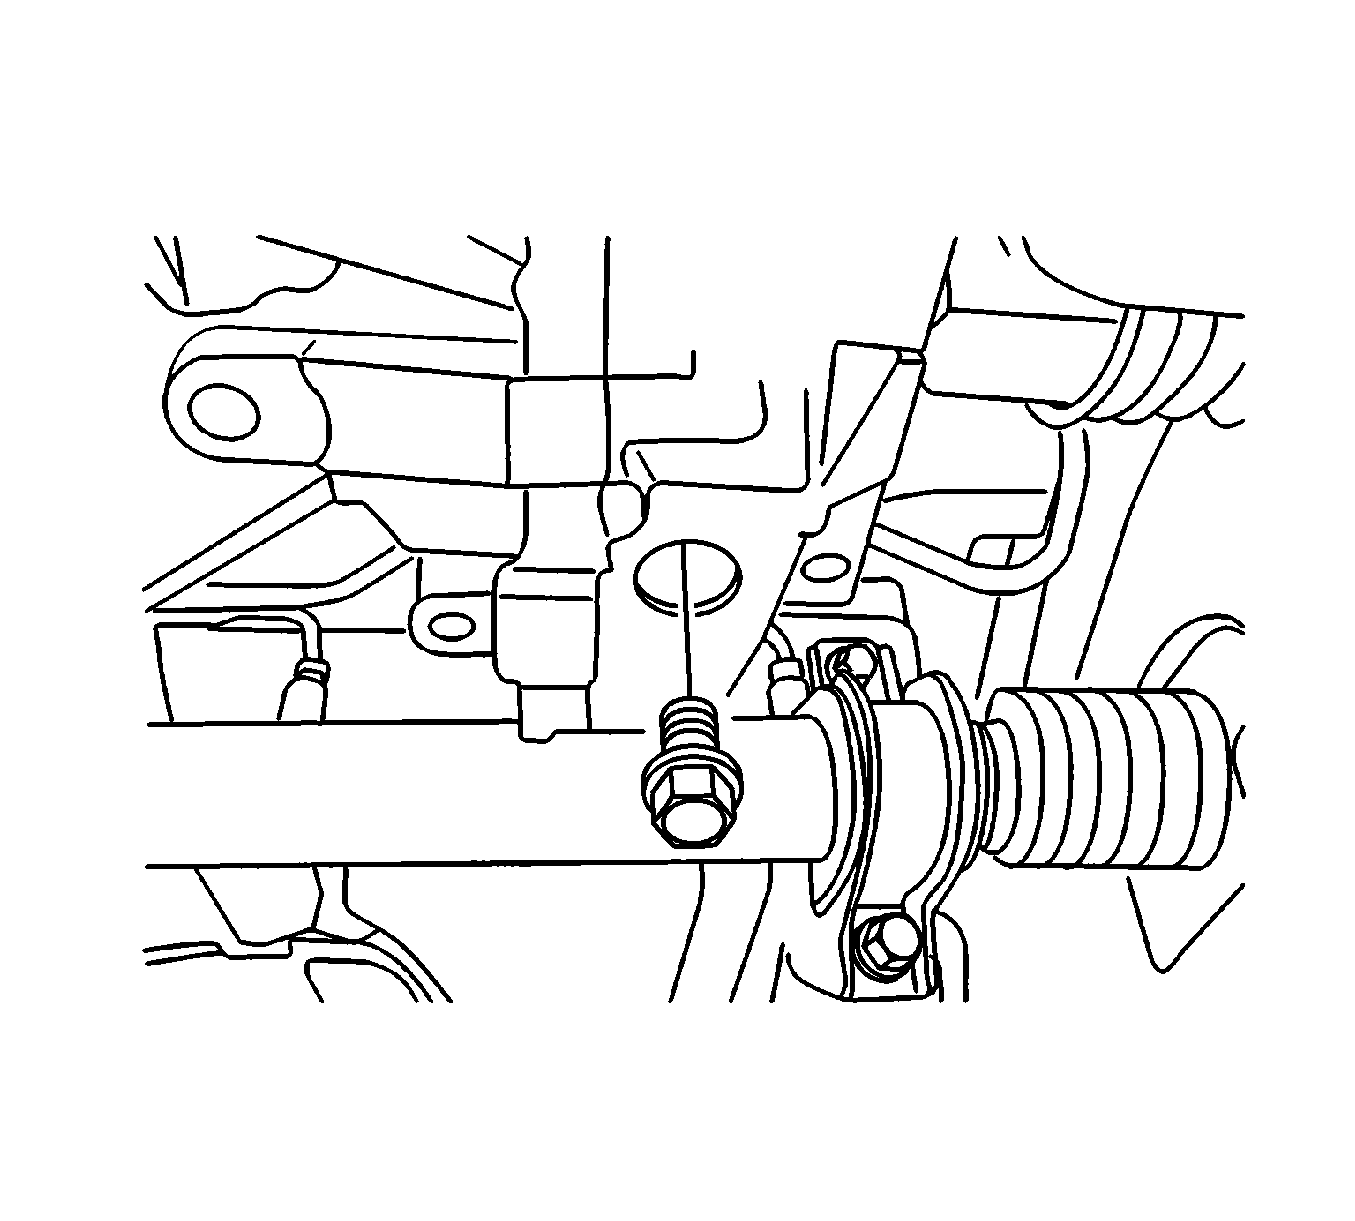
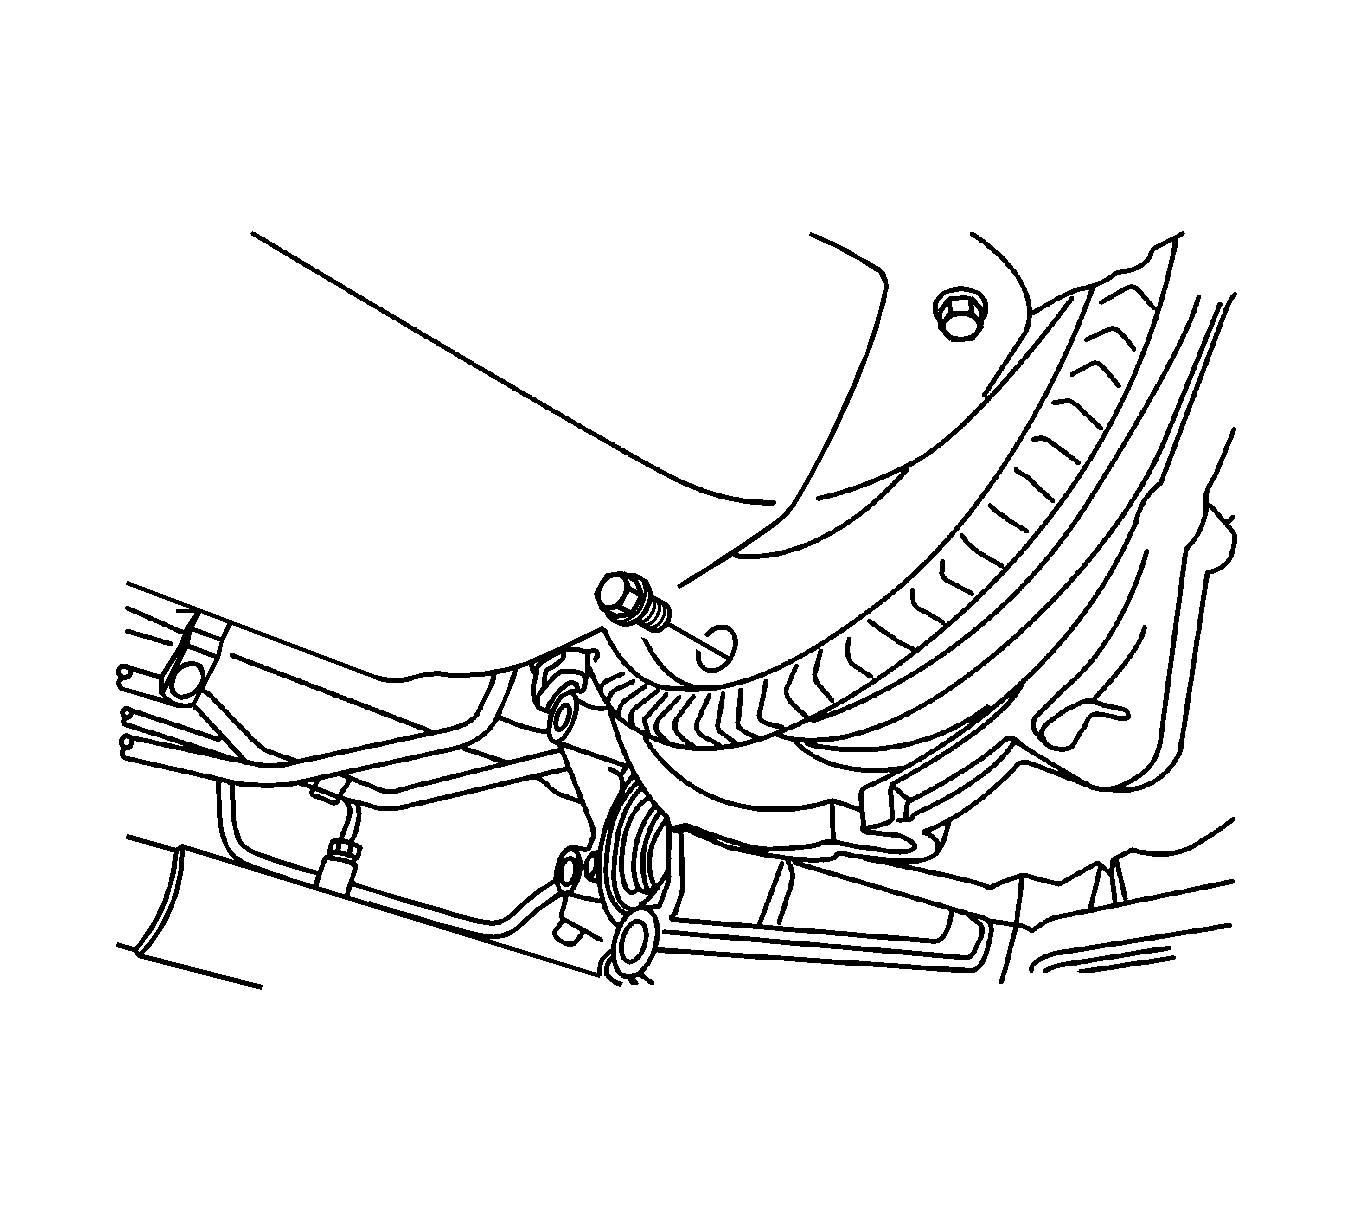
- Remove the drain plug and drain the fluid.
- Remove the front under longitudinal frames and stabilizer. Refer to Stabilizer Shaft Replacement.
- Remove the drive axle, only from the transaxle side. Refer to Front Drive Axle Inner Shaft Replacement.
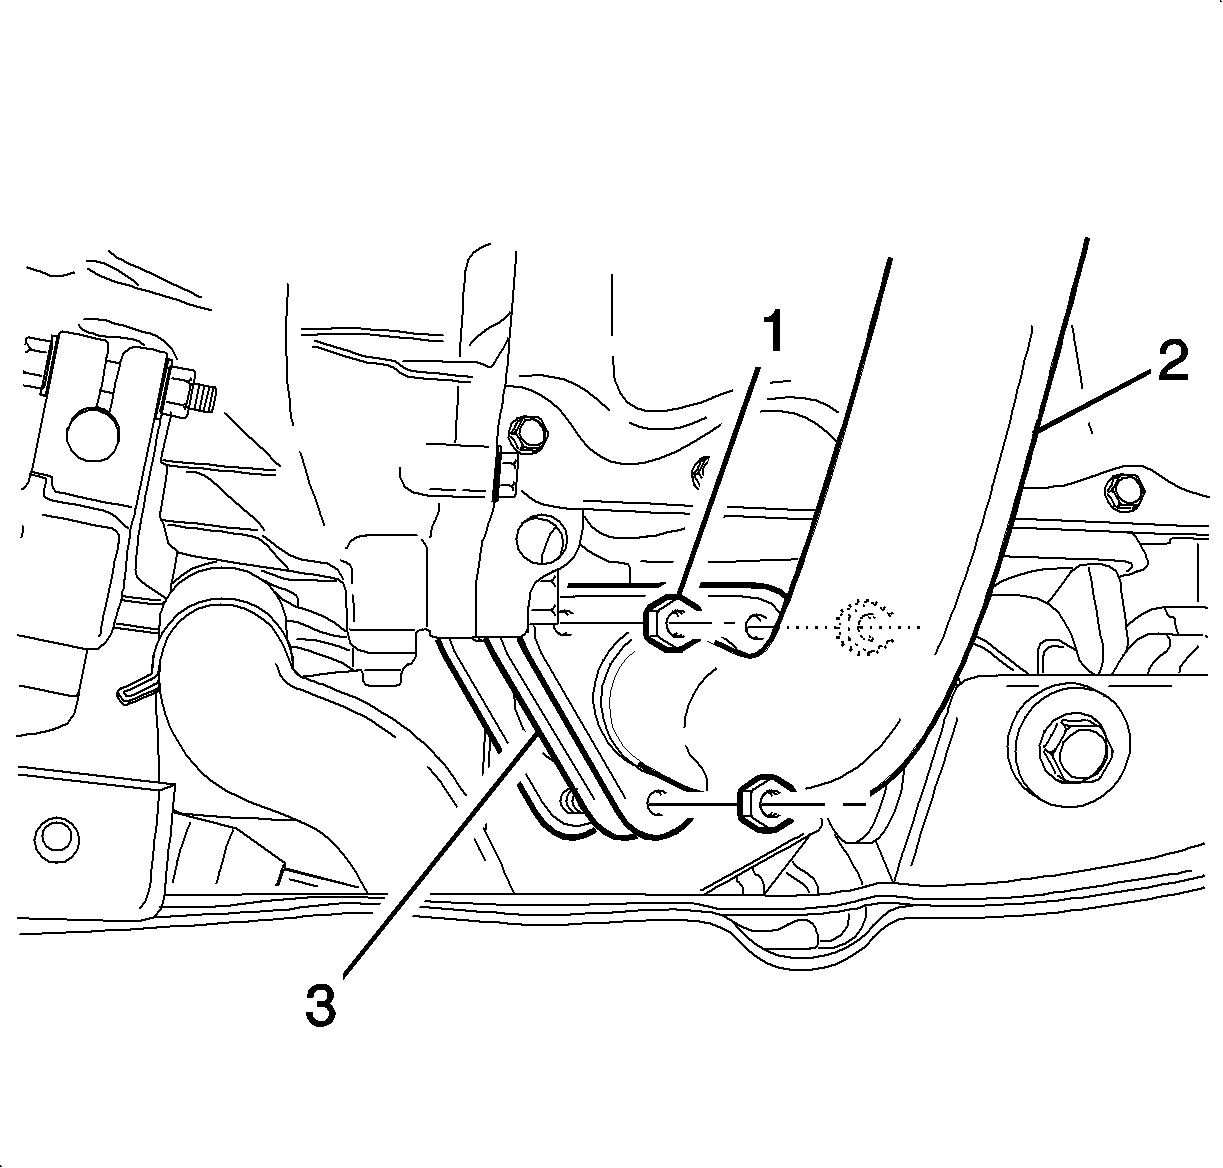
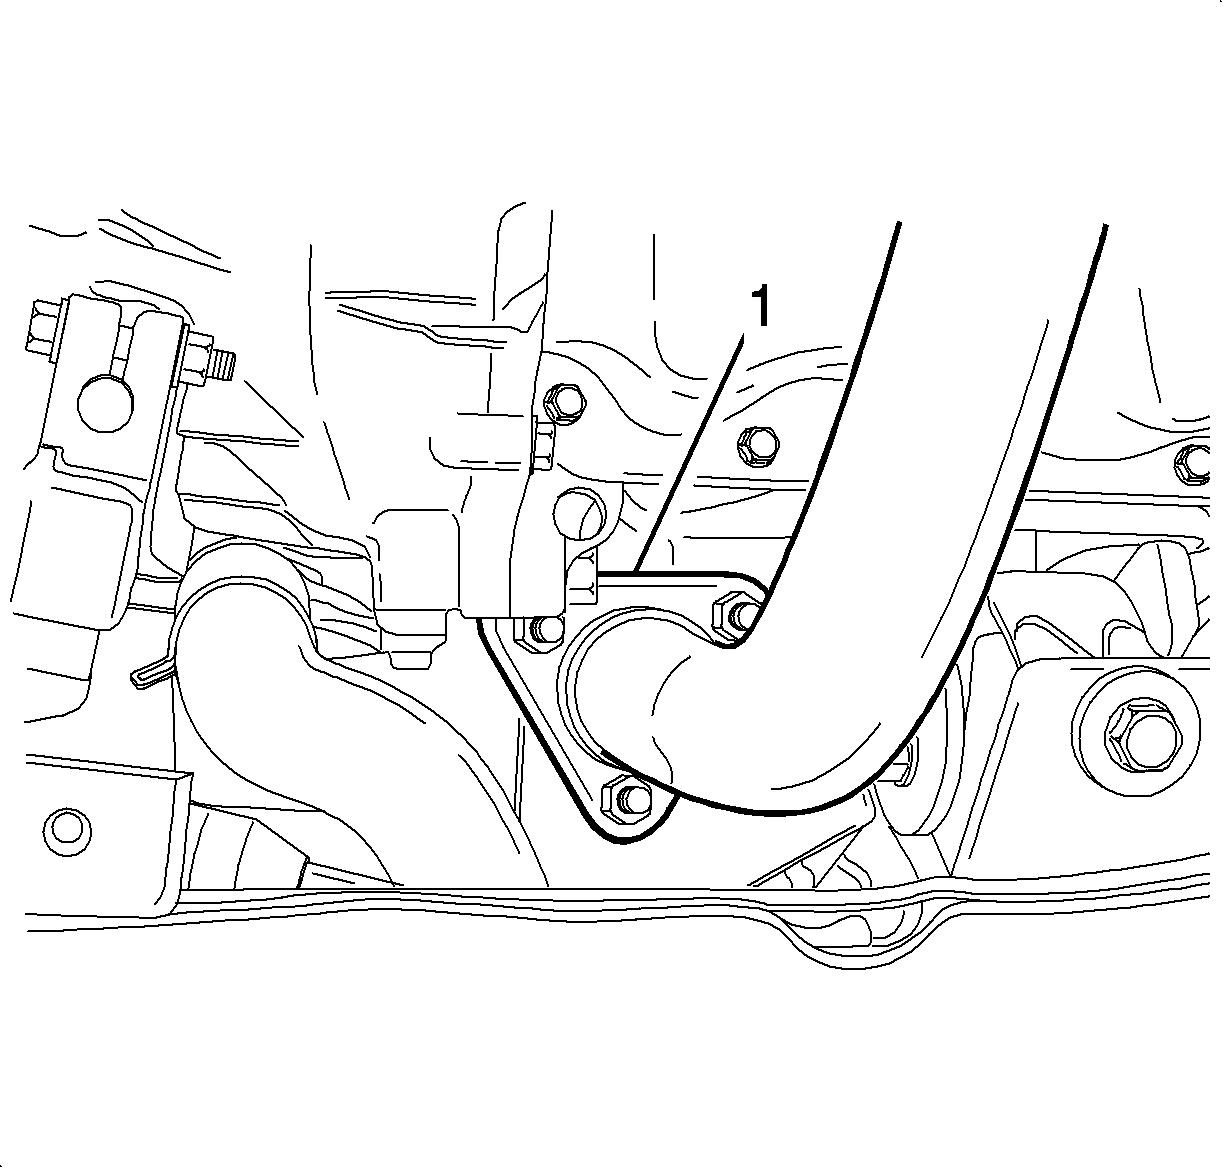
- Remove the front exhaust pipe nuts from the exhaust manifold side (1).
- Remove the gasket and separate the exhaust manifold pipe (3).
- Remove the front exhaust pipe (2).
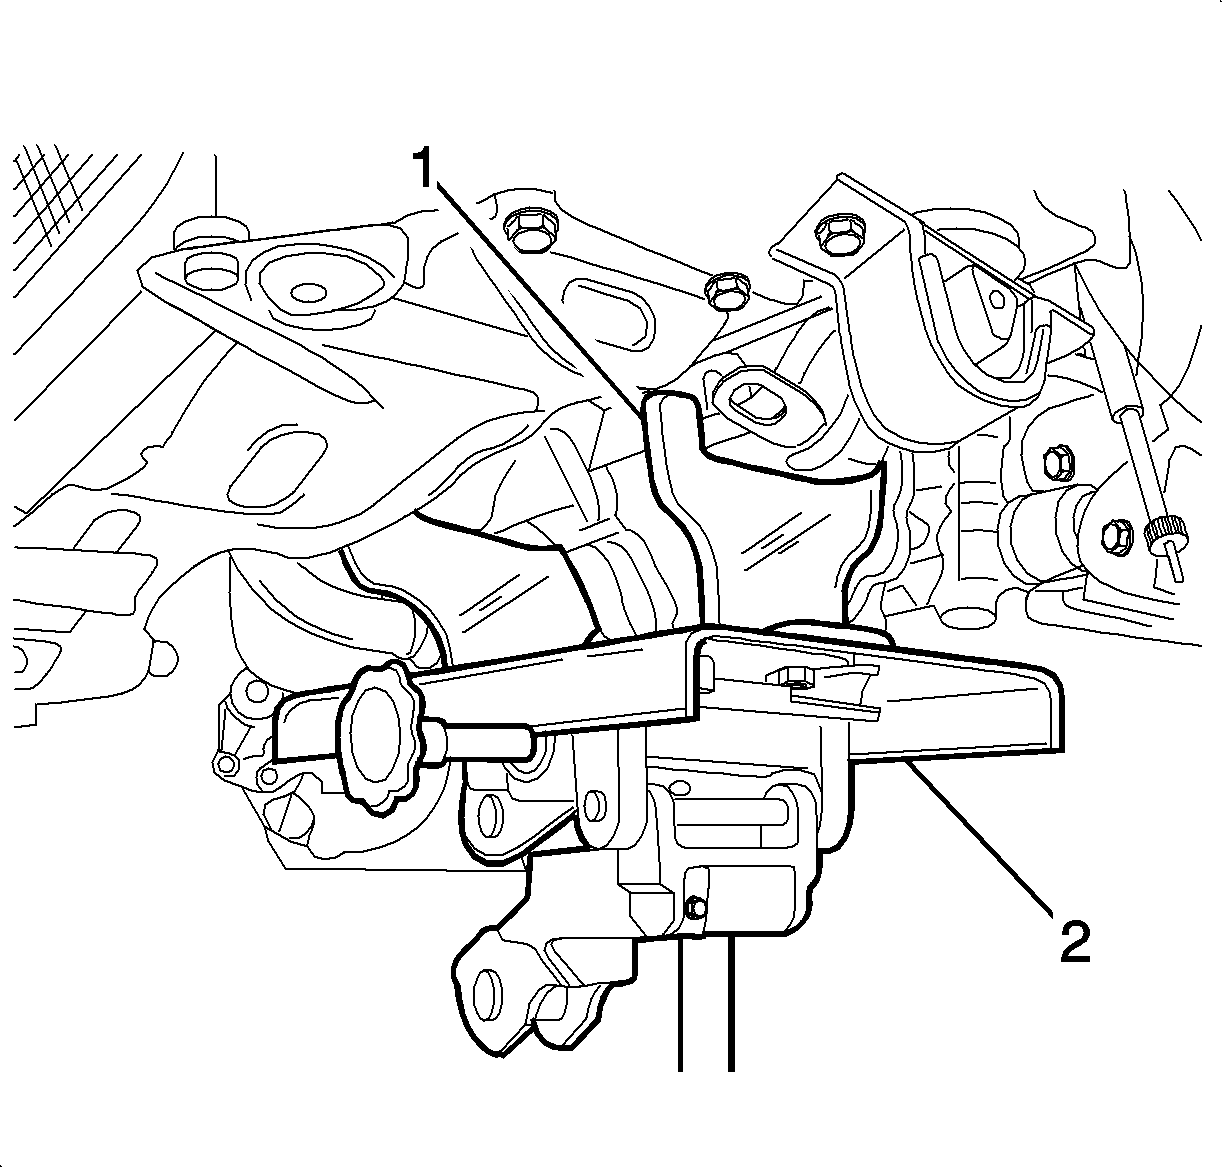
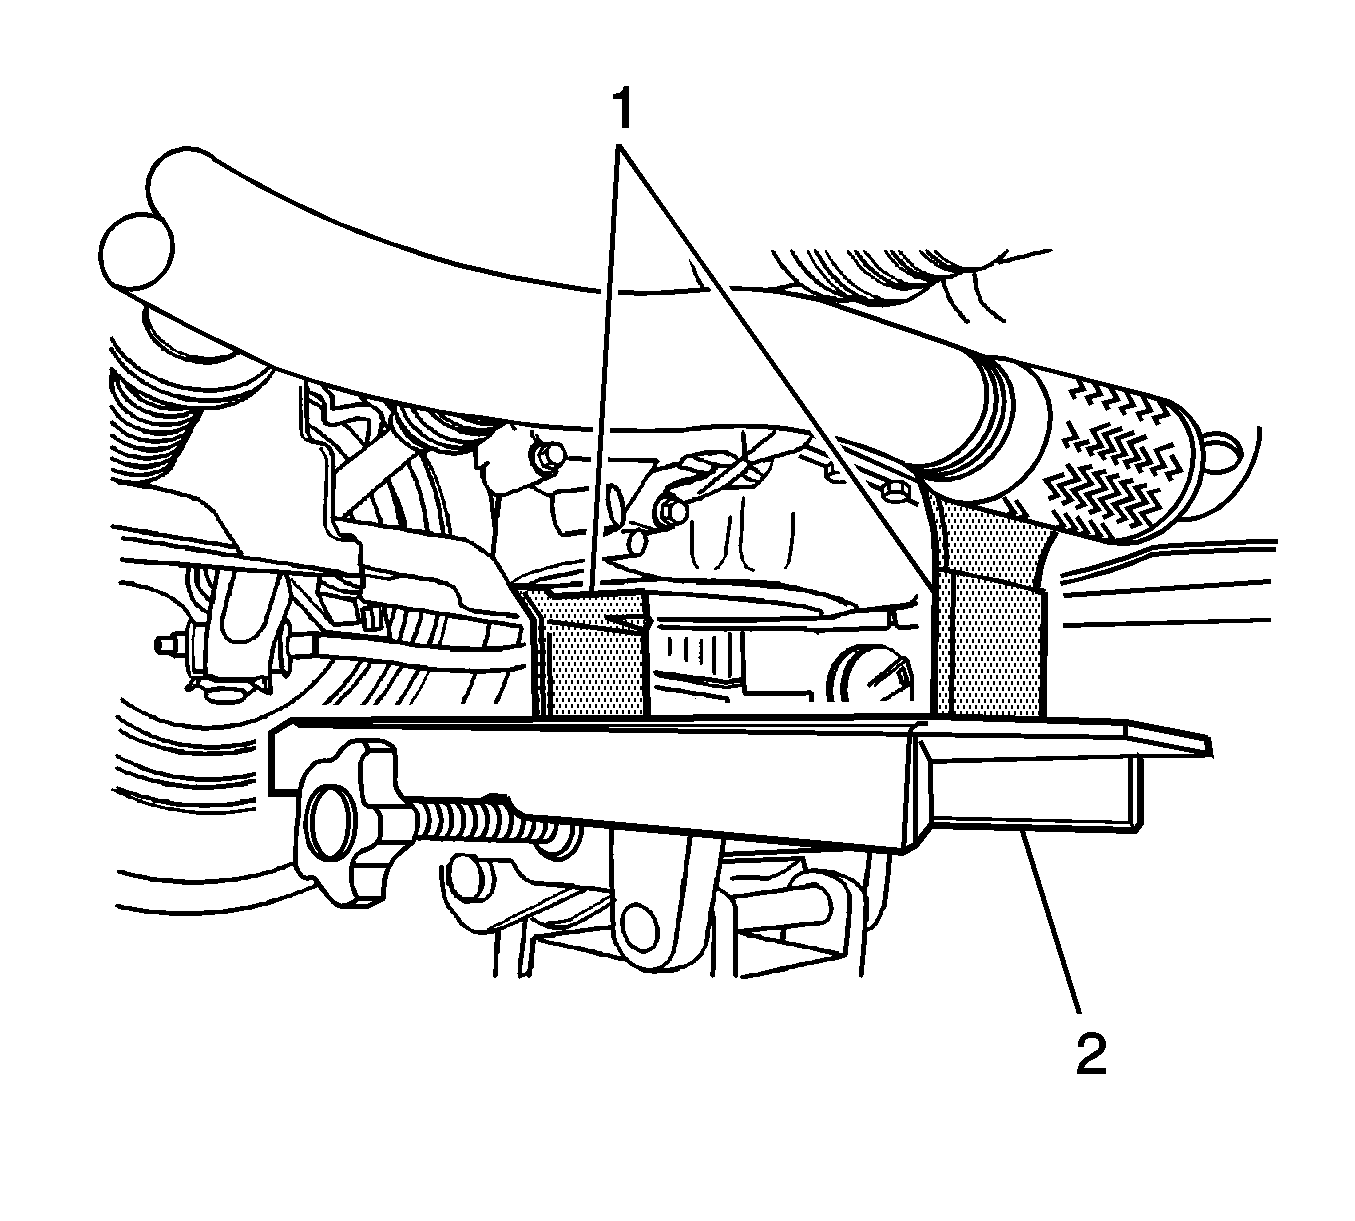
- Support the transaxle with DT 47535 (1).
- Remove the transaxle lower bolt (1) and nut (2).
- Remove the torque converter bolts.
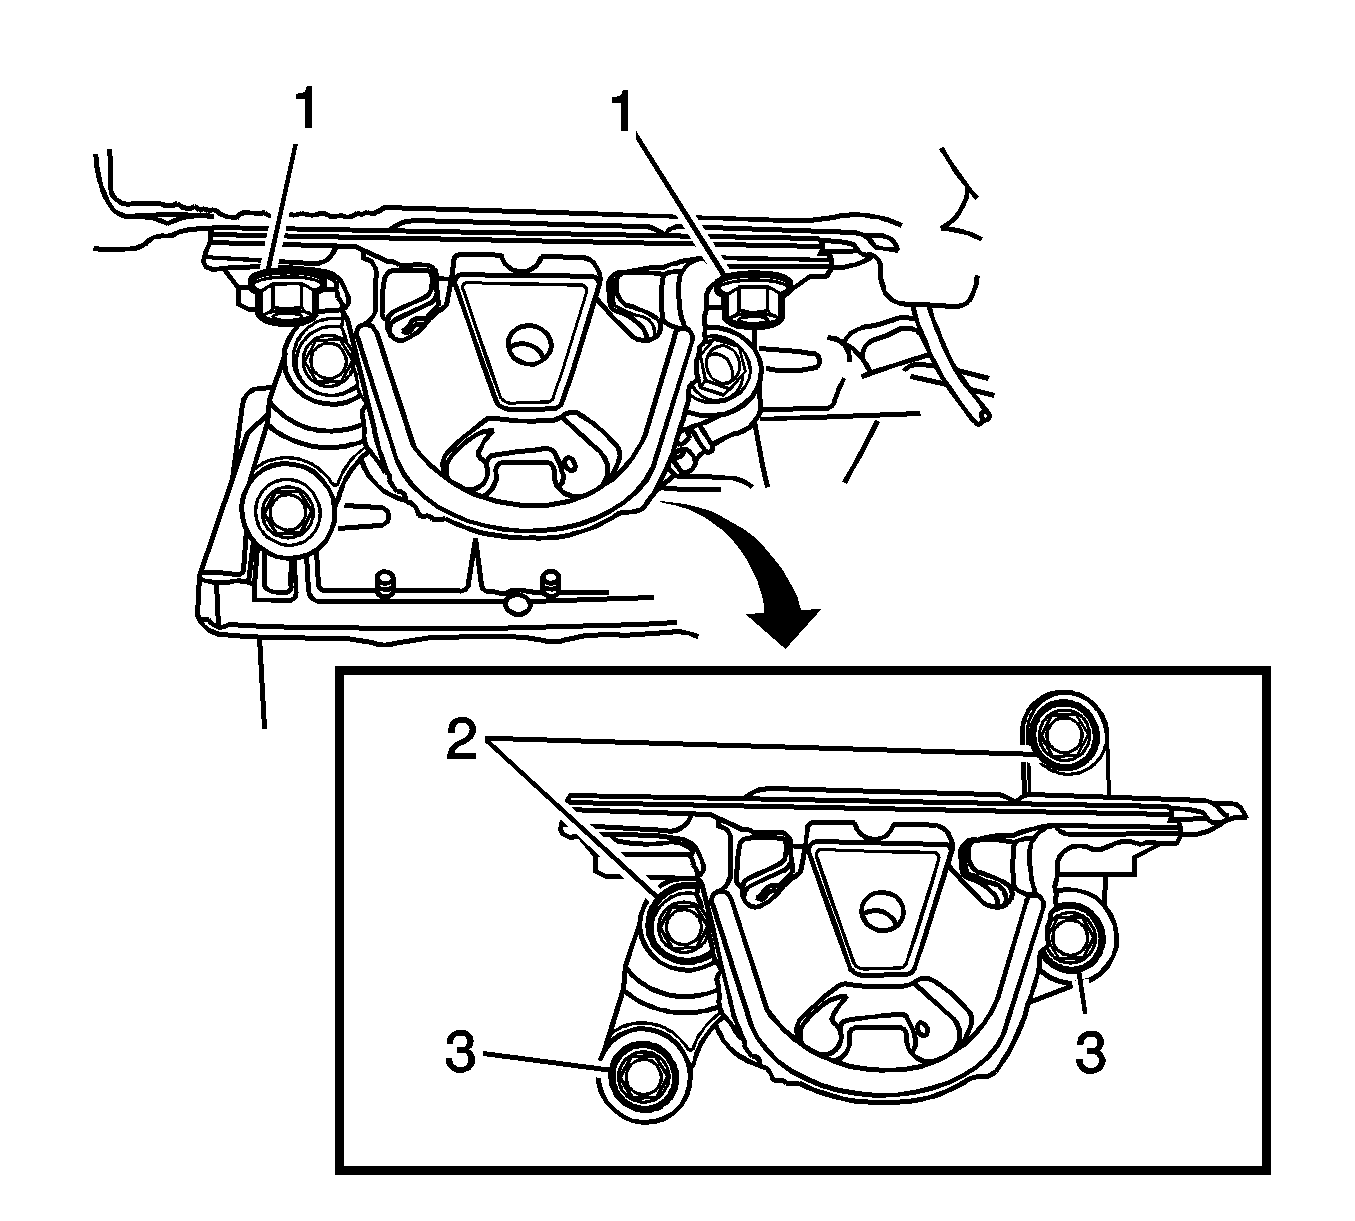
- Remove the transaxle mount bolts (1-3) mount.
- Lower the transaxle assembly slowly by adjusting the jack (2).
- Tilt the transaxle assembly by adjusting the jack.
- Remove the transaxle assembly by pulling and lowering it slowly.
- Support the engine to normal position using the EN46567 (1).
Warning: Refer to Battery Disconnect Warning in the Preface section.
Warning: While engine is operating, the exhaust system will become extremely hot. To prevent burns avoid contacting a hot exhaust system.
Warning: While engine is operating, the exhaust system will become extremely hot. To prevent burns avoid contacting a hot exhaust system.
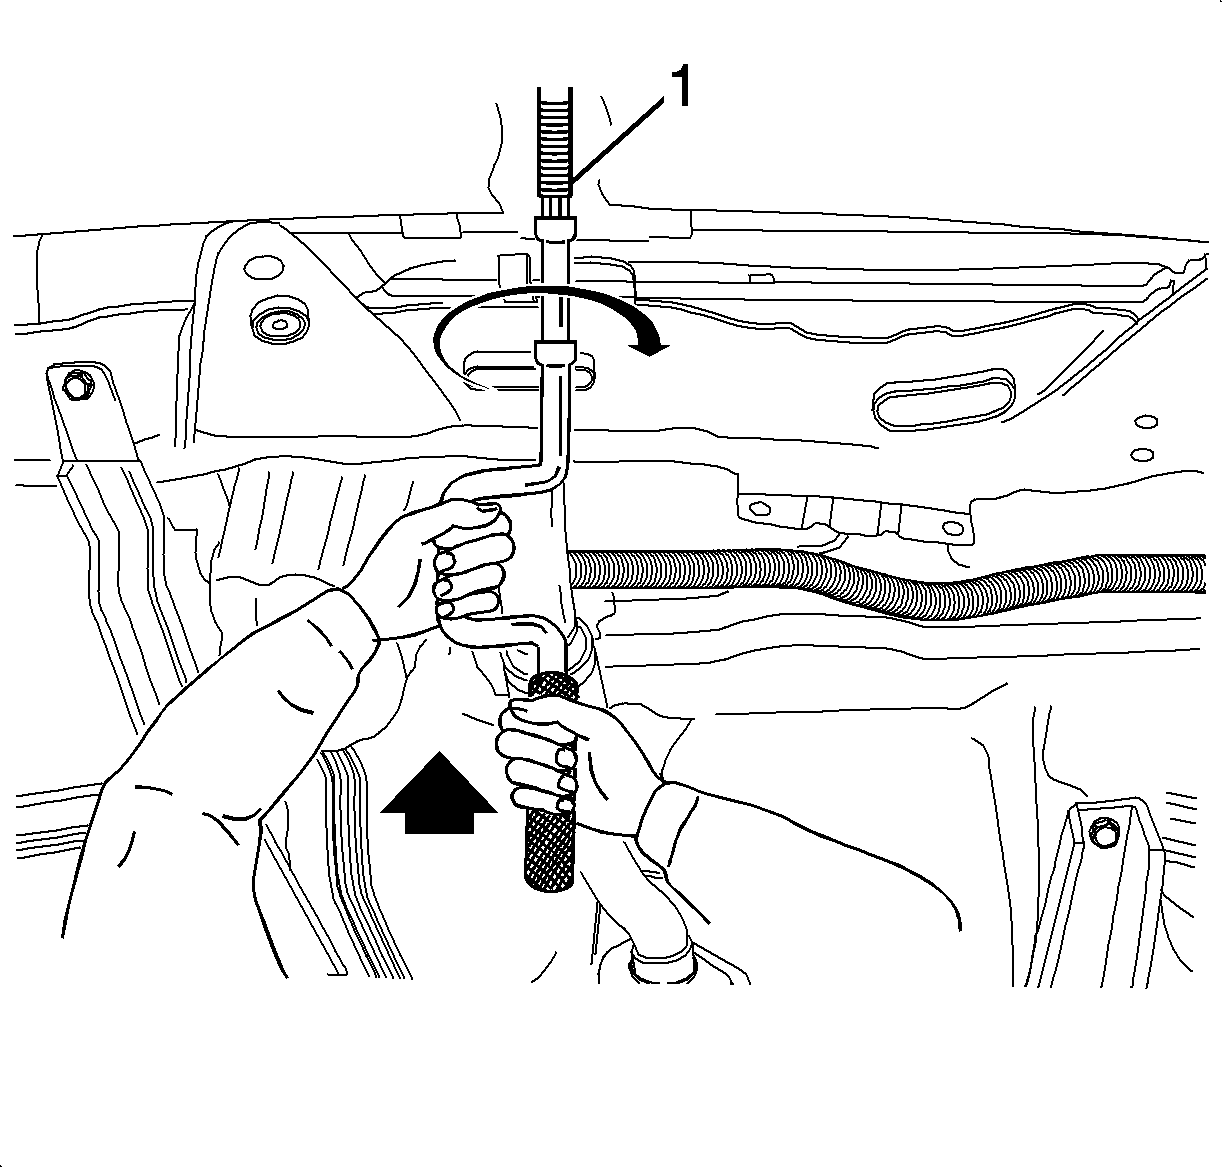
Caution: Support the engine in the normal position when removing the transaxle. Damage to related parts can occur.
Note: If it is impossible to use the special tool, support the engine to normal position with the auto jack.
Installation Procedure
- Install the transaxle mounting bolts and mount.
- Install the torque converter bolts and tighten to 19 N·m (14 lb ft).
- Install the transaxle lower bolt (1) and nut (2) and tighten to 60 N·m (44 lb ft).
- Install the front exhaust pipe nuts (1) and tighten to 30 N·m (22 lb ft).
- Install the drain plug (2) and tighten to 44 N·m (32 lb ft).
- Refill recommended fluid to the proper level.
- Install the front under longitudinal frames and stabilizer. Refer to Stabilizer Shaft Replacement.
- Install the drive axle. Refer to Front Drive Axle Inner Shaft Replacement.
- Install the transaxle under cover and tighten to 45 N·m (33 lb ft).
- Connect the vehicle speed sensor connector.
- Install the transaxle upper exhaust manifold side bolt (1) and the thermostat housing side bolt (2) and tighten to 60 N·m (44 lb ft).
- Remove the EN46567 (1).
- Install the air inlet grille panel weatherstrip.
- Install the starter motor and tighten to 23 N·m (17 lb ft).
- Connect the turbine sensor connector.
- Connect the clamps and oil cooler hoses.
- Install the radiator lower hose and tighten to 12 N·m (106 lb in).
- Connect the wiring harness connectors.
- Install the wiring harness retainer.
- Install the select cable.
- Install the E-ring (2) and nut (3).
- Install the selectable bracket bolts (1) and bracket and tighten to 20 N·m (15 lb ft).
- Install the battery and battery tray. Refer to Battery Replacement.
- Install the air cleaner assembly. Refer to Air Cleaner Assembly Replacement.
Caution: Refer to Fastener Caution in the Preface section.

| • | Tighten the transaxle mounting bolts (1, 2) to 50 N·m (37 lb ft). |
| • | Tighten the transaxle mounting bolts (3) to 37 N·m (27 lb ft). |



Specification
The classification is ESSO JWS3314.
Specification
The capacity is 4.78 L (5.05 qt).

