Special Tools
| • | J 24402-A Glass Sealant Remover (Cold Knife) |
| • | J 39032 Stationary Glass Removal Tool |
| • | Use a urethane adhesive systems which meet GM Specification GM 3651G |
Removal Procedure
- Remove the fixed antenna mast if equipped. Refer to Radio Antenna Replacement.
- Open the hood.
- Remove the window wiper arms. Refer to Windshield Wiper Arm Replacement.
- Remove the air inlet grille panel. Refer to Air Inlet Grille Panel Replacement.
- Remove the outside moisture sensor lens. Refer to Windshield Outside Moisture Sensor Lens Replacement.
- Remove the inside rearview mirror. Refer to Inside Rearview Mirror Replacement.
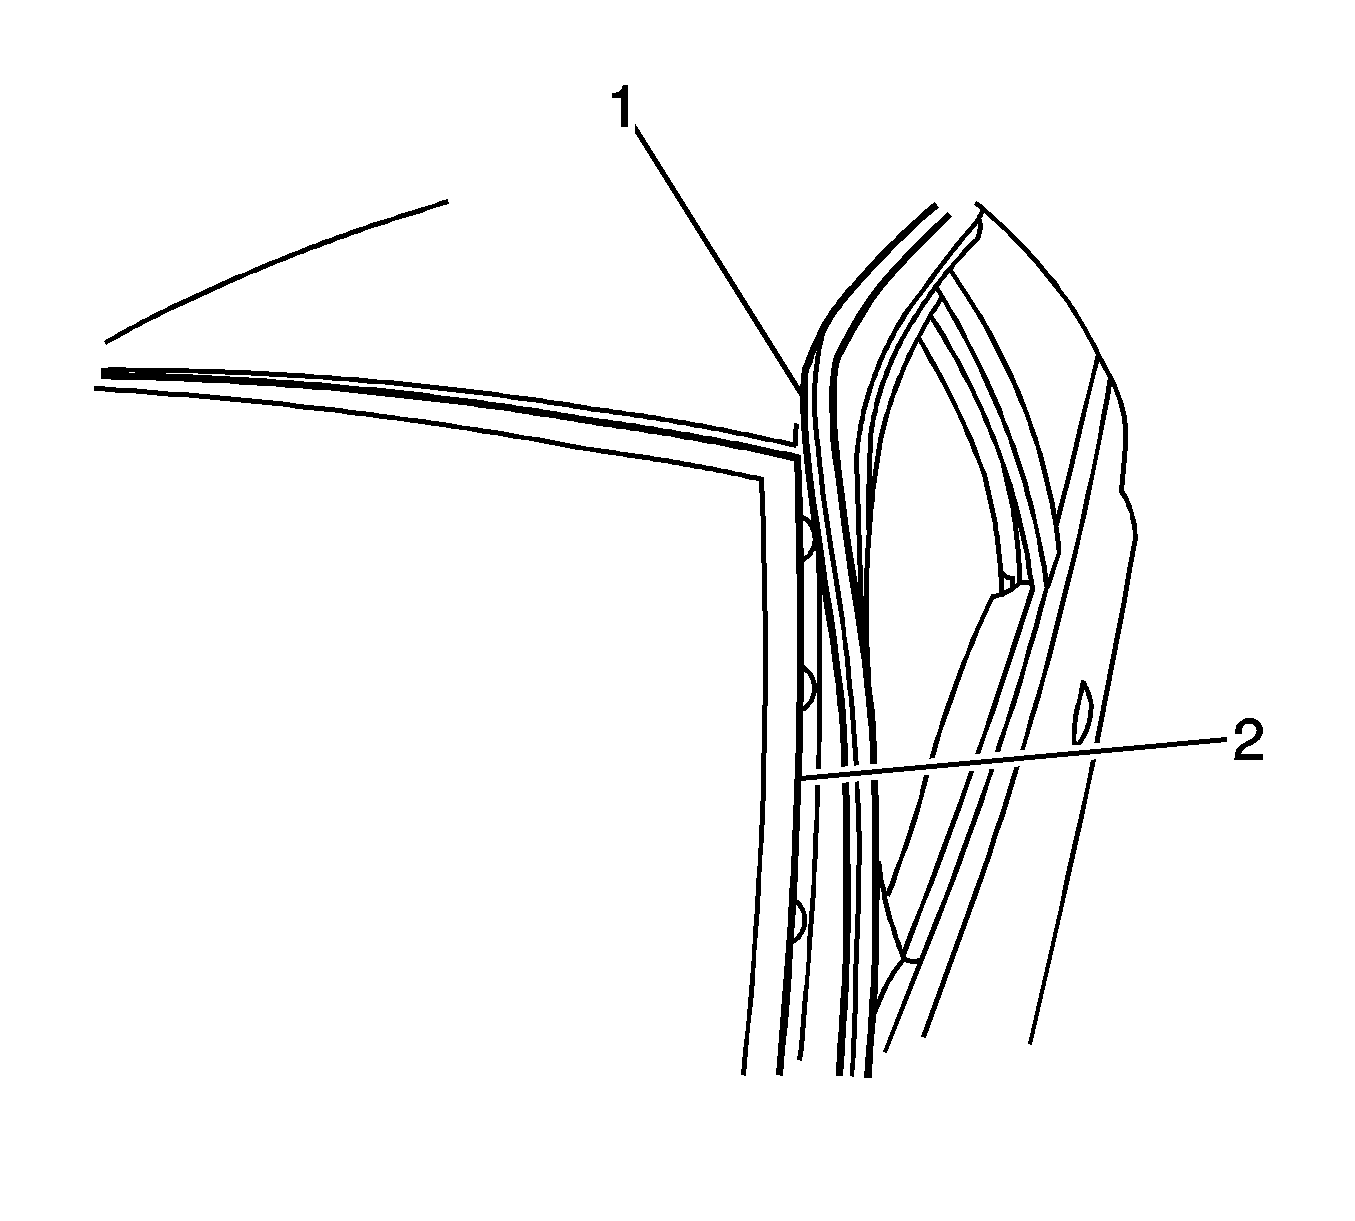
- Reposition the front door sealing weatherstrips (1) in order to access the side reveal molding screws. You do not have to remove the front door sealing weatherstrip completely from the vehicle.
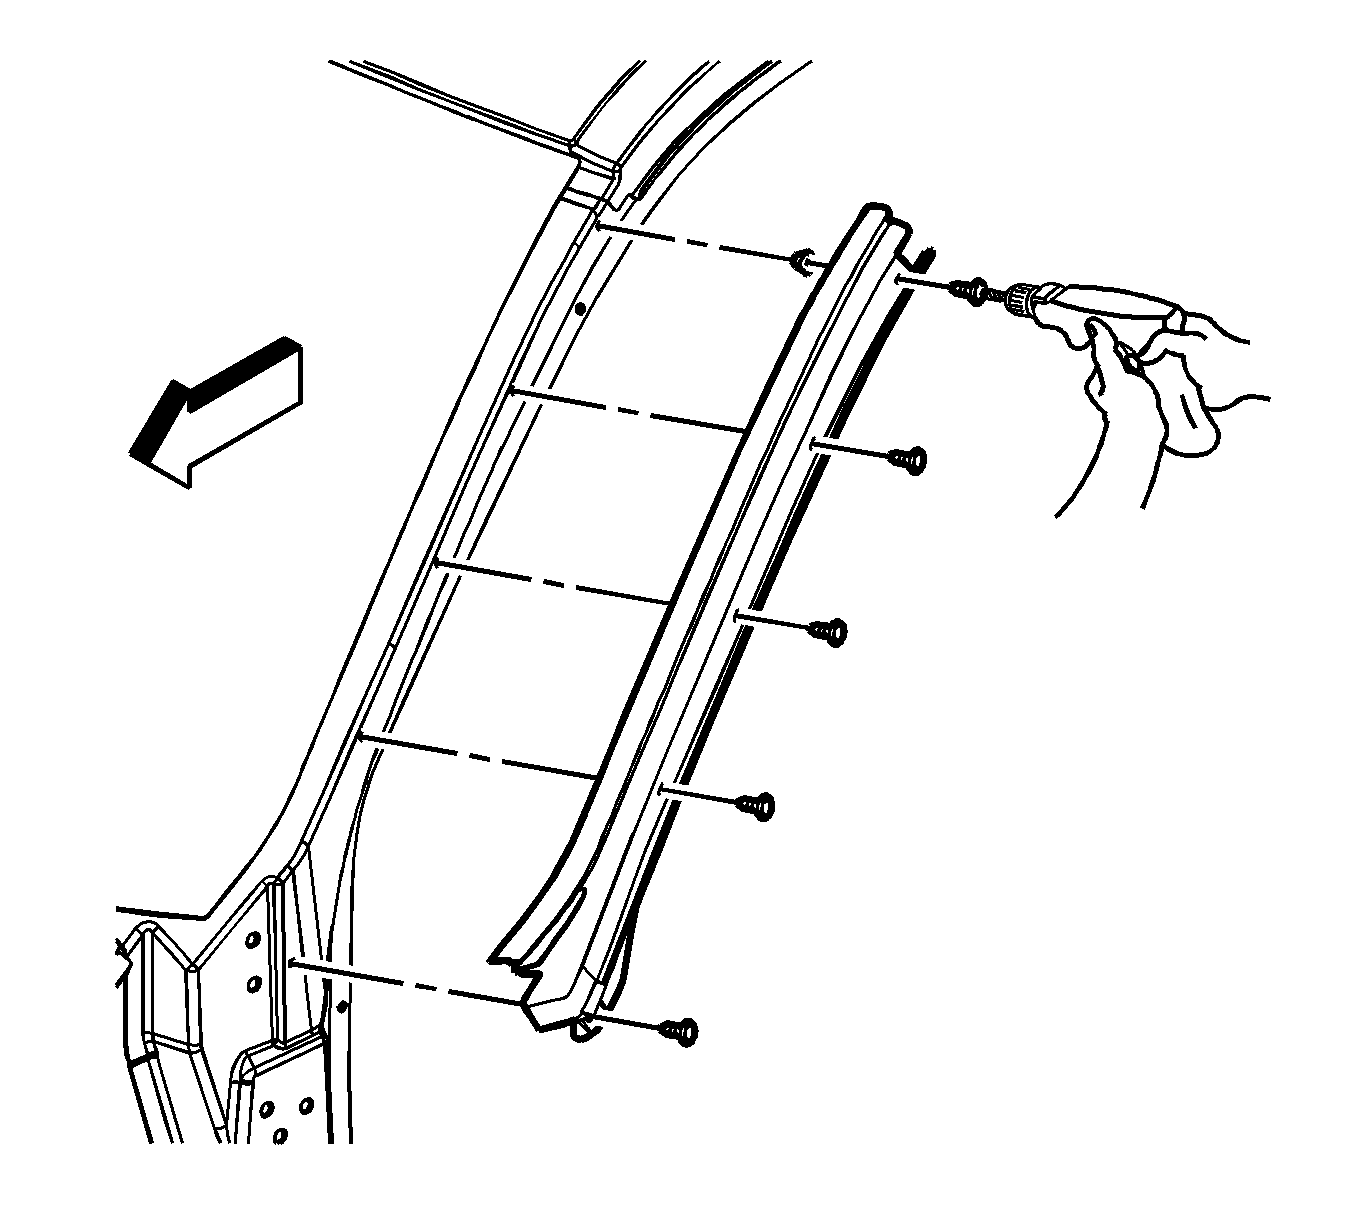
- Remove the screws from the left and the right sides of window side reveal moldings.
- Remove the reveal side moldings from the vehicle.
- Cover the following parts to protect from broken glass:
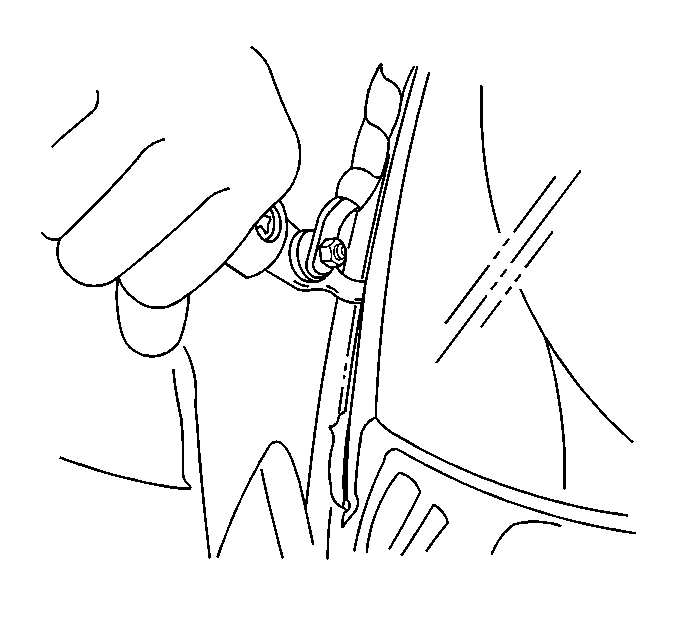
- Remove the window lower supports (1) by using a flat-bladed tool, lightly prying upward in the middle until the support releases.
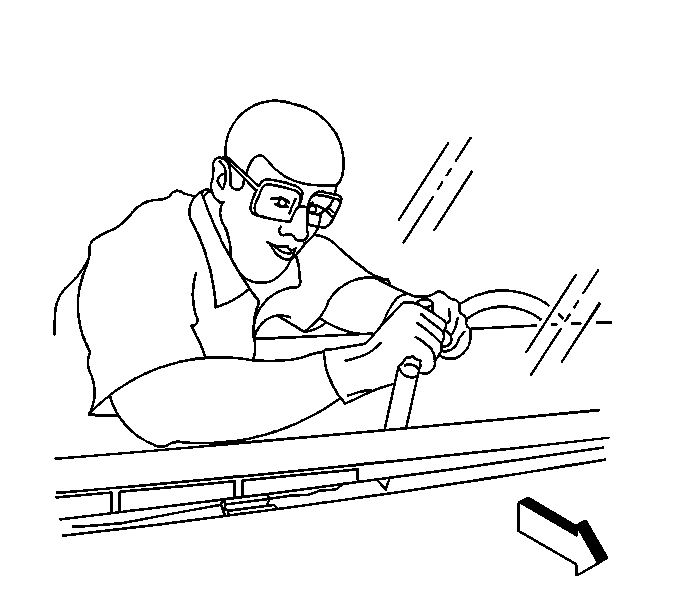
- Use J-24402-A Glass Sealant Cold Knife Remover , J-39032 Stationary Window Removal Tool , or equivalent in order to remove the window.
- Remove the bottom of the window from the urethane adhesive using a long utility knife or similar tool.
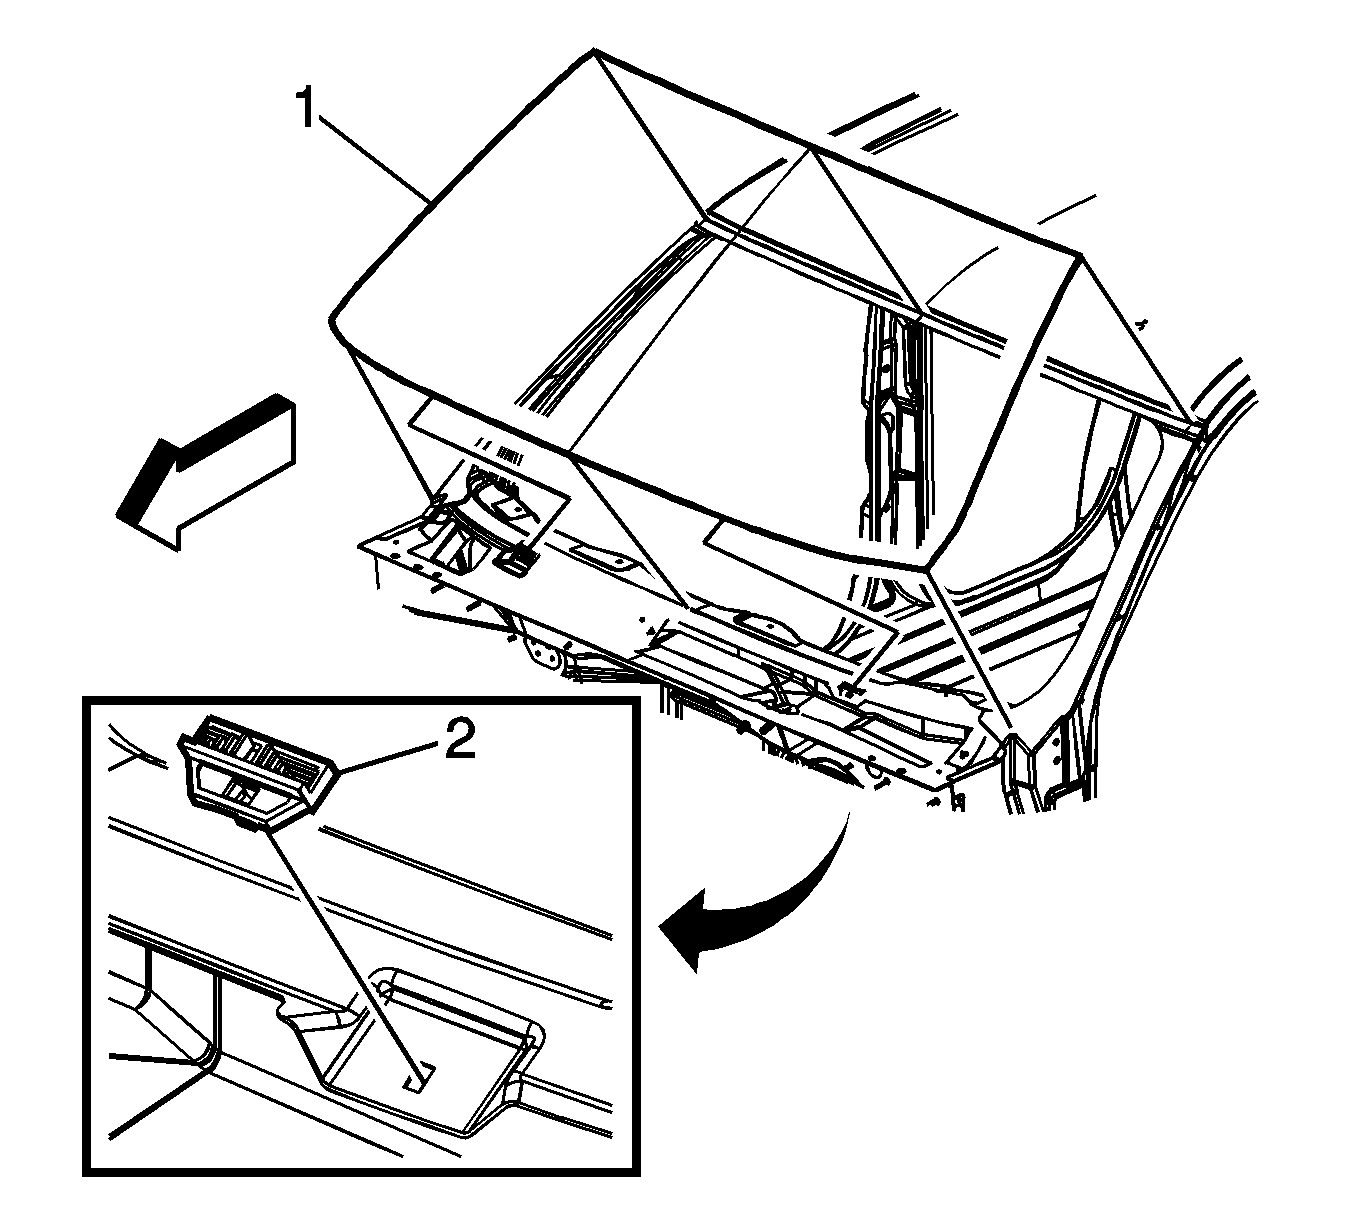
- With the aid of an assistant remove the window (1) from the vehicle.
Note: Before cutting out a stationary window, apply a double layer of masking tape around the perimeter of the painted surfaces and the interior trim.
Note: If the outside moisture sensor was remove from the windshield the lens must be replaced.
Warning: If broken glass falls into the defroster outlets, it can be blown into the passenger compartment and cause personal injury.
| 10.1. | The upper dash pad |
| 10.2. | The defroster outlets and A/C outlets |
| 10.3. | The seats and the carpeting |
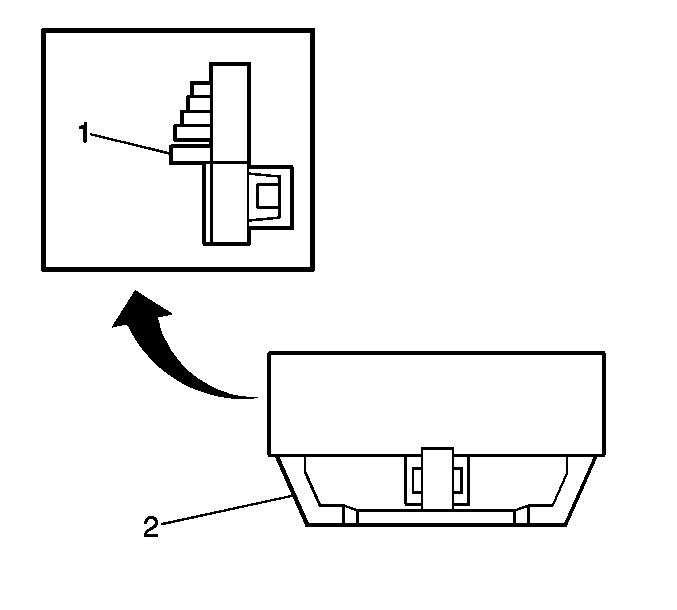
Note: The window lower supports have molded locks with a urethane adhesive strip on the back side. Once the window lower stops have been removed, the stops must be replaced.
Warning: Refer to Glass and Sheet Metal Handling Warning in the Preface section.
Note: Keep the cutting edge of the tool against the window in order to properly separate the urethane adhesive from the window.
| • | Leave a base of urethane on the pinch-weld flange. |
| • | The only suitable lubrication is clear water. |
Installation Procedure
- Install a stationary window into the opening. Refer to Adhesive Installation of Stationary Windows.
- Install the window side reveal moldings to the vehicle.
- Install the screws to the left and the right sides of the window side reveal moldings and tighten to 2 N·m (18 lb in).
- Install the front door sealing weatherstrips to the retainer.
- Install the cowl air inlet grille panel. Refer to Air Inlet Grille Panel Replacement.
- Install the window wiper arms. Refer to Windshield Wiper Arm Replacement.
- Install the antenna mast, if equipped. Refer to Radio Antenna Replacement.
- Install the outside moisture sensor lens. Refer to Windshield Outside Moisture Sensor Lens Replacement.
- Install the inside rearview mirror. Refer to Inside Rearview Mirror Replacement.
- Close the hood.
- Remove the double layer of masking tape around the perimeter of the painted surfaces and the interior trim.
Note: If the HYBRID decal on the windshield is damaged or if the windshield is being replaced, refer to Decal or Stripe Replacement
Caution: Refer to Fastener Caution in the Preface section.
