Removal Procedure
- Disconnect the negative battery cable.
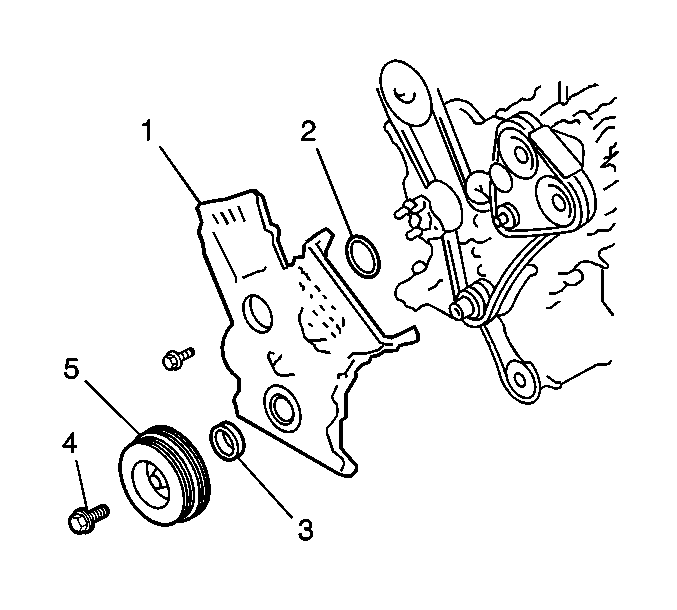
- Remove the engine front cover (1). Refer to Engine Front Cover Replacement .
- Remove the spark plugs. Refer to Spark Plug Replacement in Engine Controls - 2.5L.
- Remove the left secondary timing chain. Refer to Secondary Timing Chain Replacement - Left Side .
- Remove the camshafts. Refer to Camshaft Replacement - Left Side .
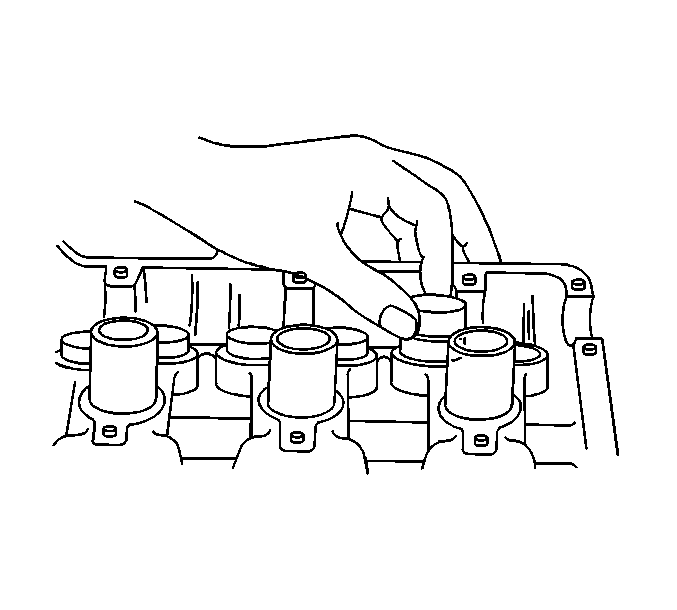
- Remove the lifters.
Caution: Unless directed otherwise, the ignition and start switch must be in the OFF or LOCK position, and all electrical loads must be OFF before servicing any electrical component. Disconnect the negative battery cable to prevent an electrical spark should a tool or equipment come in contact with an exposed electrical terminal. Failure to follow these precautions may result in personal injury and/or damage to the vehicle or its components.

Important:
• Store the valve lifters so that they can be installed in the same
bore from which they were removed. • Do not disassemble the valve lifter. • Do not apply force to the body (valve side) of the valve lifter,
this will force oil to leak out of the valve lifter. • Store the valve lifters submerged in clean engine oil camshaft
side down until installation. • Store the valve lifters camshaft side up if left in air until
installation. Do not store in air with the camshaft side down or on the valve
lifter side.

Installation procedure
- Pour engine oil into the oil feed hole in the valve lifter bore in order to flush any debris from the gallery and to prelube the bore.
- Apply engine oil to the valve lifter and install the valve lifters in the same bore from which they were removed.
- Install the camshafts. Refer to Camshaft Replacement - Left Side .
- Install the left secondary timing chain. Refer to Secondary Timing Chain Replacement - Left Side .
- Install the spark plugs. Refer to Spark Plug Replacement in Engine Controls - 2.5L.
- Install the engine front cover (1). Refer to Engine Front Cover Replacement .
- Connect the negative battery cable.
- Inspect and adjust the ignition timing if necessary. Refer to Ignition System Timing Adjustment .

Notice: Do not turn the camshafts or start the engine (valves should not be operated) for approximately 30 minutes after replacing the valve lifters and camshafts. Allow approximately 30 minutes for the valves to settle in place. Operating the valves before this time may cause valve or piston damage.
Important:
• The valve(s) may make a tapping/ticking sound after replacement
if air is trapped in the valve lifter. Run the engine at 2000 RPM until
the air is purged from the lifter. • If the tapping/ticking does not stop, locate the defective lifter
with a stethoscope and replace. Or, remove the cylinder head cover with the
engine stopped and push the lifter down by hand with a force less than
20 kg (44 lbs) when the camshaft is on the base circle.
If clearance exists between the camshaft and the lifter the lifter is
defective and should be replaced.

