For 1990-2009 cars only
Tools Required
| • | J 39505 Torque Wrench Adapter |
| • | J 45057-2 Lower Support Bar |
Removal Procedure
- Disconnect the battery negative cable. Refer to Battery Negative Cable Disconnection and Connection in Engine Electrical.
- Remove the right engine mount strut from the engine. Refer to Engine Mount Strut Replacement - Right Side .
- Install the engine support fixture. Refer to Engine Support Fixture .
- Raise and support the vehicle. Refer to Lifting and Jacking the Vehicle in General Information.
- Remove the A/C compressor bolts and reposition the compressor in order to gain access to the oil pan. Refer to Air Conditioning Compressor Replacement in HVAC Systems - Manual.
- Disconnect the catalytic converter from the exhaust manifold. Refer to Catalytic Converter Replacement in Engine Exhaust.
- Remove the frame. Refer to Front Frame Replacement in Frame and Underbody.
- Drain the engine oil. Refer to Engine Oil and Oil Filter Replacement .
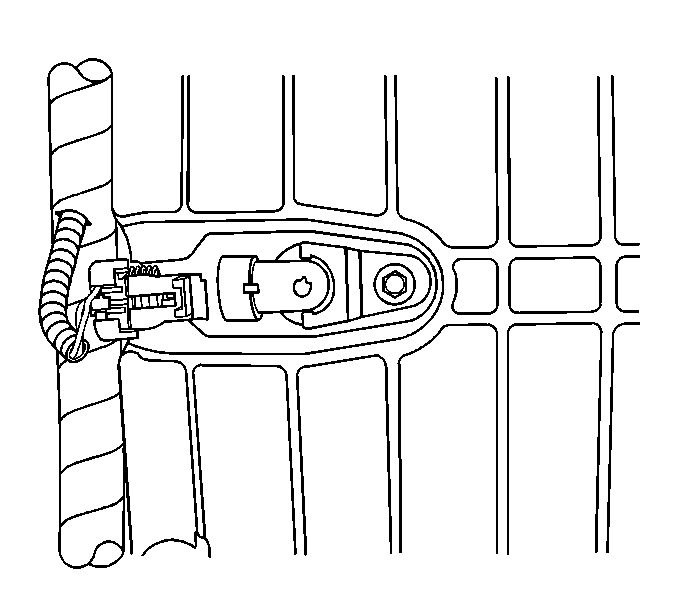
- Disconnect the oil level sensor electrical connector.
- Remove the starter motor. Refer to Starter Motor Replacement in Engine Electrical.
- If the vehicle is equipped with All-Wheel-Drive (AWD), remove the transfer case brace. Refer to Support Brace Replacement in Transfer Case -- Steyr.
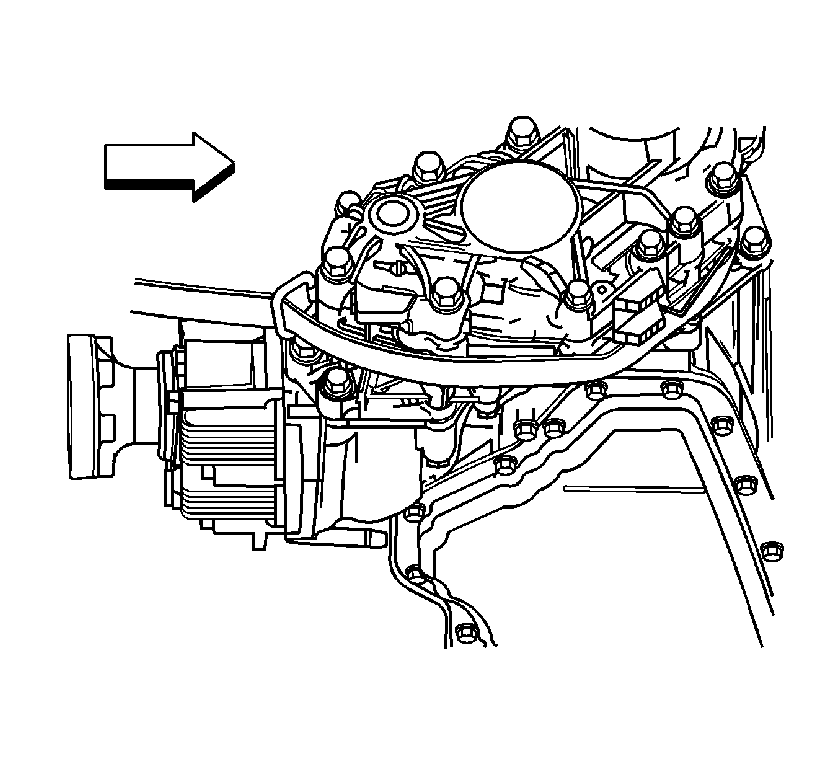
- Remove the transaxle brace. Refer to Transmission Brace Replacement in Automatic Transaxle - 4T65-E.
- Install one end of a suitable utility strap to the transmission.
- Install the opposite end of the utility strap to a suitable underbody structure.
- Tighten the utility strap in order to prevent movement of the powertrain.
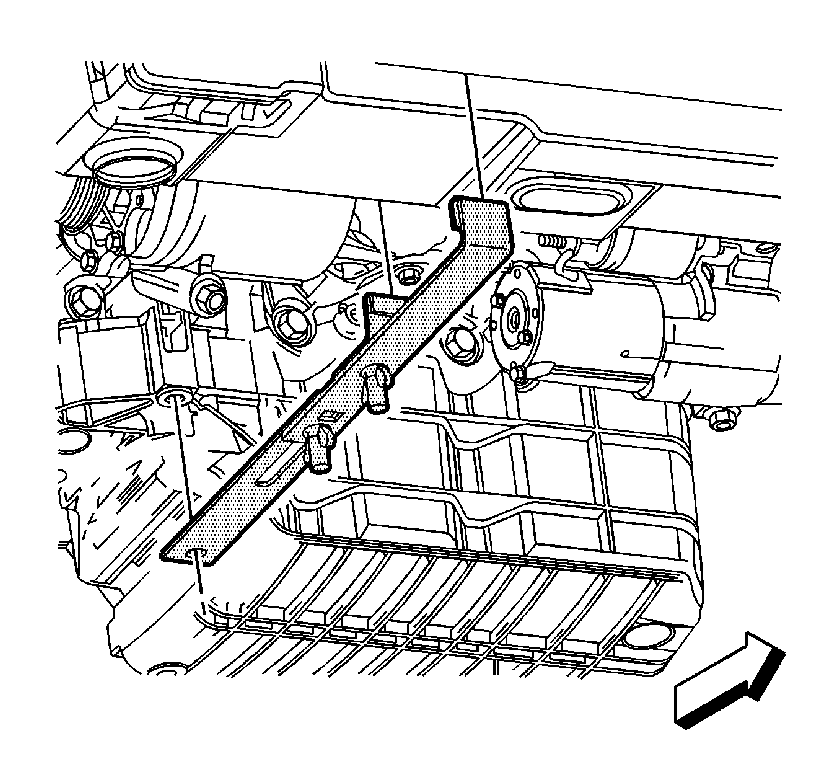
- Remove the J 45057-2 lower support bar.
- Remove the engine mount with the engine mount bracket from the oil pan. Refer to Engine Mount Bracket Replacement .
- Remove the oil pan and the oil pan gasket. Refer to Oil Pan Removal .
- Clean the oil pan and the engine block gasket surface. Refer to Oil Pan Cleaning and Inspection .


| • | If the vehicle is equipped with All-Wheel-Drive (AWD), carefully wrap the utility strap around the transfer case. |
| • | If the vehicle is equipped with Front-Wheel-Drive (FWD), carefully wrap the utility strap around the transmission case extension housing. |

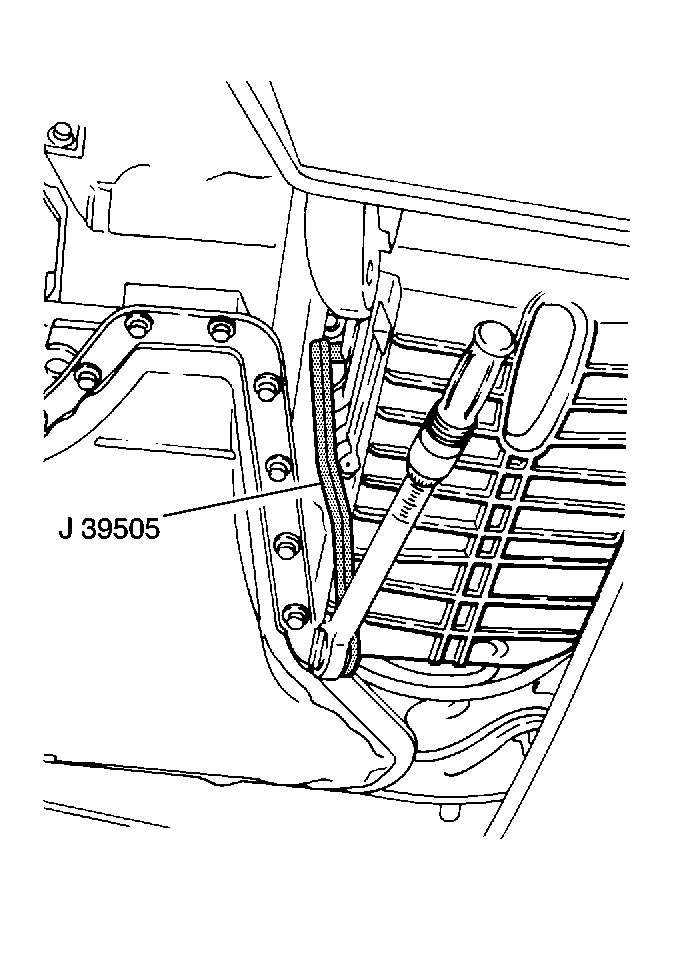
Important: Use the J 39505 in order to remove the engine right side oil pan side bolts.
Installation Procedure
- Install the oil pan gasket and the oil pan. Refer to Oil Pan Installation .
- Install the transaxle brace. Refer to Transmission Brace Replacement in Automatic Transaxle - 4T65-E.
- Install the engine mount with the engine mount bracket to the oil pan. Refer to Engine Mount Bracket Replacement .
- Install the J 45057-2 lower support bar.
- Remove the utility strap.
- If the vehicle is equipped with All-Wheel-Drive (AWD), install the transfer case brace. Refer to Support Brace Replacement in Transfer Case -- Steyr.
- Install the starter motor. Refer to Starter Motor Replacement in Engine Electrical.
- Connect the oil level sensor electrical connector.
- Install the frame. Refer to Front Frame Replacement in Frame and Underbody.
- Connect the catalytic converter to the exhaust manifold. Refer to Catalytic Converter Replacement in Engine Exhaust.
- Install the A/C compressor. Refer to Air Conditioning Compressor Replacement in HVAC Systems - Manual.
- Lower the vehicle.
- Remove the engine support fixture. Refer to Engine Support Fixture .
- Install the right engine mount strut to the engine. Refer to Engine Mount Strut Replacement - Right Side .
- Fill the engine with oil. Refer to Engine Oil and Oil Filter Replacement .
- Connect the battery negative cable. Refer to Battery Negative Cable Disconnection and Connection in Engine Electrical.

Important:
• Ensure that the transaxle brace is in position prior to installing the
oil pan. • Use the J 39505
in
order to install the engine right side oil pan side bolts.


