For 1990-2009 cars only
Removal Procedure
- Disconnect the negative battery cable.
- Recover the refrigerant. Refer to Refrigerant Recovery and Recharging .
- Remove the heater/air distributor case assembly. Refer to HVAC Module Assembly Replacement .
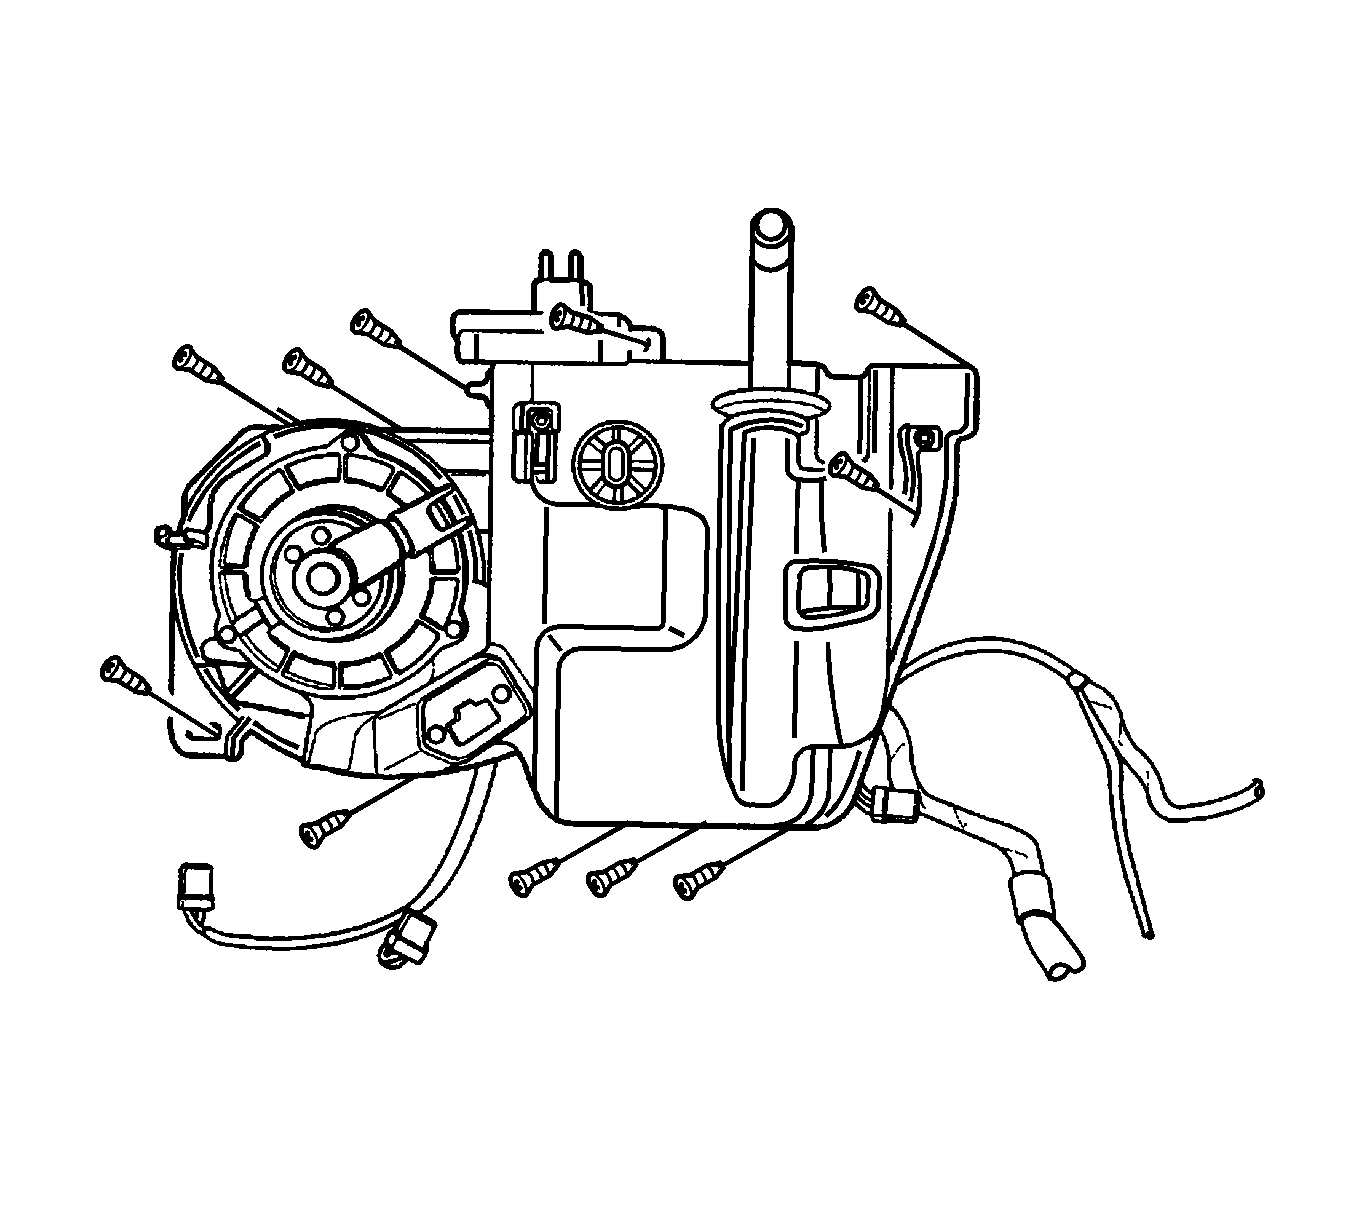
- Remove the wiring on the heater module.
- Disconnect the connectors for the blower motor, the blower resister or power transistor, the air mix door motor, and the mode control motor.
- Remove the 5 screws and 2 clips and separate the heater module from the evaporator/blower motor.
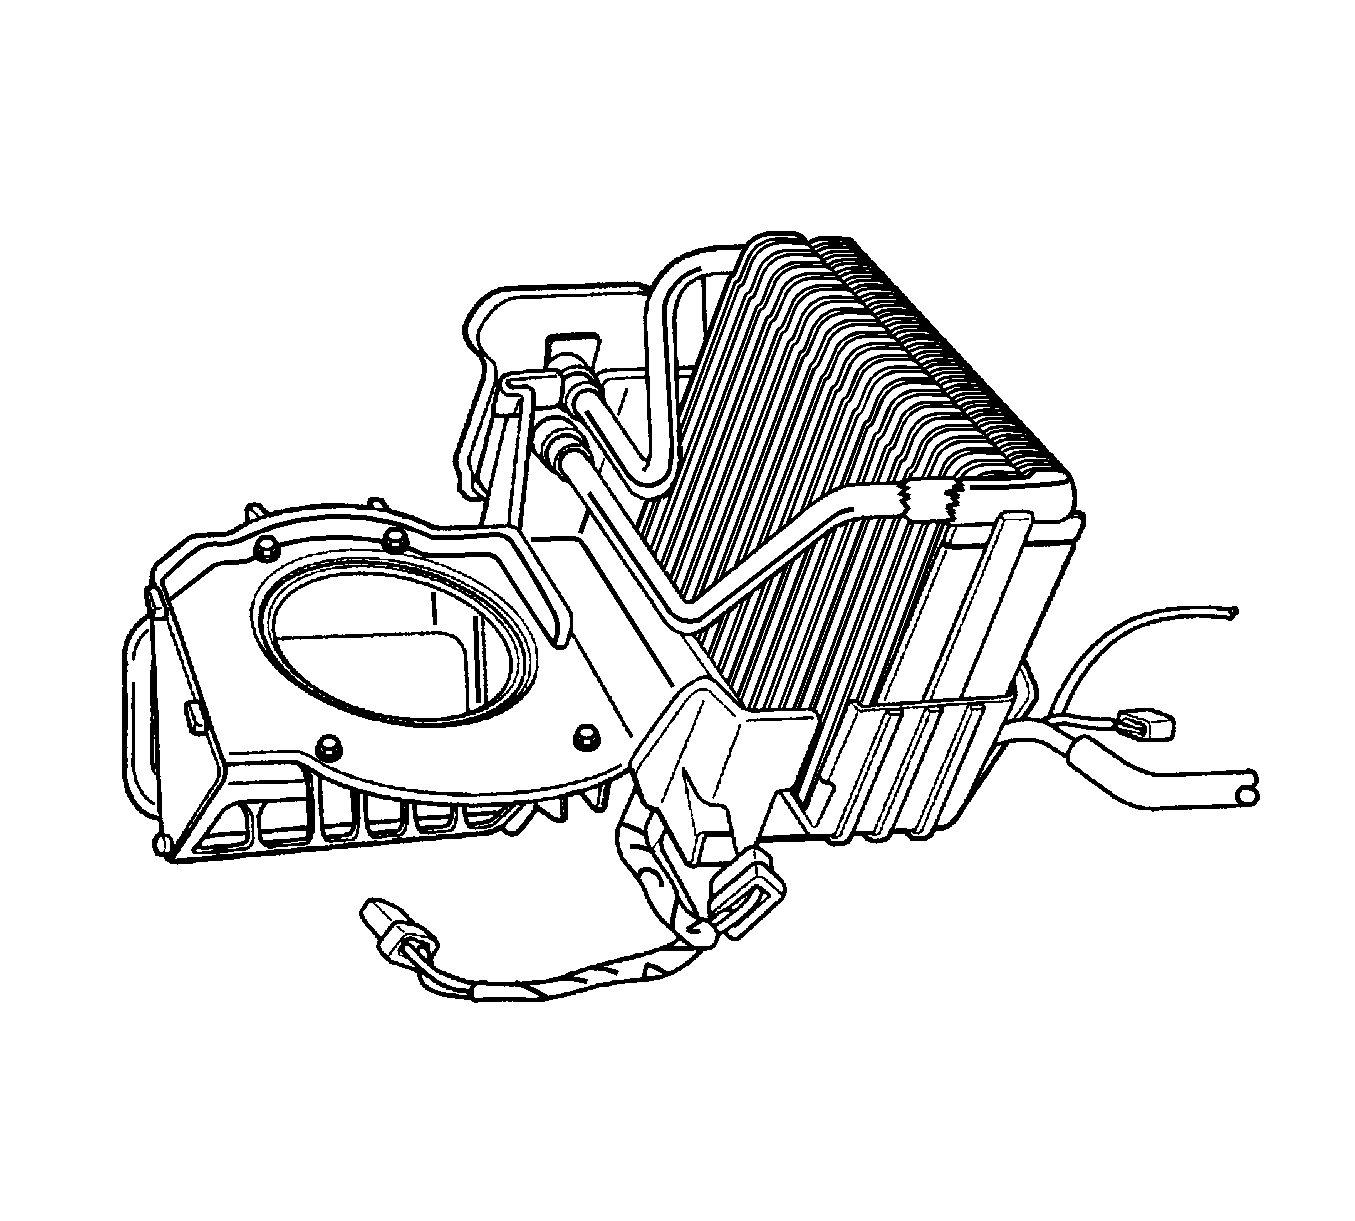
- Remove the A/C filter.
- Remove the 11 screws and 2 clips that fasten the upper and lower case.
- Separate the upper and lower case and remove the evaporator with the expansion valve.
- Remove the expansion valve.
Caution: Refer to Battery Disconnect Caution in the Preface section.


Important: Do not damage the sealing material. If damaged, change with new equivalent material.
Installation Procedure
- Install the expansion valve to the evaporator.
- Install the evaporator into the case and seal.
- Install the 11 screws and 2 clips that fasten the upper and lower case.
- Install the A/C filter.
- Connect the heater module to the evaporator/blower module and install the 5 module screws and 2 clips.
- Connect the connectors for the blower motor, the blower resister or power transistor, the air mix door motor, and the mode control motor.
- Install the wiring on the heater module.
- Install the heater/air distributor case assembly. Refer to HVAC Module Assembly Replacement .
- Evacuate and recharge the A/C system. Refer to Refrigerant Recovery and Recharging .
- Connect the negative battery cable.


