For 1990-2009 cars only
Removal Procedure
- Disconnect the negative battery cable.
- Drain the cooling system. Refer to Cooling System Draining and Filling .
- Remove the inlet and outlet heater hoses from the heater core.
- Recover the refrigerant if an air conditioning (A/C) system is equipped. Refer to Refrigerant Recovery and Recharging .
- Remove the high pressure pipe and suction hose on the cowl, if an A/C system is equipped.
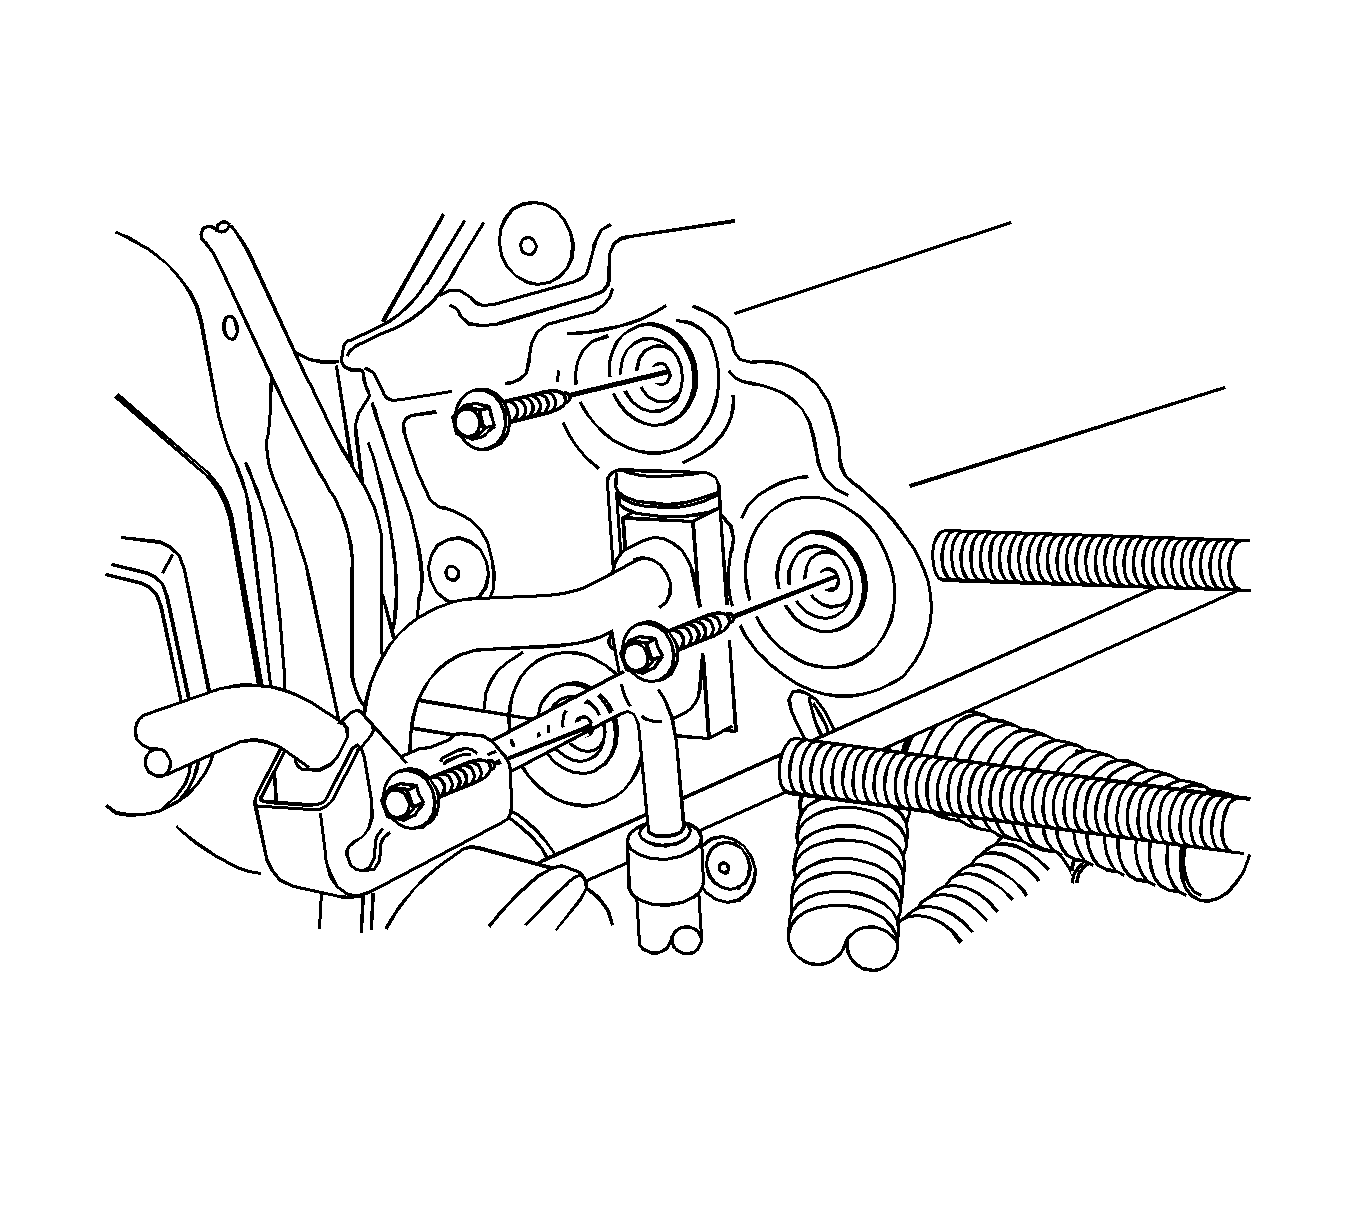
- Remove the upper 4 bolts that secures the heater/air distributor case assembly.
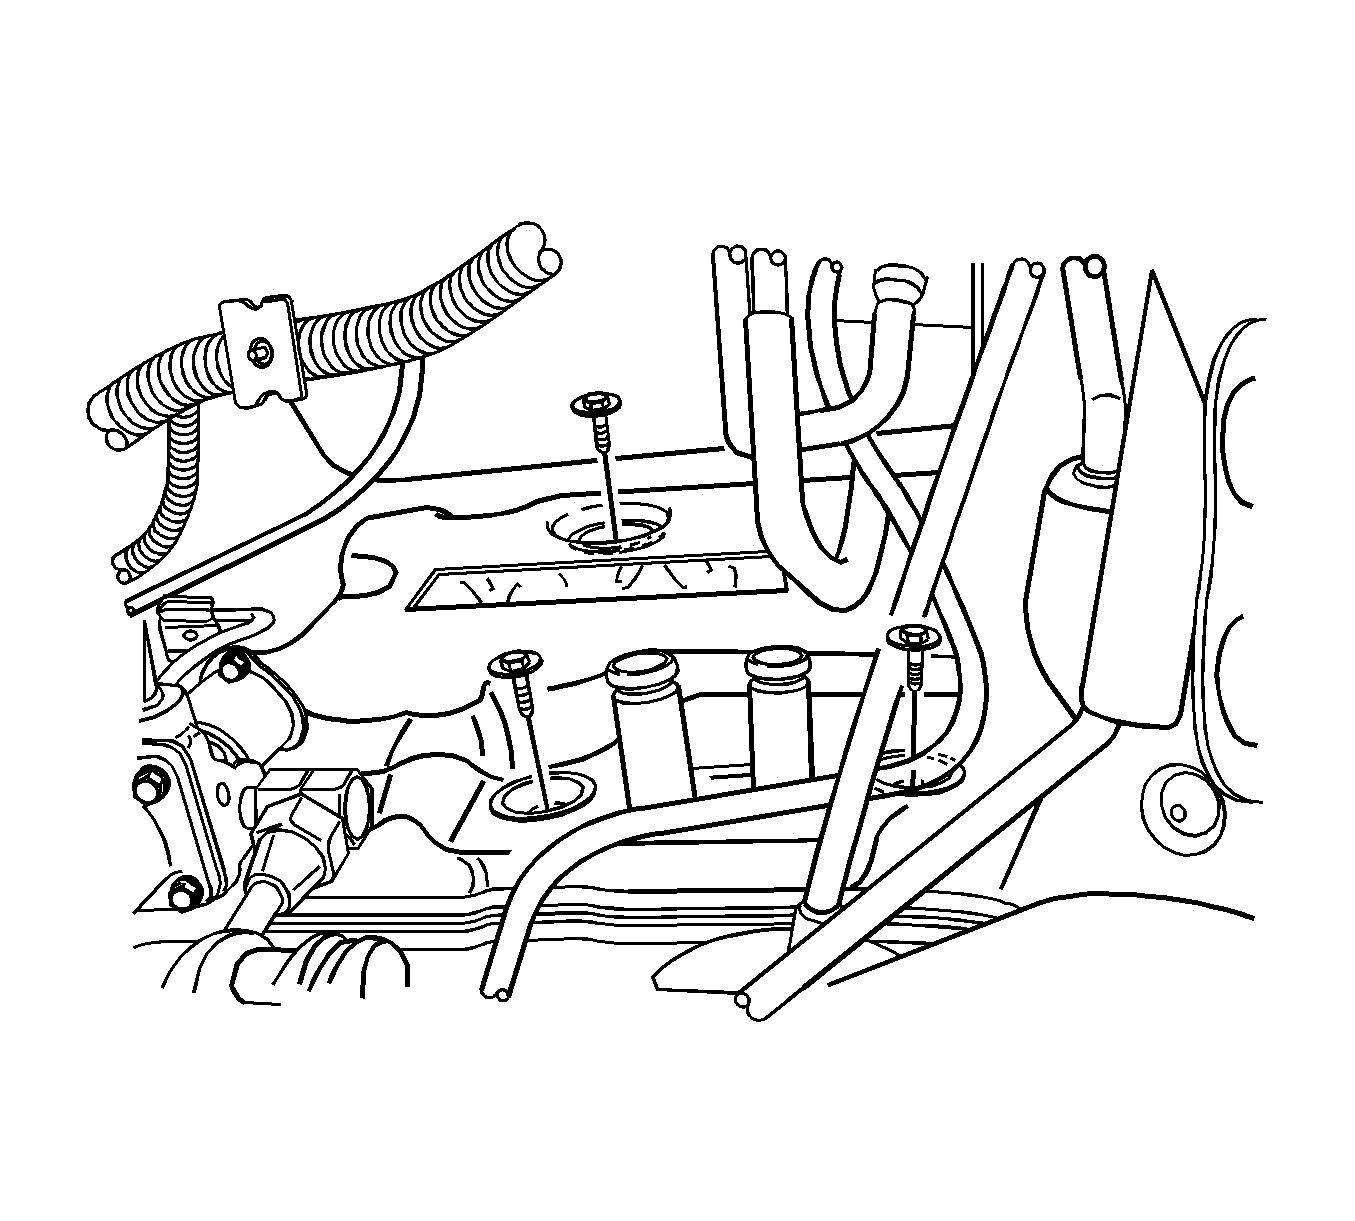
- Lift the vehicle and remove the lower 2 bolts that secure the heater/air distributor case assembly.
- Remove the instrument panel carrier assembly. Refer to Instrument Panel Assembly Replacement .
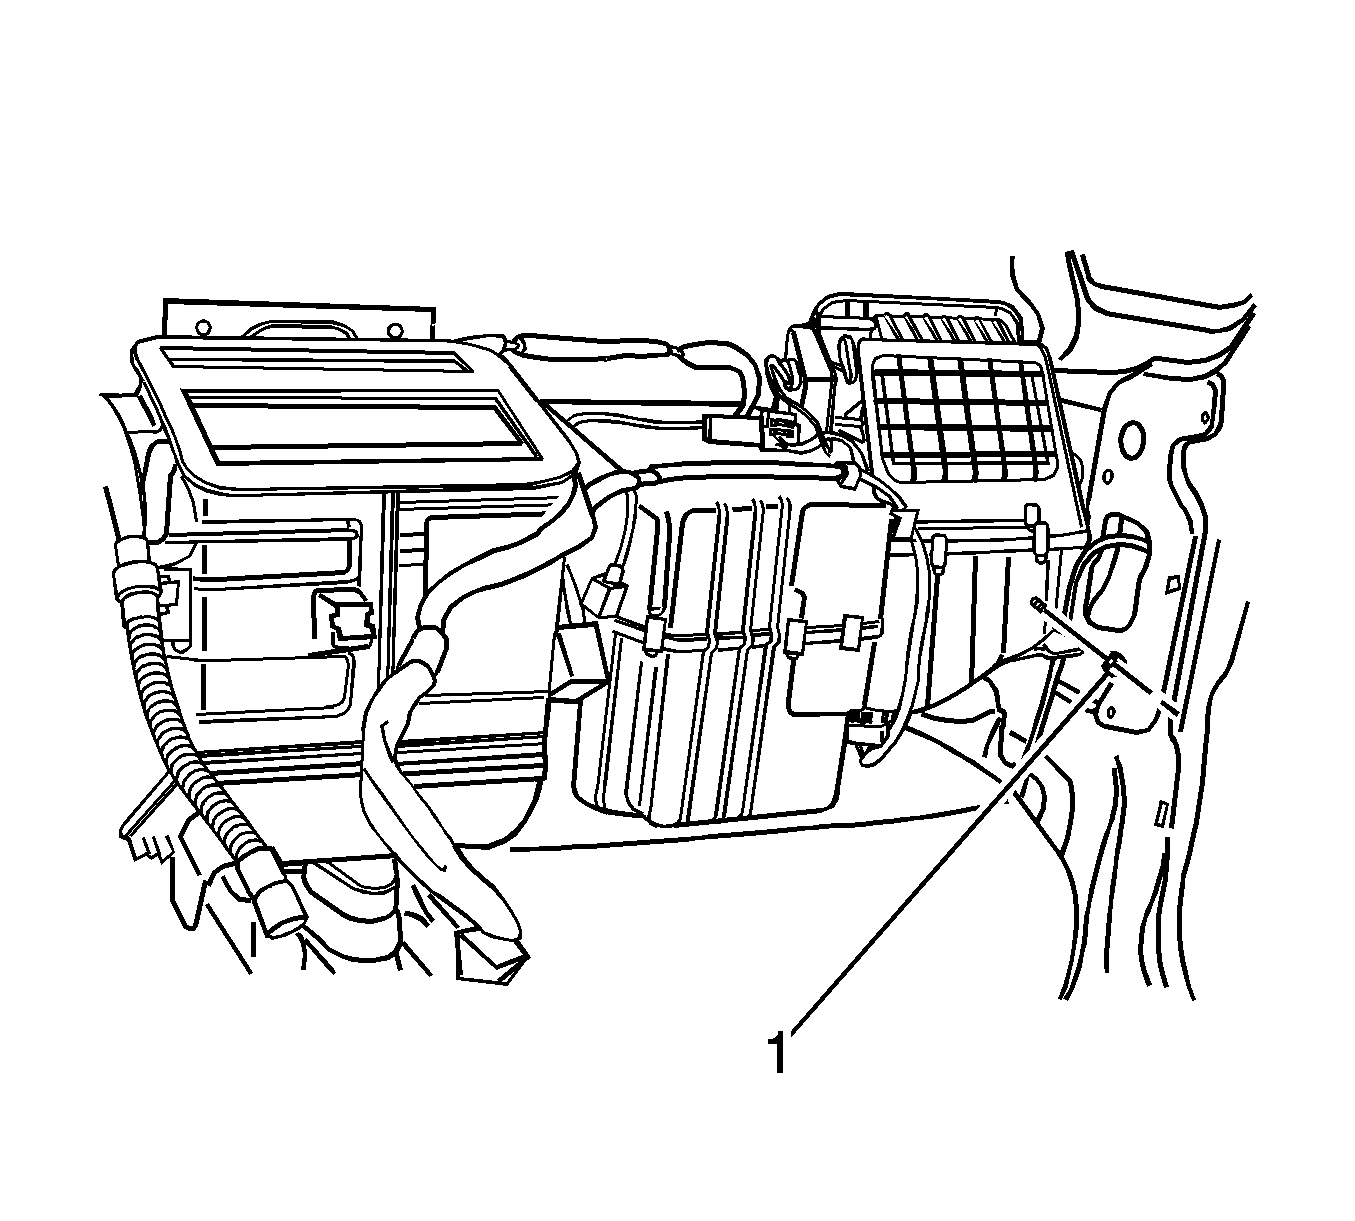
- Remove the nut (1) that secures the heat/air distribution case.
- Remove the heater/air distribution case assembly.
Caution: Refer to Battery Disconnect Caution in the Preface section.


Installation Procedure
- Install the heater/air distribution case assembly.
- Install the nut (1) that secures heat/air distribution case.
- Install the instrument panel carrier assembly. Refer to Instrument Panel Assembly Replacement .
- Lift the vehicle and install the lower 2 bolts that secure the heater/air distributor case assembly.
- Install the upper 4 bolts that secure the heater/air distributor case assembly.
- Install the high pressure pipe and suction hose on the cowl, if an A/C system is equipped.
- Install the inlet and outlet heater hoses to the heater core.
- Refill the cooling system. Refer to Cooling System Draining and Filling .
- Recharge the refrigerant if an A/C system is equipped. Refer to Refrigerant Recovery and Recharging .
- Connect the negative battery cable.

Notice: Refer to Fastener Notice in the Preface section.
Tighten
Tighten the nut to 4 N·m (35 lb in).

Tighten
Tighten the bolts to 4 N·m (35 lb in).

Tighten
Tighten the bolts to 4 N·m (35 lb in).
