Removal Procedure
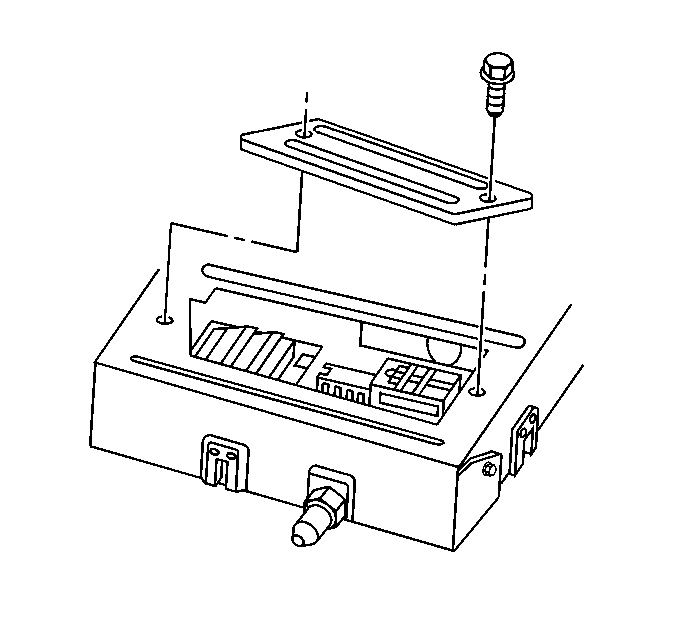
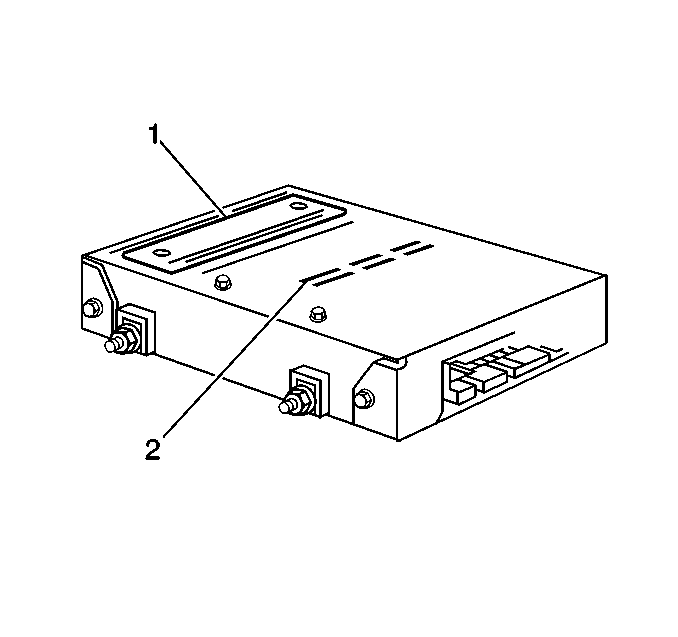
- Remove the ECM access cover screws (1).
- Remove the access cover (2).
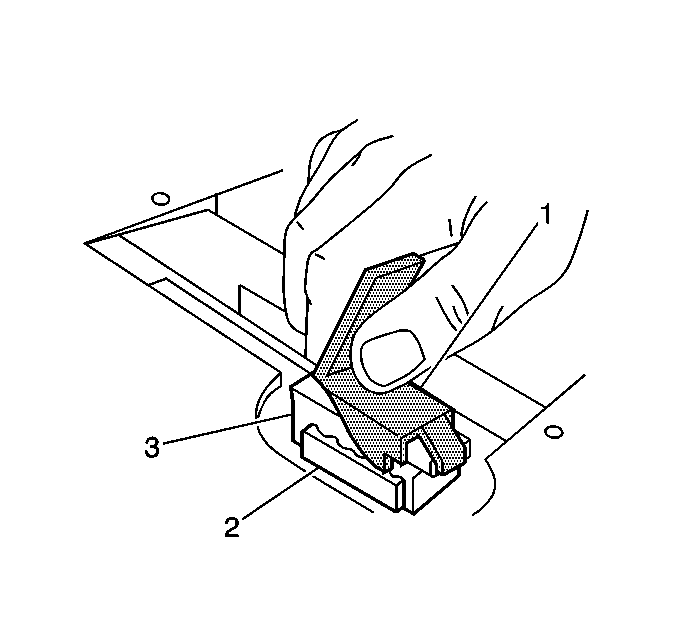
- Remove the PROM using the rocker-type PROM removal tool (1).
- Grasp the carrier by the narrow wnds only.
- Engage one end of the PROM carrier (3) with the hook end of the tool.
- Press on the verticle bar end of the tool and rock the engaged end of the Prom carrier up as fas as possible.
- Engage the opposite end of the PROM carrier in the same manner and rock this end up as far as possible.
- Repeat this process until the PROM carrier and the PROM are free of the PROM socket (2).
- The Prom carrier with the PROM in it should lift off of the PROM socket easily.
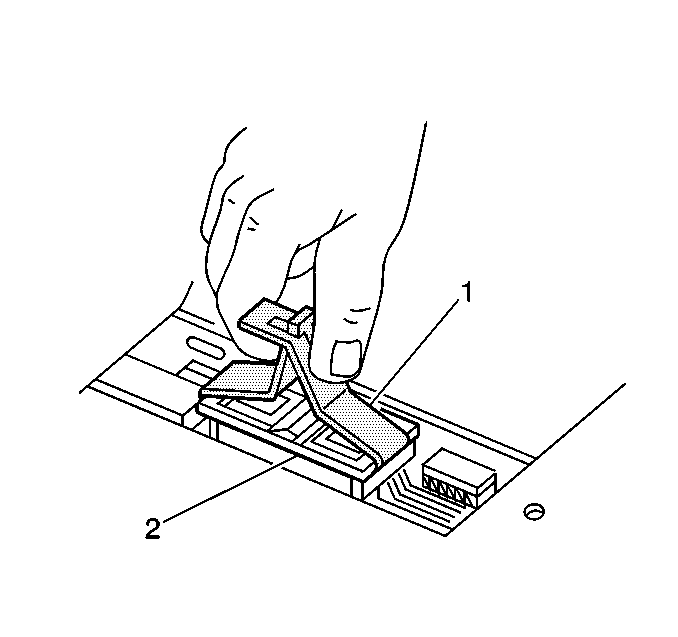
- If a PROM CALPAK is used, use the removal tool (1).
- Grasp the carrier (2) by the narrow wnds only.
- Gently rock the carrier from end to end while applying a firm upward force.
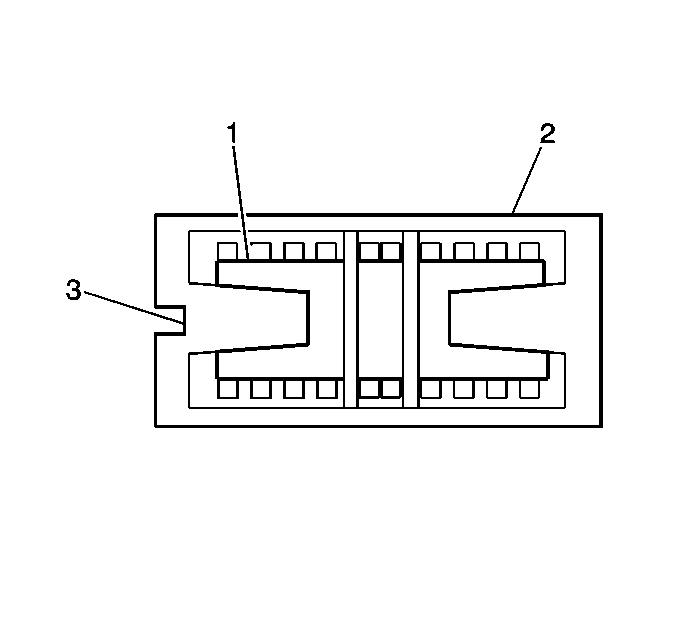
- Inspect the reference notch (3) on the PROM (1) carriers ( 2) and carefully set aside.
- Inspect the new PROM for the same part number as the old or updated number per the service bulletin.
Important: The PROM carriers with the PROMs in it should lift off of the PROM socket easily.
Notice: In order to prevent any possible electrostatic discharge damage to the ECM, do not touch the connector pins or the soldered components on the circuit board.
Installation Procedure
- Install the PROM and carrier into the PROM socket.
- Install the access cover.
- Install the ECM to the vehicle. Refer to Engine Control Module Replacement .
Notice: Do not install the PROM backwards. When you turn ON the ignition a backwards PROM will be damaged.
Important: The small notch in the carrier should line up with the small notch in the socket. Press on the PROM carrier until firmly seated in the socket. Do not press on the PROM only the carrier.
Important: When replacing the production ECM with a service ECM, transfer the Broadcast Code and the production ECM number to the service ECM label (2). Do not record on the ECM access cover (2). This will allow the positive identification of the ECM parts throughout the service life of the vehicle.
