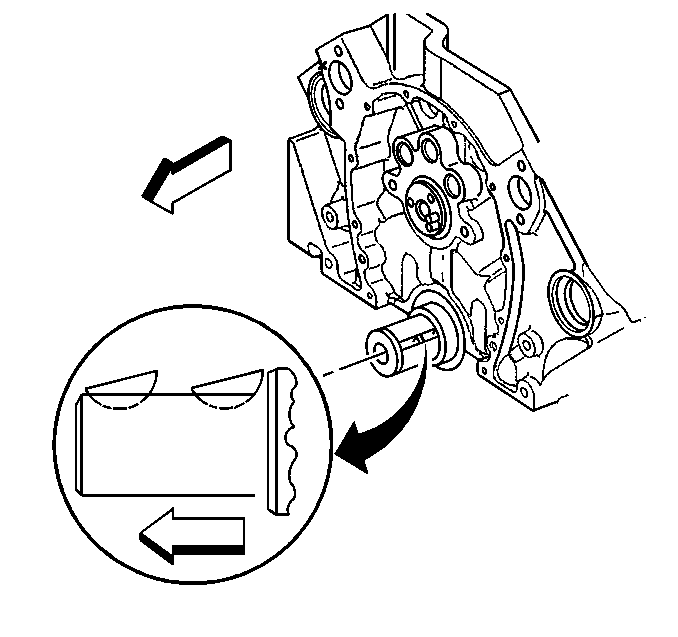
For 1990-2009 cars only
Removal Procedure
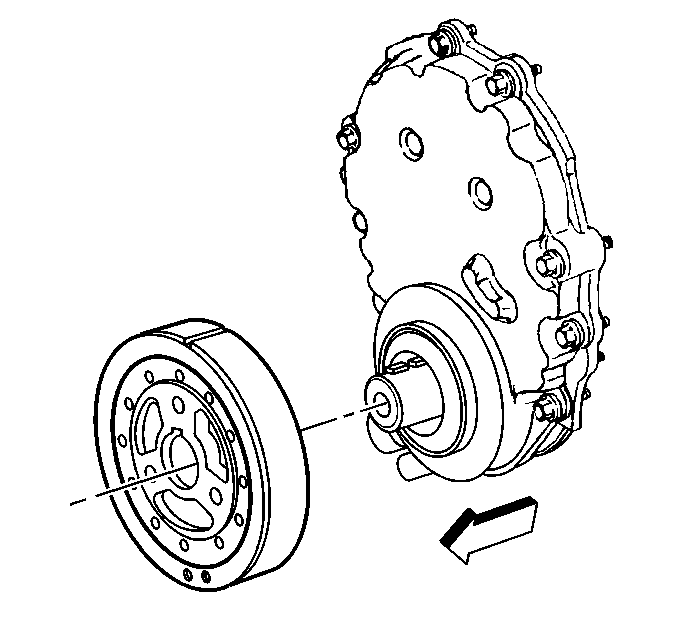
- Remove the crankshaft balancer. Refer to Crankshaft Balancer Replacement .
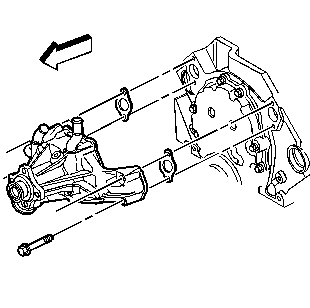
- Remove the water pump. Refer to Water Pump Replacement in Engine Cooling.
- Drain the engine oil. Refer to Engine Oil and Oil Filter Replacement .
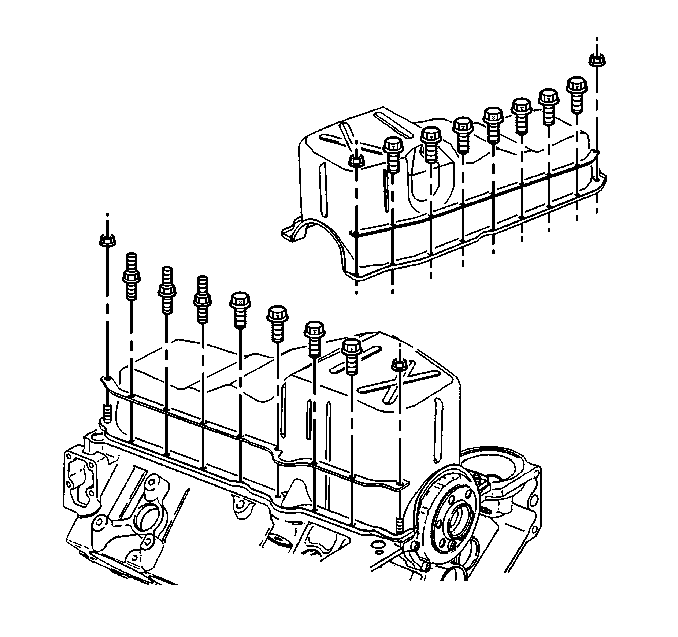
- Remove all the engine oil pan fasteners except the 2 nuts at the rear of the engine.
- Carefully separate the engine oil pan from the engine front cover.
- Disconnect the crankshaft position (CKP) sensor wire.
- Remove the engine front cover and gasket. Refer to Engine Front Cover Removal .
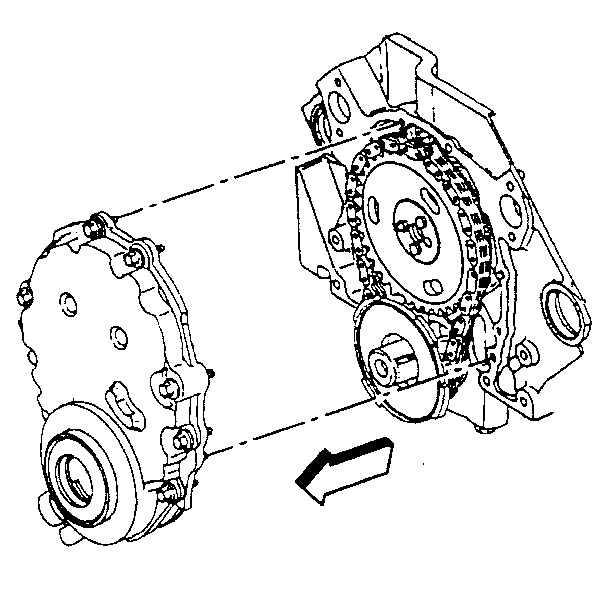
Installation Procedure
- Install the engine front cover. Refer to Engine Front Cover Installation .
- Clean all of the adhesive from the corners of the oil pan gasket where the oil pan gasket meets the engine front cover.
- Apply a 5 mm (0.197 in) wide and 25 mm (1.0 in) long bead of adhesive, GM P/N 12346141 or equivalent, to the engine front cover to engine block junction at the oil pan sealing surfaces.
- Install the engine oil pan nuts and bolts.
- Tighten the oil pan bolts to 12 N·m(106 lb in).
- Tighten the oil pan nuts to 25 N·m(18 lb ft).
- Connect the crankshaft position (CKP) sensor wire.
- Install the water pump. Refer to Water Pump Replacement in Engine Cooling.
- Install the crankshaft balancer. Refer to Crankshaft Balancer Replacement .

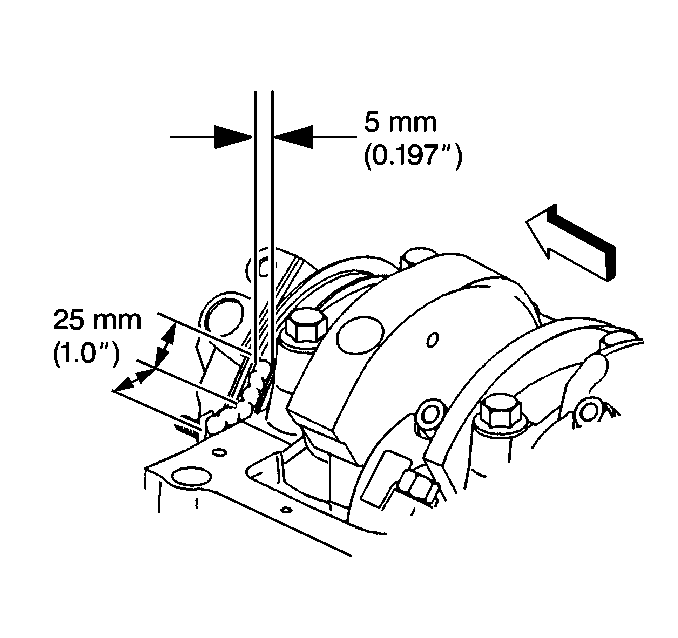
Important: The oil gasket and oil pan must be installed and the fasteners tightened while the adhesive is still wet to the touch.

Tighten

