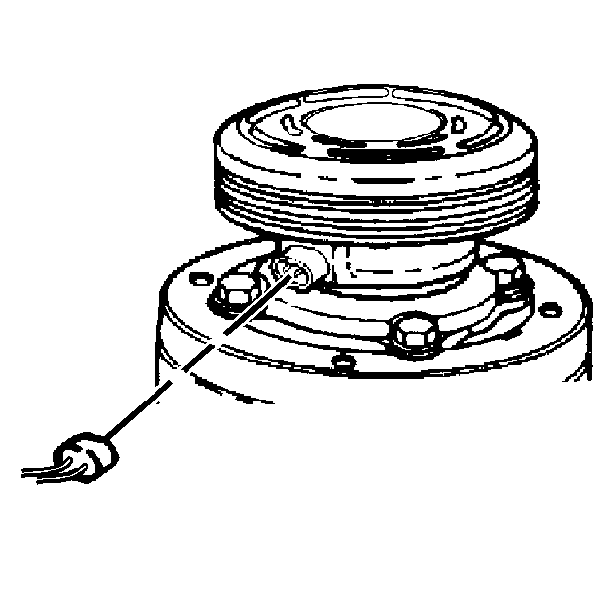
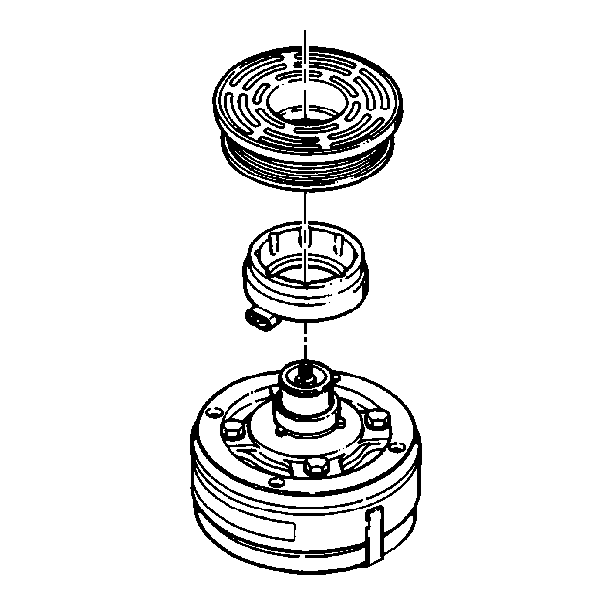
For 1990-2009 cars only
Removal Procedure
Tools Required
| • | J 6083 Snap Ring Pliers #24 External |
| • | J 25031 Rotor and Bearing Puller Guide |
| • | J 33020-A Pulley Puller |
| • | J 9398 Rotor Bearing Remover |
| • | J 29886 Driver Handle |
- Remove the clutch plate and hub assembly. Refer to Compressor Clutch Plate and Hub Assembly .
- Use the J 6083 in order to remove the retaining ring.
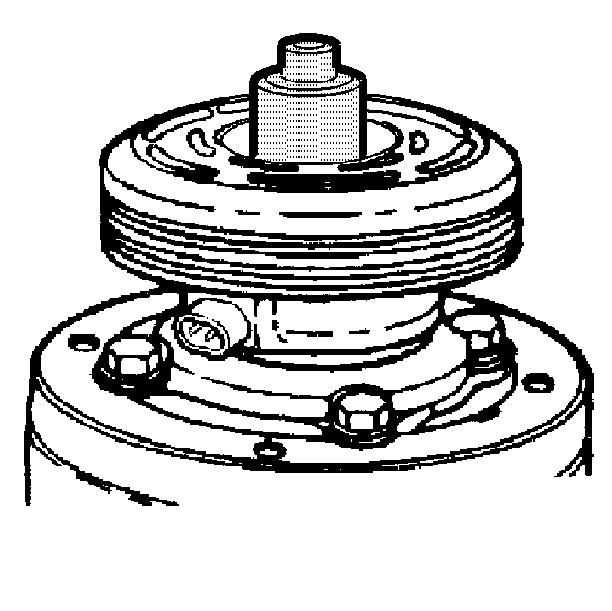
- Install J 25031 to the front head of the compressor.
- Remove the J 25031 . Leave the guide in place.
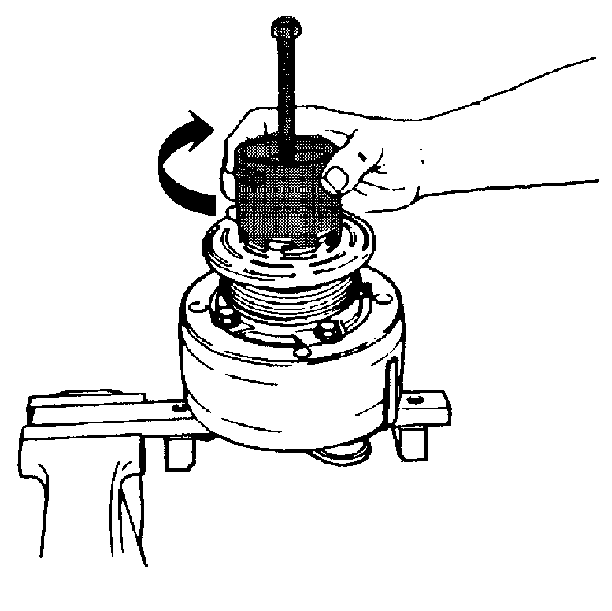
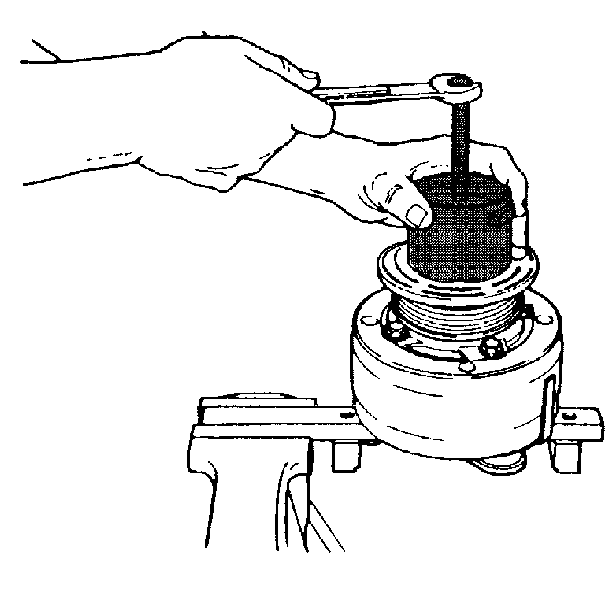
- Install the J 33020-A into the inner circle of slots in the rotor. Turn the J 33020-A clockwise into the slots.
- Remove the pulley rotor and bearing assembly.
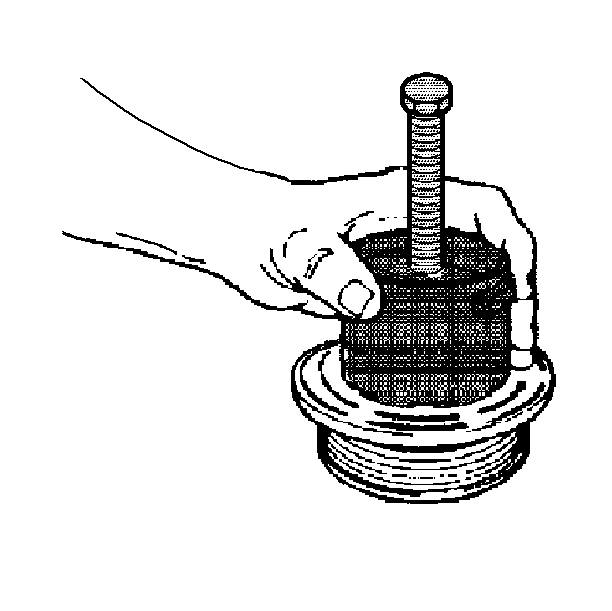
- Remove the forcing screw from the J 33020-A .
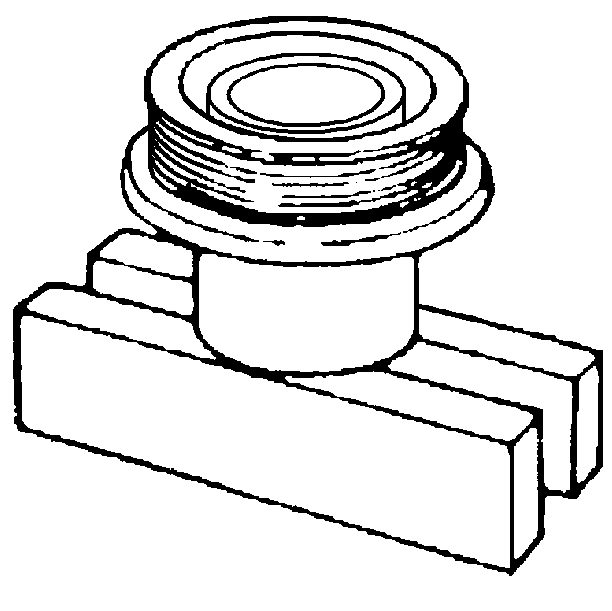
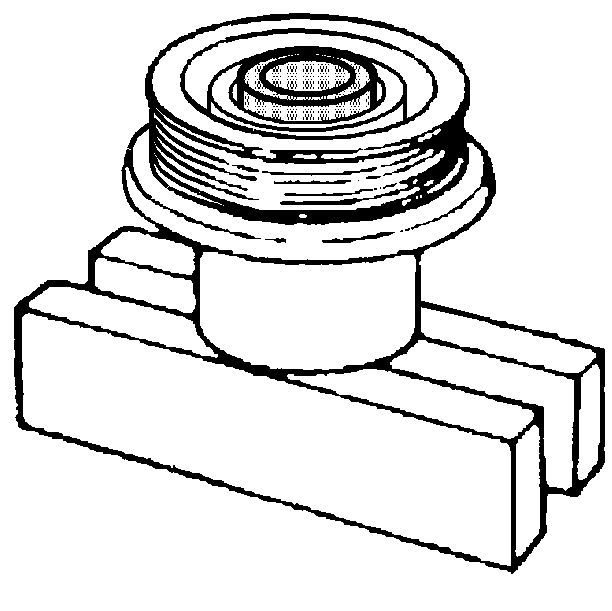
- Invert the assembly onto a solid flat surface or blocks. Ensure that the J 33020-A is still attached to the assembly.
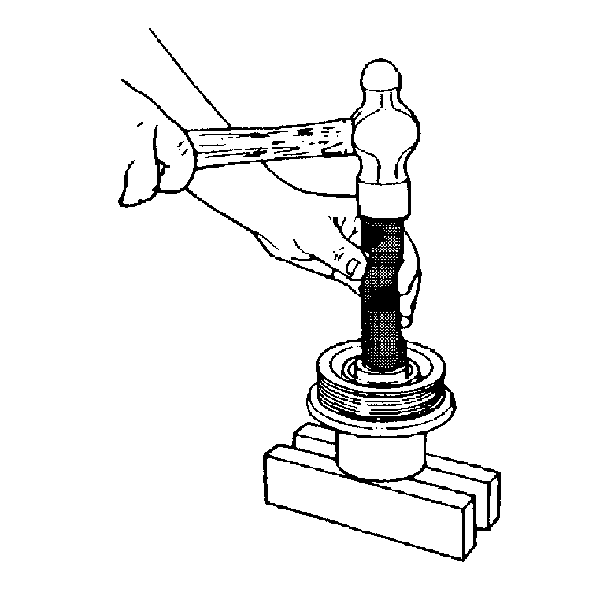
- Install the J 9398 to the rotor assembly.
- Use the J 9398 and the J 29886 in order to drive the bearing out of the rotor hub.
- When removing the bearing, it is not necessary to remove the staking in front of the bearing.
- File away the old stake metal in order to properly install the new bearing.
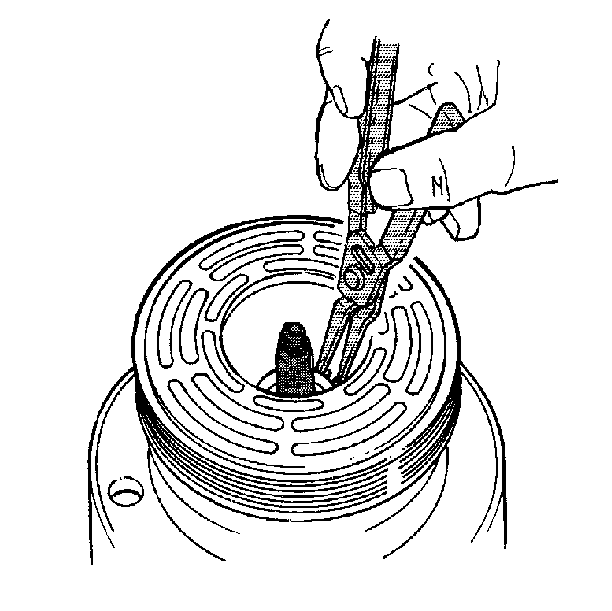
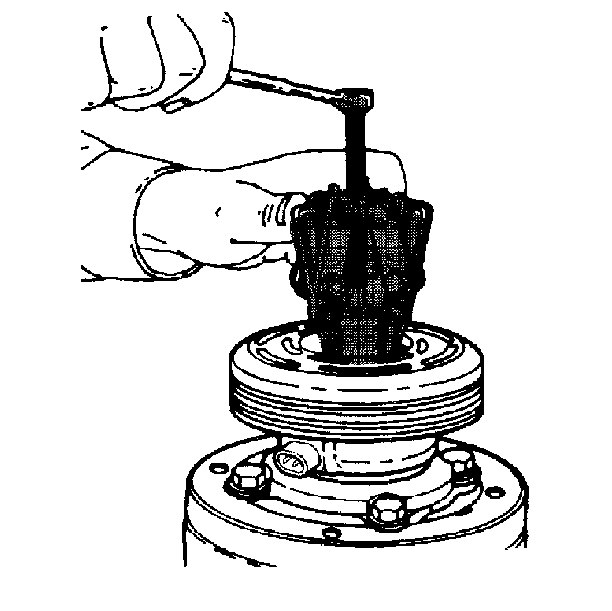
| • | Ensure that the rotor hub is properly supported in order to prevent damage to the pulley rotor. |
| • | Hold the J 25031 in place. |
| • | Tighten the puller screw against the J 25031 . |
Installation Procedure
Tools Required
| • | J 21352-A Support Block |
| • | J 9481-B Puller and Bearing Installer |
| • | J 33019 Bearing Stacking Tool |
| • | J 26271-A Rotor and Bearing Assembly Installer |
- Place the pulley rotor on the J 21352-A .
- Align the J 9481-B in the hub bore.
- Use the J 9481-B and the J 29886 in order to drive the bearing into the hub. The Installer will apply force to the outer face.
- Place the J 33019 into the hub bore. Shift the rotor and bearing assembly on the J 21352-A in order to fully support the hub under the staking location.
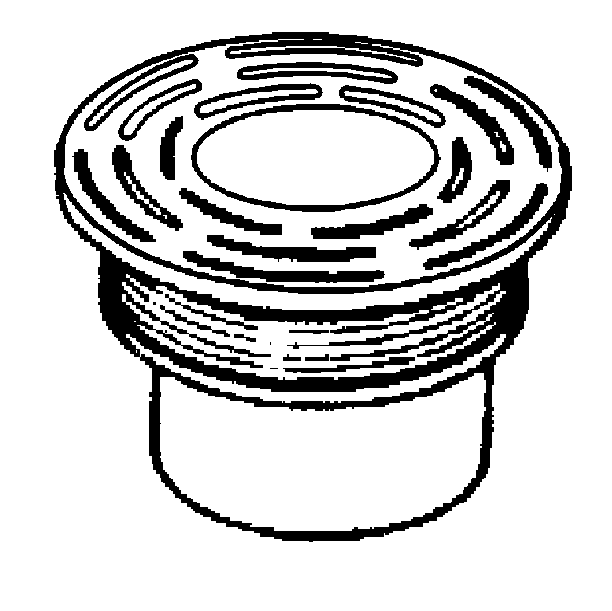
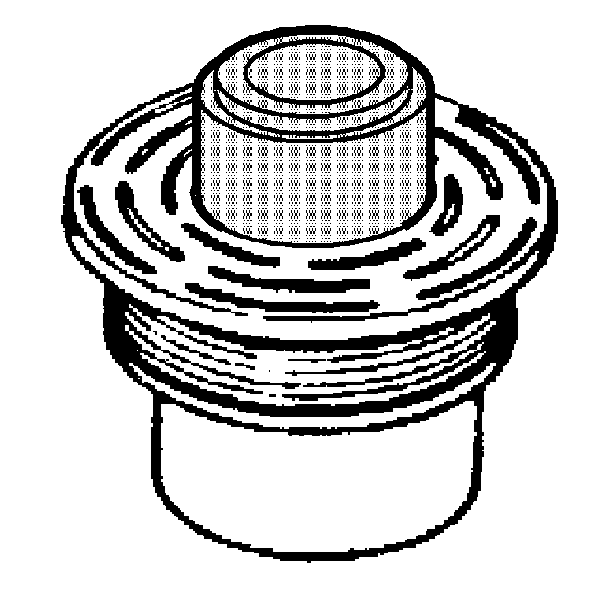
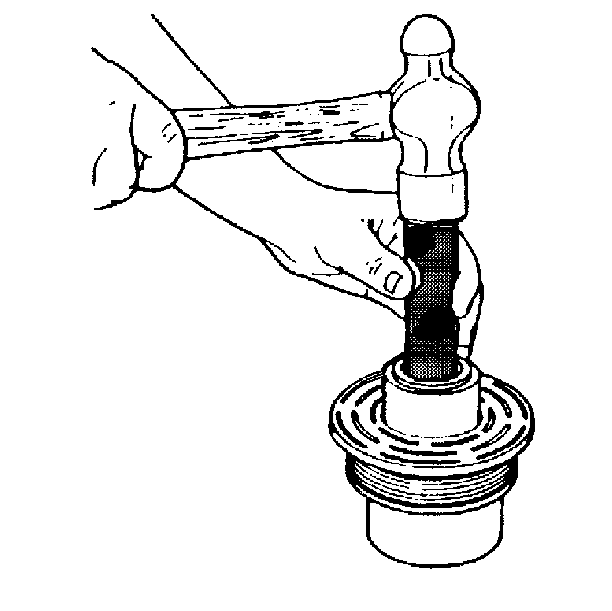
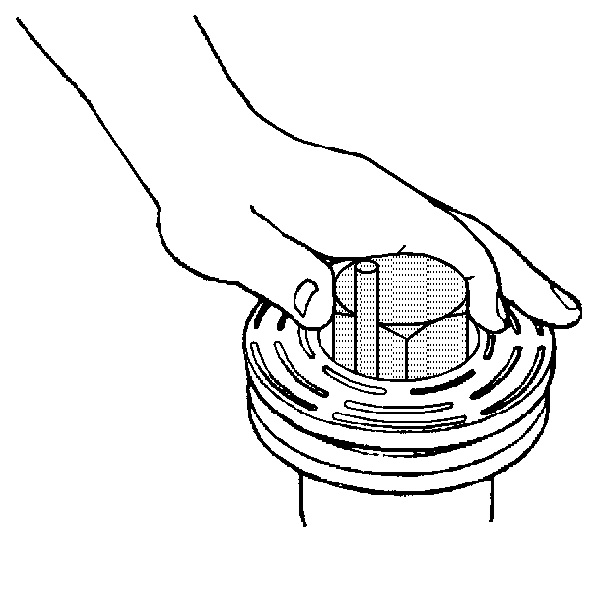
- Strike the staking pin with a hammer until a metal stake is formed down to, but not touching the bearing. The new stake should be similar to the original.
- Position the rotor and bearing assembly on the front head.
- Drive the assembly partly onto the head.
- Plug the clutch coil connector into the clutch coil.
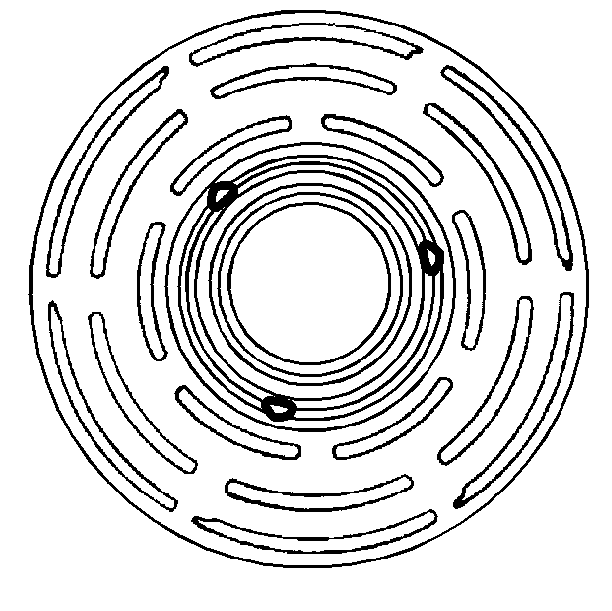
- Align the three locating tabs in the clutch coil with the holes in the front head. Continue to drive the rotor and bearing assembly onto the front head.
- Install the retainer ring.
- Install the clutch plate and hub assembly. Refer to Compressor Clutch Plate and Hub Assembly .
Notice: In order to prevent the rotor face from bending, do not rest the pulley rim on a flat surface during the bearing installation.
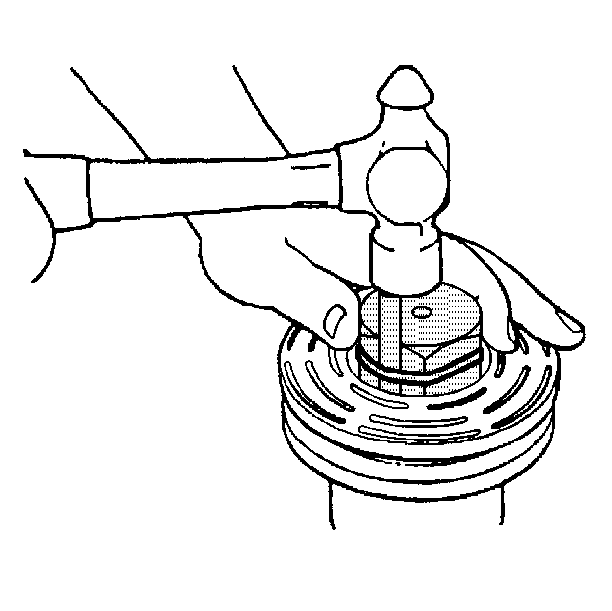
| • | Use care in order to prevent personal injury. |
| • | A heavy-duty rubber band may be used in order to hold the stake pin in the guide. |
| • | Properly position the stake pin in the guide after each impact on the pin. |
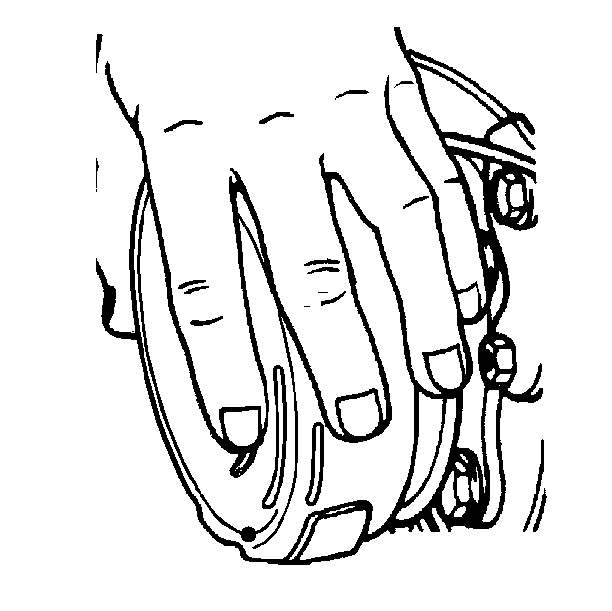
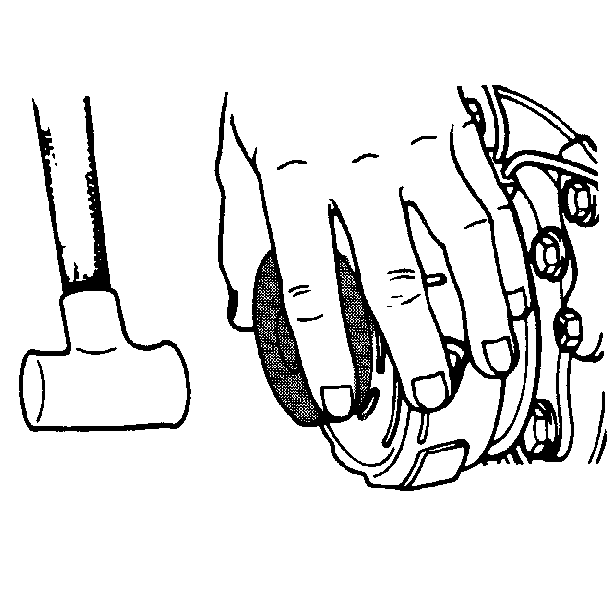
| • | Place the J 26271-A (without the driver handle) into position. |
| • | Ensure that the rotor and bearing assembly is properly aligned with the front head. |
