Daytime Running Lamps (DRL) Headlamps Inoperative Standard
Step | Action | Value(s) | Yes | No | ||||
|---|---|---|---|---|---|---|---|---|
1 | Did you perform the DRL System Check? | -- | Go to Step 2 | |||||
2 | Use the scan tool in order to read the Body Control Module (BCM) current trouble codes. Does the scan tool show any DTCs? | -- | Go to Diagnostic Trouble Code (DTC) List/Type in Body Control System | Go to Step 3 | ||||
3 |
Does the test lamp illuminate at both fuses? | -- | Go to Step 14 | Go to Step 4 | ||||
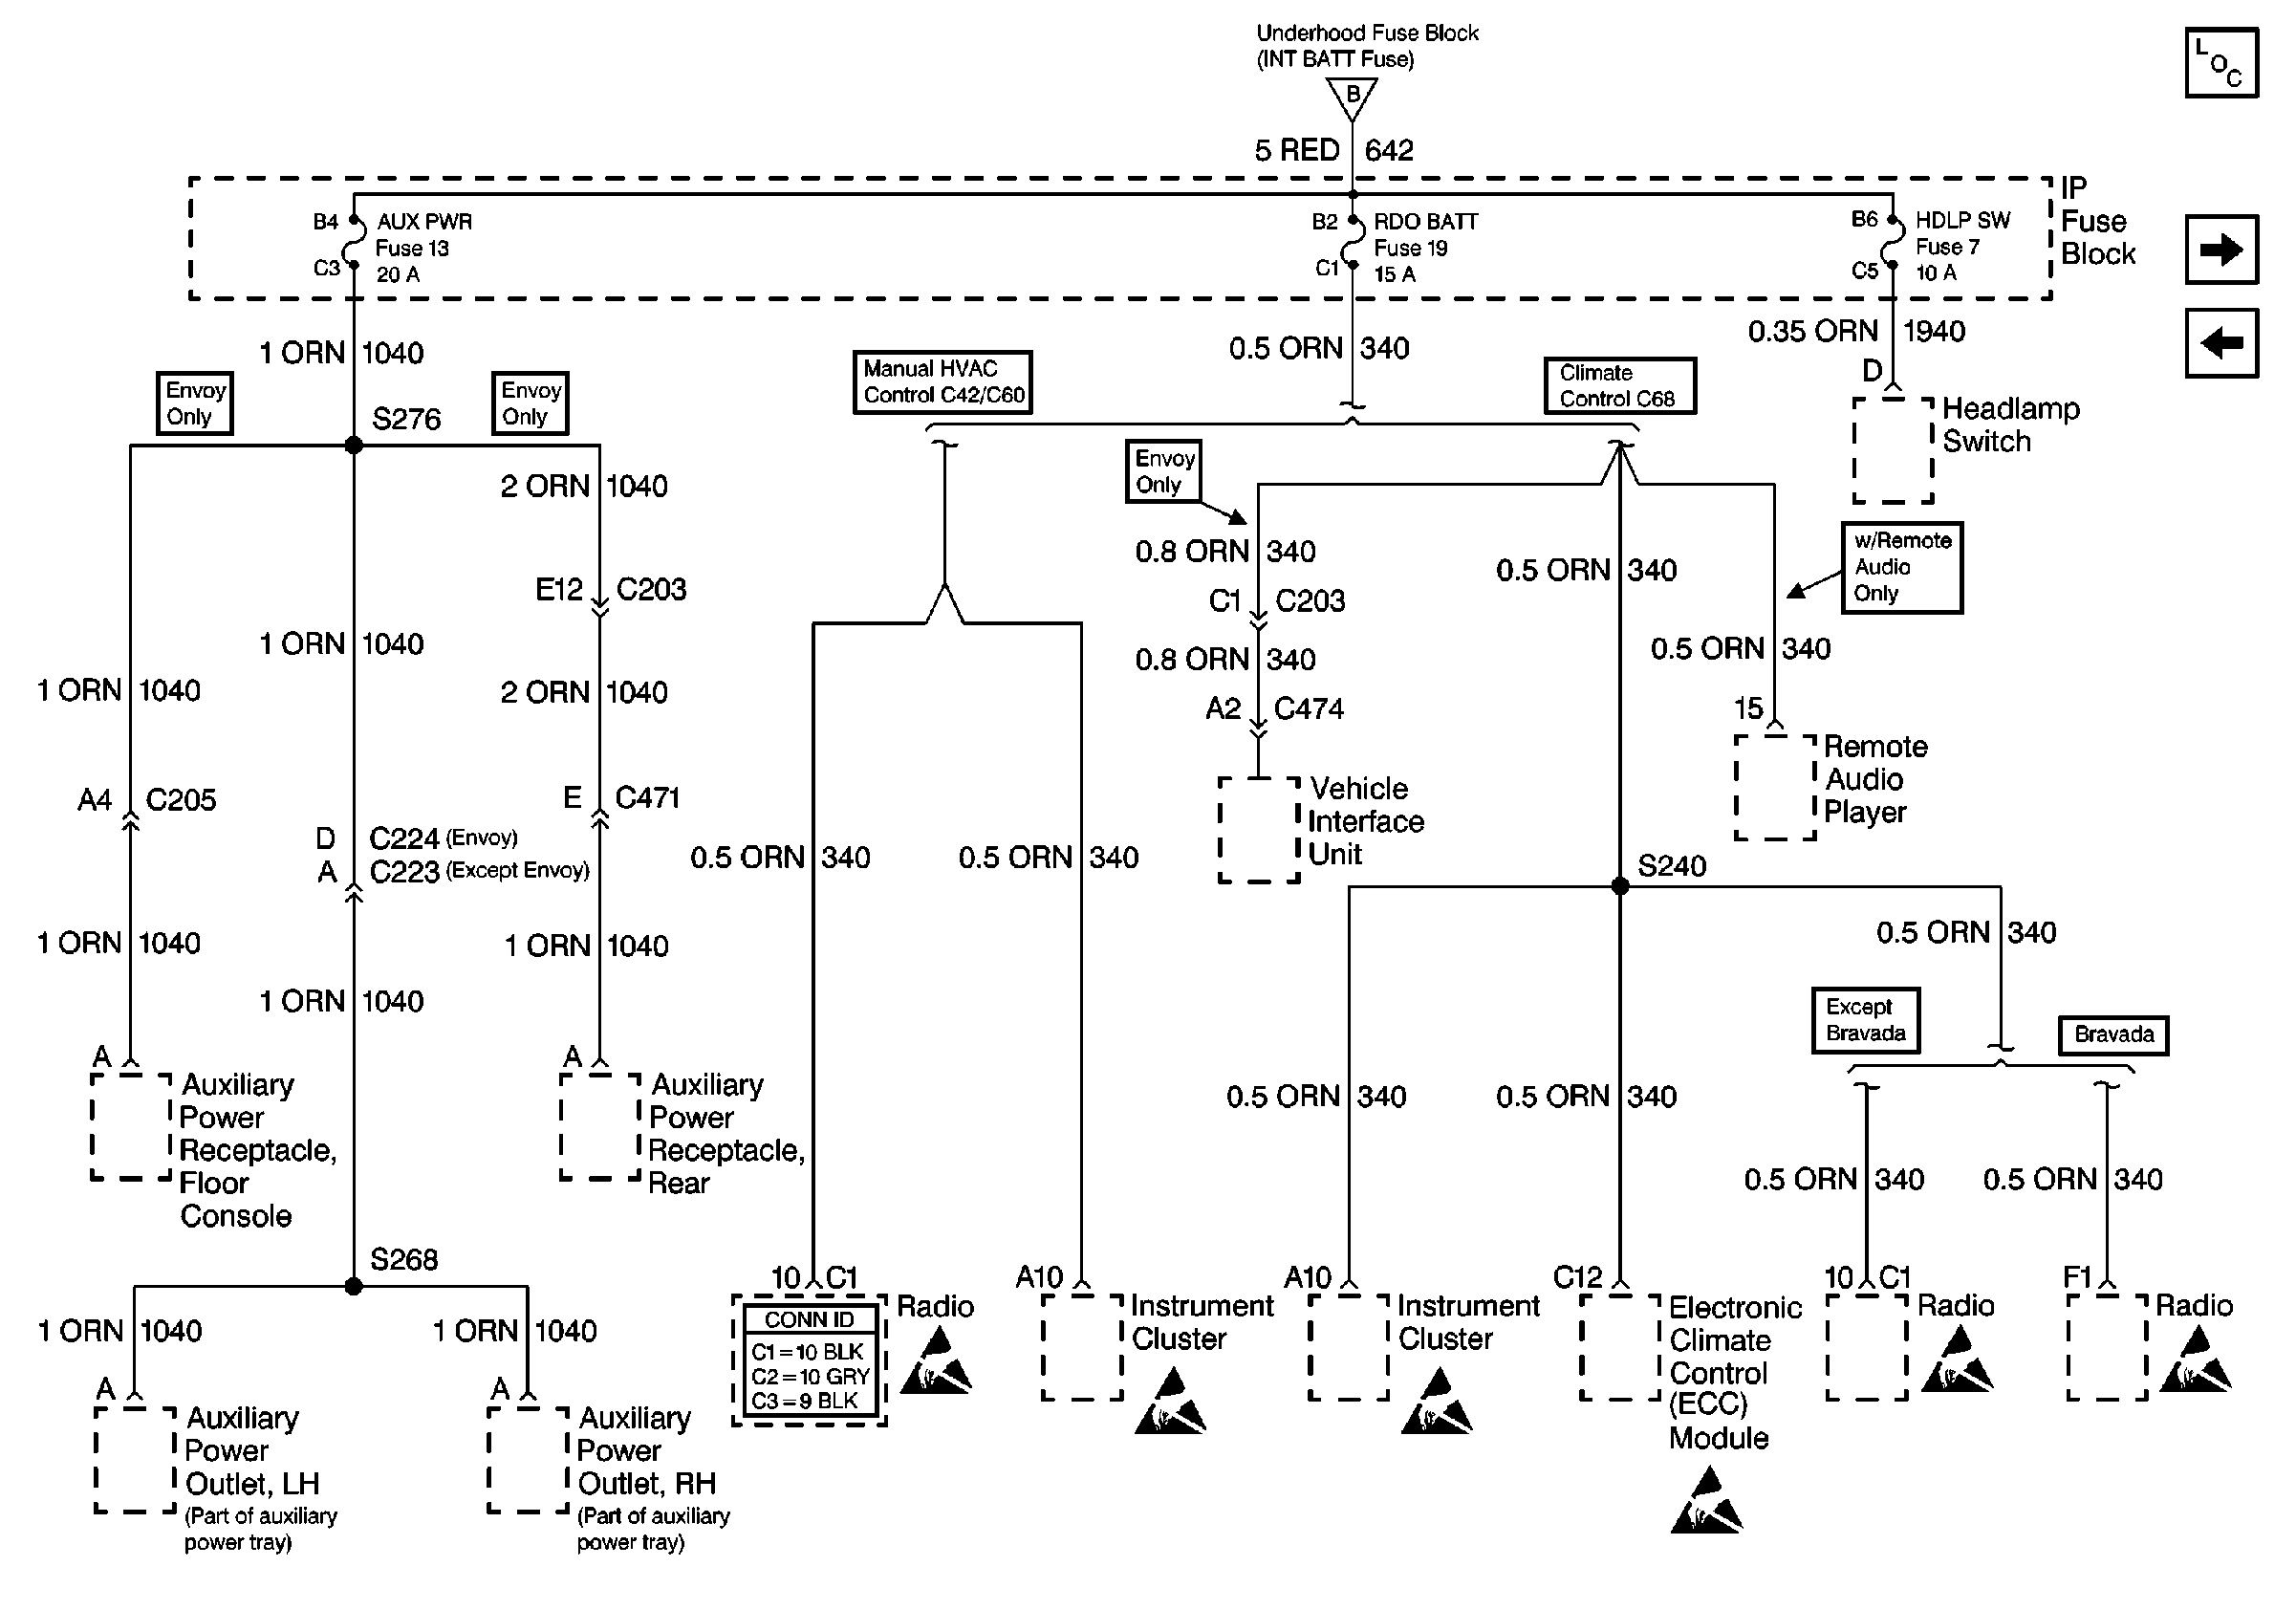
4 | Connect a test lamp from CKT 1940 (ORN) at the headlamp switch to ground. Does the test lamp illuminate? | -- | Go to Step 6 | Go to Step 5 | ||||
5 | Locate and repair the open in CKT 1940 (ORN) between the IP Fuse Block and the headlamp switch. Is the repair complete? | -- | -- | |||||
6 | Connect a test lamp between CKT 352 (WHT) at the headlamp switch to ground. Does the test lamp illuminate? | -- | Go to Step 8 | Go to Step 7 | ||||
7 | Replace the headlamp switch. Is the repair complete? | -- | -- | |||||
8 | Connect a test lamp from pin 86 of the Headlamp Power Relay to ground. Does the test lamp illuminate? | -- | Go to Step 10 | Go to Step 9 | ||||
9 | Locate and repair the open in CKT 352 (WHT) between the headlamp switch and the Headlamp Power Relay. Is the repair complete? | -- | -- | |||||
10 |
Does the test lamp illuminate? | -- | Go to Step 11 | Go to Step 13 | ||||
11 |
Does the symptom persist? | -- | Go to Step 12 | |||||
12 | Replace the underhood fuse block. Is the repair complete? | -- | -- | |||||
13 | Locate and repair the open in CKT 350 (BLK) between the underhood fuse block and G102. Is the repair complete? | -- | -- | |||||
14 |
Do the headlamps light? | -- | Go to Step 15 | Go to Step 18 | ||||
15 | Inspect the integrity of the terminals. Are the terminals in need of repair? | -- | Go to Step 16 | Go to Step 17 | ||||
16 | Repair the terminals as necessary. Is the repair complete? | -- | -- | |||||
17 | Replace the multifunction switch. Is the repair complete? | -- | -- | |||||
18 |
Is the resistance less than the specified value? | 1 ohms | Go to Step 20 | Go to Step 19 | ||||
19 | Locate and repair the open in CKT 10 (YEL) between the Multifunction Switch and the underhood fuse block. Is the repair complete? | -- | -- | |||||
20 |
Is the resistance less than the specified value? | 1 ohms | Go to Step 21 | Go to Step 22 | ||||
21 | Locate and repair the open in CKT 350 (BLK) between the underhood fuse block and G102. Is the repair complete? | -- | -- | |||||
22 | Replace the Headlamp Ground Relay. Is the repair complete? | -- | -- |
Daytime Running Lamps (DRL) Headlamps Inoperative Envoy
Step | Action | Value(s) | Yes | No | ||||||||||||||||||
|---|---|---|---|---|---|---|---|---|---|---|---|---|---|---|---|---|---|---|---|---|---|---|
1 | Did you perform the DRL System Check? | -- | Go to Step 2 | |||||||||||||||||||
2 |
Is the voltage equal to the specified value? | Battery Voltage | Go to Step 3 | Go to Step 19 | ||||||||||||||||||
3 |
Does the test lamp illuminate? | -- | Go to Step 4 | Go to Step 10 | ||||||||||||||||||
4 |
Is the resistance less than the specified value? | 1 ohms | Go to Step 5 | Go to Step 9 | ||||||||||||||||||
5 |
Does the test light illuminate on at least one test point on each fuse? | -- | Go to Step 25 | Go to Step 6 | ||||||||||||||||||
6 |
Is the resistance less than or equal to the specified value at each fuse? | 1 ohms | Go to Step 7 | Go to Step 8 | ||||||||||||||||||
7 | Replace the low beam relay. Is the repair complete? | -- | -- | |||||||||||||||||||
8 | Replace the underhood fuse block. Is the repair complete? | -- | -- | |||||||||||||||||||
9 | Locate and repair the open in one of the following locations:
Is the repair complete? | -- | -- | |||||||||||||||||||
10 | Connect a test lamp between ground and both exposed test points on the back of the HDLP SW fuse. Does the test lamp illuminate at both test points? | -- | Go to Step 14 | Go to Step 11 | ||||||||||||||||||
11 | Does the test lamp illuminate at either test point? | -- | Go to Step 12 | Go to Step 13 | ||||||||||||||||||
12 |
Is the repair complete? | -- | -- | |||||||||||||||||||
13 | Locate and repair the open in power feed to HDLP SW fuse. Refer to
Is the repair complete? | -- | -- | |||||||||||||||||||
14 |
Did the test lamp illuminate? | -- | Go to Step 15 | Go to Step 16 | ||||||||||||||||||
15 | Replace the headlamp switch. Is the repair complete? | -- | -- | |||||||||||||||||||
16 | Connect a test lamp between ground and CKT 1940 (ORN), cavity D at the headlamp switch connector. Does the test lamp illuminate? | -- | Go to Step 17 | Go to Step 18 | ||||||||||||||||||
17 | Locate and repair the open in CKT 103 (WHT). Is the repair complete? | -- | -- | |||||||||||||||||||
18 | Locate and repair the open in CKT 1940 (ORN). Is the repair complete? | -- | -- | |||||||||||||||||||
19 | Inspect the charging system. Refer to Charging System Check in Engine Electrical. Is the charging system functioning properly? | -- | Go to Step 21 | Go to Step 20 | ||||||||||||||||||
20 | Repair the charging system. Is the repair complete? | -- | -- | |||||||||||||||||||
21 |
Notice: Do not insert test equipment probes (DVOM etc.) into any connector or fuse block terminal. The diameter of the test probes will deform most terminals. A deformed terminal will cause a poor connection, which will result in a system failure. Always use the J-35616 GM-Approved Terminal Test Kit in order to front probe terminals. Do not use paper clips or other substitutes to probe terminals. When using the J-35616 GM-Approved Terminal Test Kit, ensure the terminal test adapter choice is the correct size for the connector terminal. Do not visually choose the terminal test adapter because some connector terminal cavities may appear larger than the actual terminal in the cavity. Using a larger terminal test adapter will damage the terminal. Refer to the J-35616 GM-Approved Terminal Test Kit label on the inside of the J-35616 GM-Approved Terminal Test Kit for the correct adapter along with the connector end view for terminal size.Is the resistance less than or equal to the specified value? | 1 ohms | Go to Step 24 | Go to Step 22 | ||||||||||||||||||
22 | Inspect for a high resistance between the battery positive cable and the low beam relay. Is a high resistance present? | -- | Go to Step 23 | Go to Step 31 | ||||||||||||||||||
23 | Repair the high resistance between the battery positive cable and the low beam relay. Is the repair complete? | -- | -- | |||||||||||||||||||
24 |
Do the HID headlamps illuminate? | -- | Go to Step 33 | |||||||||||||||||||
25 |
Are the connections OK? | -- | Go to Step 27 | Go to Step 26 | ||||||||||||||||||
26 | Repair the poor connection(s) in connector C4 as necessary. Is the repair complete? | -- | -- | |||||||||||||||||||
27 |
Does the resistance equal the specified value? | 1 ohms | Go to Step 28 | Go to Step 29 | ||||||||||||||||||
28 | Connect a J 39200 DMM between cavity 87 at the low beam relay socket and terminal B1 on the underside of the underhood fuse block at connector C4. Does the resistance equal the specified value? | 1 ohms | Go to Step 32 | Go to Step 29 | ||||||||||||||||||
29 | Inspect for a high resistance in the underhood fuse block connection. Is the connection OK? | -- | Go to Step 31 | Go to Step 30 | ||||||||||||||||||
30 | Repair the high resistance in the underhood fuse block connection. Is the repair complete? | -- | -- | |||||||||||||||||||
31 | Replace the underhood fuse block. Is the repair complete? | -- | -- | |||||||||||||||||||
32 |
Do the HID headlamps illuminate? | -- | Go to Step 33 | |||||||||||||||||||
33 | At this point, you have inspected every component and wiring path that is common to both HID headlamps. You have inspected the system for an open or high resistance in the following components:
Since this symptom is for both HID inoperative, the possibility that both of each of the following components is defective is unlikely:
This possibility does exist, however. Is all of the above statement true? | -- | Go to Headlamps Inoperative - Left Low Beam or Headlamps Inoperative - Right Low Beam | -- |
