Removal Procedure
- Drain the coolant from the radiator. Refer to Cooling System Draining and Filling .
- Remove the air cleaner assembly. Refer to Air Cleaner Assembly Replacement in Engine Controls.
- Remove the Mass Air Flow (MAF) sensor. Refer to Mass Airflow Sensor Replacement in Engine Controls.
- Remove the upper fan shroud bolts and the upper fan shroud. Refer to Fan Shroud Replacement .
- Remove the drive belt. Refer to Drive Belt Replacement in Engine Mechanical.
- Remove the fan and fan blade clutch assembly. Refer to Fan Replacement .
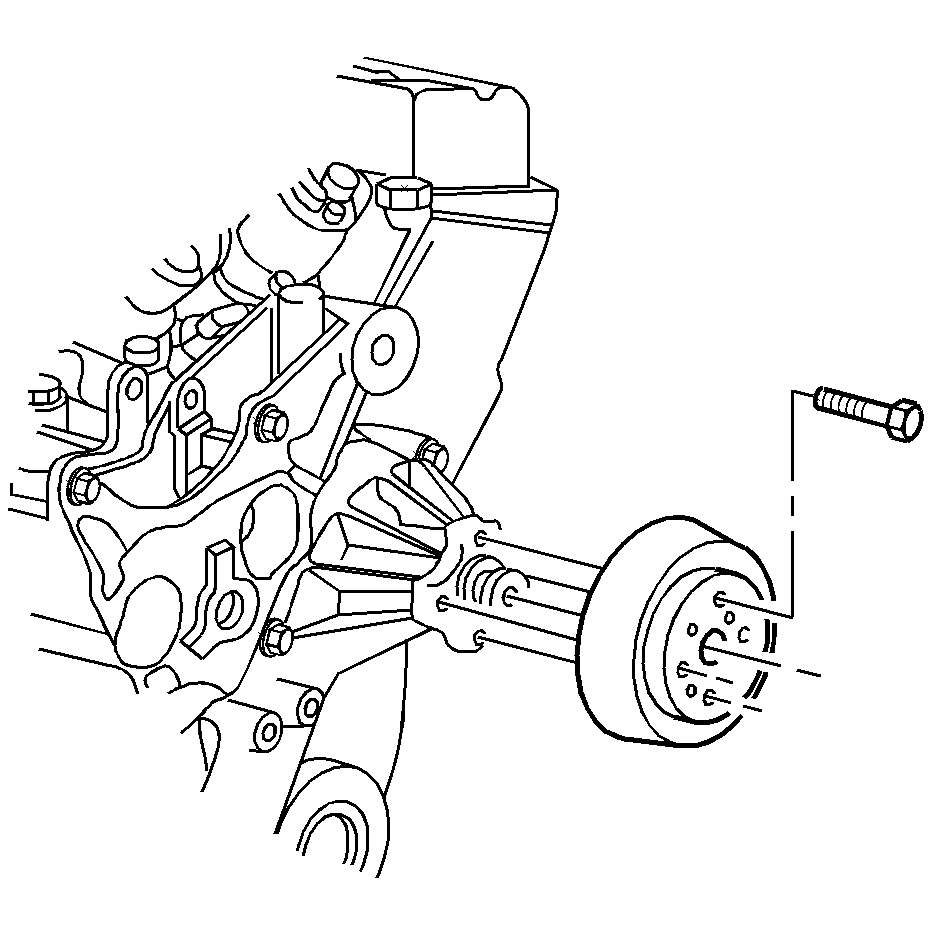
- Remove the coolant pump pulley bolts and the pulley.
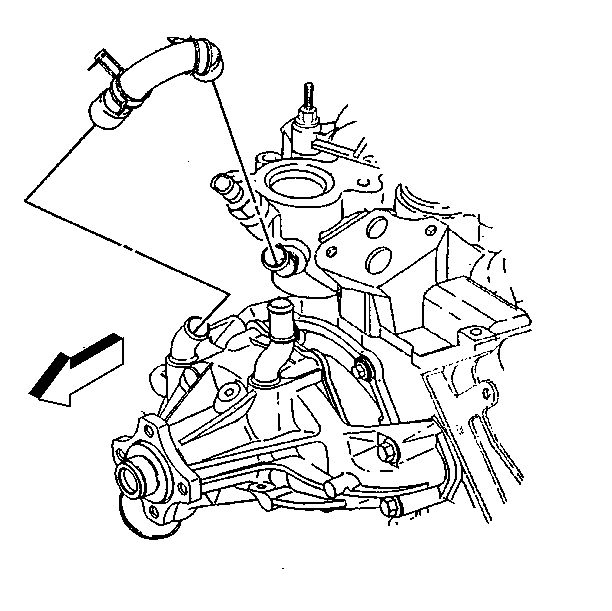
- Disconnect the coolant bypass hose and clamps.
- Disconnect the radiator hoses from the coolant pump. Refer to Radiator Hose Replacement .
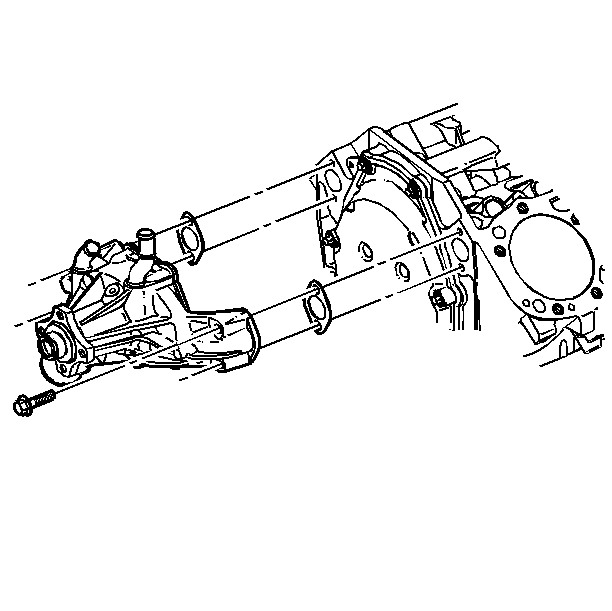
- Remove the four coolant pump bolts.
- Remove the coolant pump.
- Remove the gaskets.
- Inspect all of the parts. Replace the parts as necessary.
Caution: In order to avoid being burned, do not service the engine while it is still hot. Service the engine when it is cool.


Important: Make sure all of the gasket mating surfaces are free of burrs or other imperfections.
Installation Procedure
- Install the coolant pump gaskets.
- Install the coolant pump.
- Install the four bolts retaining the coolant pump.
- Connect the coolant bypass hose and clamps.
- Connect the radiator hoses to the coolant pump. Refer to Radiator Hose Replacement .
- Install the coolant pump pulley and the bolts.
- Install the fan and fan blade clutch assembly. Refer to Fan Replacement .
- Install the drive belt. Refer to Drive Belt Replacement in Engine Mechanical.
- Install the upper fan shroud and the bolts. Refer to Fan Shroud Replacement .
- Install the Mass Air Flow (MAF) sensor. Refer to Mass Airflow Sensor Replacement in Engine Controls.
- Install the air cleaner assembly. Refer to Air Cleaner Assembly Replacement in Engine Controls.
- Refill the radiator with coolant. Refer to Cooling System Draining and Filling .
- Start engine. After engine reaches normal operating temperature, check for coolant leaks. Refer to Cooling System Leak Testing .

Notice: Use the correct fastener in the correct location. Replacement fasteners must be the correct part number for that application. Fasteners requiring replacement or fasteners requiring the use of thread locking compound or sealant are identified in the service procedure. Do not use paints, lubricants, or corrosion inhibitors on fasteners or fastener joint surfaces unless specified. These coatings affect fastener torque and joint clamping force and may damage the fastener. Use the correct tightening sequence and specifications when installing fasteners in order to avoid damage to parts and systems.
Tighten
Tighten the bolts to 45 N·m (33 lb ft).


Tighten
Tighten the coolant pump pulley bolts to 25 N·m (18 lb ft).
