For 1990-2009 cars only
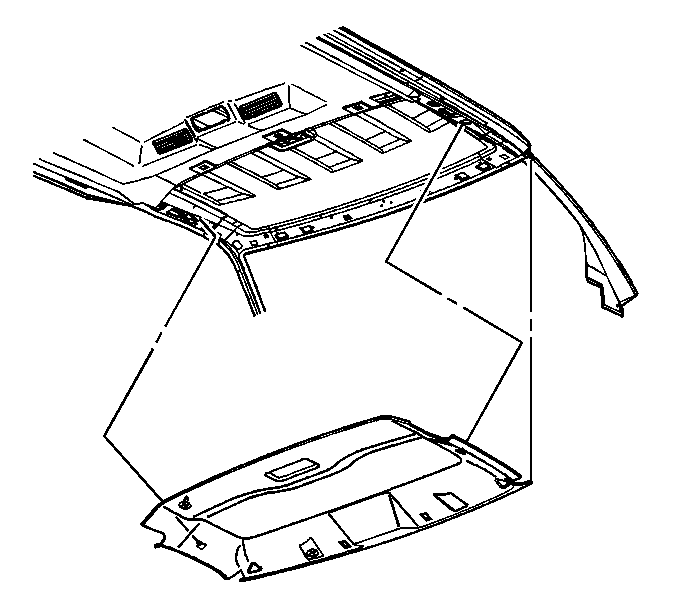
Headlining Trim Panel Replacement Front
Removal Procedure
- Remove the sunshades. Refer to Sunshade Replacement .
- Remove the windshield garnish molding. Refer to Windshield Garnish Molding Replacement in Stationary Glass.
- Remove the front door opening upper frame garnish molding. Refer to Rear Upper Garnish Molding Replacement .
- Remove the front door upper pillar garnish molding. Refer to Upper Pillar Garnish Molding Replacement .
- Remove the dome lamp. Refer to Dome Lamp Replacement in Lighting Systems.
- Remove the rear heater controls. Refer to Control Assembly Replacement in Heating and Ventilation (non-A/C).
- Remove the front headliner from the retaining clips at the rear edge of the headliner.
- Remove the front headliner from the vehicle.

Installation Procedure
- Install the front headliner to the vehicle.
- Install the front headliner to the retaining clips at the rear edge of the headliner.
- Install the rear heater controls. Refer to Control Assembly Replacement in Heating and Ventilation (non-A/C).
- Install the dome lamp. Refer to Dome Lamp Replacement in Lighting Systems.
- Install the front door upper pillar garnish molding. Refer to Upper Pillar Garnish Molding Replacement .
- Install the front door opening upper frame garnish molding. Refer to Rear Upper Garnish Molding Replacement .
- Install the windshield garnish molding. Refer to Windshield Garnish Molding Replacement .
- Install the sunshades. Refer to Sunshade Replacement .

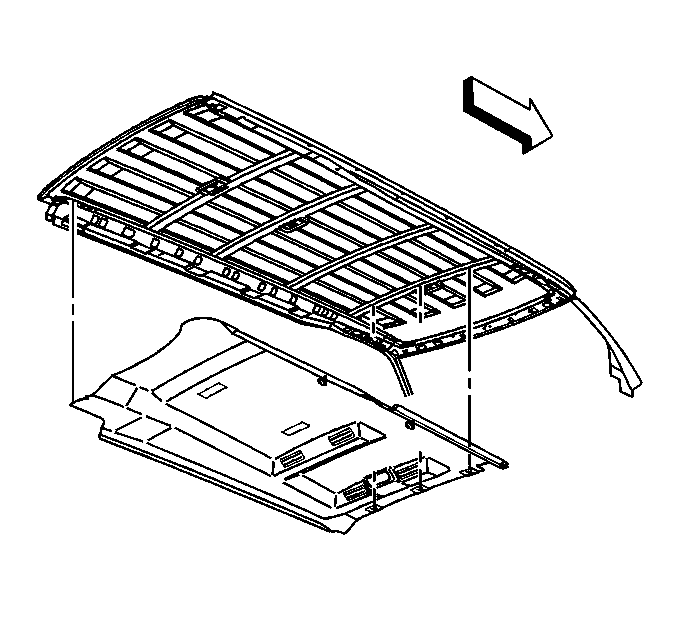
Headlining Trim Panel Replacement Rear
Removal Procedure
- Remove the rear passenger seats. Refer to Rear Bench Seat Replacement in Seats.
- Remove the front headliner. Refer to Headlining Trim Panel Replacement .
- Remove the driver side body side front garnish molding. Refer to Body Side Front Garnish Molding Replacement - Left Side Driver Side Body Side Front Garnish Molding Replacement.
- Remove the passenger side front corner garnish molding. Refer to Center Pillar Upper Garnish Molding Replacement - Right Side .
- Remove the body side rear upper garnish moldings. Refer to Rear Upper Garnish Molding Replacement .
- Remove the coat hooks. Refer to Coat Hook Replacement .
- Remove the rear heater controls, if equipped. Refer to Control Assembly Replacement .
- Remove the dome lamps. Refer to Dome Lamp Replacement in Lighting Systems.
- Remove the rear headliner from the vehicle.

Installation Procedure
- Install the rear headliner to the vehicle.
- Install the dome lamps. Refer to Dome Lamp Replacement in Lighting Systems.
- Install the rear heater controls, if equipped. Refer to Control Assembly Replacement .
- Install the coat hooks. Refer to Coat Hook Replacement .
- Install the body side rear upper garnish moldings. Refer to Rear Upper Garnish Molding Replacement .
- Install the passenger side front corner garnish molding. Refer to Center Pillar Upper Garnish Molding Replacement - Right Side .
- Install the driver side body side front garnish molding. Refer to Body Side Front Garnish Molding Replacement - Left Side .
- Install the front headliner. Refer to Headlining Trim Panel Replacement .
- Install the rear passenger seats. Refer to Rear Bench Seat Replacement in Seats.

