For 1990-2009 cars only
Removal Procedure
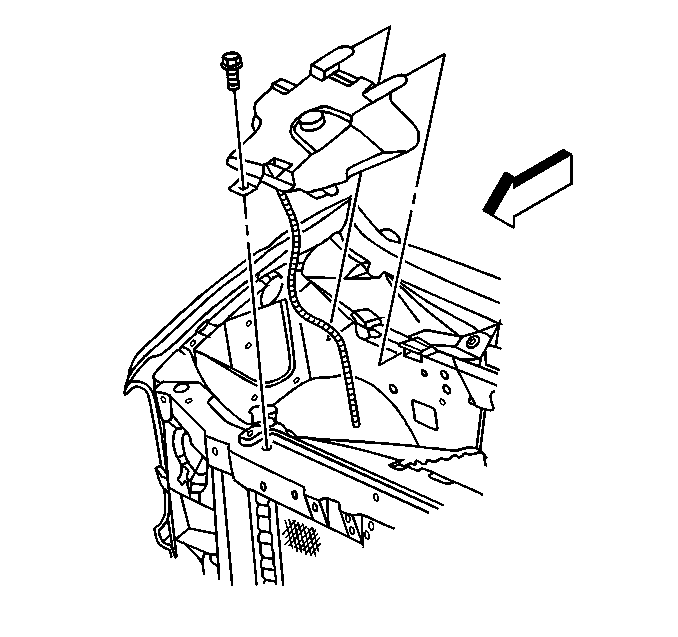
- Remove the coolant recovery reservoir. Refer to Coolant Recovery Reservoir Replacement in Engine Cooling.
- Disconnect the battery negative cable from the battery. Refer to Battery Negative Cable Disconnection and Connection in Engine Electrical.
- Remove the engine cover. Refer to Engine Cover Replacement in Interior Trim.
- Remove the air cleaner assembly. Refer to Air Cleaner Assembly Replacement in Engine Controls.
- Remove the front bumper. Refer to Front Bumper Replacement in Bumpers.
- Remove the radiator grille assembly. Refer to Grille Replacement in Body Front End.
- Remove the radiator support. Refer to Radiator Support Replacement in Body Front End.
- Remove the A/C condenser. Refer to Condenser Replacement in Heating, Ventilation and Air Conditioning.
- Remove the radiator. Refer to Radiator Replacement in Engine Cooling.
- Remove the ground straps. Refer to Engine Ground Strap Replacement in Engine Electrical.
- Remove the fan clutch from the water pump. Refer to Fan Clutch Replacement in Engine Cooling.
- Remove the heater hoses from the engine. Refer to Heater Inlet Hose Replacement and Heater Outlet Hose Replacement in Heating, Ventilation and Air Conditioning.
- Remove the accelerator control cable and the cruise control cable, if equipped. Refer to Accelerator Control Cable Replacement .
- Remove the generator from the generator and drive belt tensioner bracket. Refer to Generator Replacement in Engine Electrical.
- Remove the generator and drive belt brackets.
- Remove the A/C compressor from the mounting bracket. Refer to Air Conditioning Compressor Replacement in Heating, Ventilation and Air Conditioning.
- Remove the power steering pump from the power steering pump bracket. Refer to Power Steering Pump Replacement in Power Steering System.
- Remove the power steering pump mounting bracket.
- In order to allow access for the lifting device, remove the upper intake manifold. Refer to Upper Intake Manifold Replacement .
- Remove the transmission oil level indicator and tube. Refer to Filler Tube Replacement in Automatic Transmissions/Transaxles.
- Remove the engine oil fill tube.
- Remove the transmission shift cable connector. Refer to Shift Cable Replacement in Transmissions/Transaxles.
- Raise the vehicle and support with safety stands. Refer to Lifting and Jacking the Vehicle in General Information.
- Drain the engine oil. Refer to Engine Oil and Oil Filter Replacement .
- Remove the exhaust pipes from the exhaust manifolds. Refer to Catalytic Converter Replacement in Engine Exhaust.
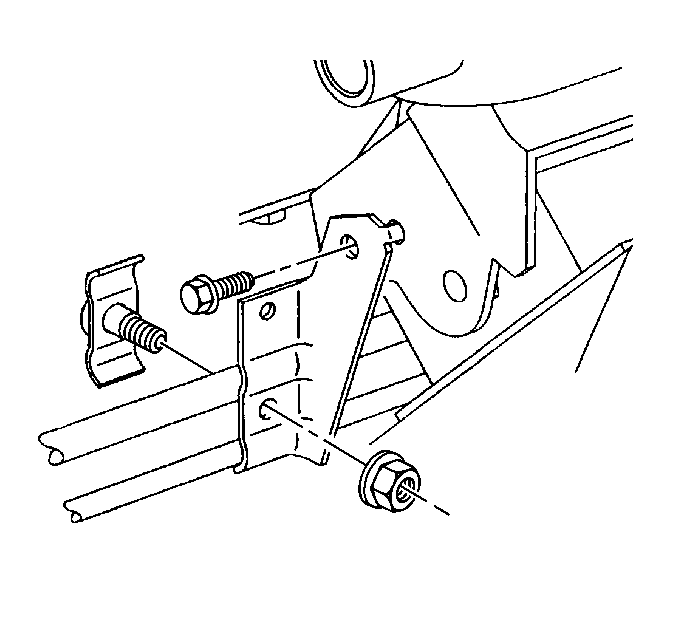
- Remove the engine oil cooler lines from the retaining brackets.
- Remove the engine oil cooler lines from the engine. Refer to Engine Oil Cooler Hose/Pipe Replacement in Engine Cooling.
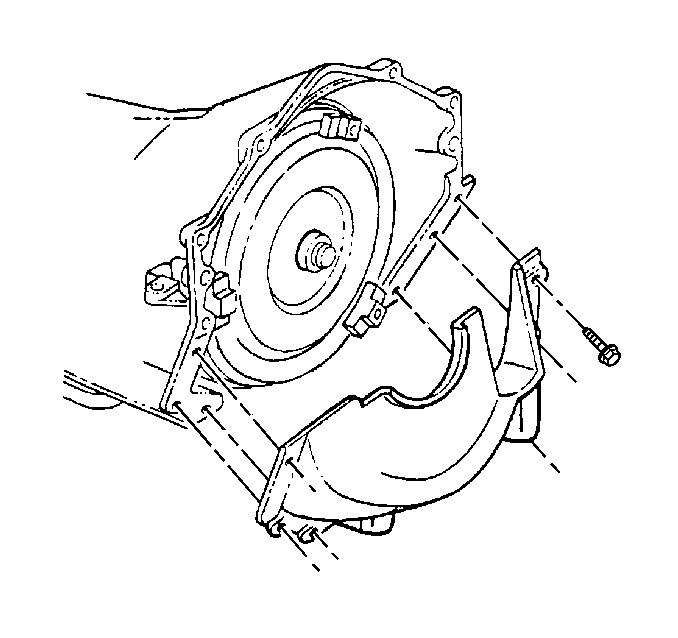
- Remove the flywheel cover.
- Remove the starter motor. Refer to Starter Motor Replacement .
- Remove the torque converter bolts from the engine flywheel. Refer to Flywheel to Torque Converter Bolt Replacement .
- Remove the transmission cooler lines from the engine. Refer to Oil Cooler Hose/Pipe Replacement in Engine Cooling.
- Remove the bolts holding the transmission to the engine. Refer to Transmission Replacement and Transmission Replacement in Automatic Transmissions/Transaxles.
- Remove the safety stands and lower the vehicle. Refer to Lifting and Jacking the Vehicle in General Information.
- Install a length of chain, using GM P/N 23503910 attaching bolt to the rear of the left cylinder head.
- Support the transmission using a suitable lifting device . Refer to Transmission Replacement or Transmission Replacement in Automatic Transmissions/Transaxles.
- Attach a suitable lifting device to the chain.
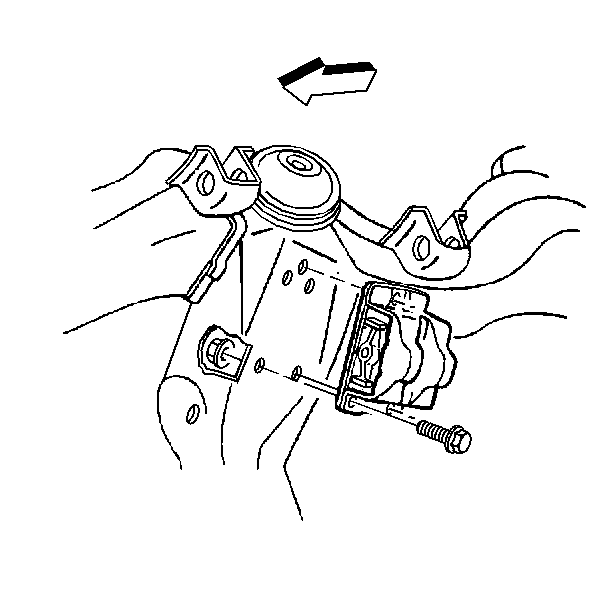
- Remove the engine mounts from the frame. Refer to Engine Mount Replacement - Left Side or Engine Mount Replacement - Right Side .
- Remove the engine assembly from the vehicle.


Caution: In order to avoid possible injury or vehicle damage, always replace the accelerator control cable with a NEW cable whenever you remove the engine from the vehicle.
In order to avoid cruise control cable damage, position the cable out of the way while you remove or install the engine. Do not pry or lean against the cruise control cable and do not kink the cable. You must replace a damaged cable.

Installation Procedure
- Install the engine assembly to the vehicle.
- Install the engine mounts to the frame. Refer to Engine Mount Replacement - Left Side or Engine Mount Replacement - Right Side .
- Install the engine mount through bolts. Refer to Engine Mount Replacement - Left Side or Engine Mount Replacement - Right Side .
- Remove the lifting device from the chain.
- Support the transmission with a strap between the frame rails. Refer to Transmission Replacement or Transmission Replacement in Automatic Transmissions/Transaxles.
- Raise the vehicle and support with safety stands. Refer to Lifting and Jacking the Vehicle in General Information.
- Install the bolts from the transmission to the engine. Refer to Transmission Replacement and Transmission Replacement in Automatic Transmission/Transaxle.
- Install the transmission cooler lines to the engine block. Refer to Engine Oil Cooler Hose/Pipe Replacement in Engine Cooling.
- Install the torque converter bolts to the engine flywheel. Refer to Flywheel to Torque Converter Bolt Replacement in Automatic Transmission/Transaxles.
- Install the starter motor. Refer to Starter Motor Replacement in Engine Electrical.
- Install the engine oil cooler lines to the engine. Refer to Oil Cooler Hose/Pipe Replacement in Engine Cooling.
- Install the engine oil cooler lines to the retaining brackets. Refer to Oil Cooler Hose/Pipe Replacement in Engine Cooling.
- Install the exhaust pipes to the exhaust manifolds. Refer to Catalytic Converter Replacement .
- Remove the safety stands and lower the vehicle.
- Install the transmission shift cable connector. Refer to Shift Cable Replacement in Automatic Transmissions/Transaxle.
- Install the transmission oil level indicator and the tube. Refer to Filler Tube Replacement and Transmission Fluid Filler Tube and Seal Replacement in Automatic Transmissions/Transaxle.
- Install the fuel pipes to the rear of the engine. Refer to Fuel Hose/Pipes Replacement - Engine Compartment in Engine Controls.
- Install the upper intake manifold to the engine. Refer to Upper Intake Manifold Replacement .
- Install the A/C compressor to the accessory mounting bracket. Refer to Air Conditioning Compressor Replacement in Heating, Ventilation and Air Conditioning.
- Install the generator and drive belt tensioner bracket.
- Install the generator to the generator and drive belt tensioner bracket. Refer to Generator Replacement .
- Install the NEW accelerator control cable and the cruise control cable, if equipped. Refer to Accelerator Control Cable Replacement in Engine Controls.
- Install the heater hoses to the engine block. Refer to Heater Inlet Hose Replacement and Heater Outlet Hose Replacement in Heating, Ventilation and Air Conditioning.
- Install the fan clutch to the water pump. Refer to Fan Clutch Replacement in Engine Cooling.
- Install the ground straps. Refer to Engine Ground Strap Replacement in Engine Electrical.
- Install the radiator. Refer to Radiator Replacement in Engine Cooling.
- Install the A/C condenser. Refer to Condenser Replacement in Heating, Ventilation and Air Conditioning.
- Install the radiator support. Refer to Radiator Support Replacement in Body Front End.
- Install the radiator grille assembly. Refer to Grille Replacement in Body Front End.
- Install the front bumper. Refer to Front Bumper Replacement in Bumpers.
- Install the air cleaner assembly. Refer to Air Cleaner Assembly Replacement in Engine Controls.
- Install the coolant recovery reservoir. Refer to Coolant Recovery Reservoir Replacement in Engine Cooling.
- Install the engine cover. Refer to Engine Cover Replacement in Interior Trim.
- Connect the battery negative cable to the battery. Refer to Battery Negative Cable Disconnection and Connection in Engine Electrical.
- Fill the engine with the proper quantity and grade of engine oil. Refer to Engine Oil and Oil Filter Replacement .
- Fill the cooling system with the proper quantity and type of coolant. Refer to Cooling System Draining and Filling in Engine Cooling.
- The final step is to perform the CKP System Variation Learn procedure. Refer to Crankshaft Position System Variation Learn in Engine Controls.

Caution: In order to avoid possible injury or vehicle damage, always replace the accelerator control cable with a NEW cable whenever you remove the engine from the vehicle.
In order to avoid cruise control cable damage, position the cable out of the way while you remove or install the engine. Do not pry or lean against the cruise control cable and do not kink the cable. You must replace a damaged cable.