Removal Procedure
Notice:
• Remove the fuel pressure regulator in order to drain the excess
fuel and in order to prevent fuel from entering the engine cylinders when
the fuel injectors are removed for service. Flooded cylinders could result
in engine damage. • Use care in removing the fuel injectors in order to prevent damage
to the electrical connector pins on the injector and the nozzle. The fuel
injector is serviced as a complete assembly only. Do not immerse the injector
in a solvent bath.
- Relieve the fuel system pressure.
- Disconnect negative battery cable.
- Remove the upper manifold assembly. Refer to Intake Manifold Removal .
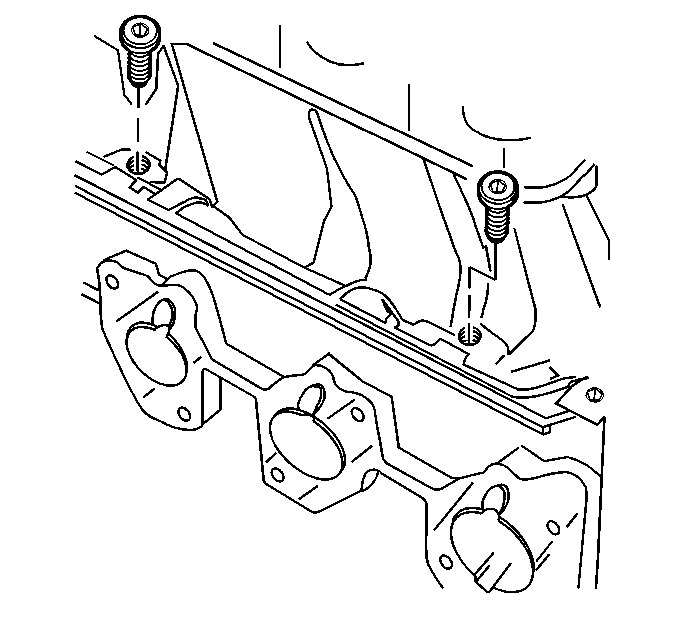
- Remove the fuel return line retaining bracket screw assemblies.
- Remove the fuel return line retaining bracket.
- Move the return line away from the regulator.
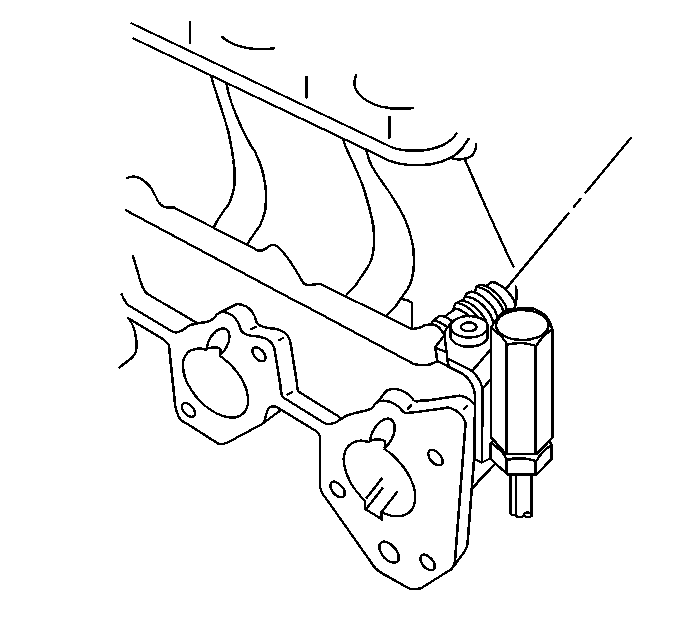
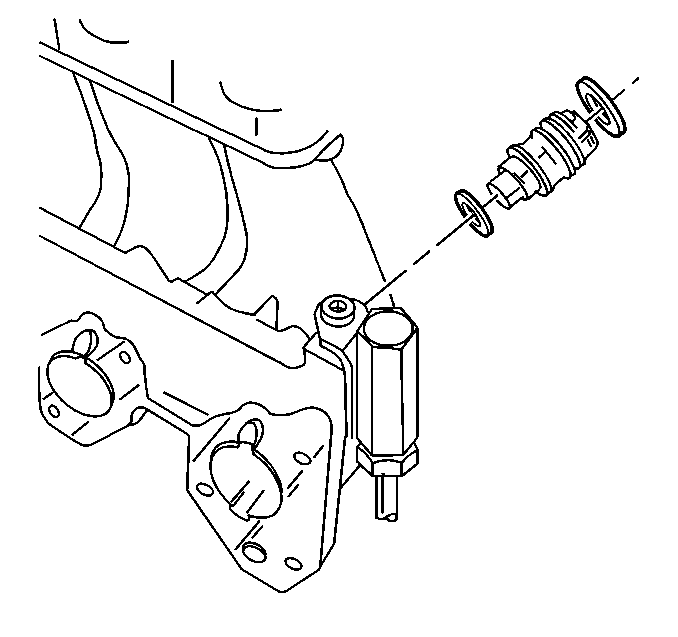
- Remove the pressure regulator assembly. Refer to Fuel Pressure Regulator Replacement .
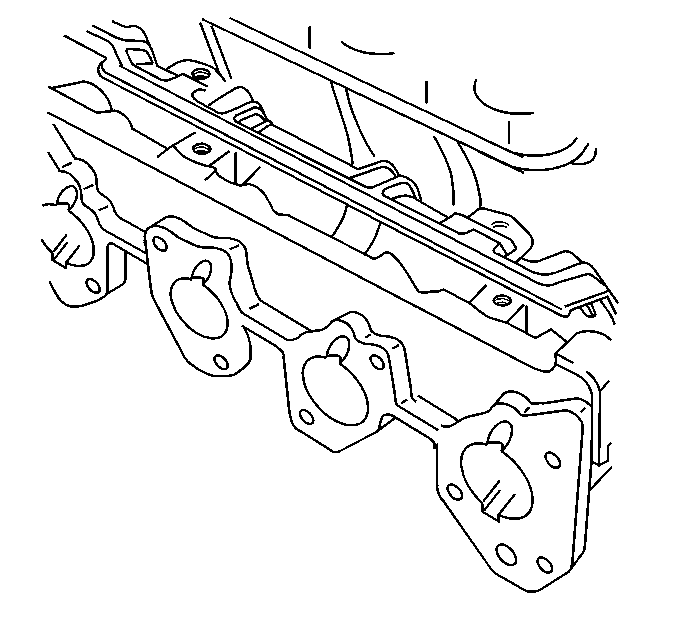
- Remove the injector retainer bracket attaching screws.
- Carefully slide the bracket off in order to clear the injector slots and the regulator.
- Remove the electrical injector connectors.
- Remove the fuel injectors.
- Discard the O-ring seals.
Caution: Remove the fuel tank cap and relieve the fuel system pressure before servicing the fuel system in order to reduce the risk of personal injury. After you relieve the fuel system pressure, a small amount of fuel may be released when servicing the fuel lines, the fuel injection pump, or the connections. In order to reduce the risk of personal injury, cover the fuel system components with a shop towel before disconnection. This will catch any fuel that may leak out. Place the towel in an approved container when the disconnection is complete.
Notice: The following procedures must be performed in order to prevent possible engine damage from flooded cylinders.
Refer to Fuel Pressure Relief .
Notice:
• Do not try to remove the fuel injectors by lifting up the fuel
injector retaining bracket while the fuel injectors are still installed in
the bracket slots. Improper removal may damage to the fuel injector retaining
bracket and fuel injectors. • Remove the fuel pressure regulator before removing the bracket.


Caution: Verify that the lower (small) O-ring of each injector does not remain in the lower manifold in order to reduce the risk of fire and personal injury.
If the O-ring is not removed with the injector, the replacement injector with new O-rings will not seat properly in the injector socket. Improper seating could cause a fuel leak.Notice: Cover the injector sockets in order to prevent dirt and other contaminants from entering the open fuel passages.
Important: Each injector is calibrated for a specific flow rate. When replacing the fuel injectors, order replacements with the identical part number as the old injectors.
Installation Procedure
- After lubricating the new injector O-ring seals with clean engine oil, install on the injector assembly.
- Install the fuel injector assembly into lower manifold injector socket with electrical connectors facing inward.
- Carefully install the bracket so that the injector retaining slots and the regulator are aligned with bracket slots.
- Install the electrical injector connectors.
- Install the pressure regulator assembly. Refer to Fuel Pressure Regulator Replacement .
- Install the injector retainer bracket attaching screws. Refer to Thread Locking Material above.
- Install the upper manifold assembly. Refer to Intake Manifold Removal .
- Install the accelerator cable bracket with attaching bolts and nuts.
- Tighten the fuel filler cap.
- Install the air intake duct.
- Connect the negative battery terminal.
- Check for leaking injectors. Refer to Fuel System Diagnosis .
- Inspect for fuel leaks.

Caution: Verify that the lower (small) O-ring of each injector does not remain in the lower manifold in order to reduce the risk of fire and personal injury.
If the O-ring is not removed with the injector, the replacement injector with new O-rings will not seat properly in the injector socket. Improper seating could cause a fuel leak.Important: When installing the fuel injector, care should be taken not to tear or misalign the fuel injector O-rings.


Tighten
Tighten the injector retainer bracket attaching screws to 3.5 N·m(31 lb in).
Notice: Use the correct fastener in the correct location. Replacement fasteners must be the correct part number for that application. Fasteners requiring replacement or fasteners requiring the use of thread locking compound or sealant are identified in the service procedure. Do not use paints, lubricants, or corrosion inhibitors on fasteners or fastener joint surfaces unless specified. These coatings affect fastener torque and joint clamping force and may damage the fastener. Use the correct tightening sequence and specifications when installing fasteners in order to avoid damage to parts and systems.
Tighten
| • | Tighten the accelerator cable bracket nut to 30 N·m (22 lb ft). |
| • | Tighten the accelerator cable bracket bolts to 25 N·m (18 lb ft). |
Notice: The following procedures must be performed in order to prevent possible engine damage from flooded cylinders.
| 13.1. | Turn the ignition switch ON for 2 seconds. |
| 13.2. | Turn the ignition switch OFF for 10 seconds. |
| 13.3. | Turn the ignition switch ON. |
| 13.4. | Check for fuel leaks. |
