For 1990-2009 cars only
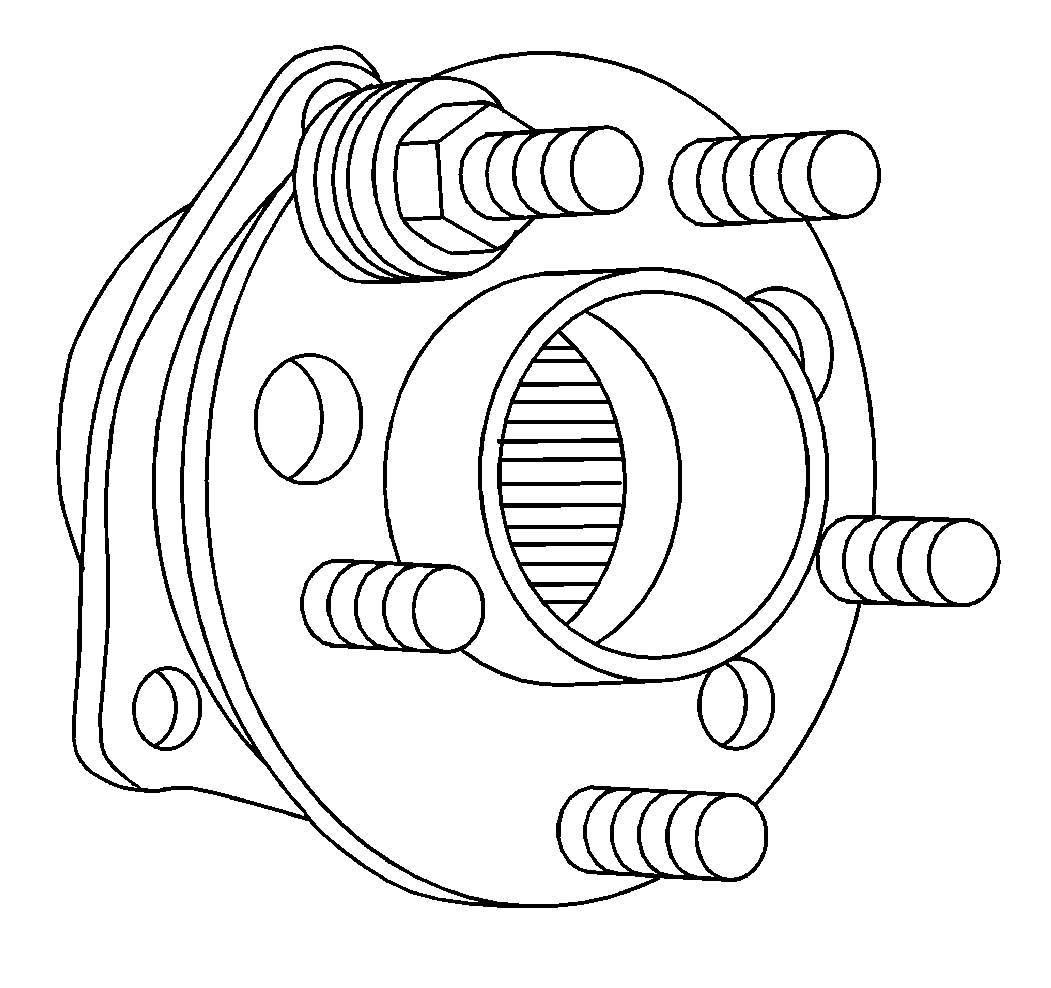
Wheel Stud Replacement RWD Pickups
Removal Procedure
- Remove the rotor. Refer to Front Wheel Hub, Bearing, and Seal Replacement .
- Remove the wheel stud.
| • | Press the stud out using an arbor press. |
| • | Do not damage the wheel mounting surface on the wheel hub flange. |
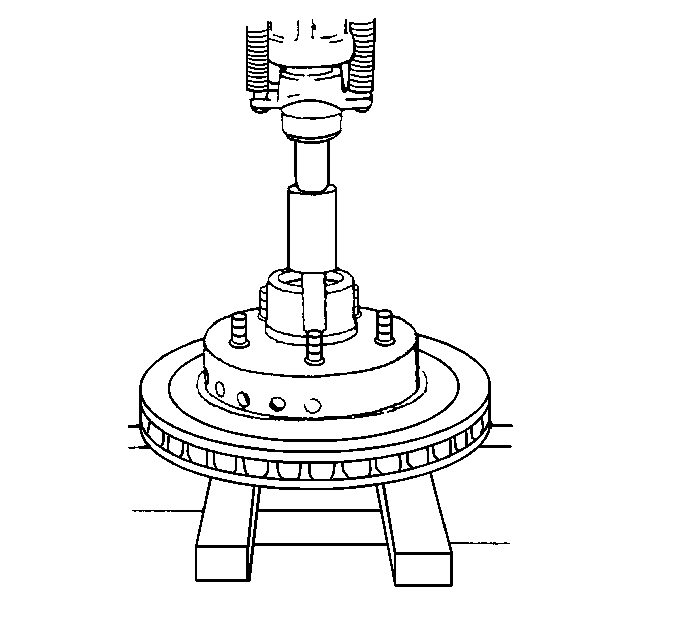
Installation Procedure
- Install the stud into the hole in the wheel hub.
- Install the rotor. Refer to Front Wheel Hub, Bearing, and Seal Replacement .
| 1.1. | Start the serrated stud into the hole in the wheel hub by tapping lightly with a hammer. |
| 1.2. | The stud must be square with the wheel hub before pressing on the arbor press. |
Wheel Stud Replacement 4WD Pickups and Utilities
Tools Required
J 43631 Ball Joint Remover
Removal Procedure
- Raise and suitably support the vehicle with safety stands. Refer to Lifting and Jacking the Vehicle in General Information.
- Remove the tire and the wheel. Refer to Tire and Wheel Removal and Installation in Tires and Wheels.
- Remove the rotor. Refer to Front Brake Rotor Replacement in Disc Brakes.
- Remove the wheel stud bolt using J 43631 .
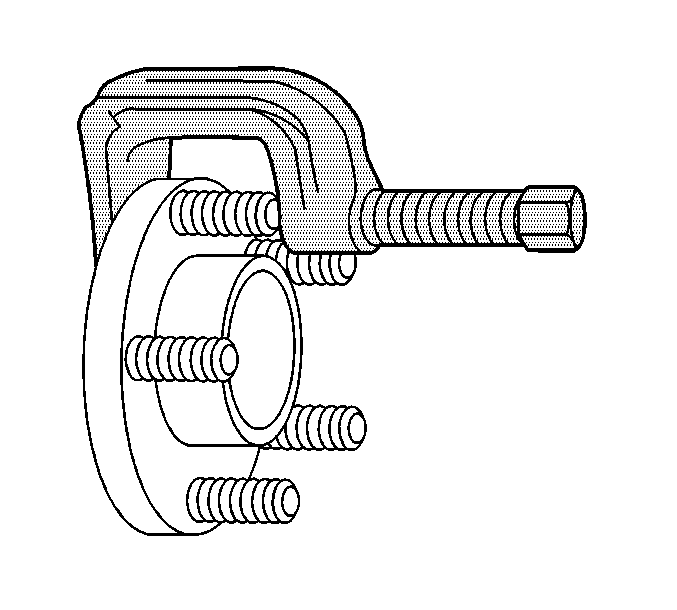
Important: Do not hammer on a wheel stud.
Installation Procedure
- Install the wheel stud to the wheel hub and bearing.
- Install 4 washers to the wheel stud.
- Thread a wheel nut onto the new stud with the flat side facing the hub flange.
- Tighten the wheel nut until the new stud contacts the back of the hub flange.
- Remove the wheel nut and the washers.
- Install the rotor. Refer to Front Brake Rotor Replacement in Disc Brakes.
- Install the tire and the wheel. Refer to Tire and Wheel Removal and Installation in Tires and Wheels.
- Lower the vehicle.