Removal Procedure
- Disconnect negative battery cable. Refer to Battery Negative Cable Disconnection and Connection .
- Remove the air cleaner . Refer to Air Cleaner Replacement .
- Remove the charged air pipe. Refer to Charged Air Cooler Hoses/Pipes Replacement .
- Remove the glow plug control module. Refer to Glow Plug Control Module Replacement .
- Drain the cooling system. Refer to Cooling System Draining and Filling .
- Remove the fan. Refer to Fan Replacement .
- Disconnect the A/C compressor clutch electrical connector.
- Disconnect the A/C cut out switch electrical connector.
- Remove the A/C compressor bolts.
- Reposition the A/C compressor (with the hoses attached) to the right side of the engine compartment.
- Remove the A/C compressor/power steering pump mounting bracket. Refer to Air Conditioning Compressor Replacement .
- Remove the oil fill tube. Refer to Oil Filler Tube Replacement .
- Remove the heater outlet hose bolt from the generator bracket.
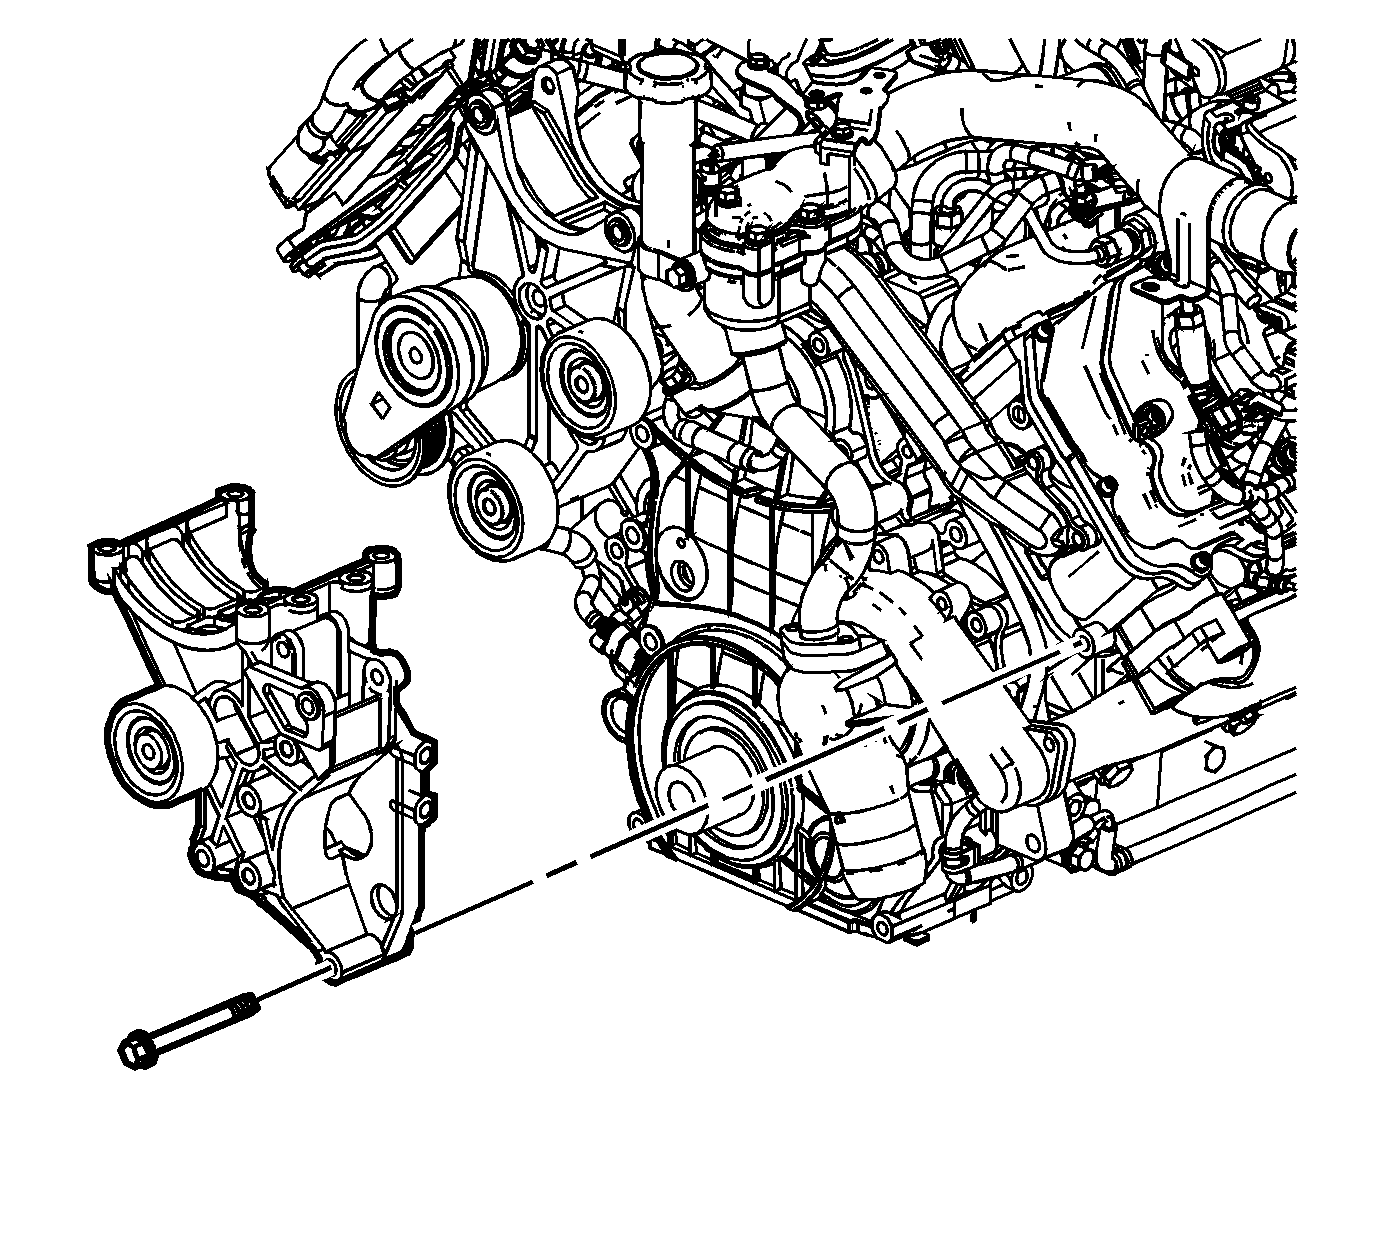
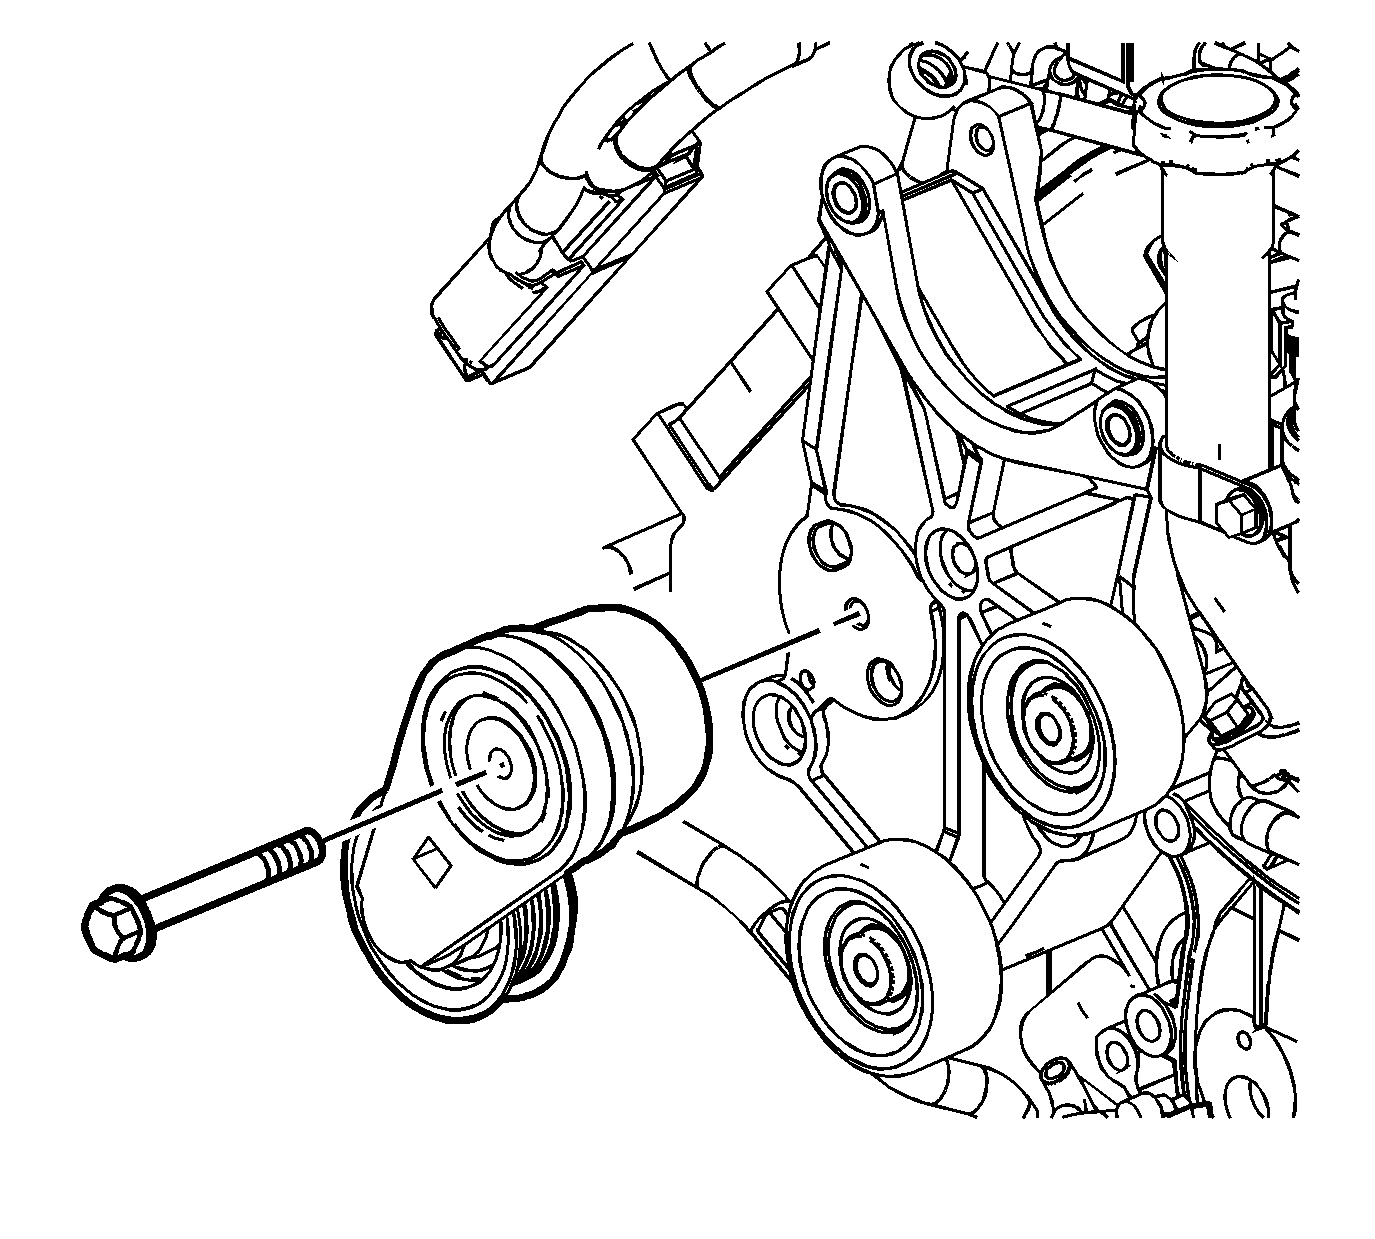
- Remove the drive belt tensioner bolt and tensioner.
- Remove the generator. Refer to Generator Replacement .
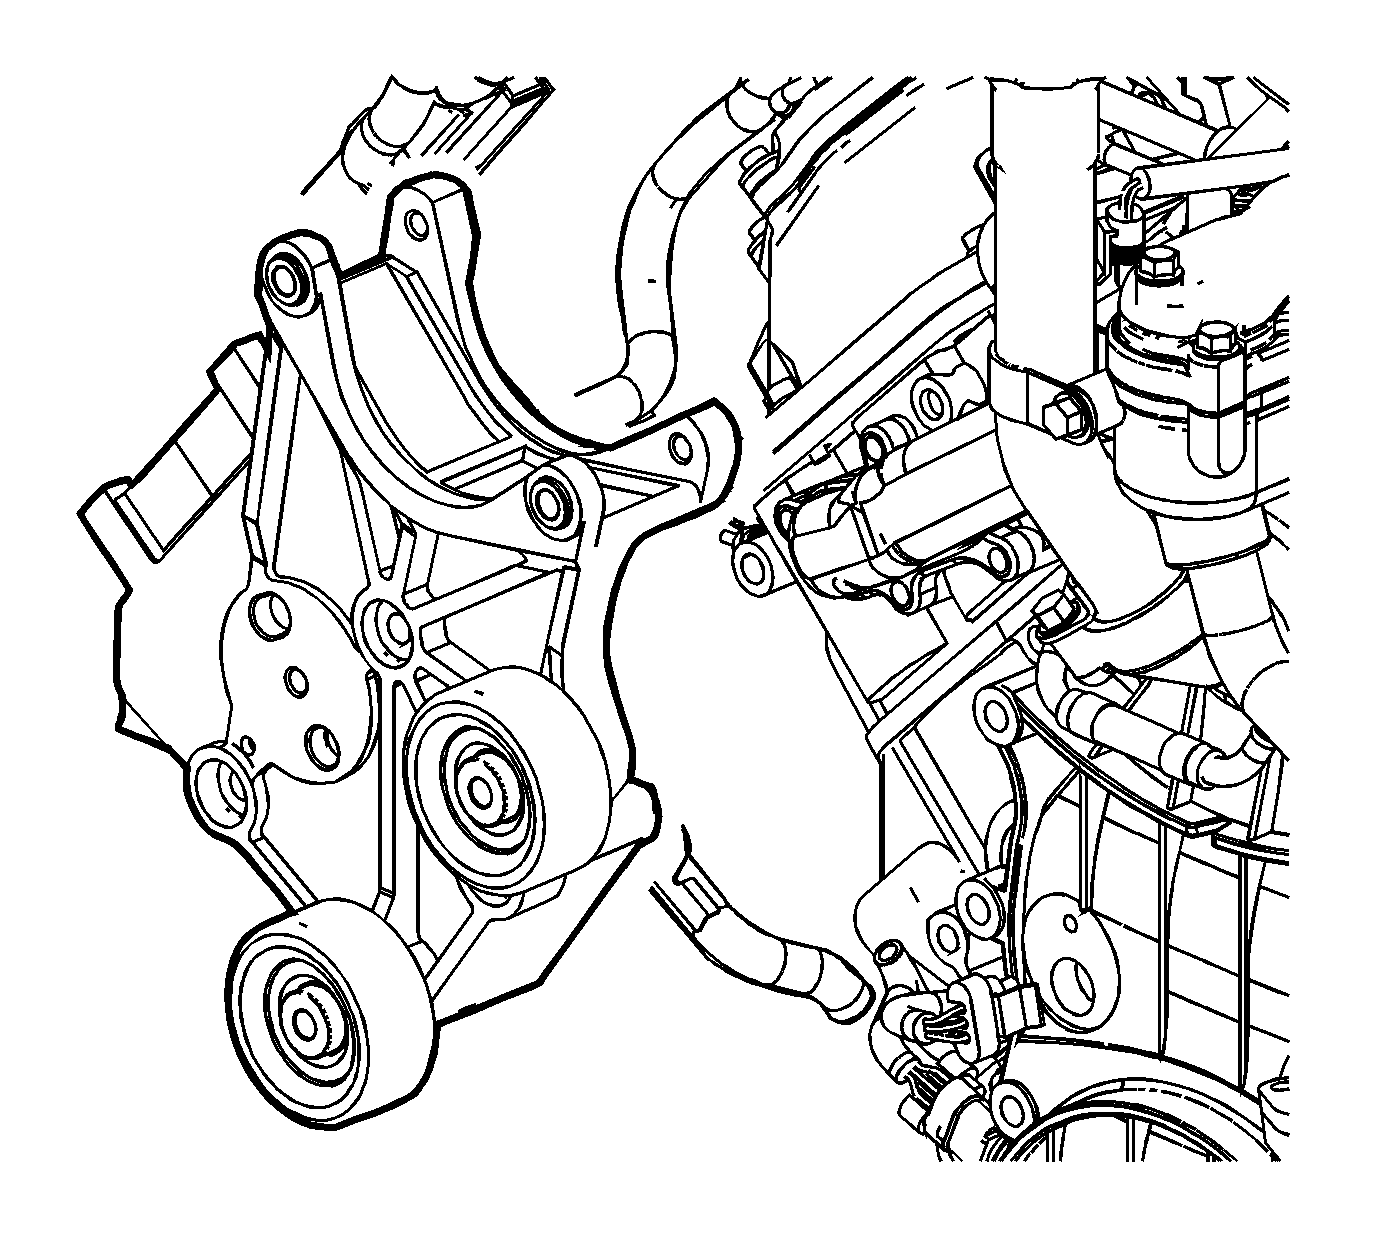
- Remove the generator bracket bolts and bracket.
- Remove the thermostat housing crossover. Refer to Thermostat Housing Crossover Replacement .
- Remove the air intake pipe. Refer to Air Intake Pipe Replacement .
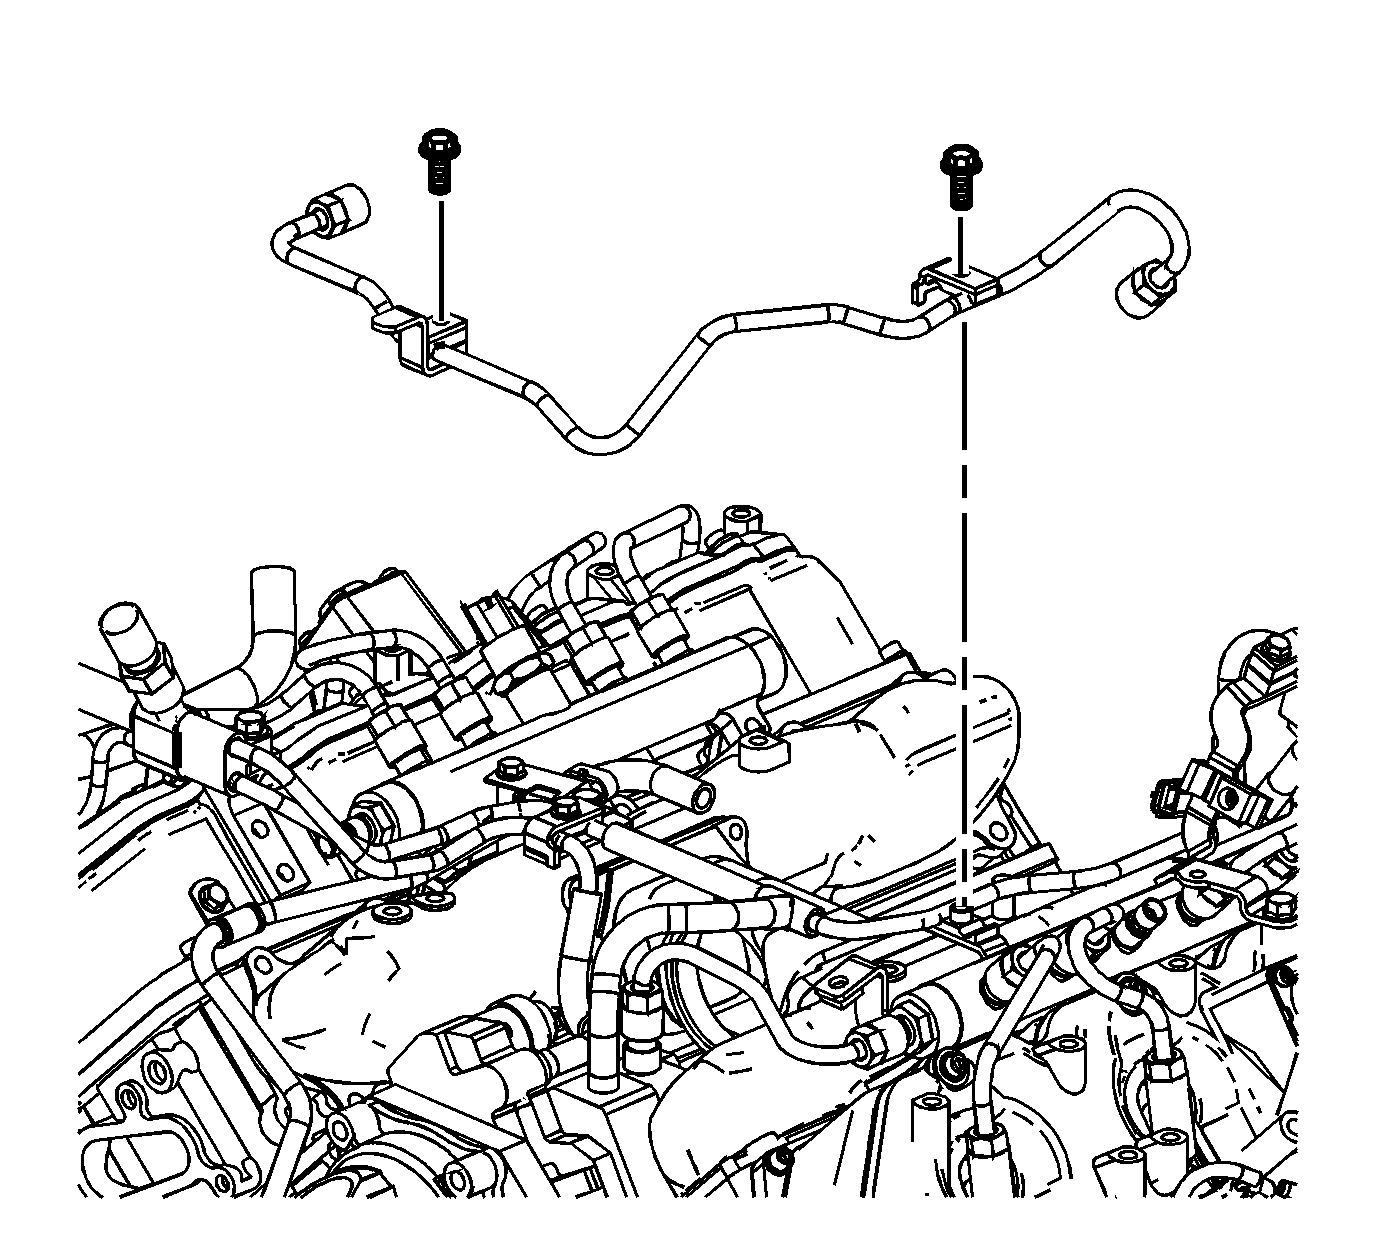
- Disconnect the fuel balance pipe fitting from the right fuel rail.
- Remove the fuel balance pipe retainer bolts.
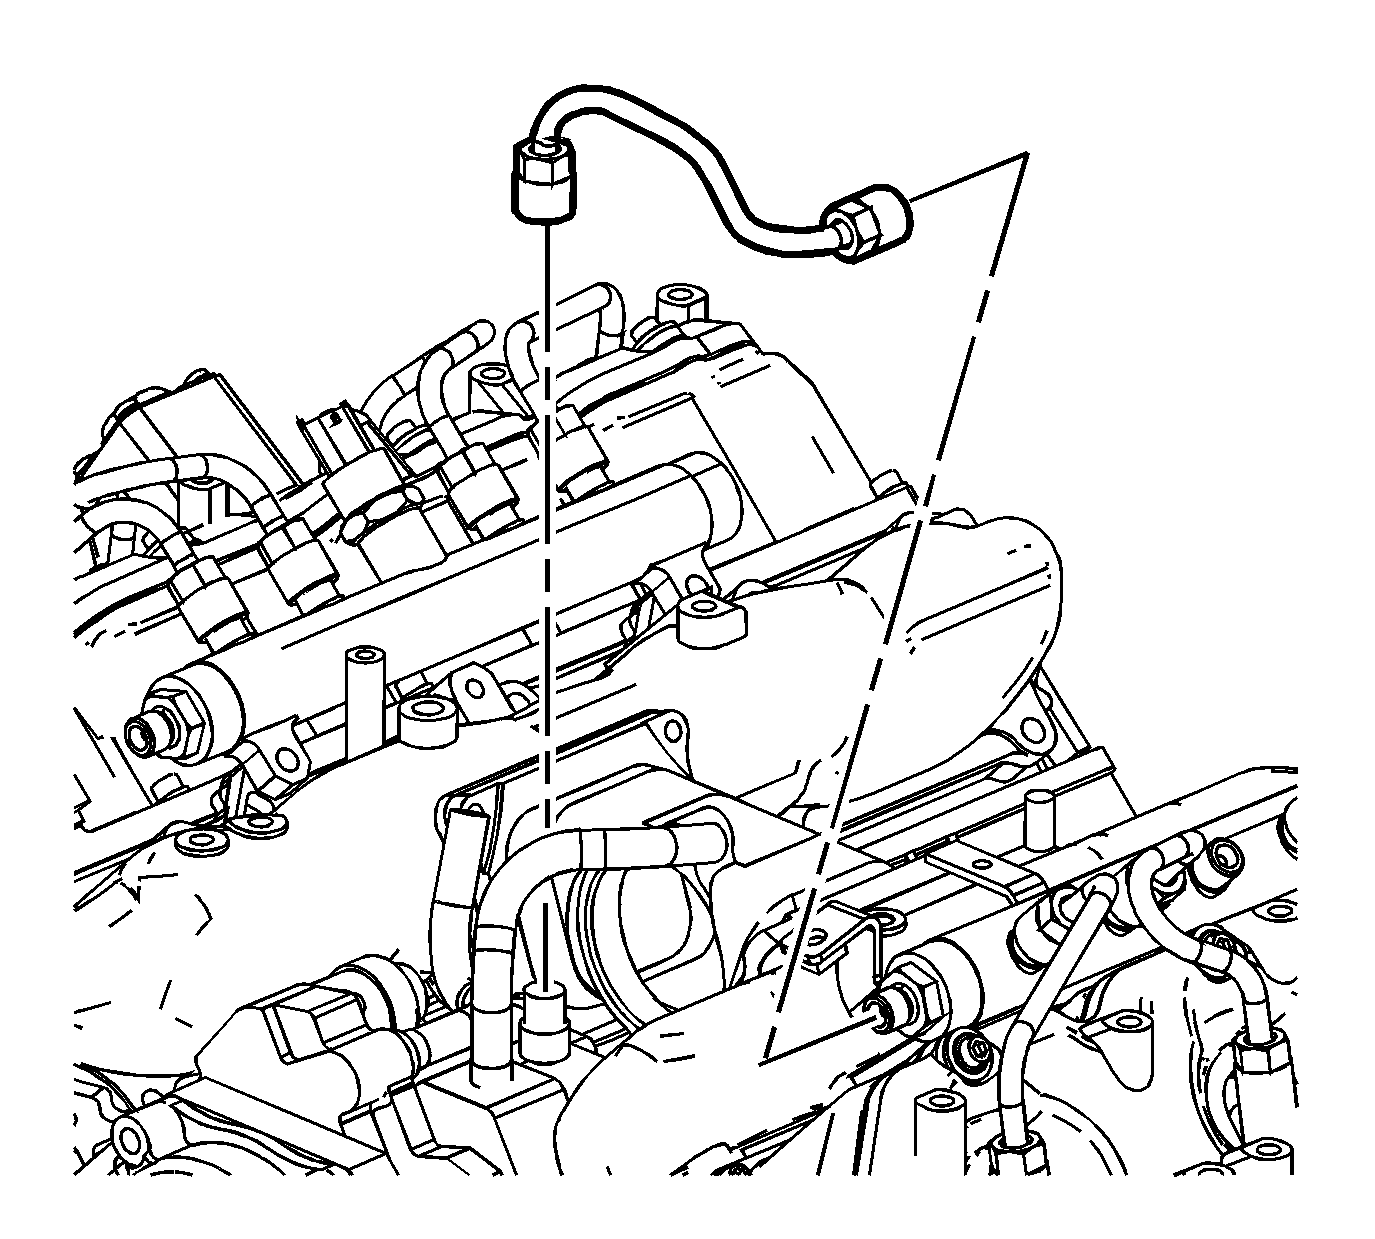
- Disconnect the fuel rail inlet pipe from the injection pump and rail.
- Remove the inlet pipe.
- Remove the center intake manifold. Refer to Center Intake Manifold Replacement .
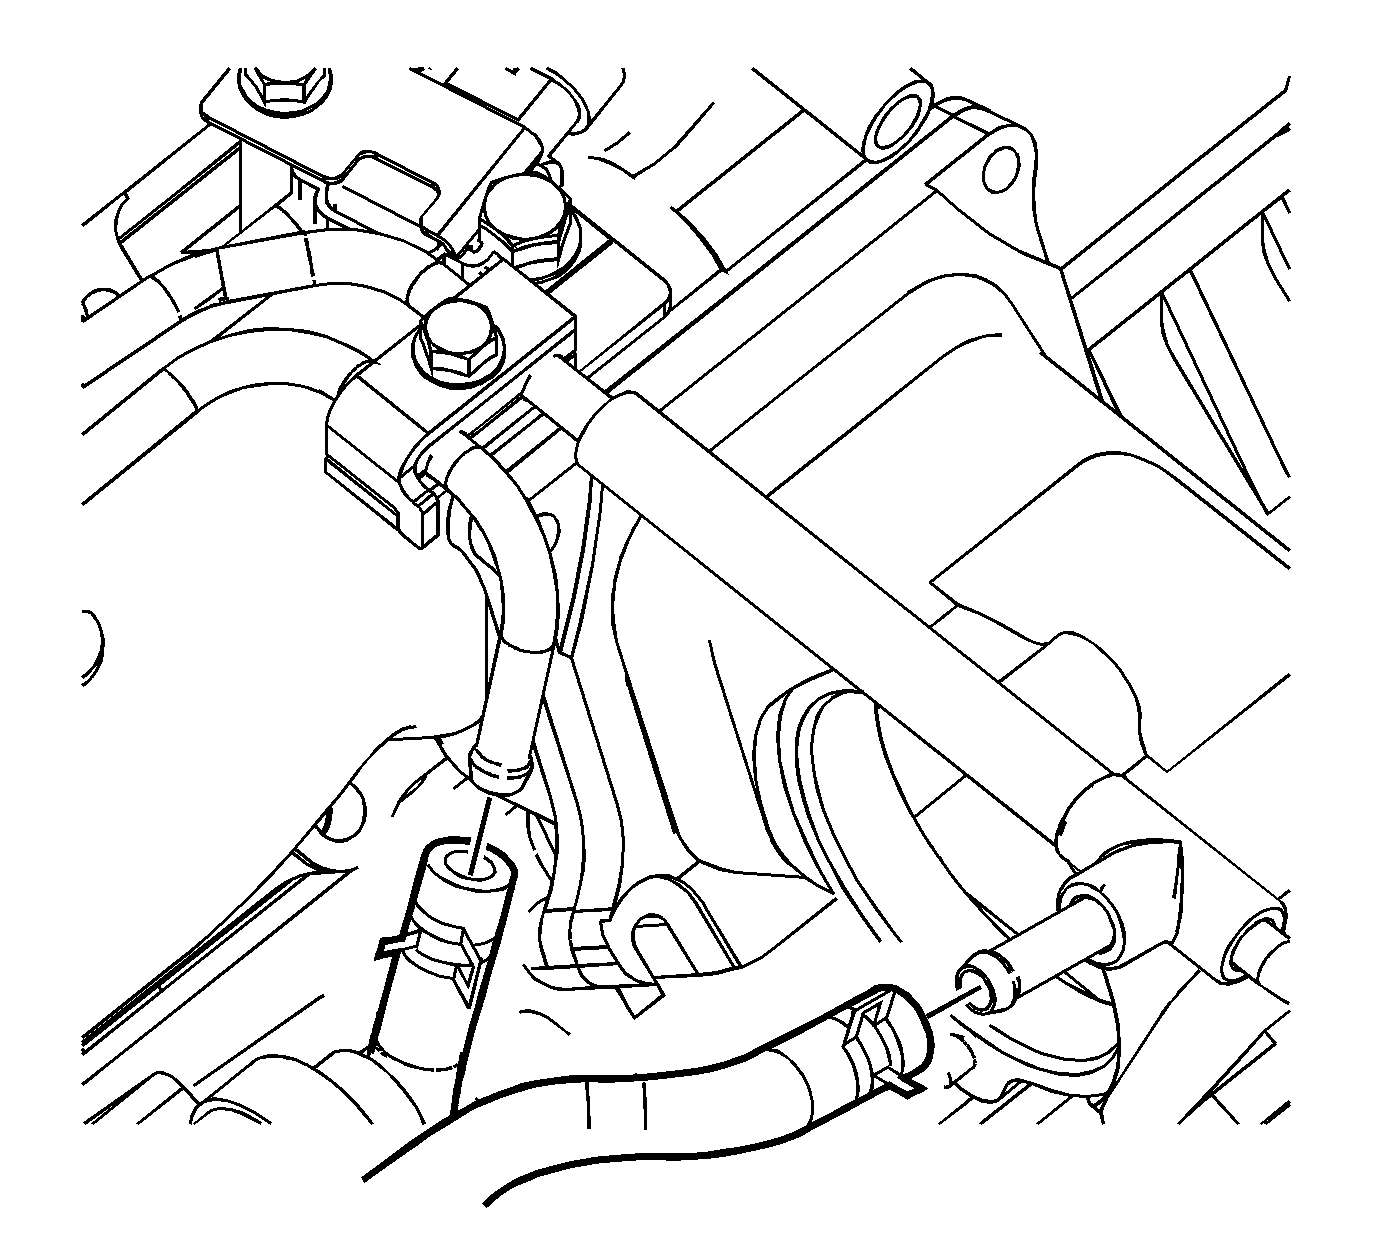
- Reposition the injection pump hose clamps at the fuel line.
- Remove the hoses from fuel lines.
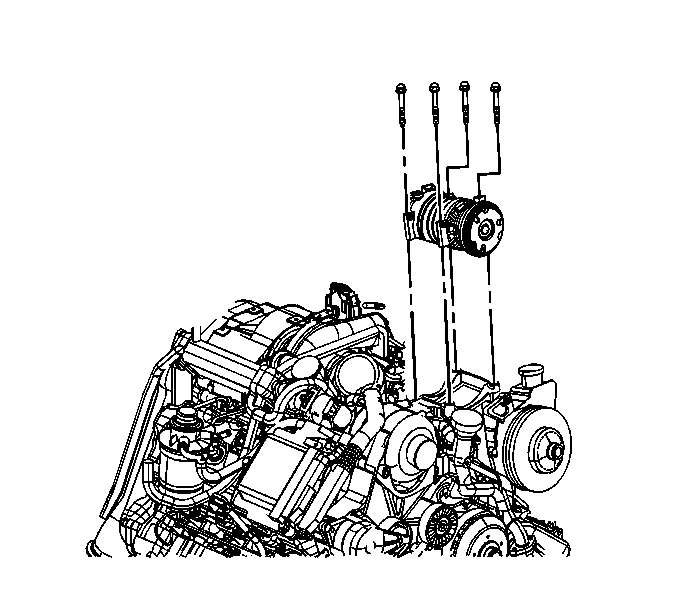
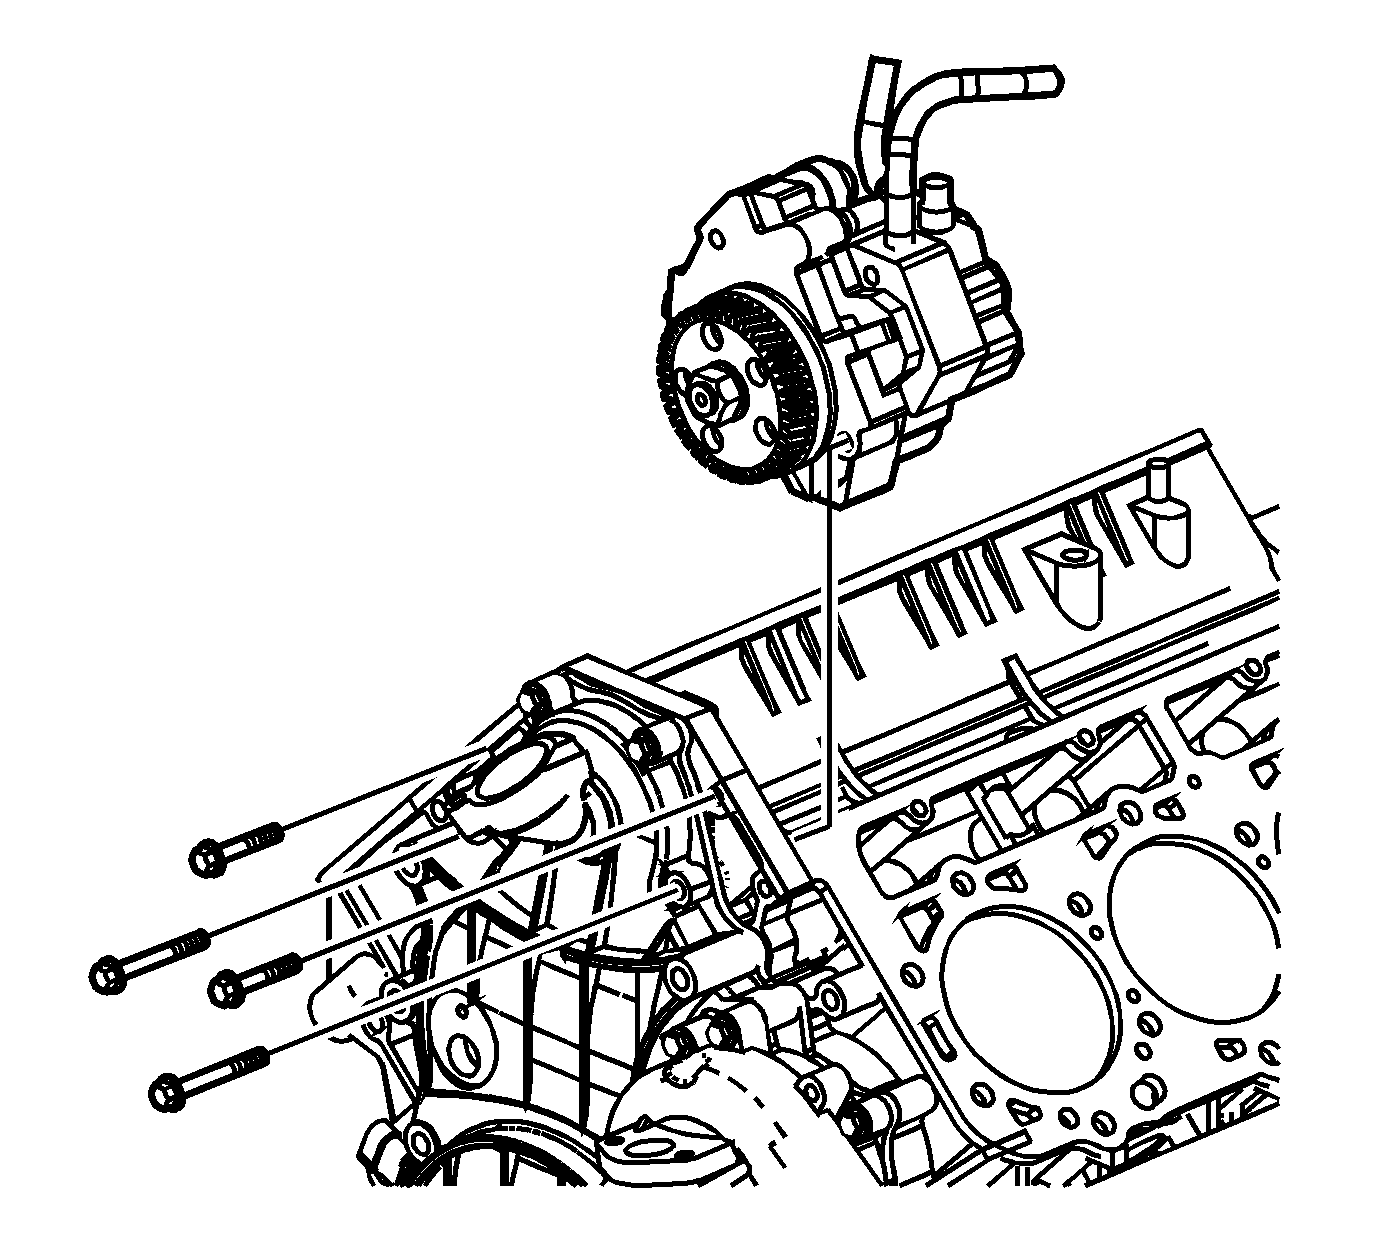
- Remove the fuel injection pump bolts.
- Remove the fuel injection pump from the block.
- The fuel injection pump may need to be rotated in order to remove it from the vehicle.
Important: After removing the outlet duct, cover the turbocharger (TC) openings with tape in order to prevent entry of objects.
Important: Be careful not to damage any mating surfaces.
Use 2 screwdrivers to work the pump from the block towards the rear of engine keeping the pump straight.
Fuel Injection Pump Preparation Procedure
- Hold the fuel pump by the drive gear in a vice with copper jaw liners.
- Loosen the gear nut until the nut is even with the end of the gear shaft.
- Remove the gear from the tapered shaft of the injection pump.
- Separate the injection pump and adapter by removing the 3 bolts and spacers.
- Inspect the O-ring for damage on the pump adapter and replace, if necessary. Lubricate the O-ring with clean engine oil.
- Clean all mating surfaces.
- Install the adapter on the pump.
- Install the 3 bolts and spacers.
- Install the gear and nut.
Notice: Refer to Fastener Notice in the Preface section.
Tighten
Tighten the bolts to 20 N·m (15 lb ft).
Tighten
Tighten nut to 70 N·m (52 lb ft).
Installation Procedure
- Install the fuel injection pump to the block.
- Install the fuel injection pump bolts.
- Install the hoses to fuel lines.
- Position the injection pump hose clamps at the fuel line.
- Install the center intake manifold. Refer to Center Intake Manifold Replacement .
- Install the inlet pipe.
- Connect the fuel rail inlet pipe to the injection pump and rail.
- Connect the fuel balance pipe fitting to the right fuel rail.
- Install the fuel balance pipe retainer bolts.
- Install the air intake pipe. Refer to Air Intake Pipe Replacement .
- Install the thermostat housing crossover. Refer to Thermostat Housing Crossover Replacement .
- Install the generator bracket and bolts.
- Install the generator. Refer to Generator Replacement .
- Install the drive belt tensioner and bolt.
- Install the heater outlet hose bolt to the generator bracket.
- Install the oil fill tube. Refer to Oil Filler Tube Replacement .
- Install the A/C compressor/power steering pump mounting bracket. Refer to Air Conditioning Compressor Replacement .
- Position the A/C compressor, with the hoses attached, to the bracket.
- Install the A/C compressor bolts.
- Connect the A/C cut out switch electrical connector.
- Connect the A/C compressor clutch electrical connector.
- Install the fan. Refer to Fan Replacement .
- Install the glow plug control module. Refer to Glow Plug Control Module Replacement .
- Fill the cooling system. Refer to Cooling System Draining and Filling .
- Install the charged air pipe. Refer to Charged Air Cooler Hoses/Pipes Replacement .
- Connect negative battery cable. Refer to Battery Negative Cable Disconnection and Connection .
- Install the air cleaner . Refer to Air Cleaner Replacement .
- Prime the fuel system. Refer to Fuel System Priming .
- Start the engine. If the engine stalls, repeat the above step.
- Once the engine starts, inspect for fuel leaks.
Tighten
Tighten the bolts to 21 N·m (15 lb ft).
Tighten
Tighten the fittings to 41 N·m (30 lb ft).
Tighten
Tighten the fitting to 41 N·m (30 lb ft).
Tighten
Tighten the bolts to 10 N·m (89 lb in).
Tighten
Tighten the bolts to 46 N·m (34 lb ft).
Tighten
Tighten the bolt to 50 N·m (37 lb ft).
Tighten
Tighten the bolt to 21 N·m (15 lb ft).
Tighten
Tighten the bolts to 50 N·m (37 lb ft).
