For 1990-2009 cars only
Removal Procedure
Important: For the removal of the rear door assembly, perform steps 13 through 19.
- Open and support the rear door.
- Open the front door.
- Remove the door trim panel. Refer to Rear Side Door Trim Panel Replacement .
- Remove the water deflector. Refer to Rear Side Door Water Deflector Replacement .
- Remove the inside handle. Refer to Rear Side Door Inside Handle Replacement .
- Remove the window regulator. Refer to Rear Side Door Window Regulator Replacement .
- Remove the outside door handle. Refer to Door Outside Handle Replacement .
- Remove the door lock. Refer to Rear Door Lock Replacement .
- Remove the door window. Refer to Rear Side Door Window Replacement .
- Remove the rear stationary window. Refer to Rear Side Door Stationary Window Replacement .
- Remove the rear door reveal molding. Refer to Rear Side Door Stationary Window Replacement .
- Remove the rear door electrical harness through the opening in the rear door.
- Using a grease pencil, mark the location of the rear door hinges to the rear door.
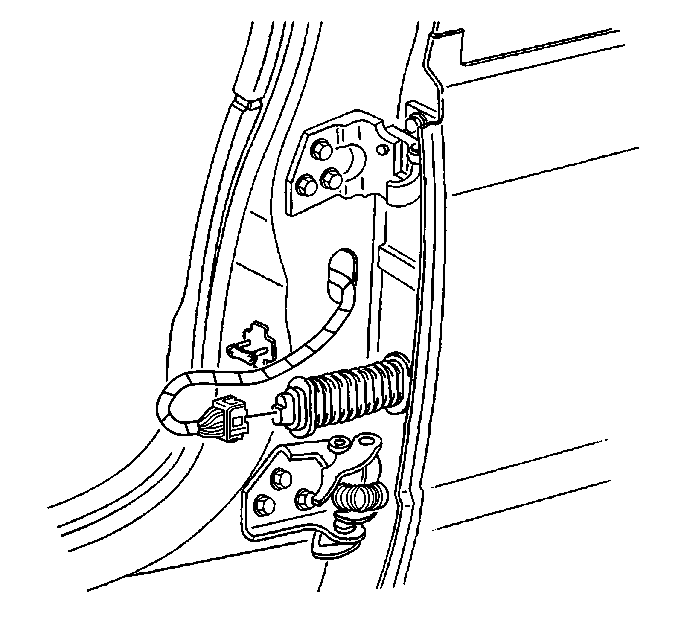
- Remove the rubber conduit from the center pillar.
- Disconnect the rear door harness electrical connector.
- Route the rear door harness electrical connector through the opening in the center pillar.
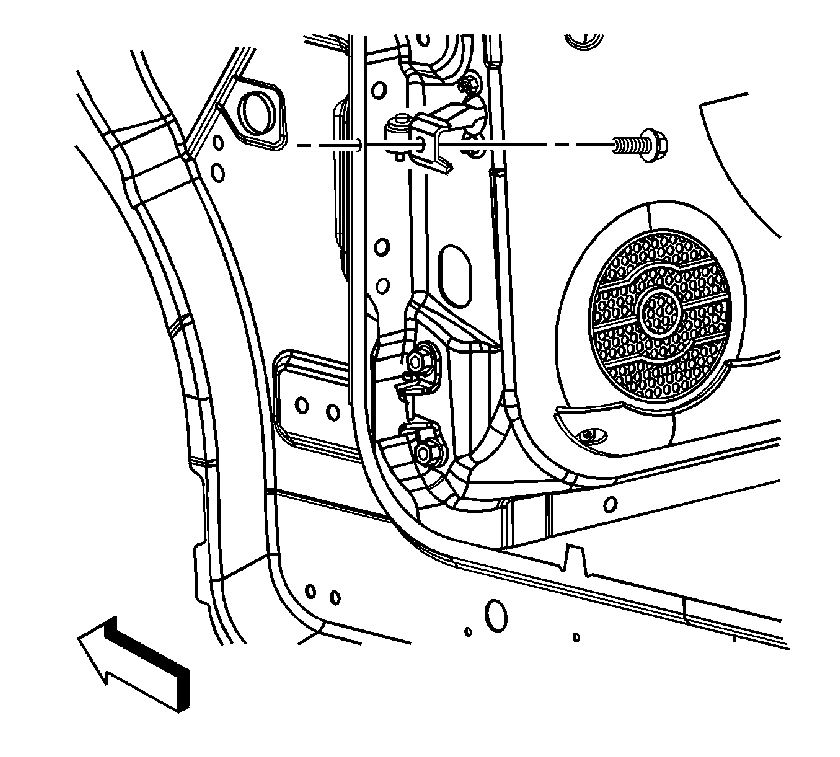
- Remove the check link bolt (1).
- With an assistant, remove the rear door hinge to rear door bolts.
- With an assistant, remove the rear door from the vehicle.


Installation Procedure
Important: For the installation of the rear door assembly, perform steps 1 through 6 only.
- With an assistant, position the rear door to the hinges.
- With an assistant, align the hinges to the marks on the rear door.
- With an assistant, install the rear door hinge to rear door bolts.
- Route the rear door electrical harness connector through the opening in the center pillar.
- Install the rubber conduit to the center pillar.
- Connect the rear door electrical harness connector.
- Install the rear door electrical harness through the opening in the rear door.
- Install the rear door reveal molding. Refer to Rear Side Door Stationary Window Replacement .
- Install the rear stationary window. Refer to Rear Side Door Stationary Window Replacement .
- Install the door window. Refer to Rear Side Door Window Replacement .
- Install the door lock. Refer to Rear Door Lock Replacement .
- Install the outside door handle. Refer to Door Outside Handle Replacement .
- Install the window regulator. Refer to Rear Side Door Window Regulator Replacement .
- Install the inside handle. Refer to Rear Side Door Inside Handle Replacement .
- Install the water deflector. Refer to Rear Side Door Water Deflector Replacement .
- Install the door trim panel. Refer to Rear Side Door Trim Panel Replacement .
- Carefully close the door. Inspect the door for proper alignment.
Notice: Refer to Fastener Notice in the Preface section.
Tighten
Tighten the rear door hinge bolts to 26 N·m
(19 lb ft).

