Removal Procedure
- Remove the gearshift control lever from the gearshift lever case. Refer to Gearshift Control Lever Replacement .
- Remove the four bolts from the fan shroud at the radiator.
- Raise and support the vehicle. Refer to Lifting and Jacking the Vehicle in General Information.
- Place a drain pan or suitable container underneath the transmission.
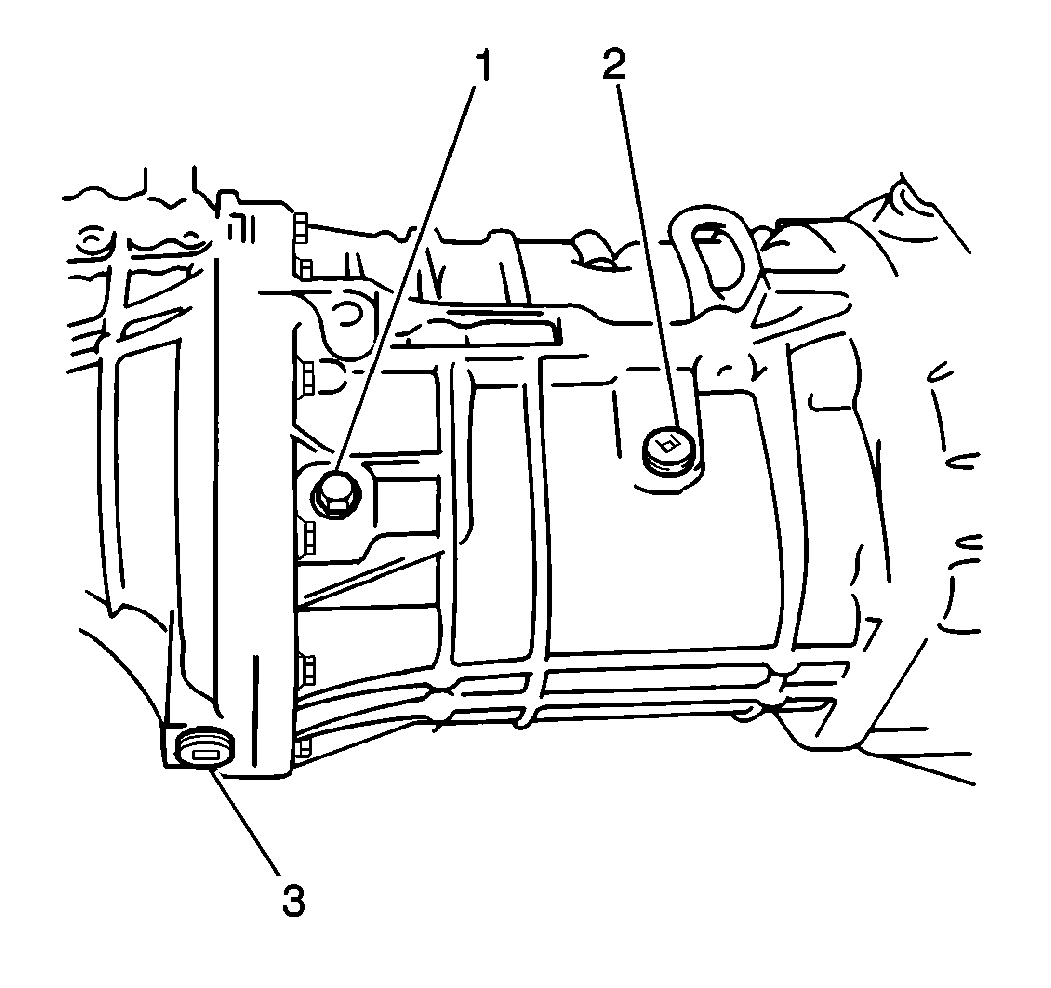
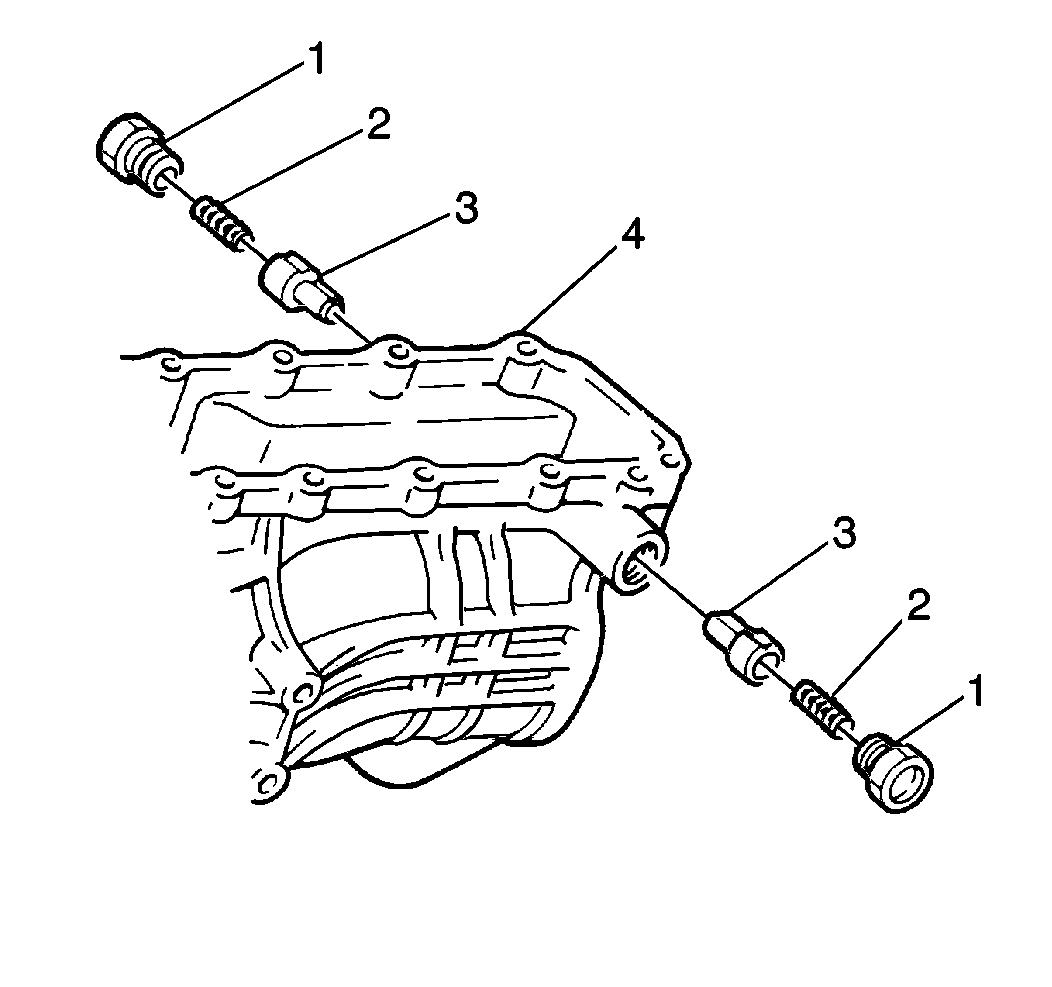
- Remove the transmission oil level/filler plug (3) from the transmission.
- Remove the transmission drain plug (1) from the transmission and drain the transmission oil.
- Place index marks on the propeller shaft pinion flange yoke and the differential pinion flange in order to ensure the correct installation.
- Remove the following items from the vehicle:
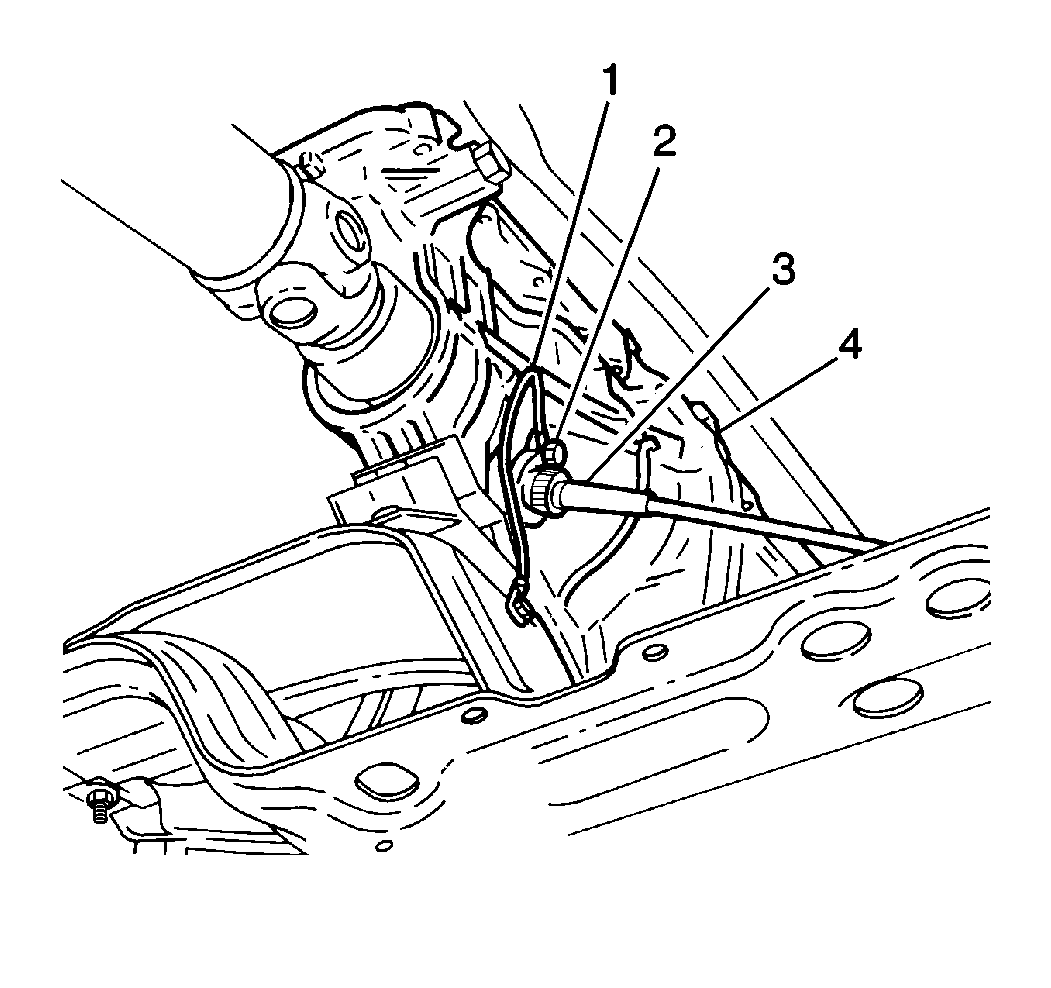
- Remove the speedometer cable (3) from the speedometer driven gear case.
- Remove the Three Way Catalytic Converter (TWC) and the muffler/tail pipe assembly from the vehicle.
- Remove the drain pan from underneath the vehicle.
- Support the transmission with a suitable hydraulic jack.
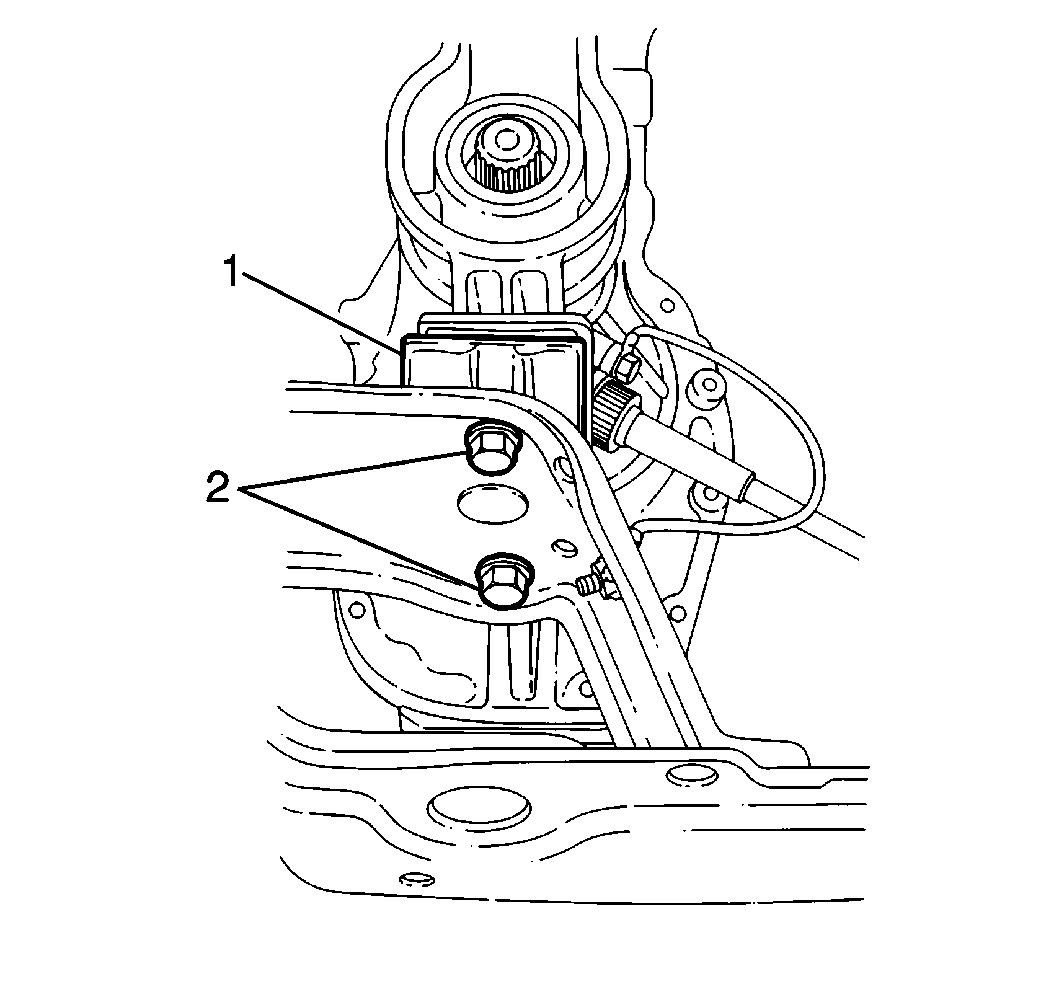
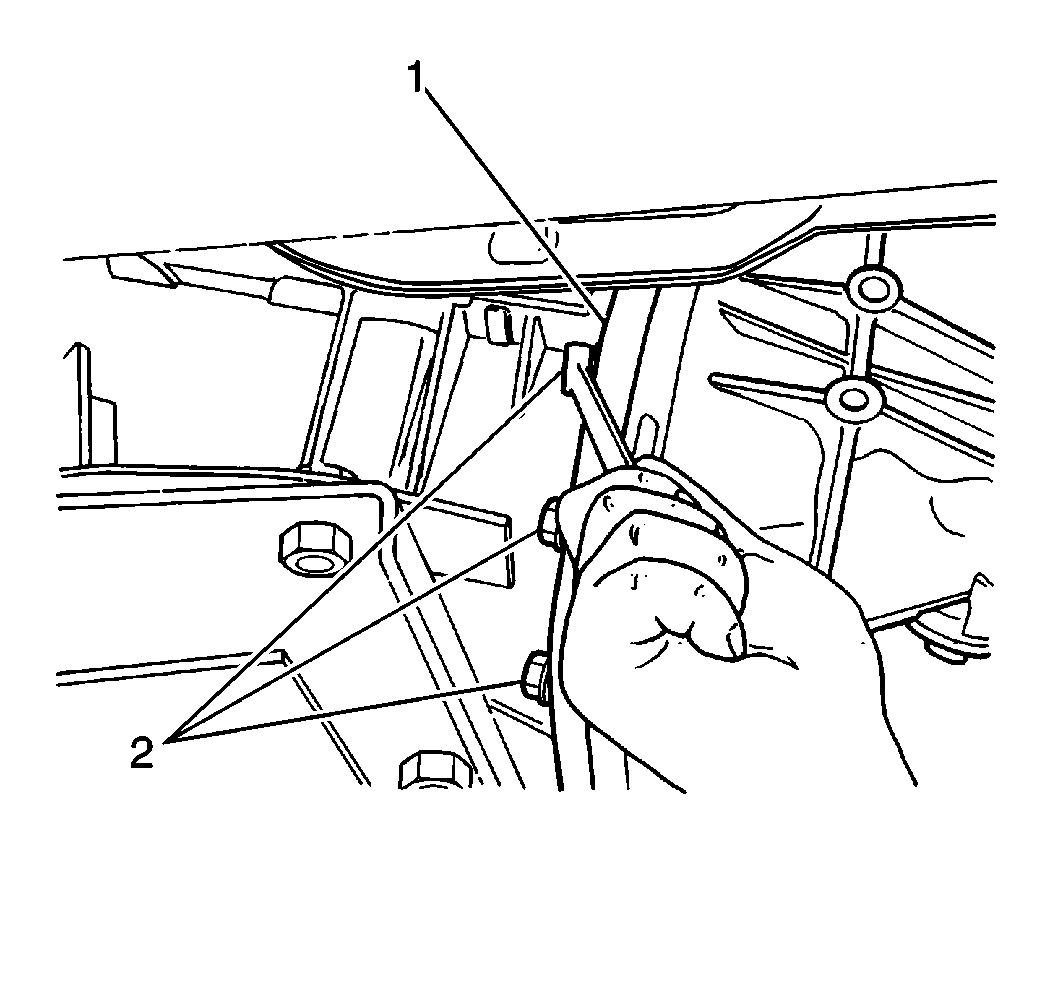
- Remove the two bolts (2) from the rear transmission mount.
- Remove the four bolts and the rear transmission crossmember from the vehicle.
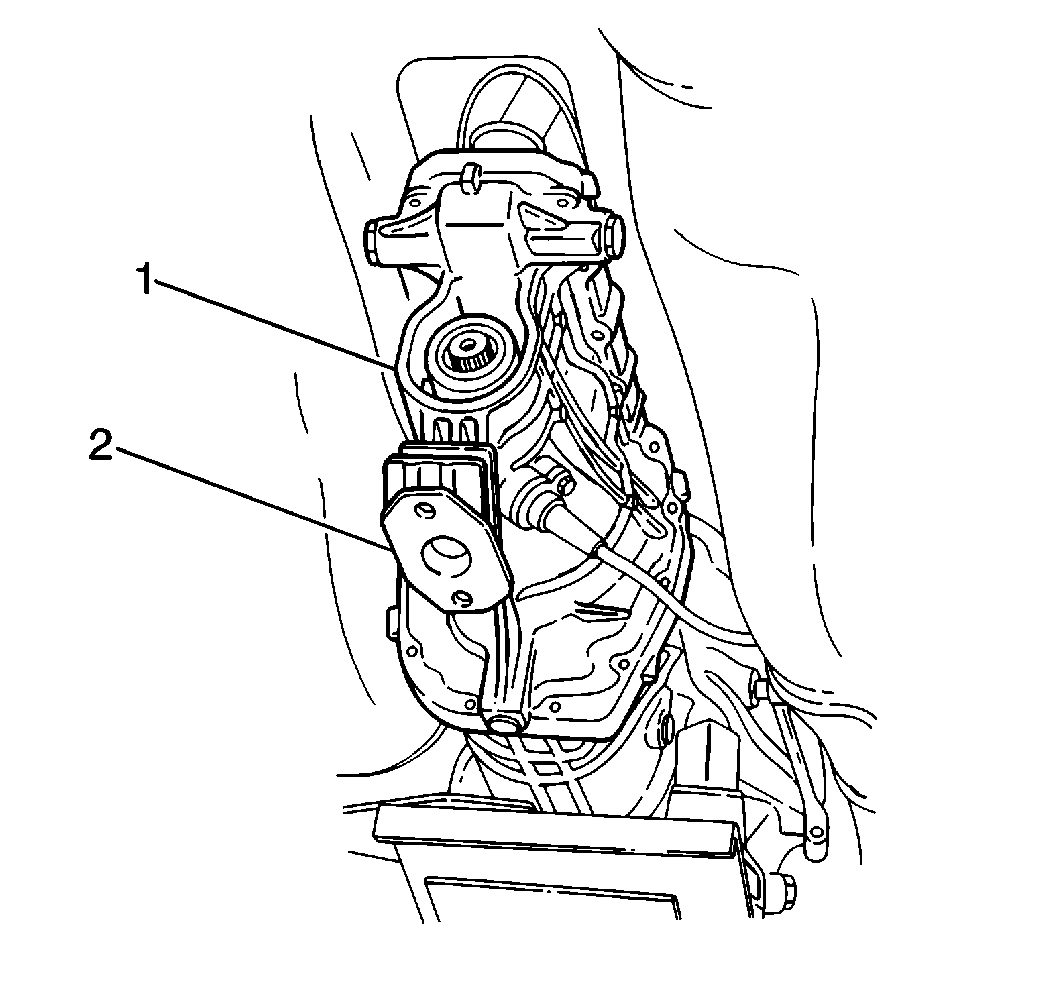
- Remove the one bolt and the rear transmission mount (2) from the extension case (1).
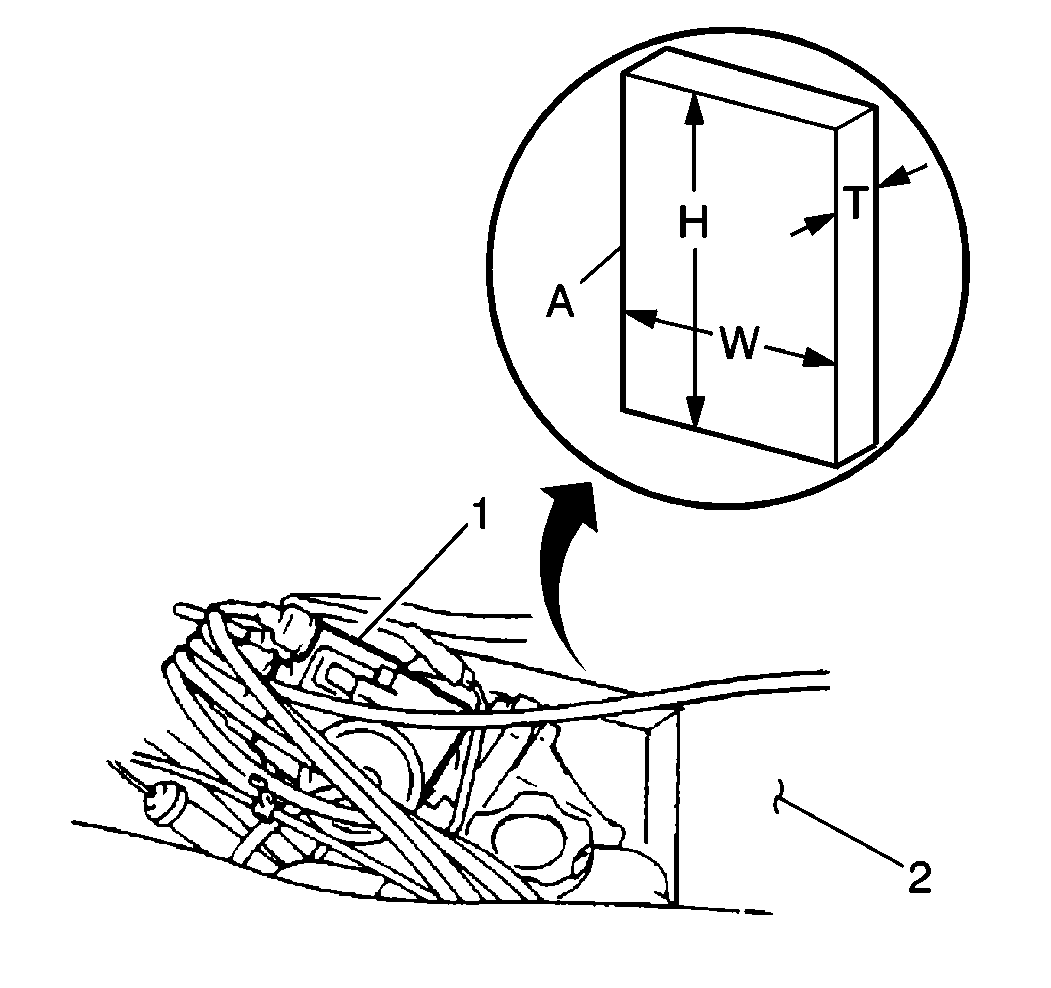
- Place a wood block, H = 200 mm (8 in), W = 100-150 mm (4-6 in), T = 45 mm (1.8 in), between the distributor gear housing and the bulkhead (2) in order to prevent the distributor and the other components from being damaged when the transmission is lowered.
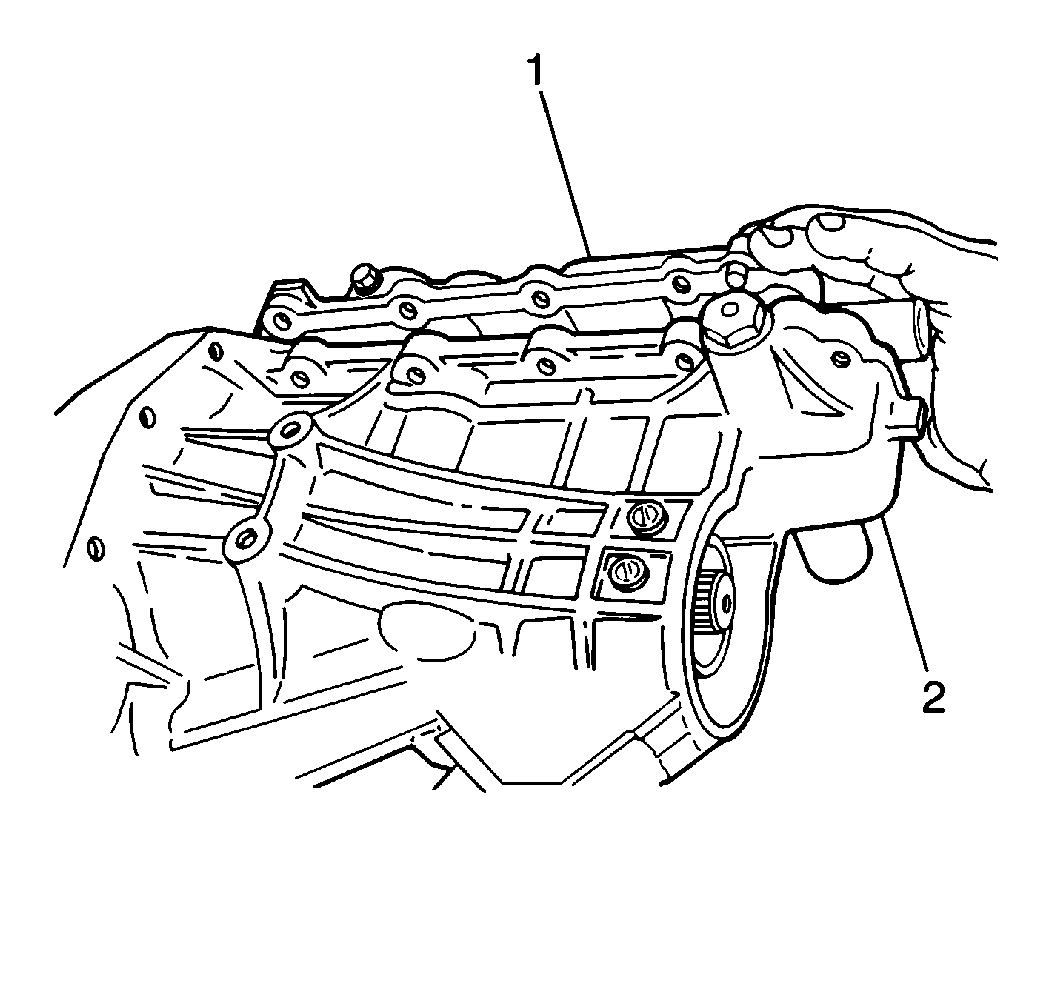
- Lower the transmission slowly until the engine contacts its support point on the wood block.
- Remove one clamp and breather hose from the gearshift lever case.
- Remove the ten bolts and the gearshift lever case (1) from the extension case (2).
- Remove the twelve bolts (2) and the extension case (1) from the transmission.
- Remove the following items from the extension case:
- Clean the extension case-to-extension case mating surfaces.
- Clean the gearshift lever case-to-extension case mating surfaces.
- Inspect the extension case for cracks or porosity. Replace the extension case if cracks or porosity are present.
| • | The four bolts |
| • | The four nuts |
| • | The rear propeller shaft |
Remove the following items from the extension case.
| • | The bolt (2). |
| • | The ground wire (1). |
| • | The speedometer driven gear case. |
| • | The two select return spring bolts (1). |
| • | The two select return springs (2). |
| • | The two select guide pins (3). |
Installation Procedure
- Install the following items into the extension case:
- Apply GM P/N 12346240 or equivalent to the transmission extension case mating surface.
- Install the extension case (4) to the transmission; secure with twelve bolts.
- Apply the GM P/N 12346240, or equivalent to the extension case gearshift lever case mating surface.
- Install the gearshift lever case to the extension case; secure with ten bolts.
- Install the breather hose to the gearshift lever case; secure with one clamp.
- Raise the transmission slowly until the engine is no longer in contact with the wood block between the bulkhead (2) and the distributor gear housing.
- Remove the wood block.
- Install the rear transmission mount to the extension case; secure with one bolt.
- Install the rear transmission crossmember to the vehicle; secure with four bolts.
- Install the two bolts to the rear transmission mount (2).
- Remove the hydraulic jack from underneath the transmission.
- Install the Three Way Catalytic Converter (TWC) and the muffler/tail assembly to the vehicle.
- Install the speedometer driven gear case and the ground wire (1) to the extension case (4); secure with one bolt (2).
- Install the speedometer cable (3) to the speedometer driven gear case.
- Install the rear propeller shaft into the vehicle aligning the index marks made during the removal procedure; secure with four bolts and four nuts.
- Apply the GM P/N 12346005, or equivalent, to the threaded portion of the transmission drain plug.
- Install the transmission drain plug (3) into the transmission.
- Add approximately 1.5 liters (1.6 quarts) of synthetic 75W-90 GL4 lubricant, or equivalent into the transmission oil level/filler plug (2). Oil level should be even with the bottom of the transmission oil level/filler plug (2) hole.
- Apply GM P/N 12346004, or equivalent, to the threaded portion of the transmission oil level/filler plug (2).
- Install the transmission oil level/filler plug (2) into the transmission.
- Lower the vehicle.
- Install four bolts to the fan shroud at the radiator.
- Install the gearshift control lever into the gearshift lever case. Refer to Gearshift Control Lever Replacement .
Notice: Use the correct fastener in the correct location. Replacement fasteners must be the correct part number for that application. Fasteners requiring replacement or fasteners requiring the use of thread locking compound or sealant are identified in the service procedure. Do not use paints, lubricants, or corrosion inhibitors on fasteners or fastener joint surfaces unless specified. These coatings affect fastener torque and joint clamping force and may damage the fastener. Use the correct tightening sequence and specifications when installing fasteners in order to avoid damage to parts and systems.
| • | Two select guide pins (3). |
| • | Two select return springs (2). |
| • | Two select return spring bolts (1). |
Tighten
Tighten the return spring bolts to 20 N·m (15 lb ft).
Tighten
Tighten the extension case bolts to 28 N·m (20 lb ft).
Tighten
Tighten the gearshift lever case bolts to 17 N·m (12 lb ft).
Tighten
Tighten the rear transmission mount bolt to 60 N·m (44 lb ft).
Tighten
Tighten the rear transmission crossmember bolts to 60 N·m (44 lb ft).
Tighten
Tighten the rear transmission mount bolts to 60 N·m (44 lb ft).
Tighten
Tighten the speedometer driven gear case retaining bolt to 12 N·m (106 lb in).
Tighten
Tighten the rear propeller shaft bolts and the nuts to 50 N·m (37 lb ft).
Tighten
Tighten the transmission drain plug to 28 N·m (20 lb ft).
Tighten
Tighten the transmission oil level/filler plug (2) to 28 N·m (20 lb ft).
Tighten
Tighten the fan shroud bolts to 10 N·m (89 lb in).
