Special Tools
Removal Procedure
Important: Setting the camshaft timing is required whenever the camshaft drive system is disturbed to ensure the relationship between any chain and sprocket is not lost. Even when only one sprocket is involved, multiple crankshaft
rotations will not produce conditions where correct timing can be confirmed. If required, follow the
Setting Camshaft Timing installation procedure to reset the camshaft timing.
- Remove the engine assembly. Refer to
Engine Replacement.
- Remove the bank 2 cylinder head cover. Refer to
Camshaft Cover Replacement - Left Side.
- Remove the camshaft position sensor. Refer to
Camshaft Position Sensor Replacement - Bank 2 (Left Side) Intake.
- Remove the camshaft position actuator solenoids. Refer to
Camshaft Position Actuator Solenoid Valve Solenoid Replacement - Bank 2 (Left Side) Intake and
Camshaft Position Actuator Solenoid Valve Solenoid Replacement - Bank 2 (Left Side) Exhaust.
- Remove the crankshaft pulley. Refer to
Crankshaft Balancer Replacement.
- Install the
EN 46111
onto the crankshaft.
- Rotate the crankshaft until the camshafts are in a neutral low tension position. The camshaft flats (1) will be parallel with the cylinder head cover rail (2).

- Install
EN 46105
(1) onto the bank of the bank 2 cylinder head camshafts (2).
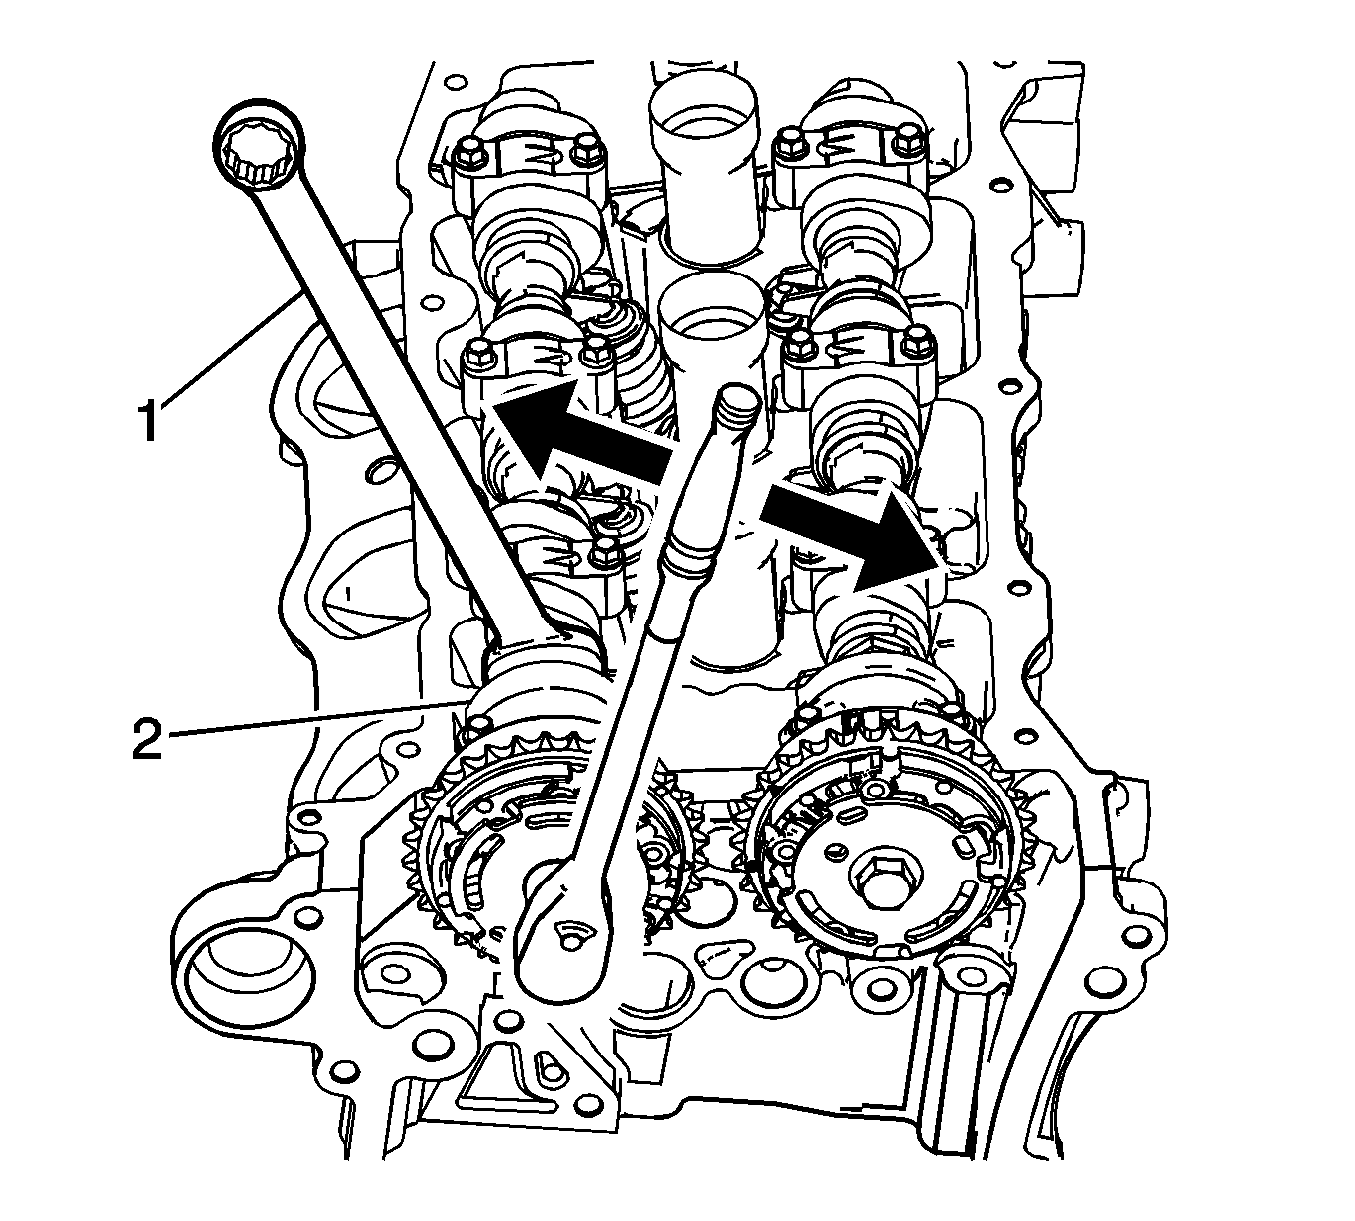
Important: Use an open-end (1) at the camshaft hex (2) to prevent camshaft/engine rotation. Do not remove the camshaft position actuator bolt at this time.
- Loosen the camshaft position actuator bolt.
Important: If you have already removed the camshaft timing chain, proceed to Step 13.
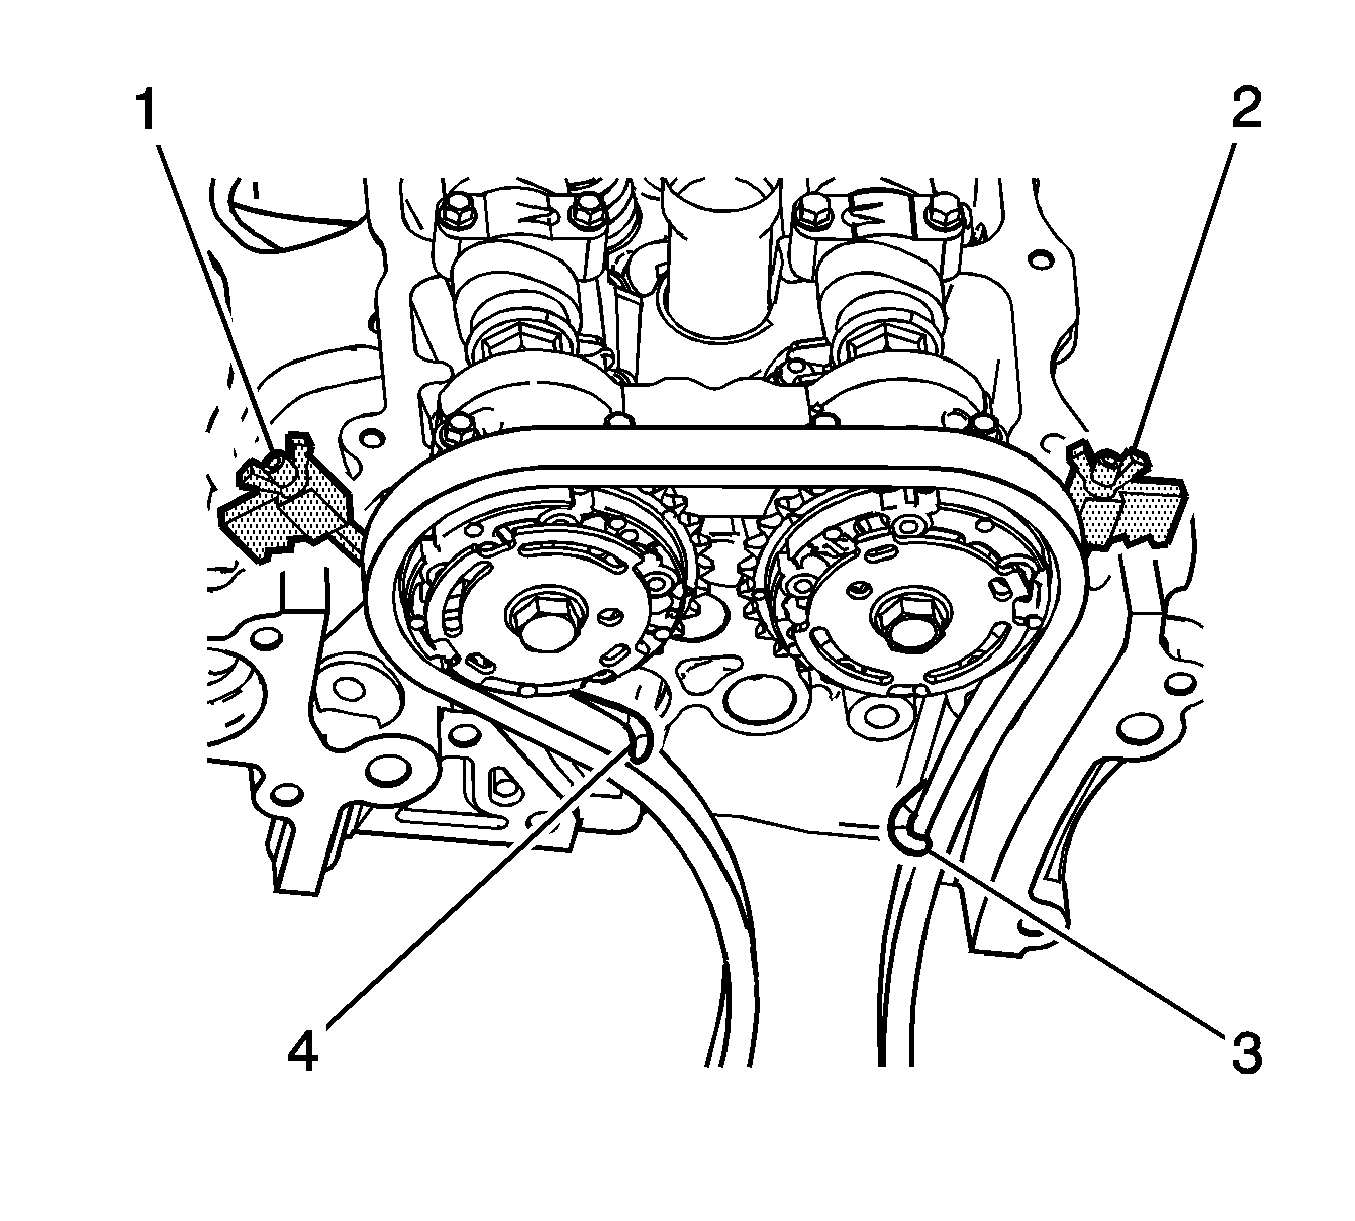
Important: Ensure the tips of
EN 46108
are fully engaged into the timing chain and the wing nuts are tight and the timing chain is taught.
- Install
EN 46108
(1 and 2) to retain the timing chain (3 and 4).
- Firmly tighten the wing nuts of
EN 46108
.
Important: Ensure the camshaft timing chain and the camshaft position actuators are marked for correct reassembly.
- Mark the timing chain and the respective location on both camshaft position actuators.
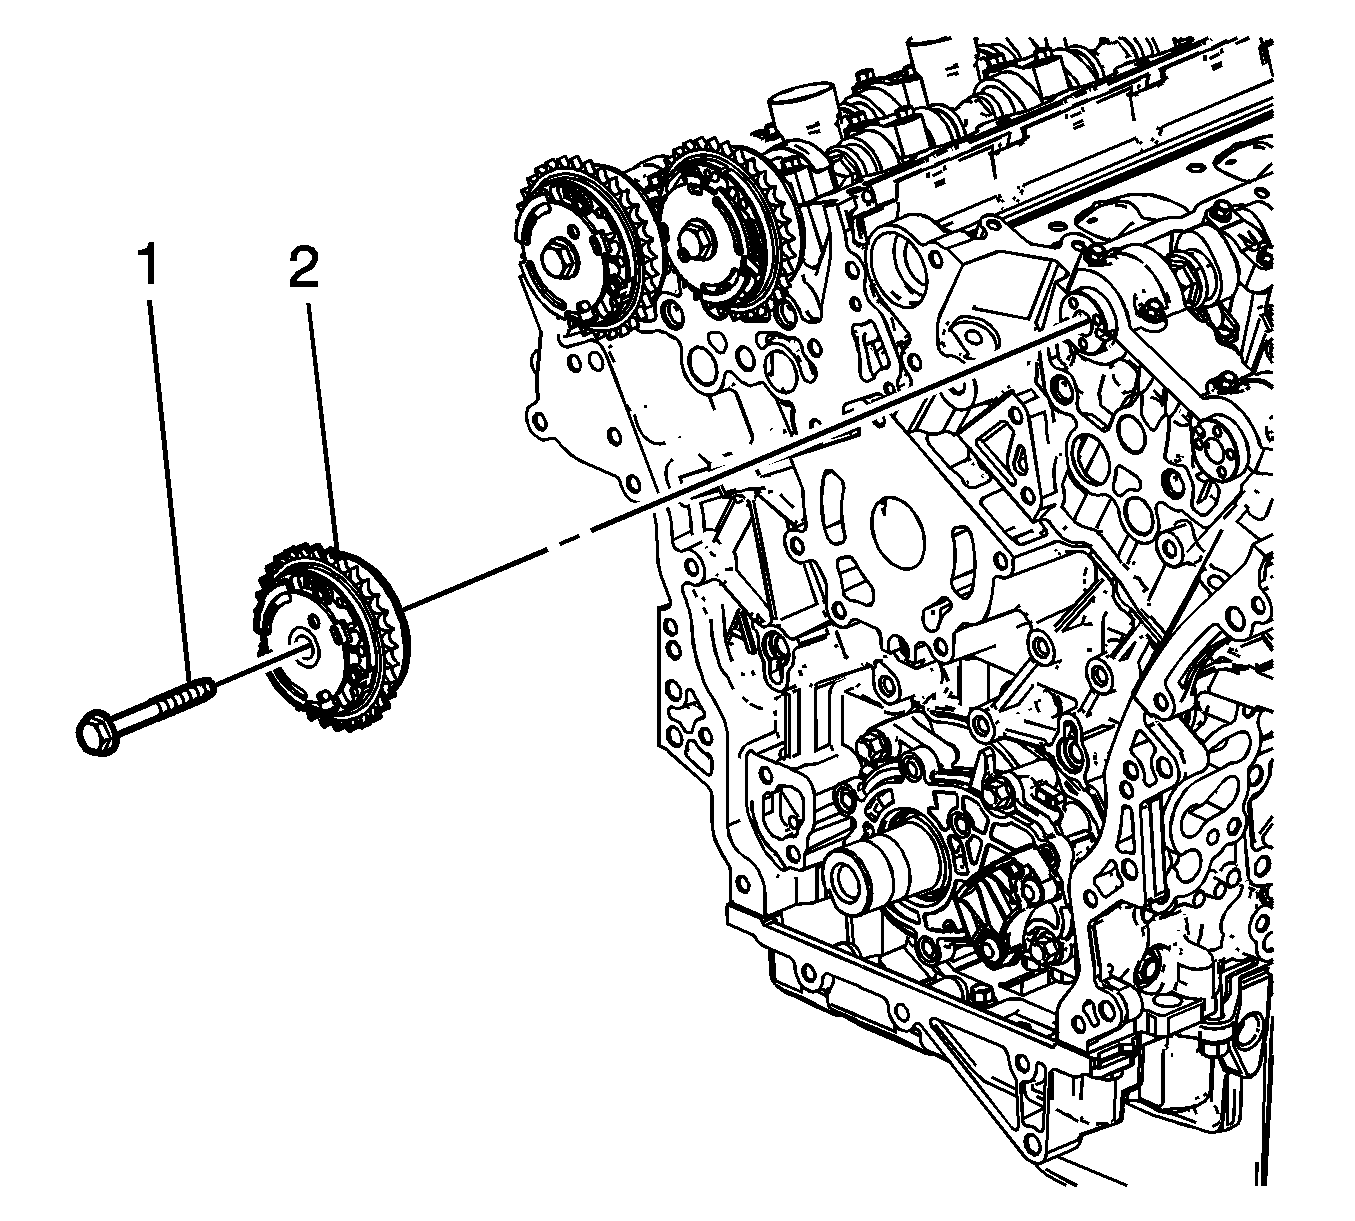
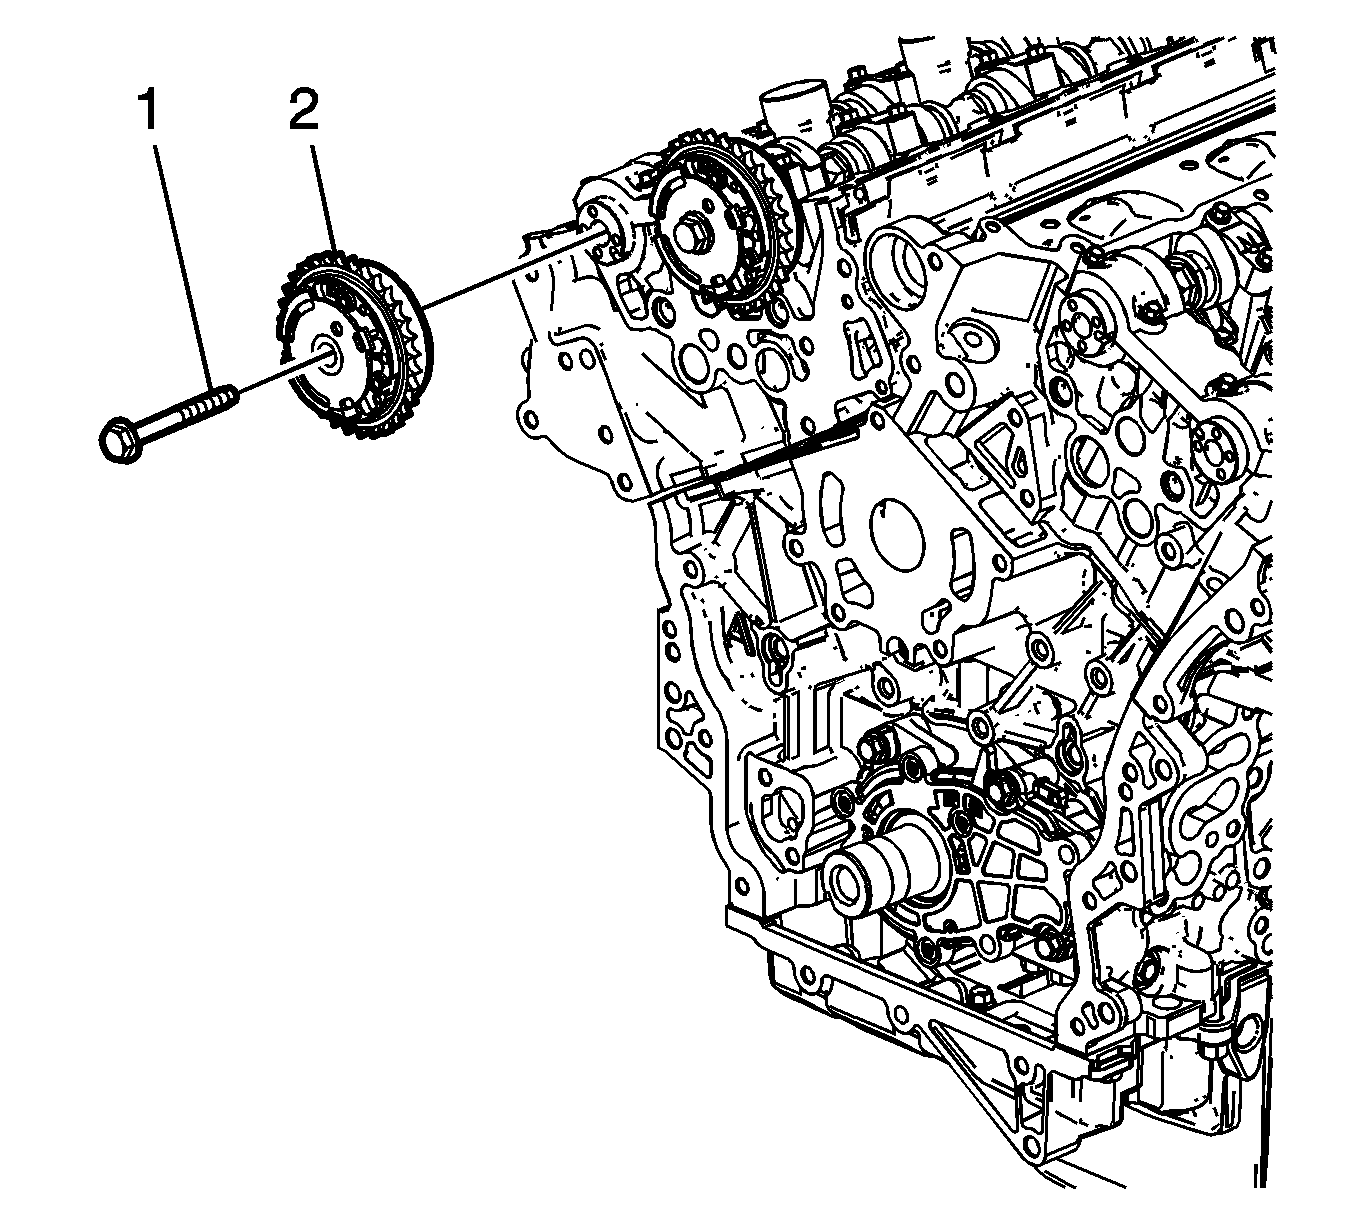
- Remove the bolt (1) attaching the bank 1 intake camshaft position actuator (2) and remove the actuator.
Cleaning Procedure
- Clean the exterior of each camshaft position actuator with solvent.
- Dry the timing components with compressed air.
Inspection Procedure
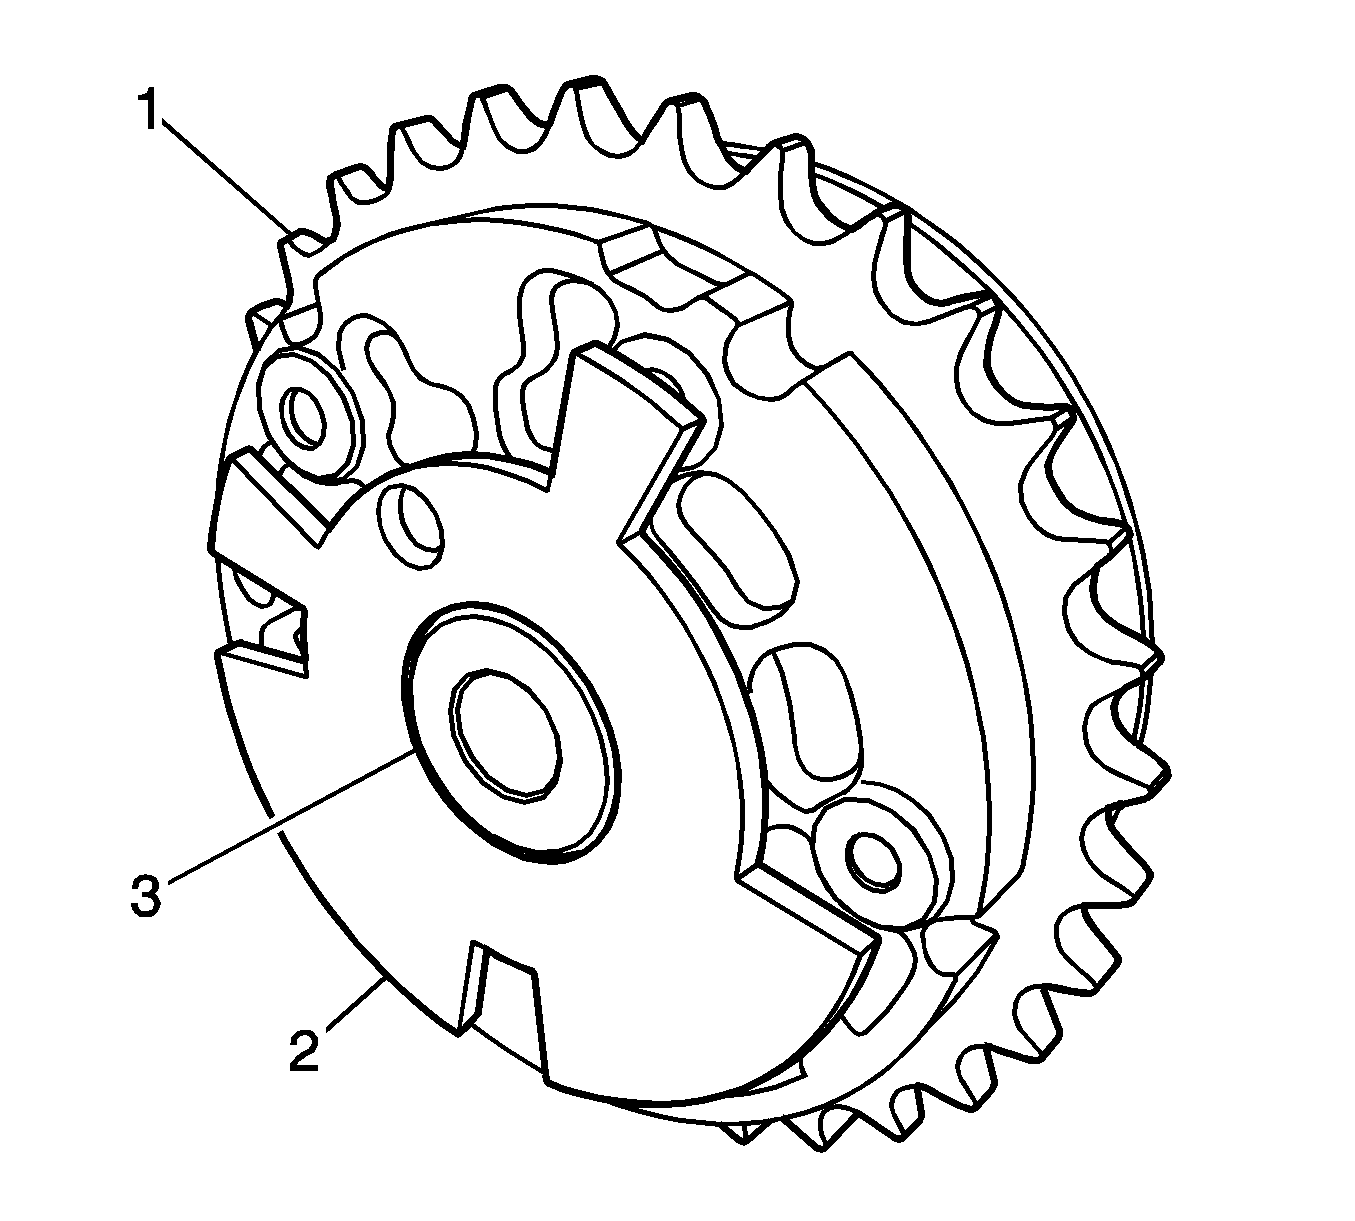
- Inspect the front of each camshaft position actuator for the following:
| • | Reluctor/sensor wheel damage (2) |
| • | Camshaft position actuator bolt seating/sealing inner hub flange damage (3) |
- Inspect the back of each camshaft position actuator for the following:
| • | Camshaft locating pin damage (2) |
| • | Camshaft seating/sealing inner hub flange damage (3) |
| • | Blockage to the oil passages (4) |
| • | Loose or missing housing bolts (5) |
Installation Procedure
- Installation should follow the removal procedure in the reverse order.
- Align the actuators and timing chain with the marks made during removal.
Notice: Refer to Fastener Notice in the Preface section.
- Install the camshaft position actuators (2).
Tighten
Tighten the camshaft position actuator attaching bolts (1) to 58 N·m (43 lb ft).
- Remove the timing chain retention tools.
