For 1990-2009 cars only
Special Tools
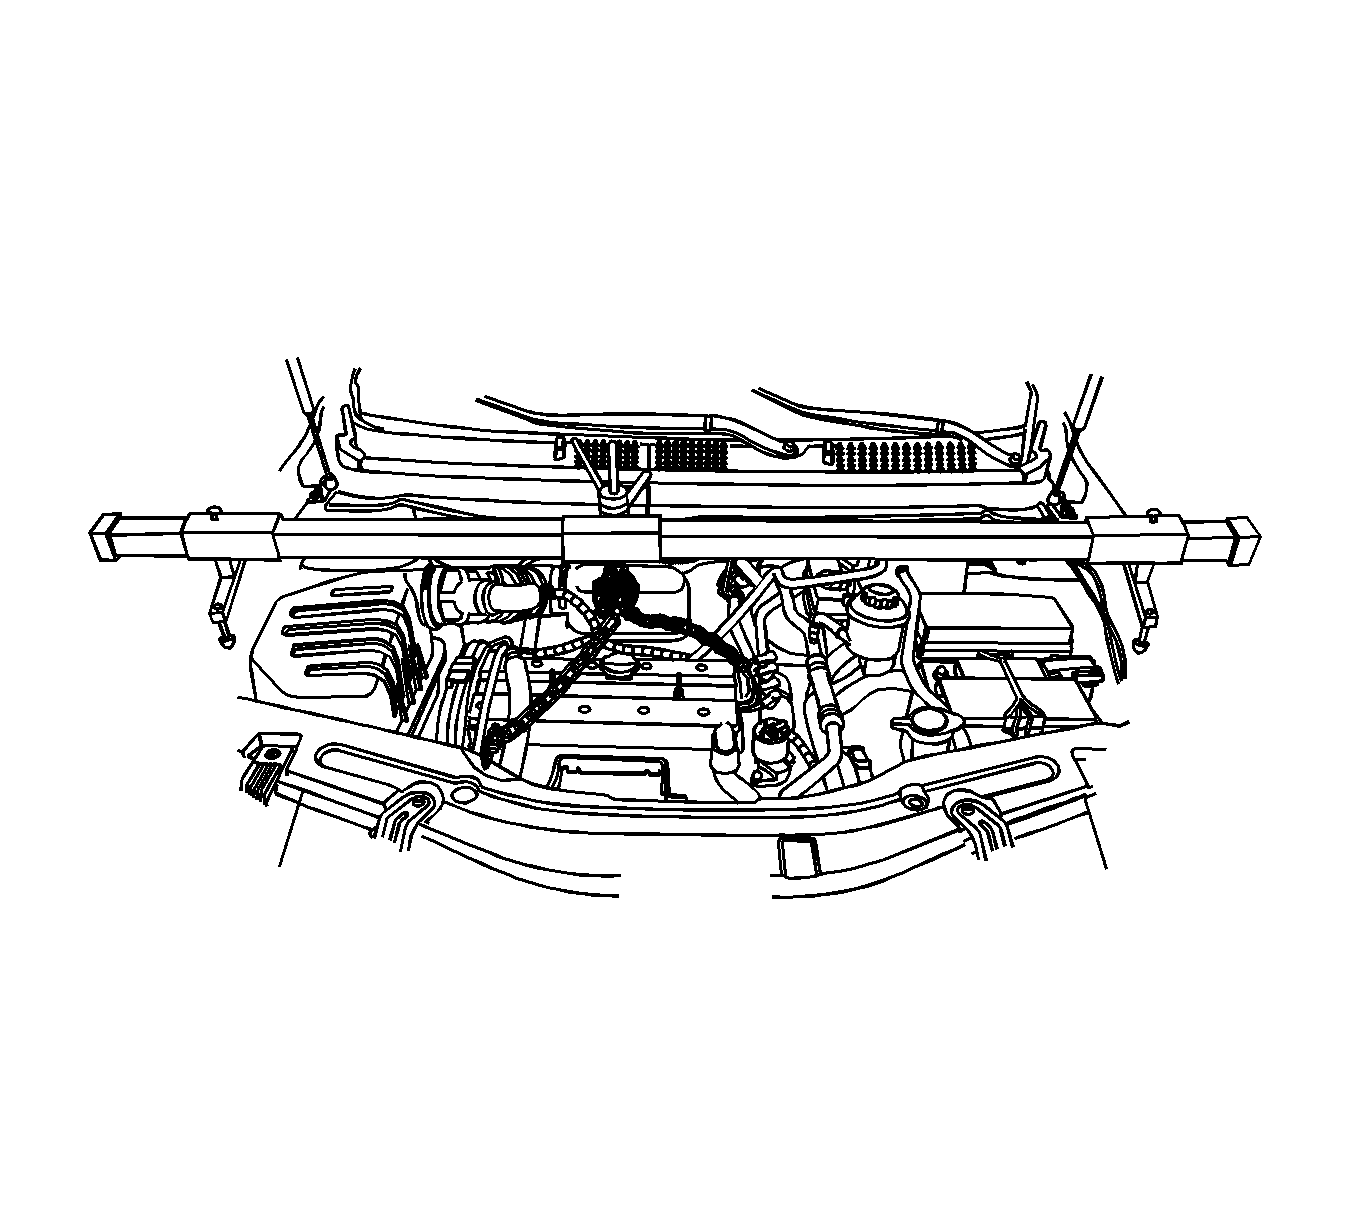
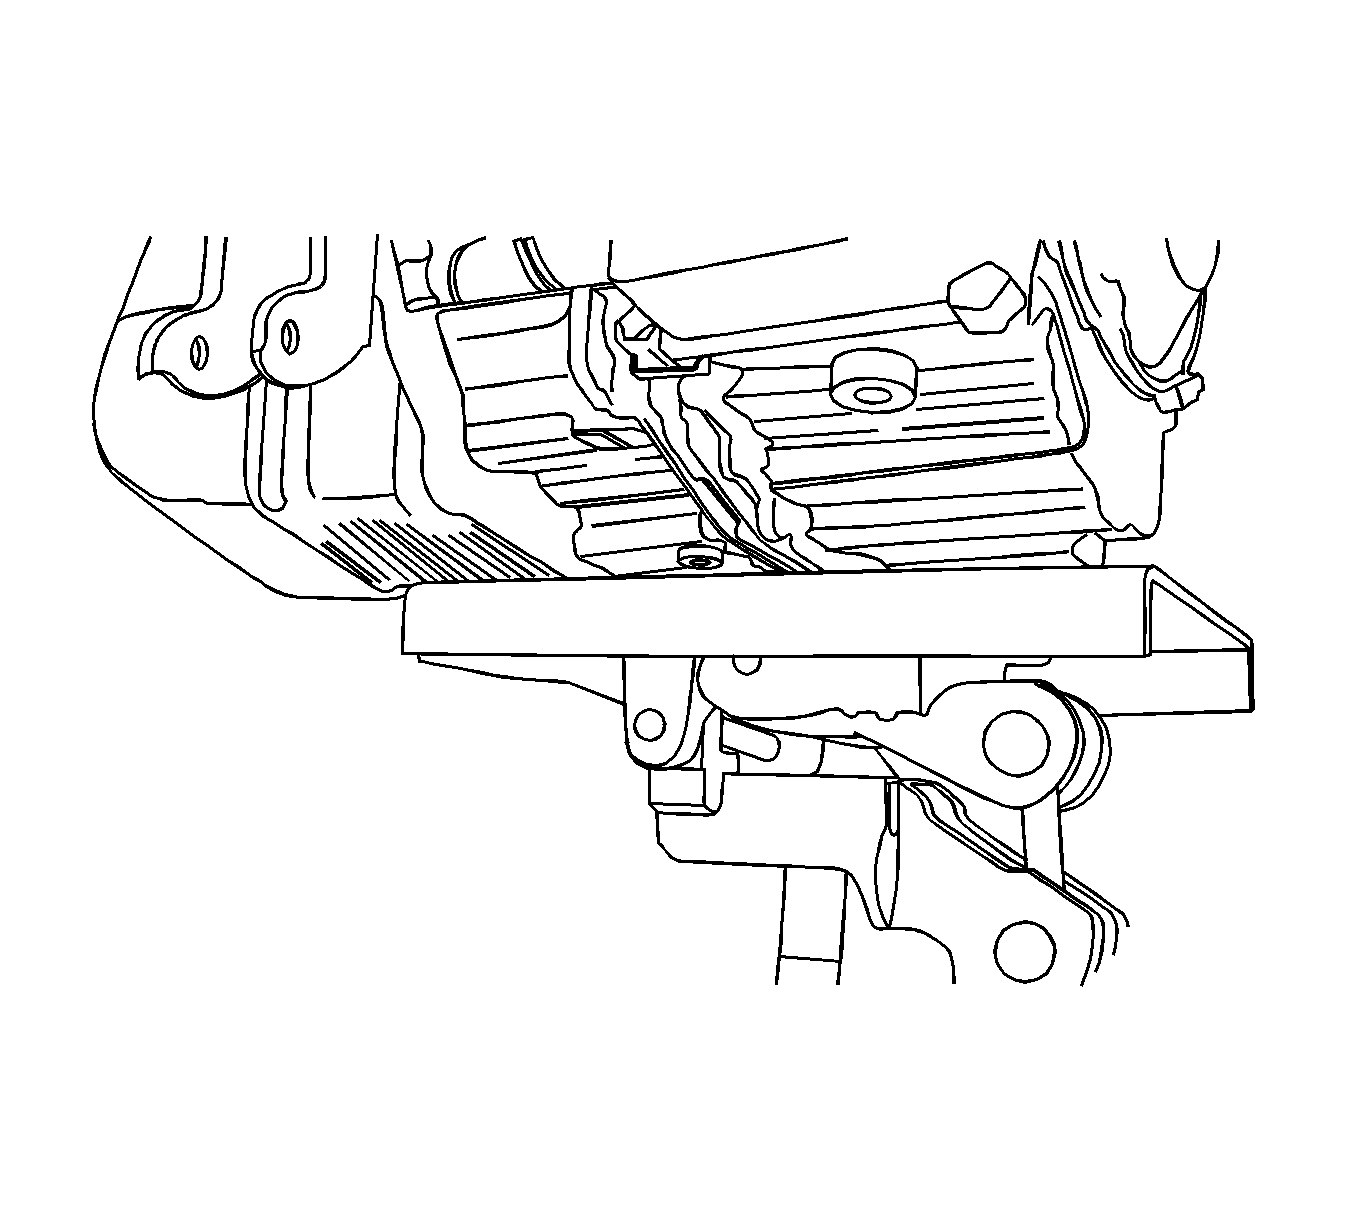
DW-110-060 Engine Assembly Support Fixture
Removal Procedure
- Remove the battery and the battery tray. Refer to Battery Tray Replacement.
- Remove the power steering oil reservoir mounting bolts and put the reservoir aside.
- Remove the pin and the clutch actuator cylinder pipe.
- Remove the upper transaxle-to-engine retaining bolts.
- Install the DW-110-060 fixture .
- Raise and suitably support the vehicle. Refer to Lifting and Jacking the Vehicle.
- Remove the engine under cover.
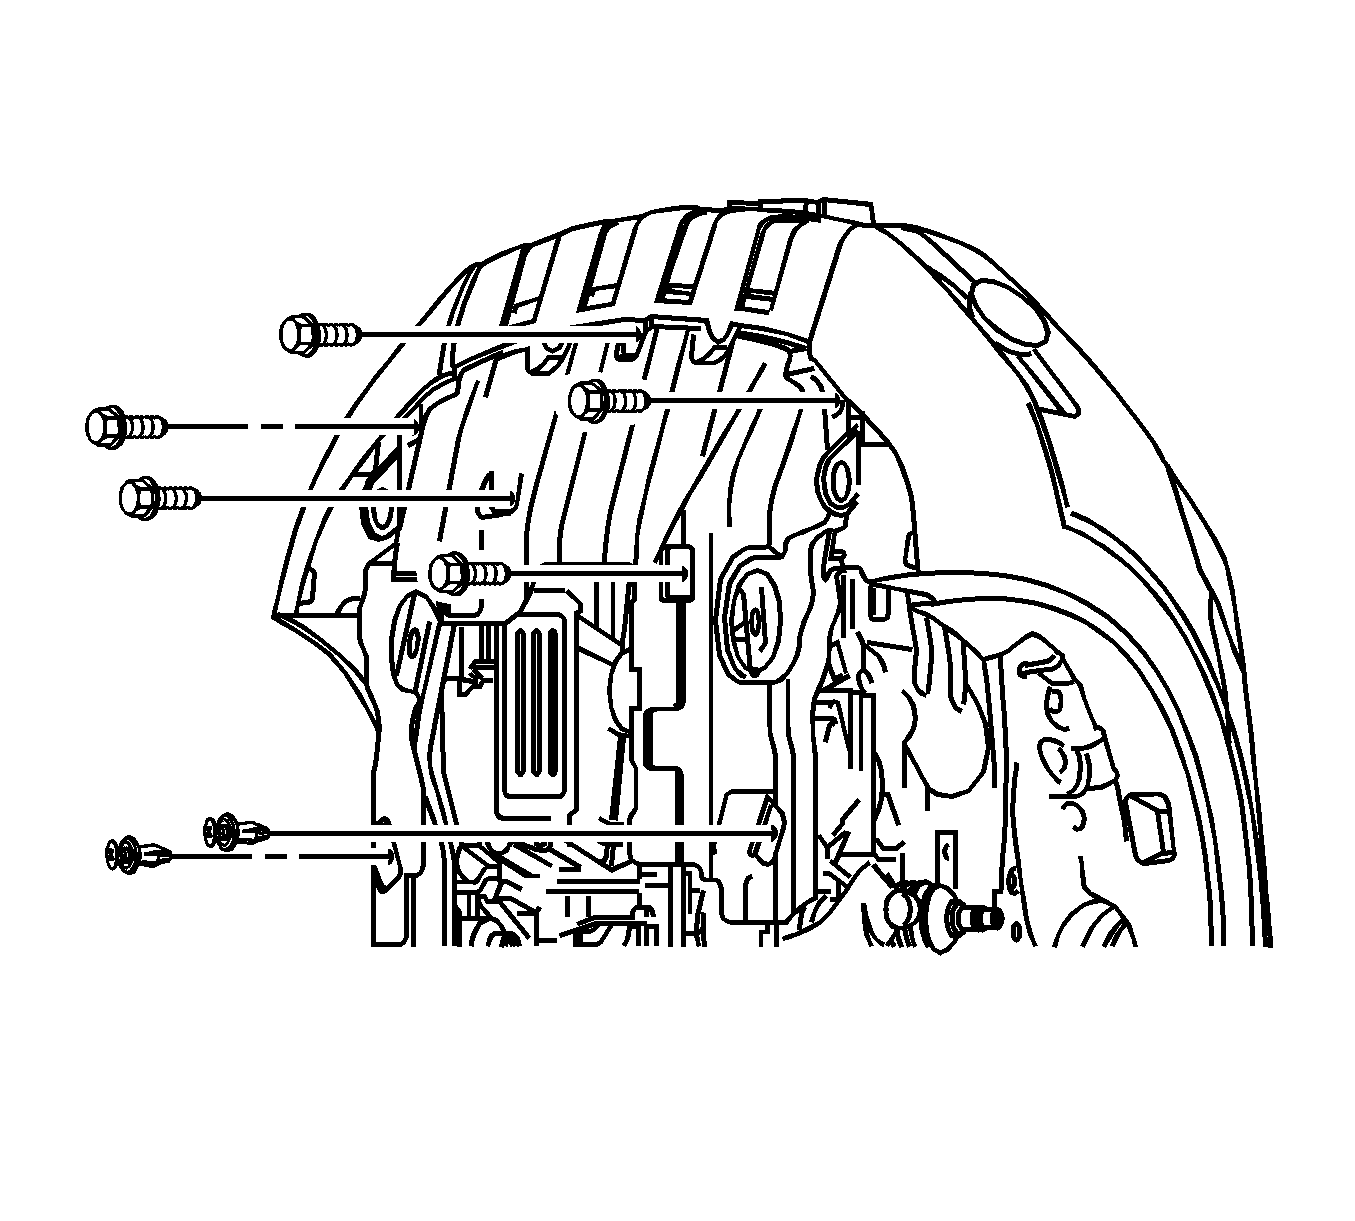
- Remove the left side dust cover.
- Remove the front exhaust pipe. Refer to Front Pipe Replacement.
- Carefully remove the frame from the vehicle. Refer to Frame Replacement.
- Remove the drive axle shafts.
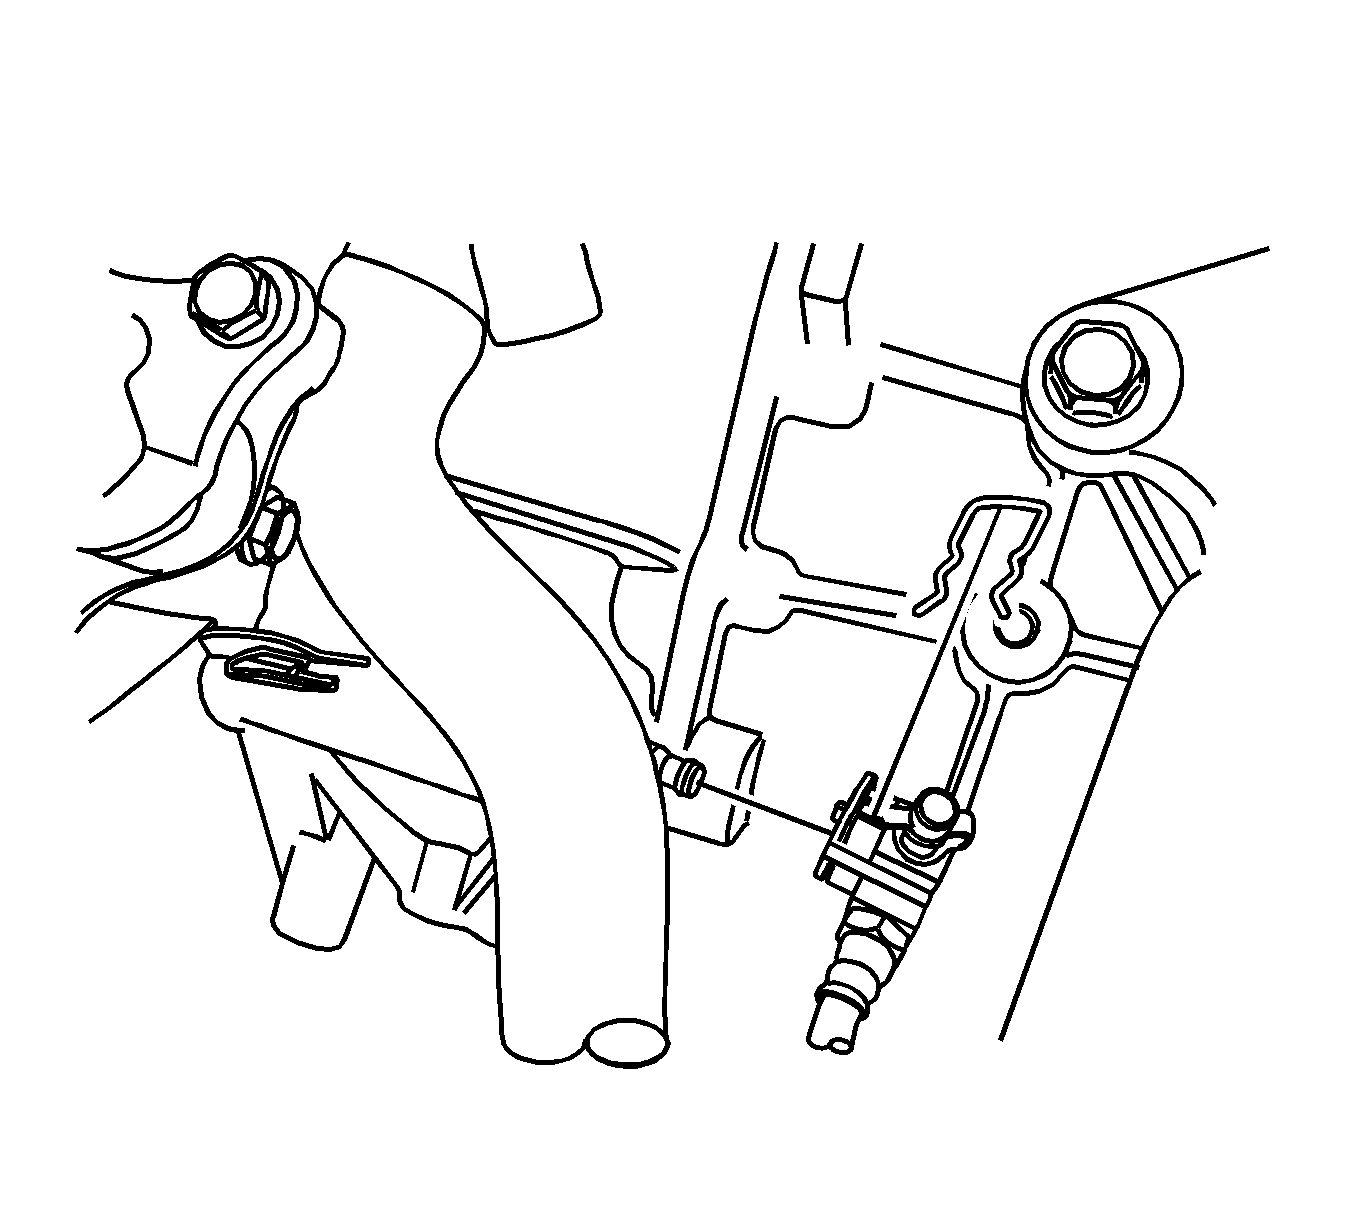
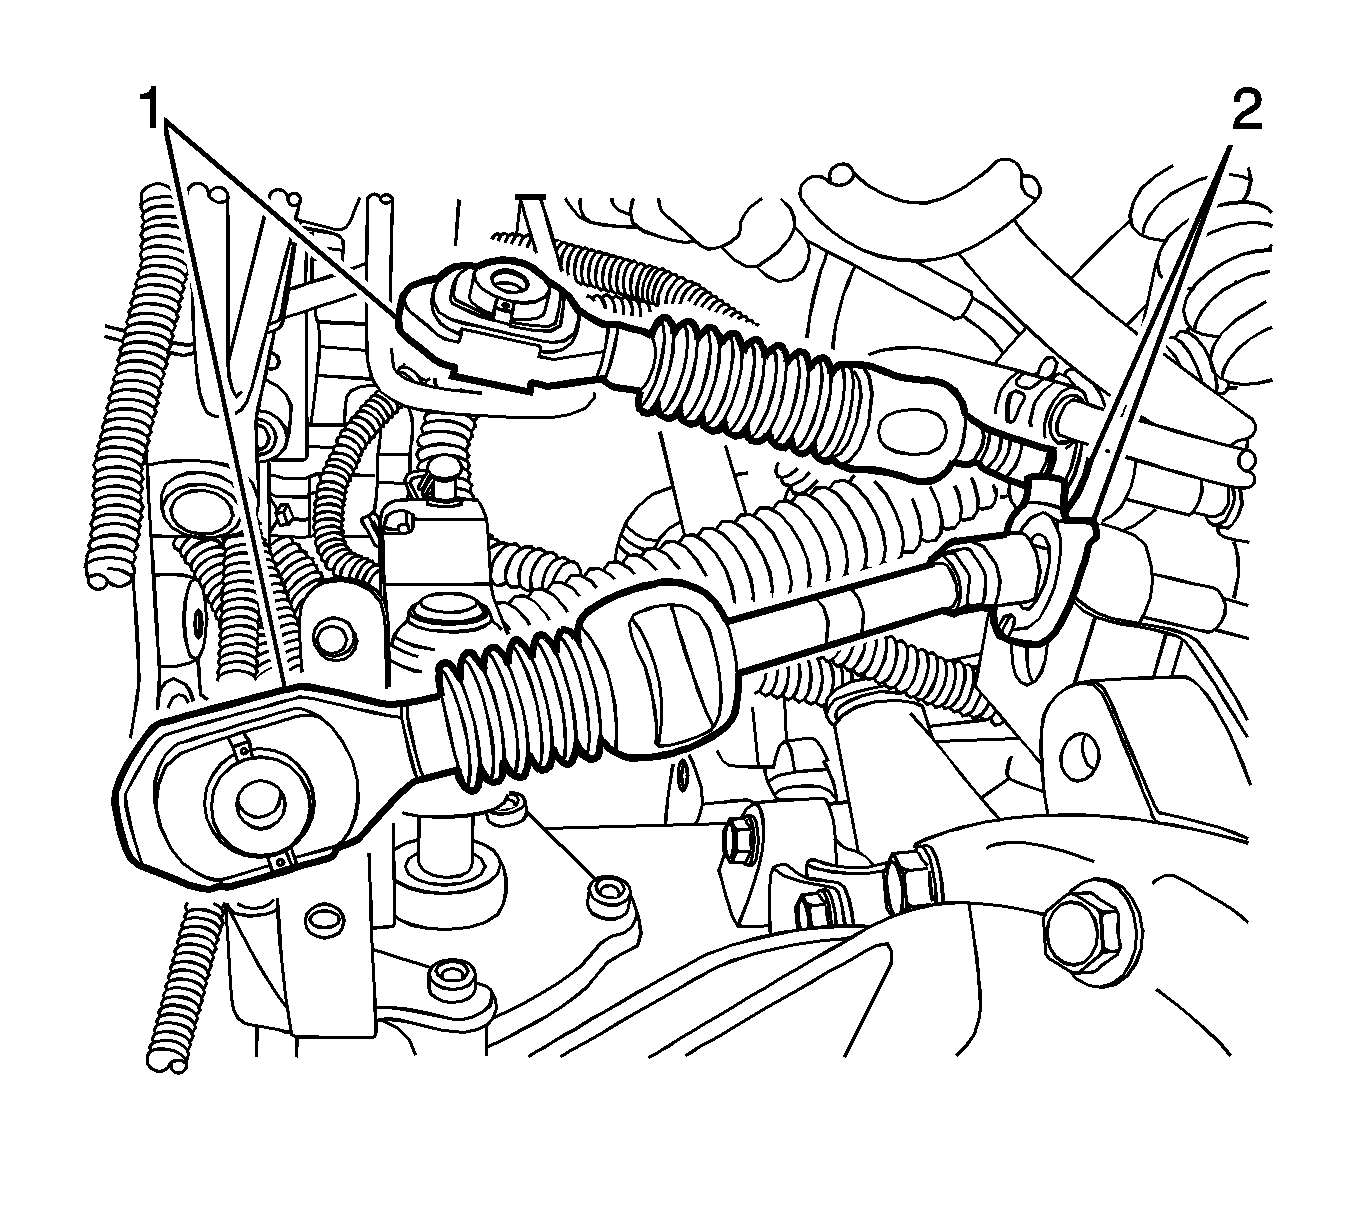
- Remove the shift control cables (1) from the transaxle.
- Remove the cables (2) from the shift control cable bracket.
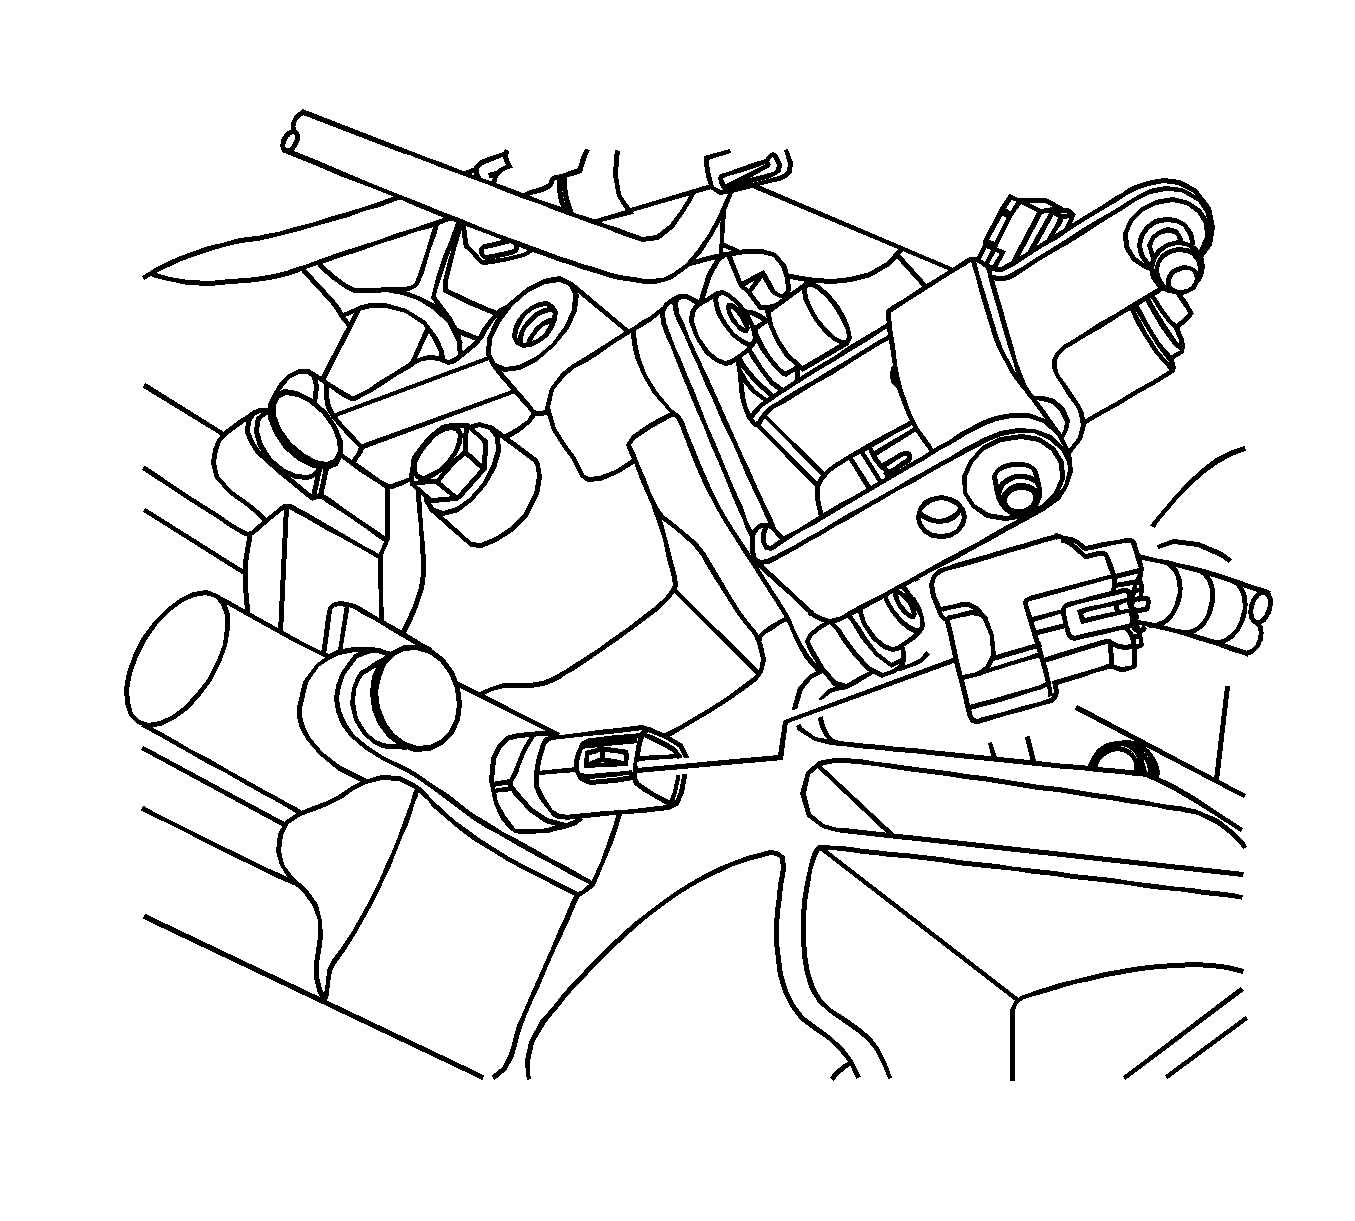
- Disconnect the backup lamp switch electrical wiring connector.
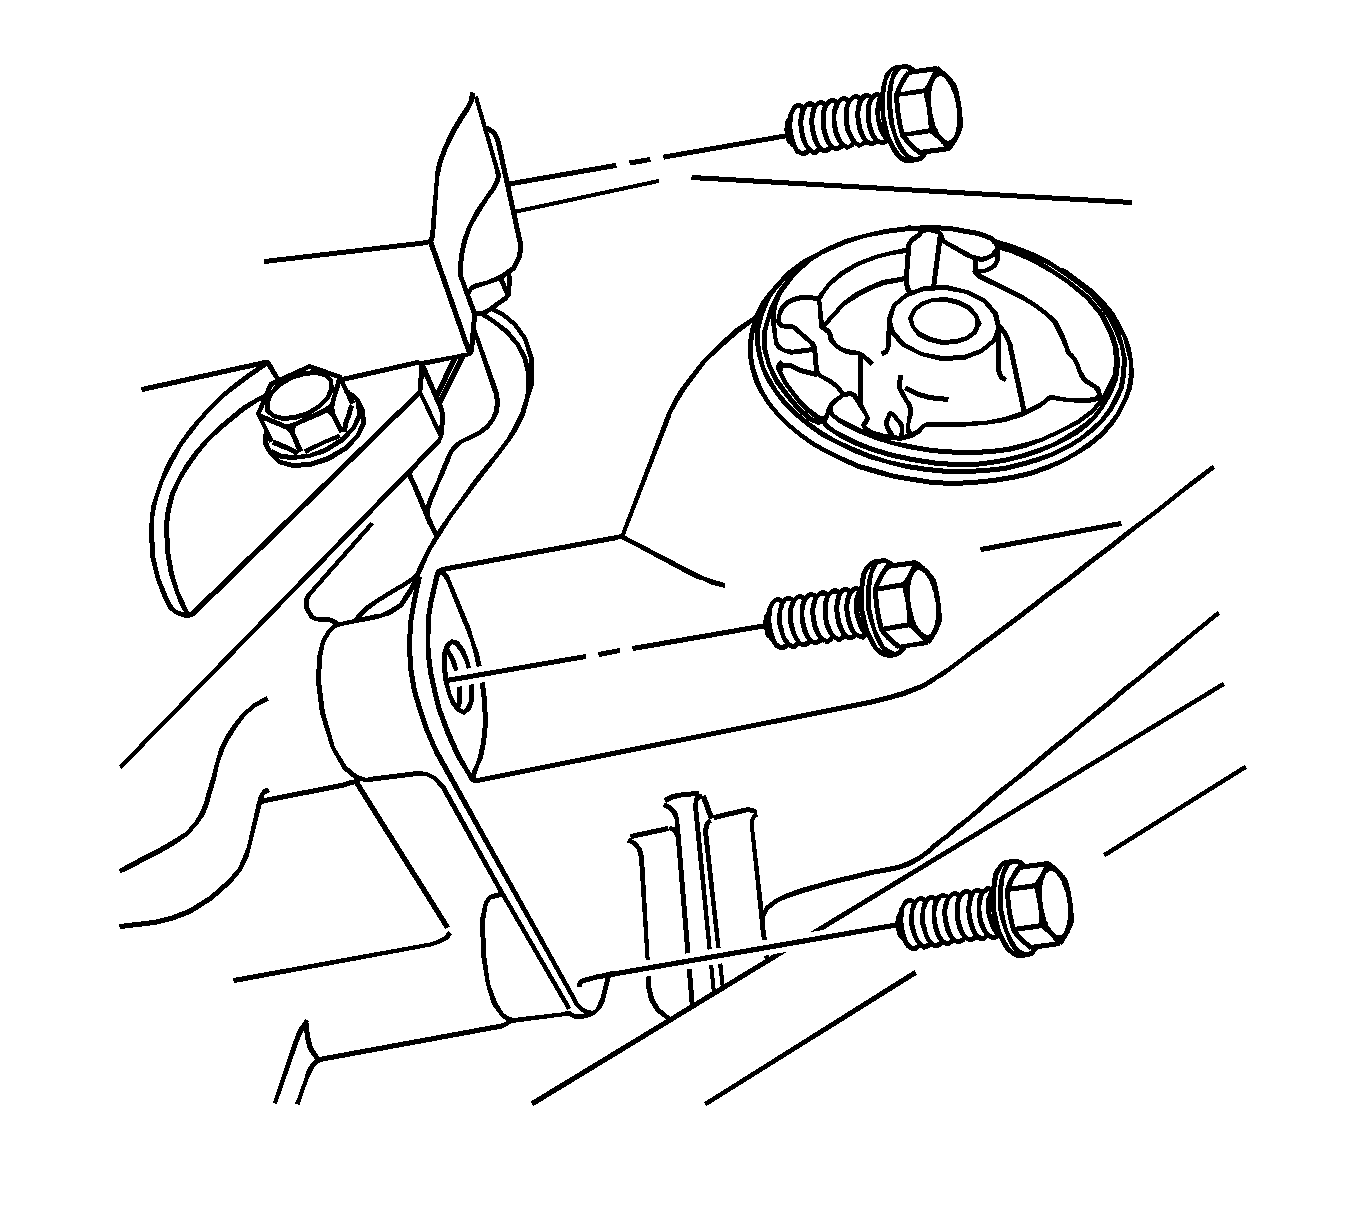
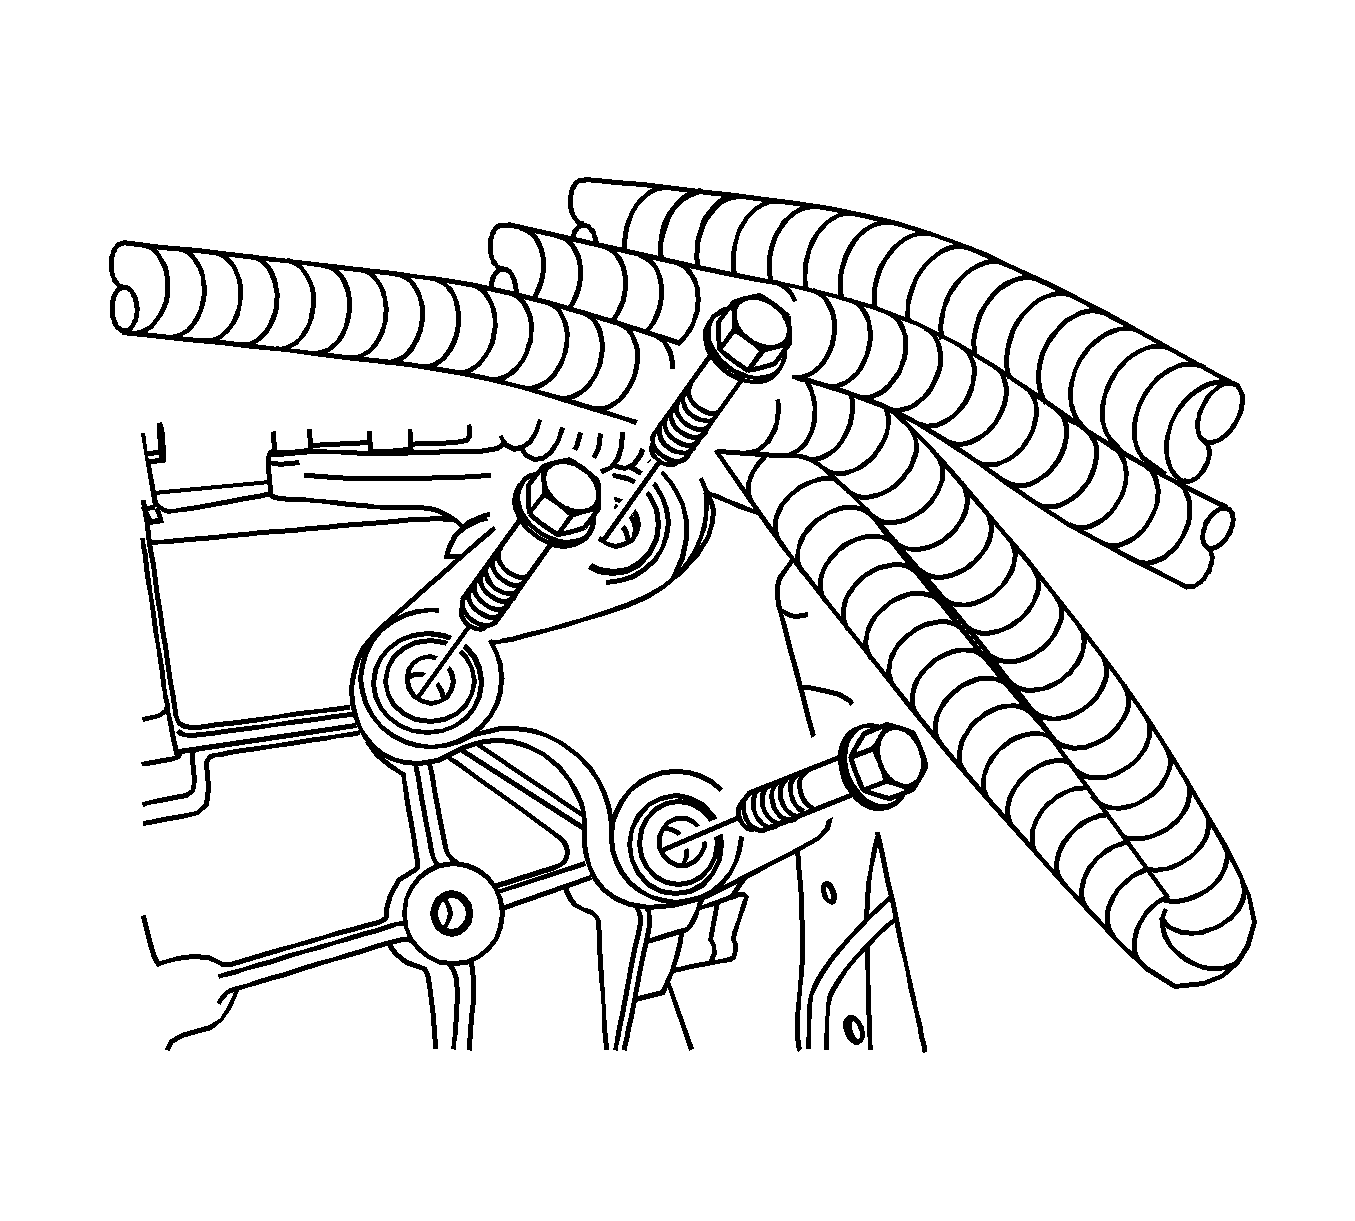
- Remove the front damper bush mounting bolts and the front damper bush.
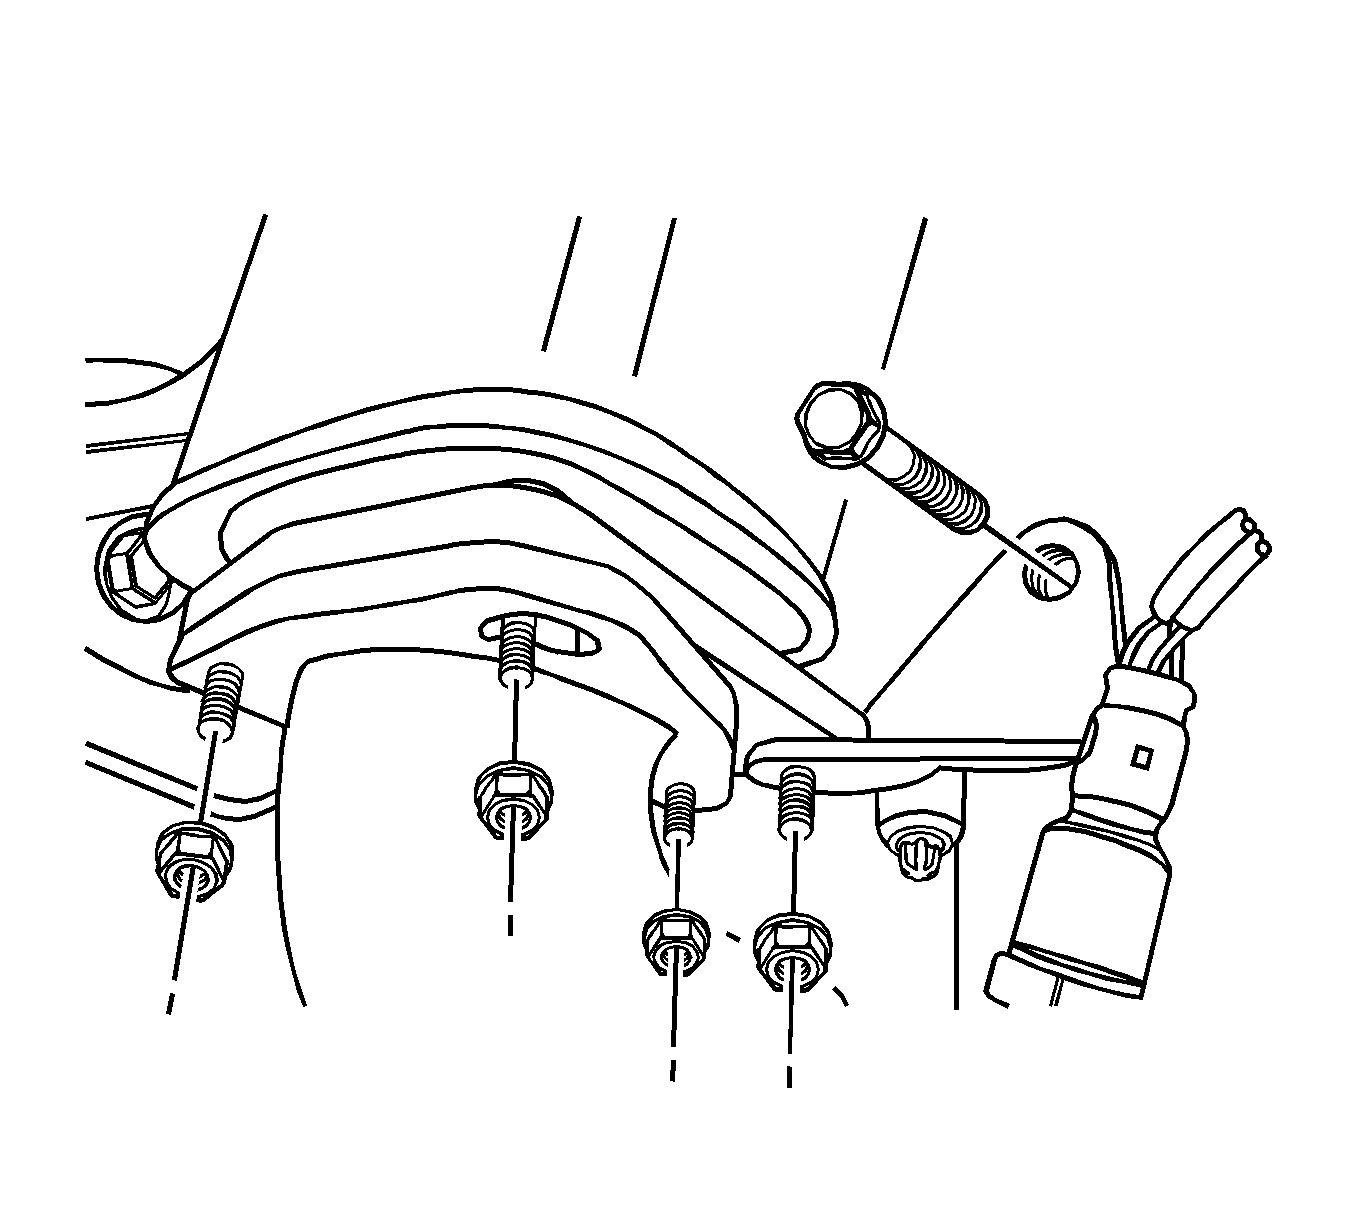
- Remove the rear transaxle mounting bracket bolts.
- Remove the rear damper bush and the rear transaxle mounting bracket.
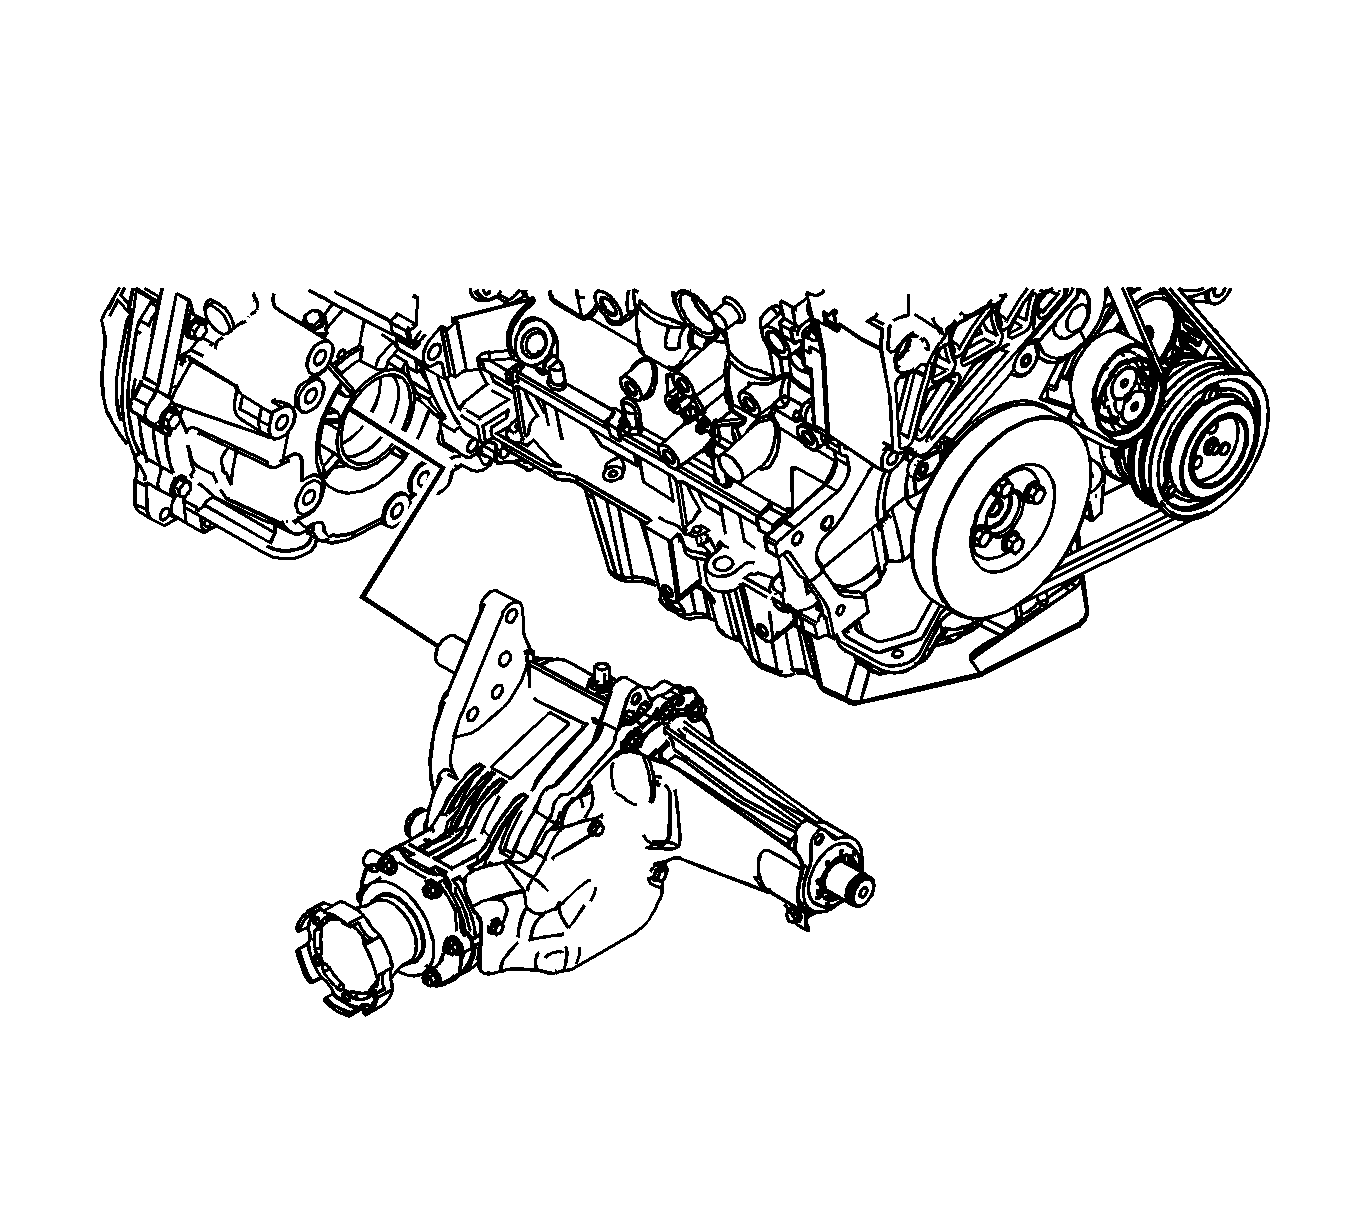
- For AWD, remove the transfer case from the transaxle.
- Remove the starter. Refer to Starter Motor Replacement.
- Support the transaxle assembly using the supporting jack.
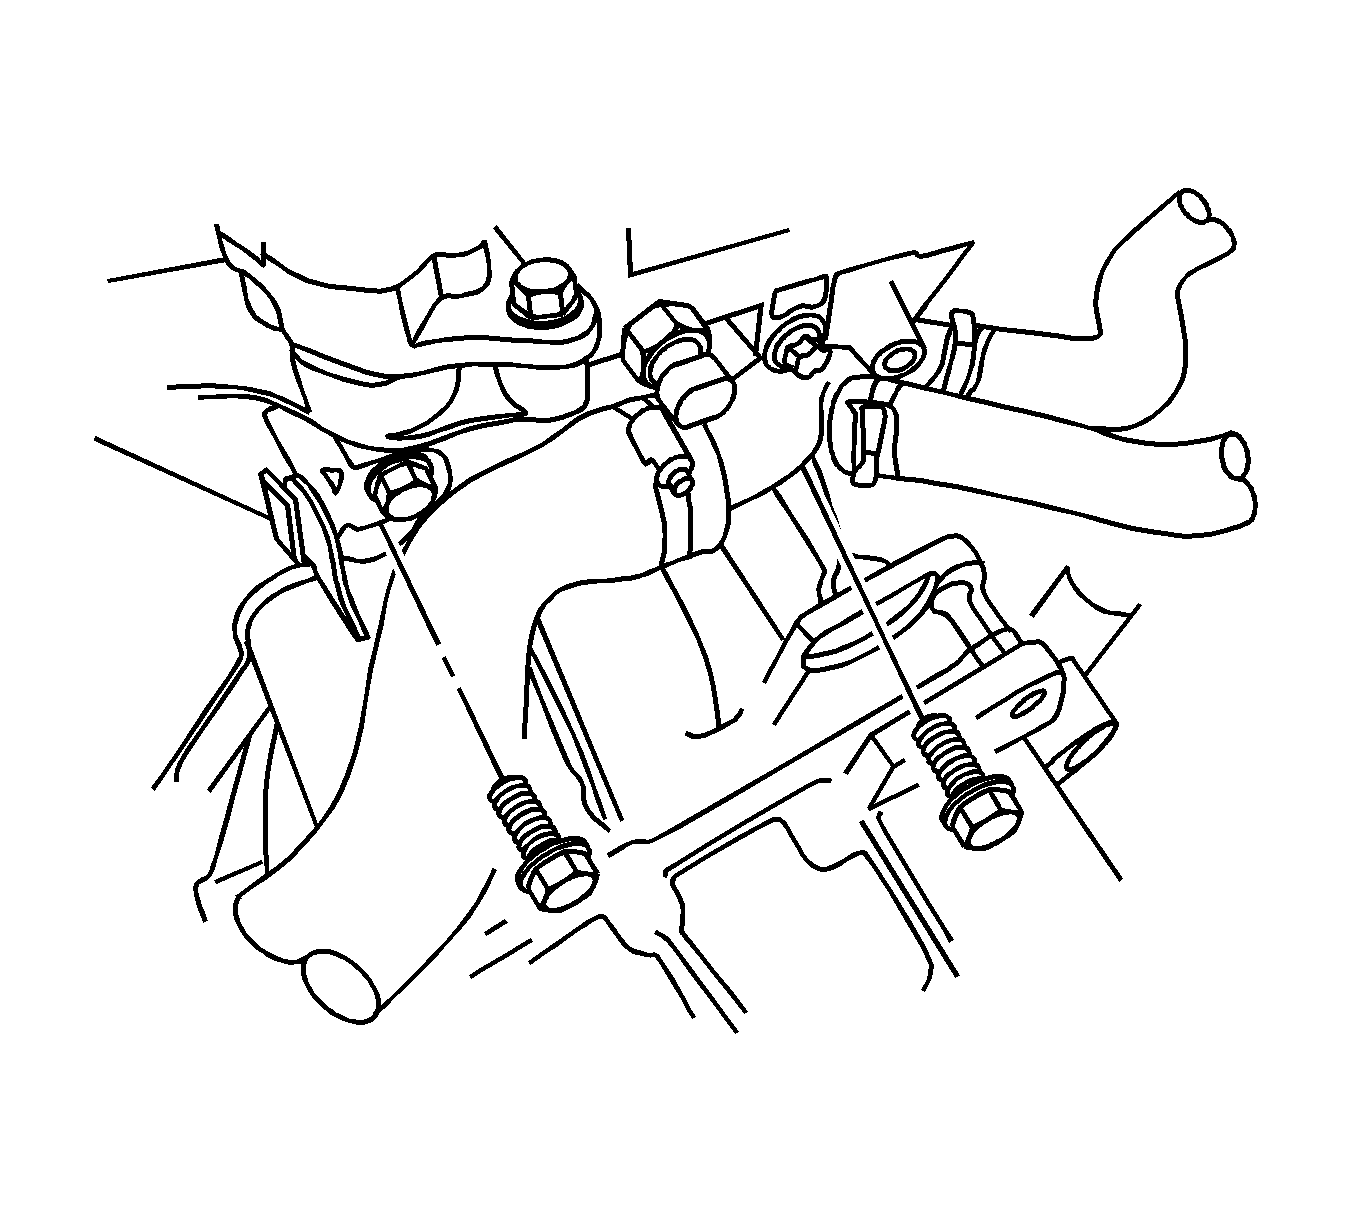
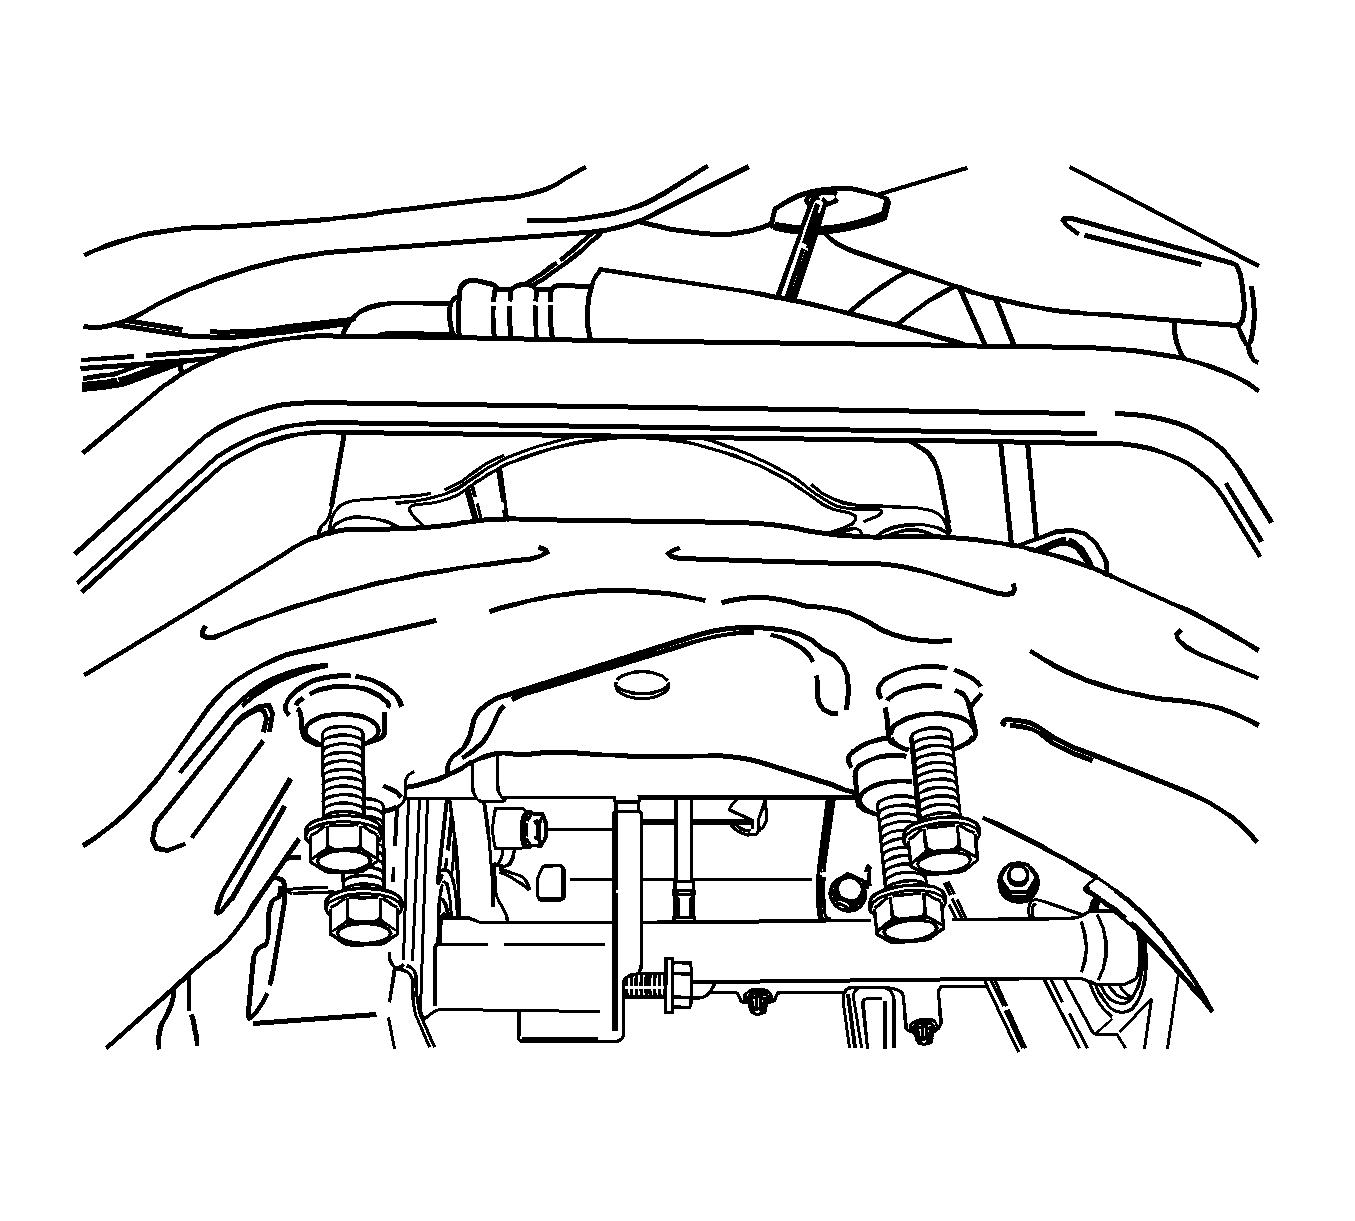
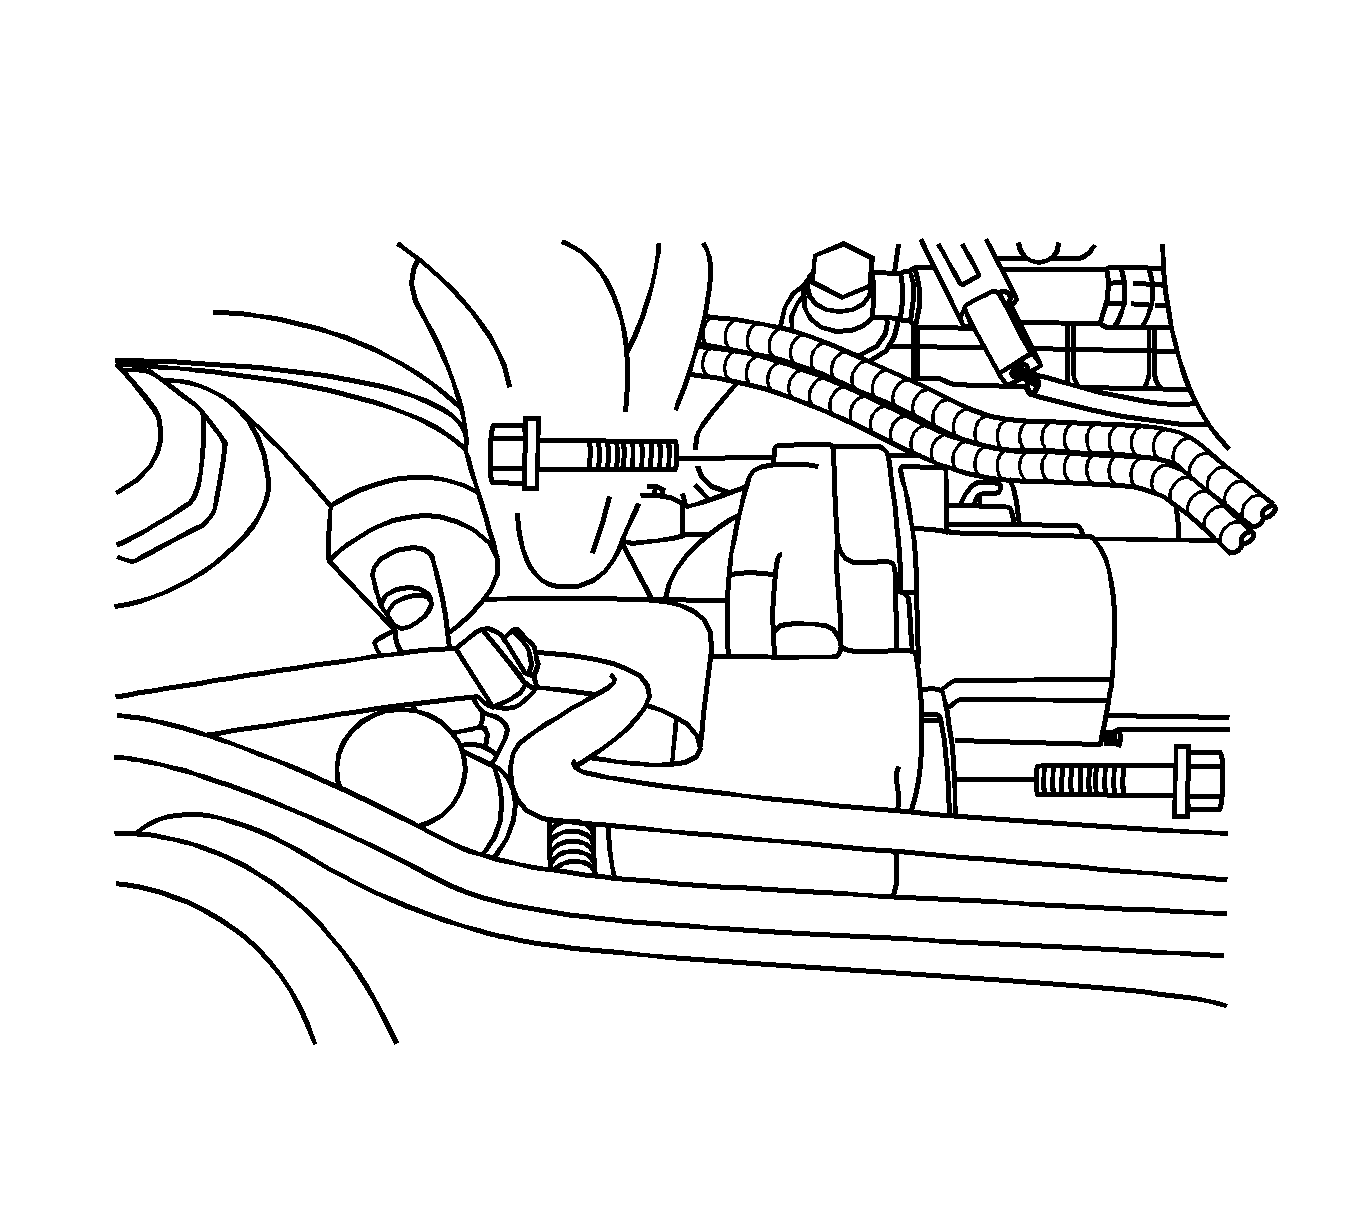
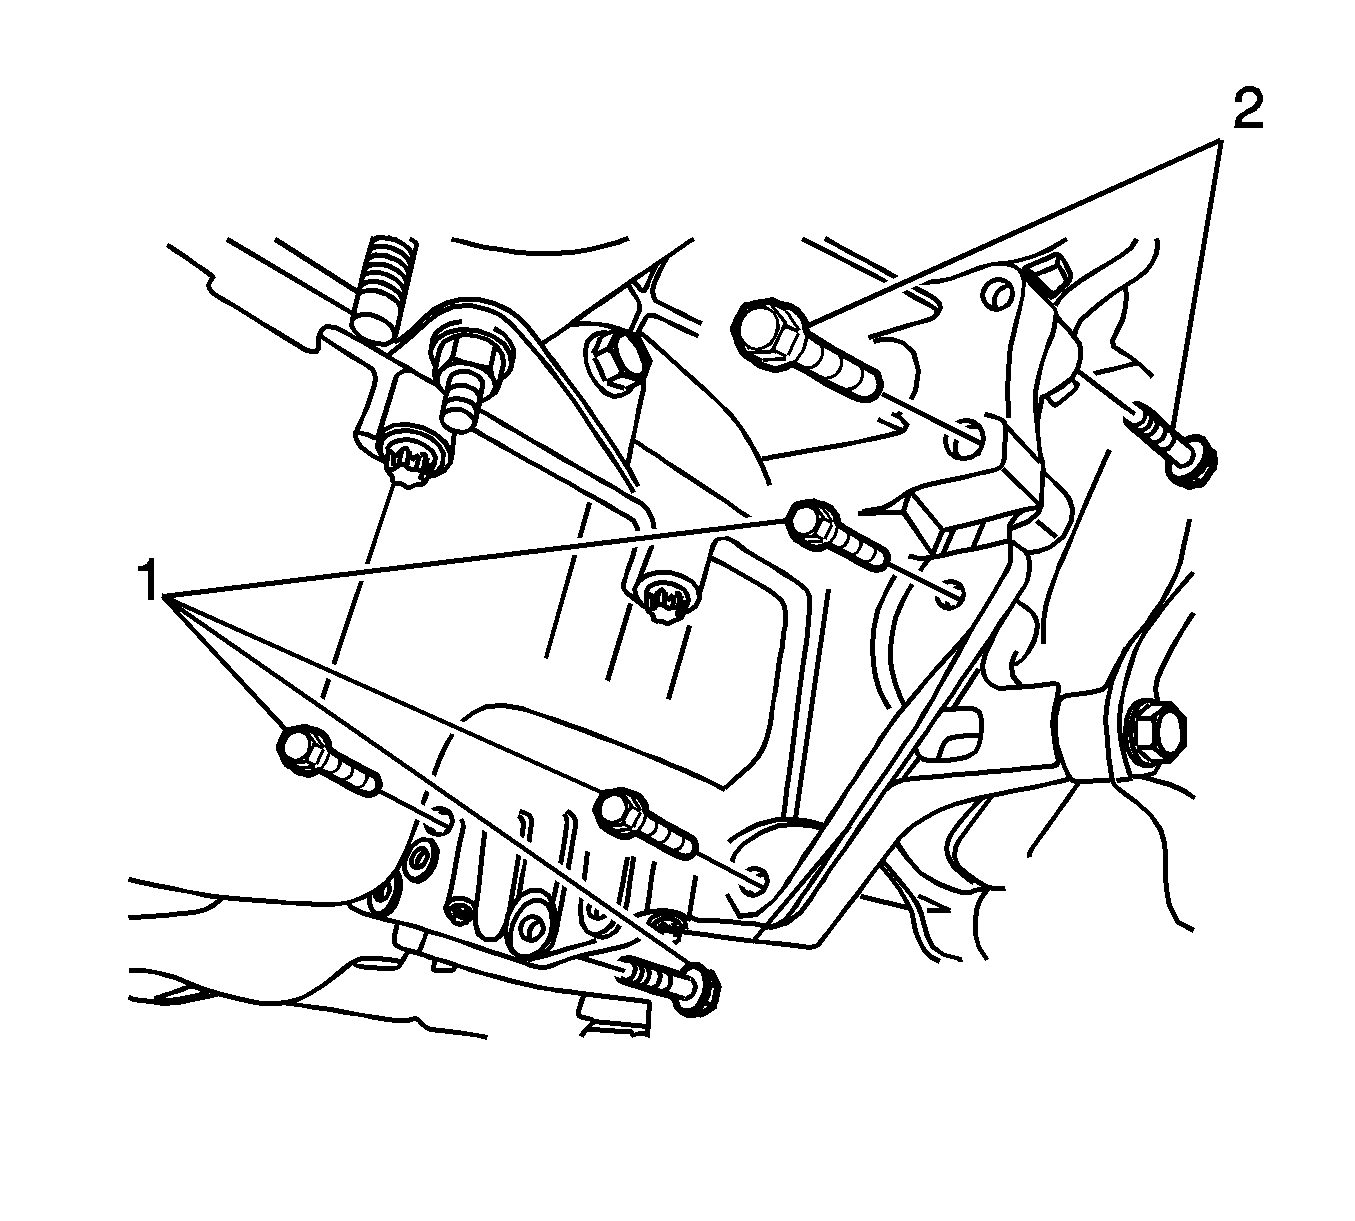
- Remove the oil pan flange-to-transaxle bolts (1).
- Remove the right lower engine-to-transaxle bolts (2) near the front damper bush.
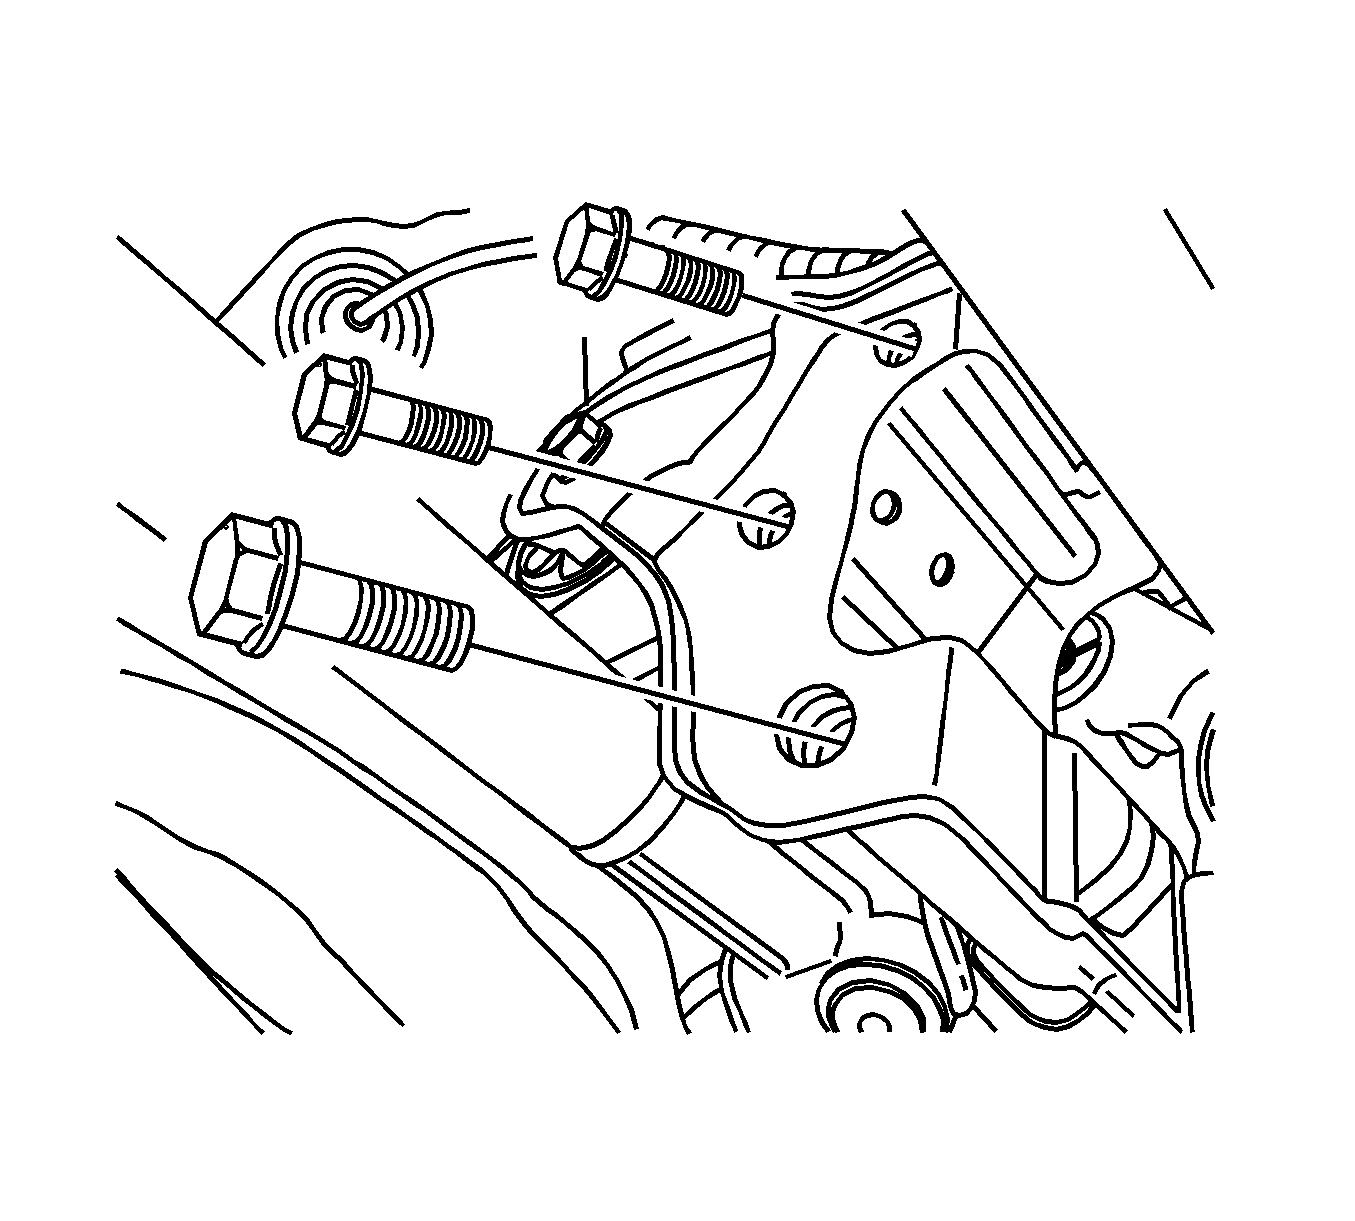
- Remove the left upper transaxle mounting bracket bolts.
- Carefully remove the transaxle assembly from the vehicle.

Installation Procedure
- Install the transaxle into the vehicle and support the transaxle assembly using the supporting jack.
- Install the four left upper transaxle mounting bracket bolts and tighten to 50 N·m (37 lb ft).
- Install the right lower engine-to-transaxle bolts near the front damper bush and tighten to 75 N·m (55 lb ft).
- Remove the transaxle support jack.
- Install the oil pan flange-to-transaxle bolts and tighten to 50 N·m (37 lb ft).
- Install the starter. Refer to Starter Motor Replacement.
- For AWD, install the transfer case into the transaxle.
- Install the rear damper bush and the rear transaxle mounting bracket.
- Install the rear transaxle mounting bracket bolts and tighten to 90 N·m (66 lb ft).
- Install the front damper bush and the front damper bush mounting bolts and tighten to 50 N·m (37 lb ft).
- Install the drive axle shafts.
- Connect the backup lamp switch electrical wiring connector.
- Install the cables (2) to the shift control cable bracket.
- Install the shift control cables (1) to the transaxle.
- Carefully install the frame into the vehicle. Refer to Frame Replacement.
- Install the front exhaust pipe. Refer to Front Pipe Replacement.
- Install the left side dust cover.
- Install the engine under cover.
- Lower the vehicle.
- Remove the DW-110-060 fixture from the engine.
- Install the upper transaxle-to-engine bolts and tighten.
- Install the pin and the clutch actuator cylinder pipe.
- Install the power steering oil reservoir mounting.
- Install the battery and the battery tray. Refer to Battery Tray Replacement.
- Bleed the air from the hydraulic clutch. Refer to Hydraulic Clutch Bleeding.
- Adjust the shift control cable. Refer to Shift Linkage Adjustment.
- Check the fluid level. Refer to Transmission Fluid Inspection.

Caution: Refer to Fastener Caution in the Preface section.


| • | For 2.0L or 2.4L engines, tighten the upper transaxle-to-engine bolts to 75 N·m (55 lb ft). |
| • | For 2.8L, 3.2L, or 3.6L engines, tighten the upper transaxle-to-engine bolts to 50 N·m (37 lb ft). |

