Special Tools
| • | EN-46106 Flywheel Holding Tool
|
| • | J-29184 Oil Seal Installer
|
| • | J-41816 Three Legged Puller
|
| • | J-41998-B Crankshaft Balancer Installer
|
| • | KM-470-B Angular Torque Gage
|
Removal Procedure
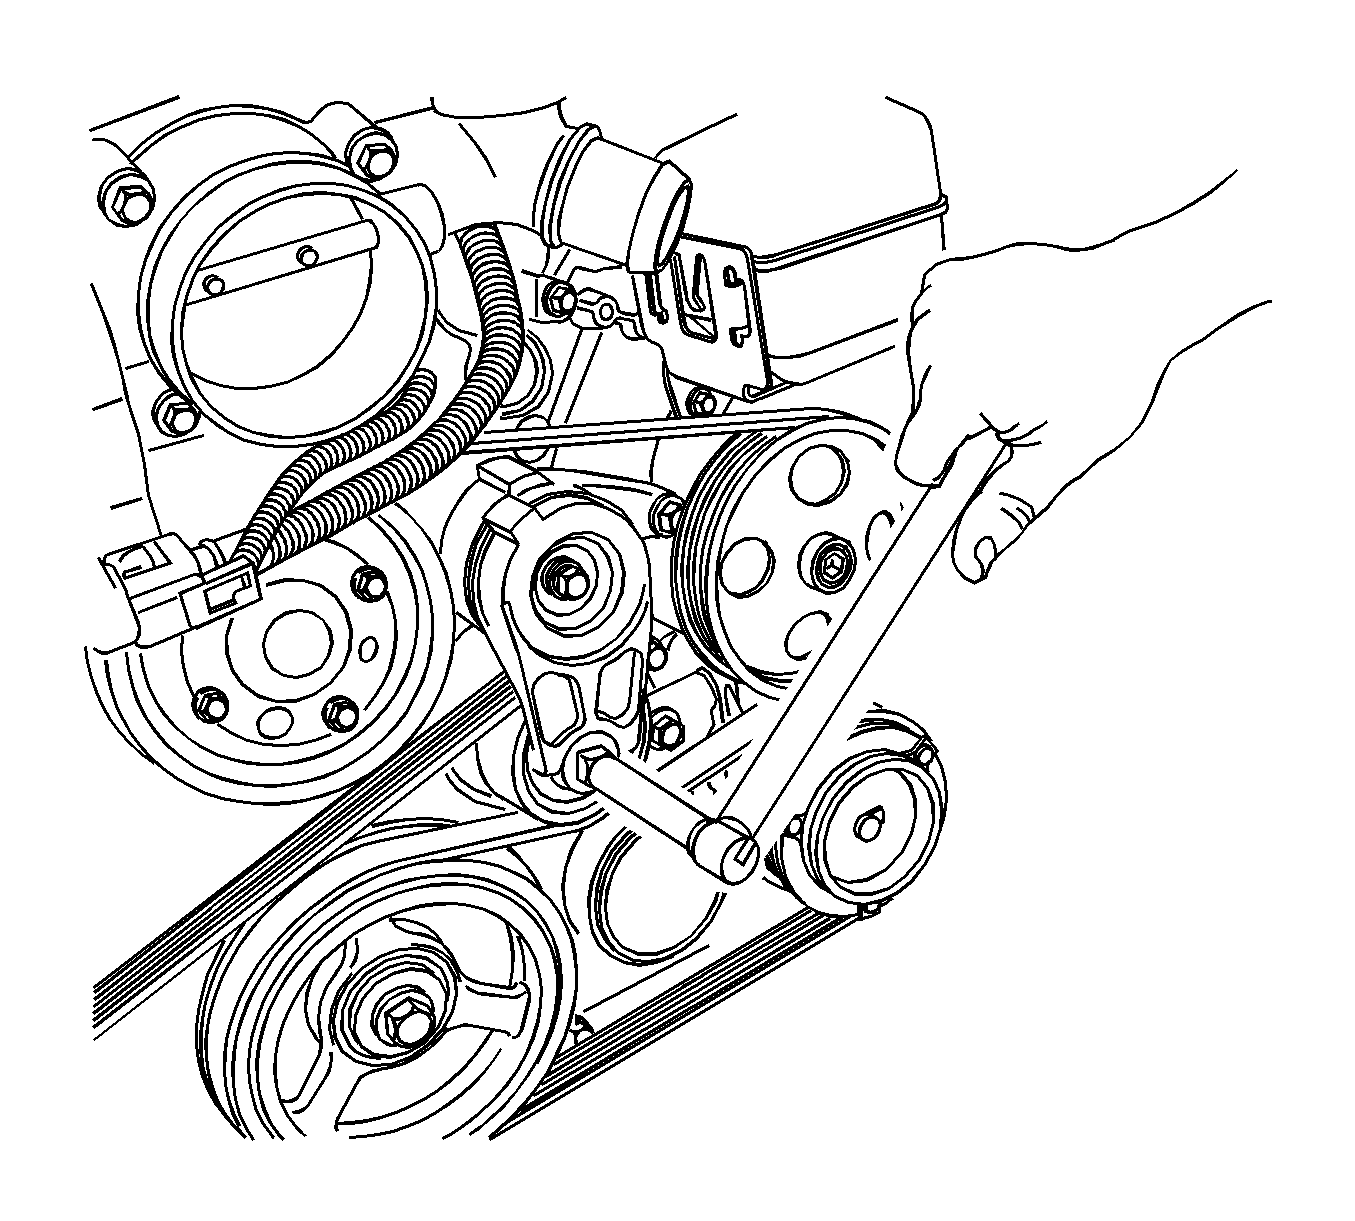
- Rotate the accessory drive belt tensioner clockwise to reduce the belt tension.
- While holding the tensioner in the reduced tension position, disconnect the belt.
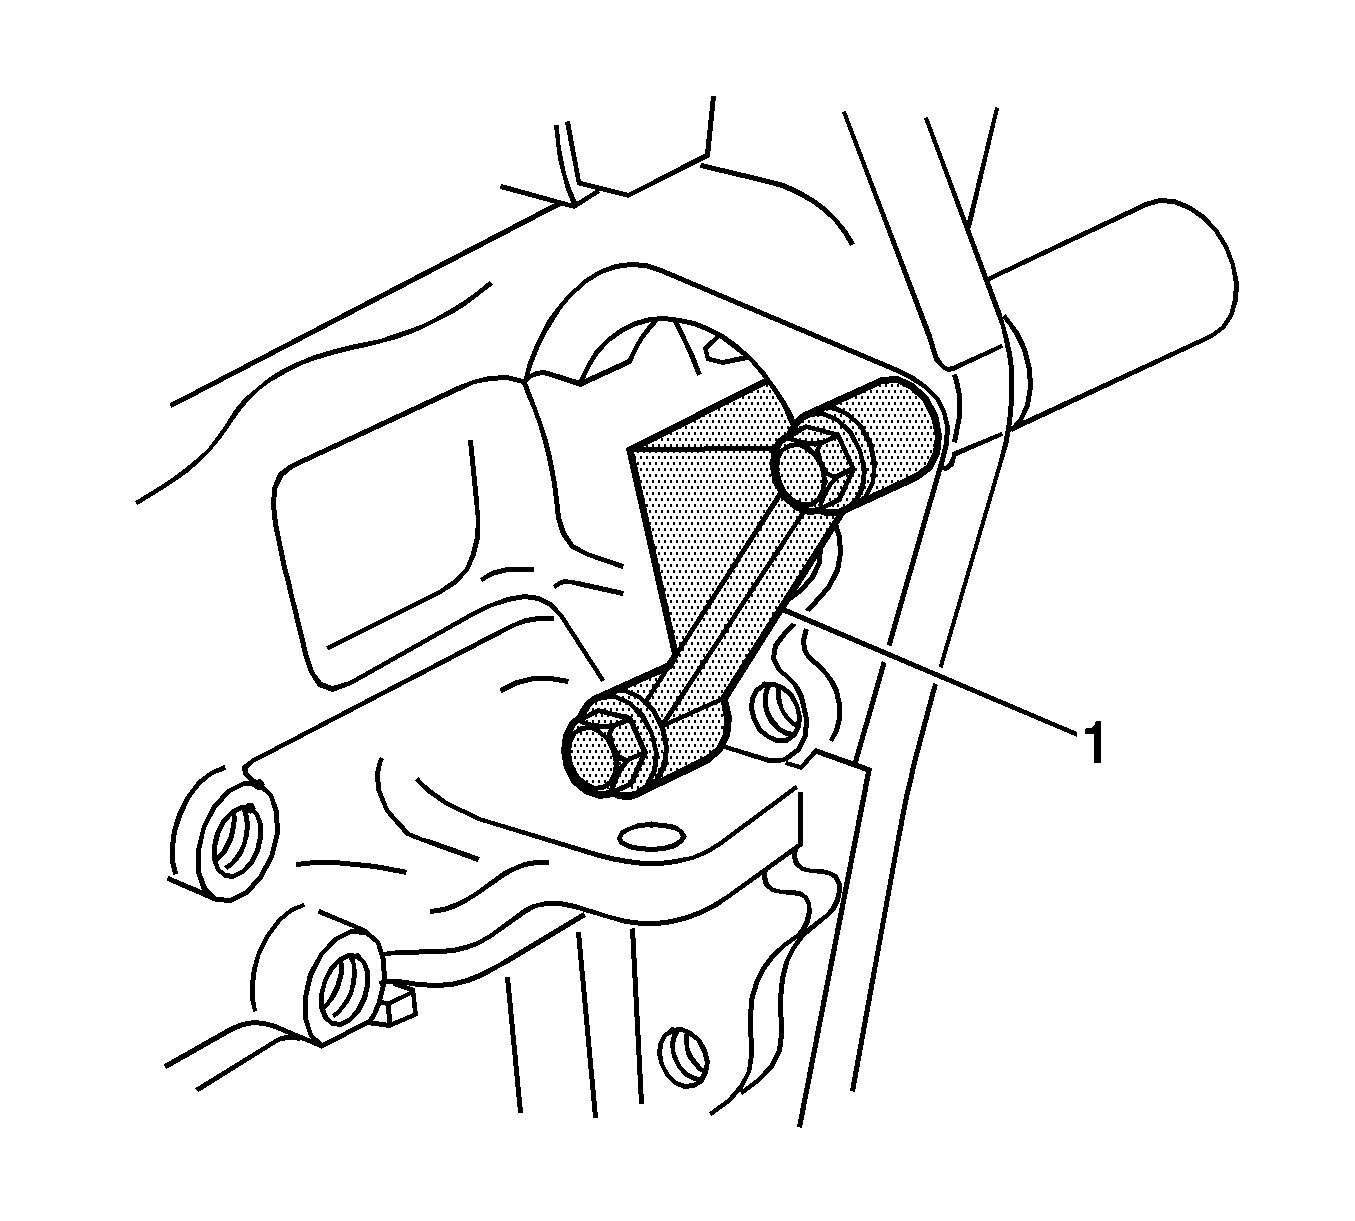
- Remove the starter. Refer to
Starter Motor Replacement.
- Install
EN-46106 tool
(1) into the starter motor opening to stop the crankshaft from rotating.
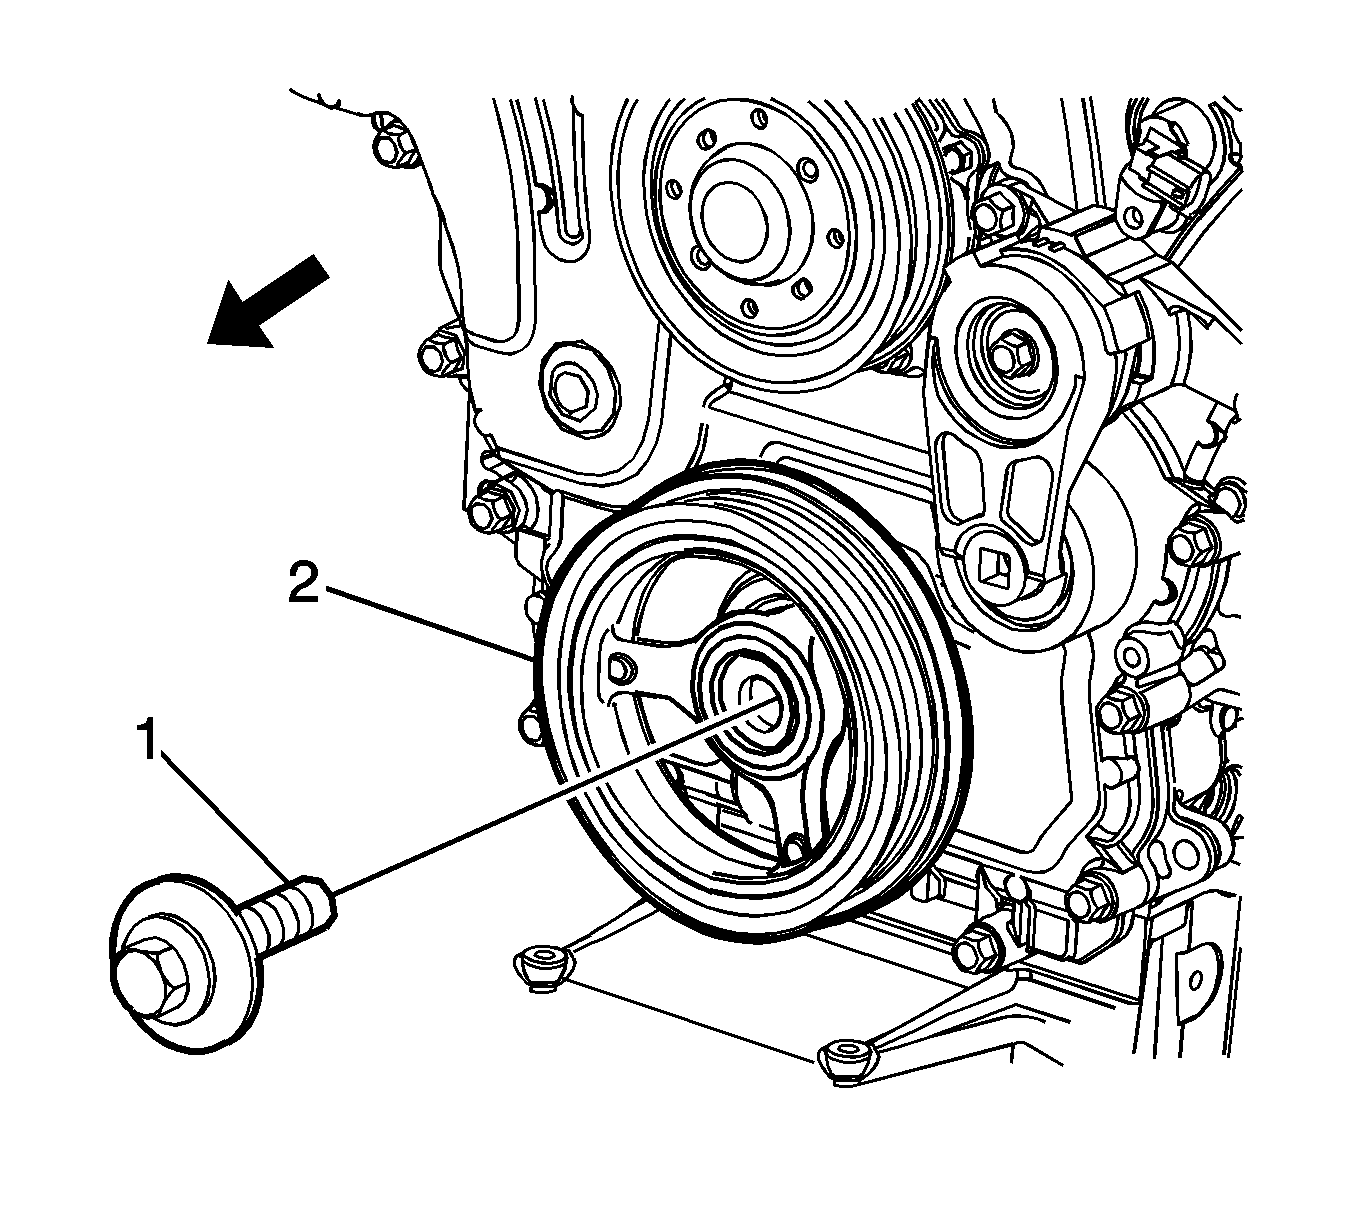
- Remove the bolt (1) attaching the crankshaft pulley assembly (2) to the crankshaft.
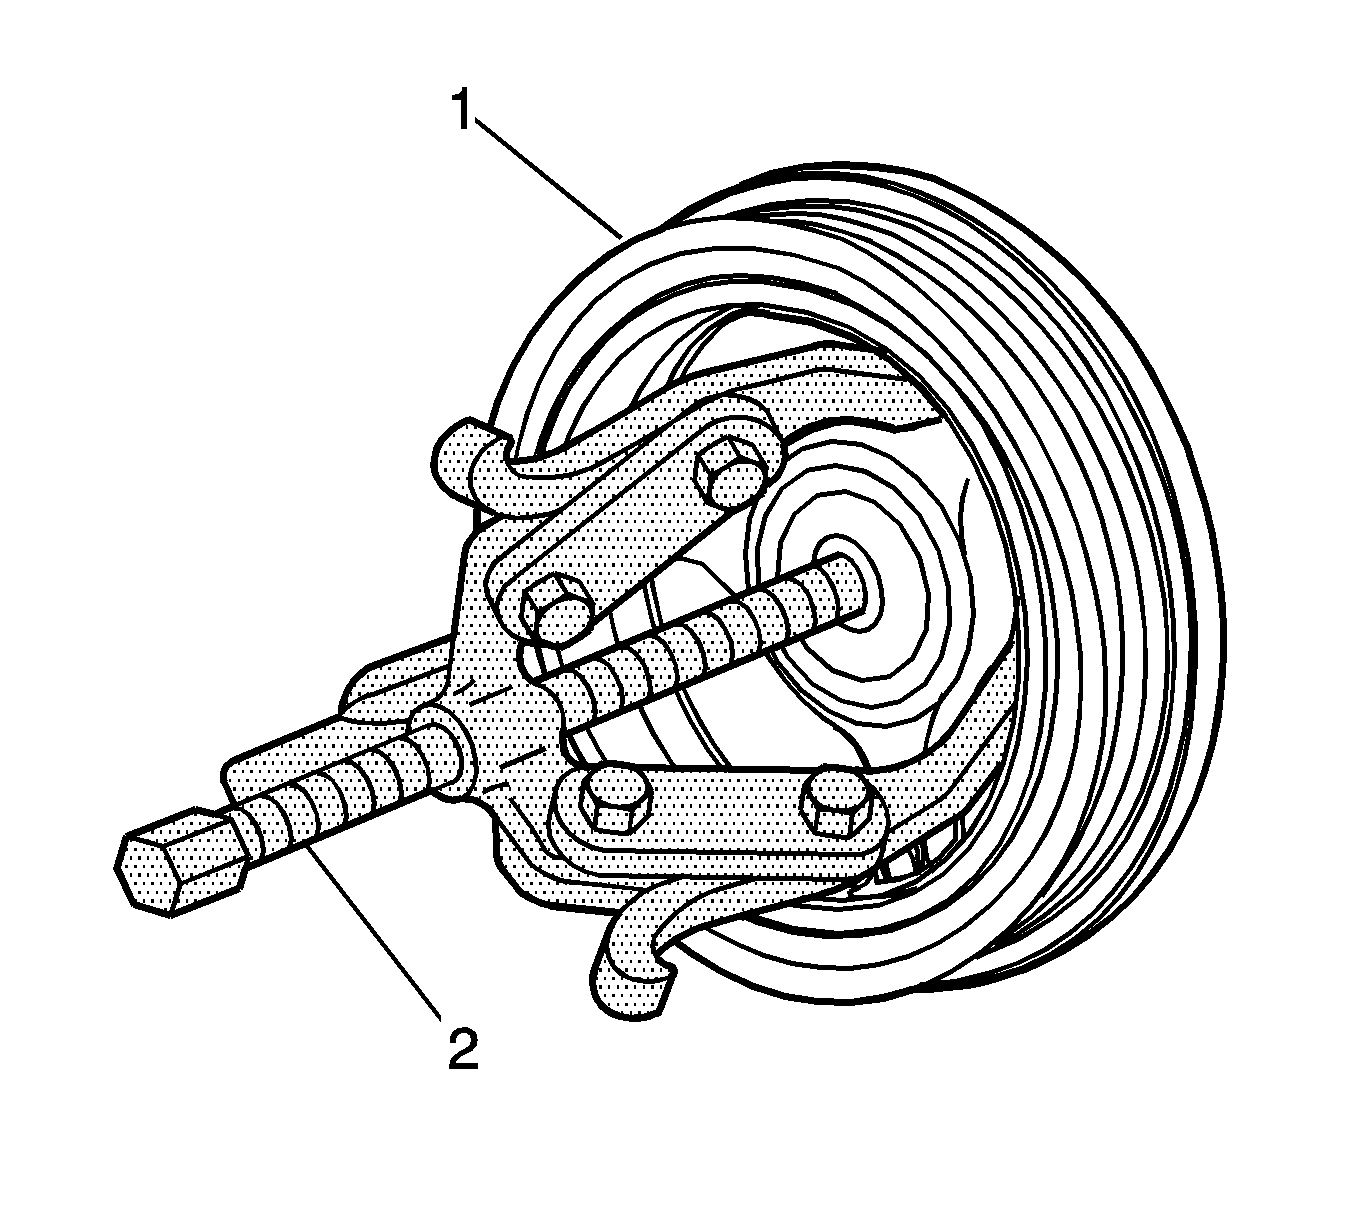
- Remove the crankshaft pulley assembly (1) from the crankshaft using three legged puller,
J-41816 puller
(2)
or equivalent.
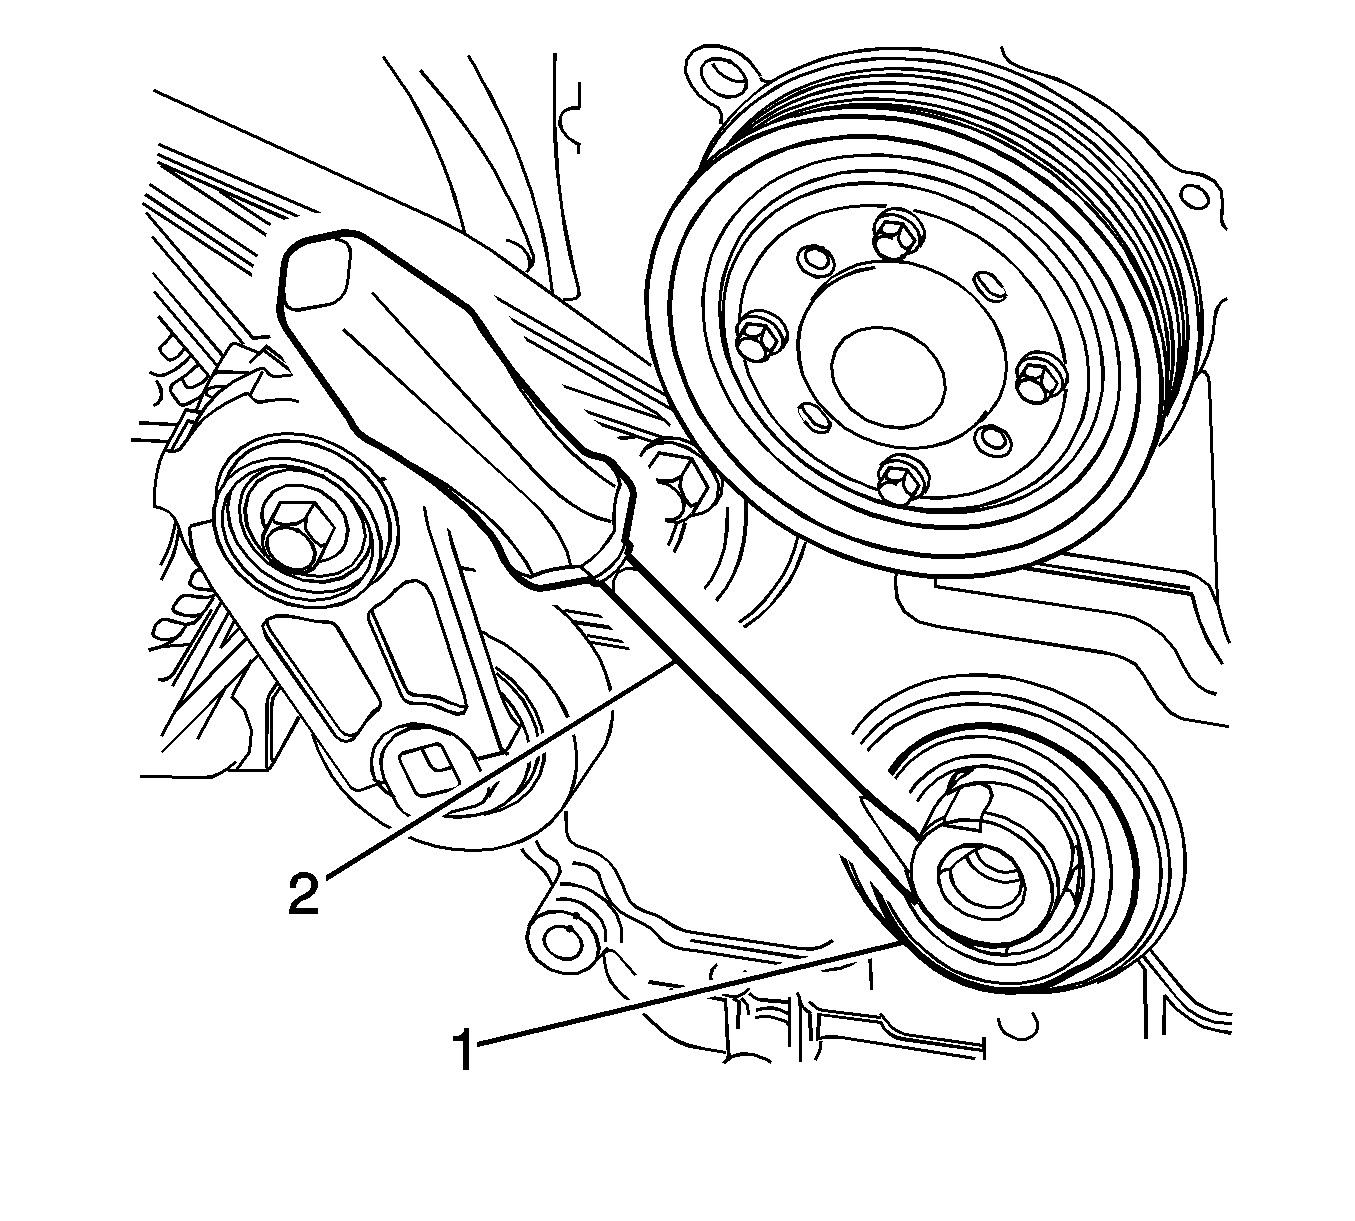
- Using a flat-bladed tool (2), carefully remove the crankshaft front seal (1) from the front cover.
Cleaning and Inspection
- Using a suitable non-corrosive cleaning solvent and a soft bristled parts cleaning brush, clean the crankshaft pulley assembly.
- Dry the crankshaft pulley assembly using compressed air.
- Inspect the crankshaft pulley assembly for the following fault conditions:
| • | Hub to crankshaft inner surface for wear or damage |
| • | Sealing surface for wear, grooving or scoring |
| • | Rubber ring between the hub and the pulley for wear, chunking and general deterioration |
| • | Drive belt ribs of the pulley for damage |
Installation Procedure
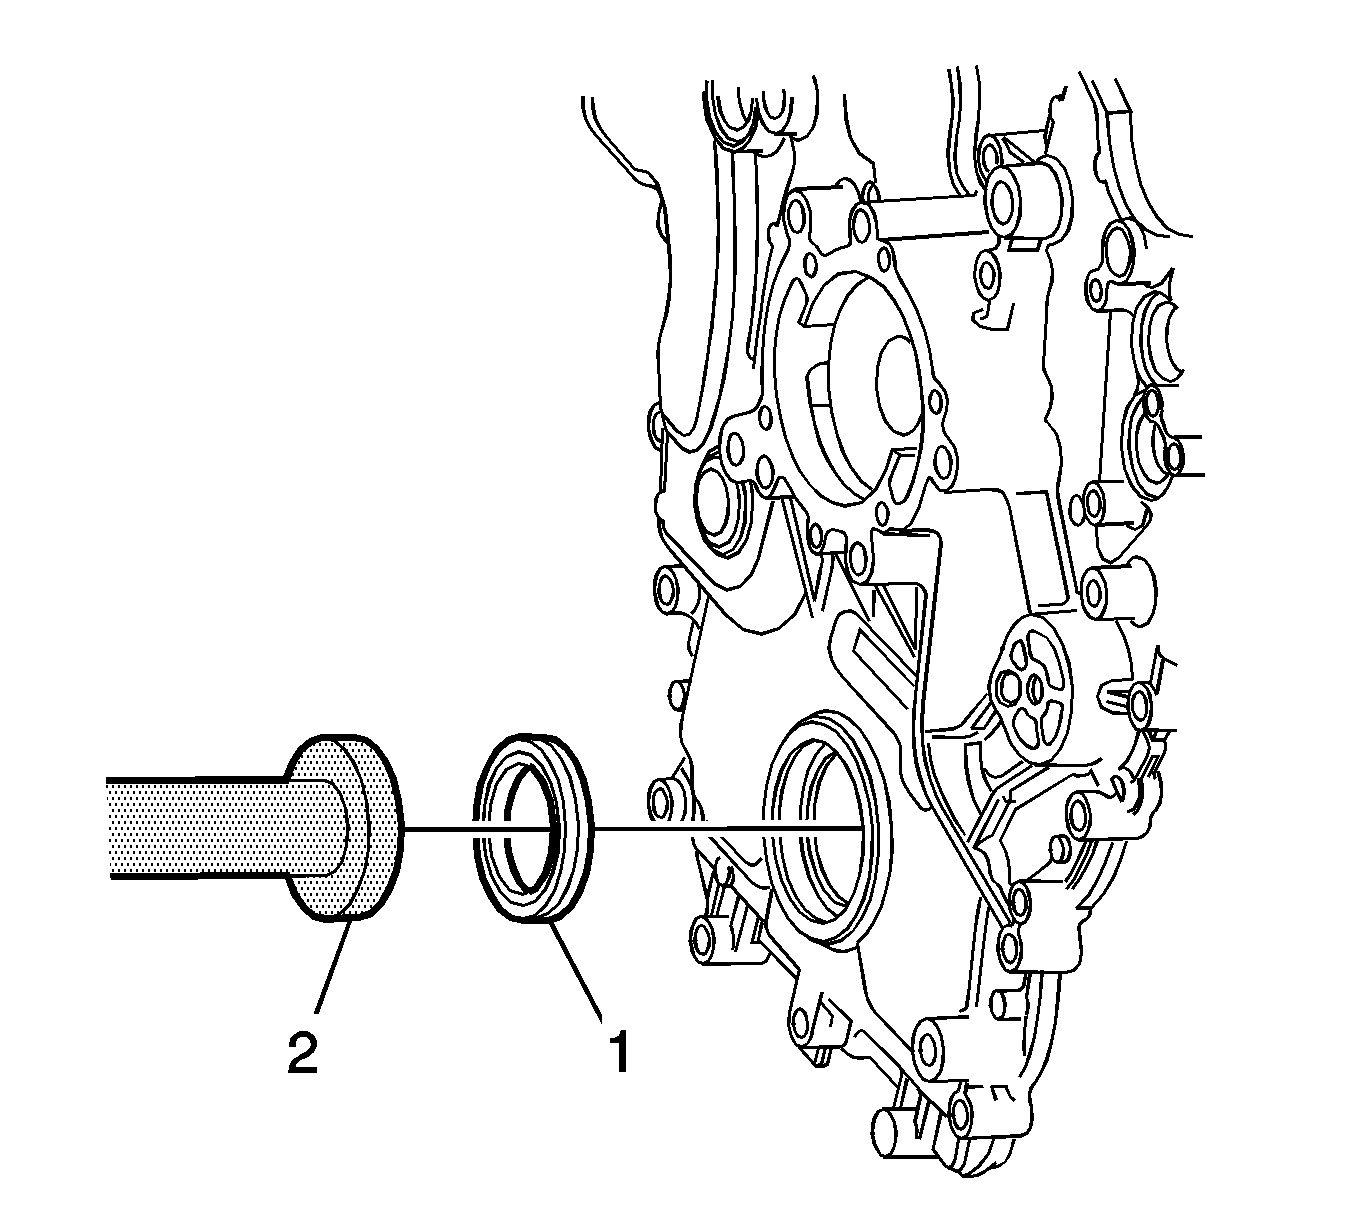
Note: Do not lubricate the crankshaft front oil seal or crankshaft pulley sealing surfaces. The crankshaft pulley must be installed onto a dry seal.
- Using crankshaft front seal installer,
J-29184 installer
(2) and a suitable hammer, install a new crankshaft front seal (1) until fully seated against the front cover
housing.
- Lubricate the crankshaft pulley assembly hub bore.
- Partially install the crankshaft pulley assembly onto the crankshaft.
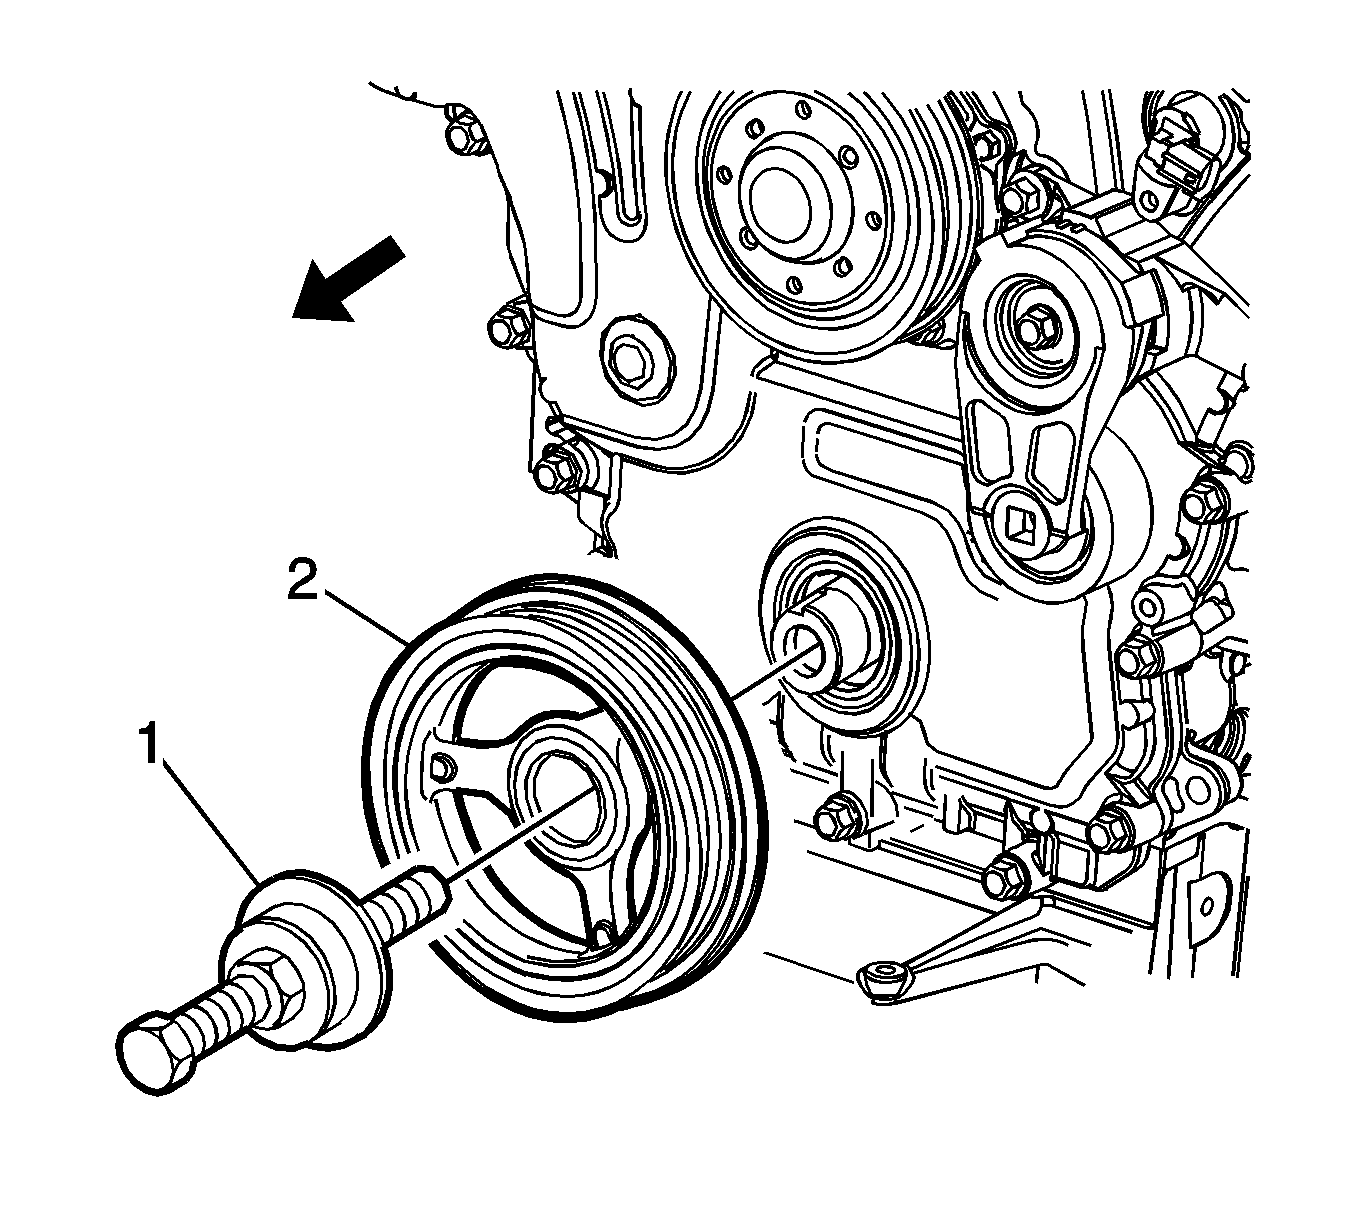
Note: To prevent damage to the crankshaft threads, fully install
J-41998-B installer
(1) into the crankshaft before pressing the pulley and balancer
assembly.
- Using the crankshaft pulley installer,
J-41998-B installer
(1), fully install the crankshaft pulley assembly into the crankshaft.

- Apply LOCTITE™ 272 or equivalent to the thread of a new crankshaft pulley assembly retaining bolt (1).
Caution: Refer to Fastener Caution in the Preface section.
- Install the crankshaft pulley assembly retaining bolt and tighten to
100 N·m (74 lb ft) and turns the bolt another
150 degrees using
KM-470-B gage
.
- Install the starter. Refer to
Starter Motor Replacement.
- Install the accessory drive belt.


