Tools Required
Removal Procedure
- Remove the transmission.
Important: For 14-inch valeo clutches only.
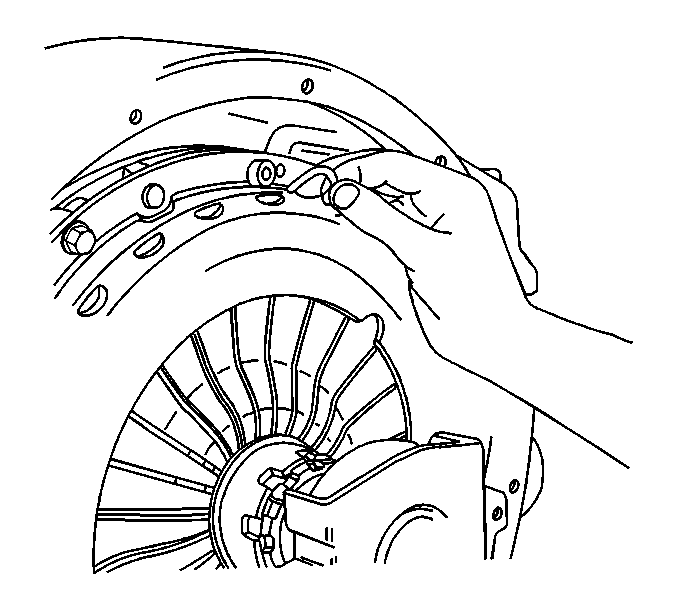
If the same clutch is to be reinstalled, install a shipping clip under the head of each of the 4 allen head capscrews that attach the drive straps to the pressure plate.
The clips will keep the pressure plate in a partially retracted position and make pressure plate installation easier.

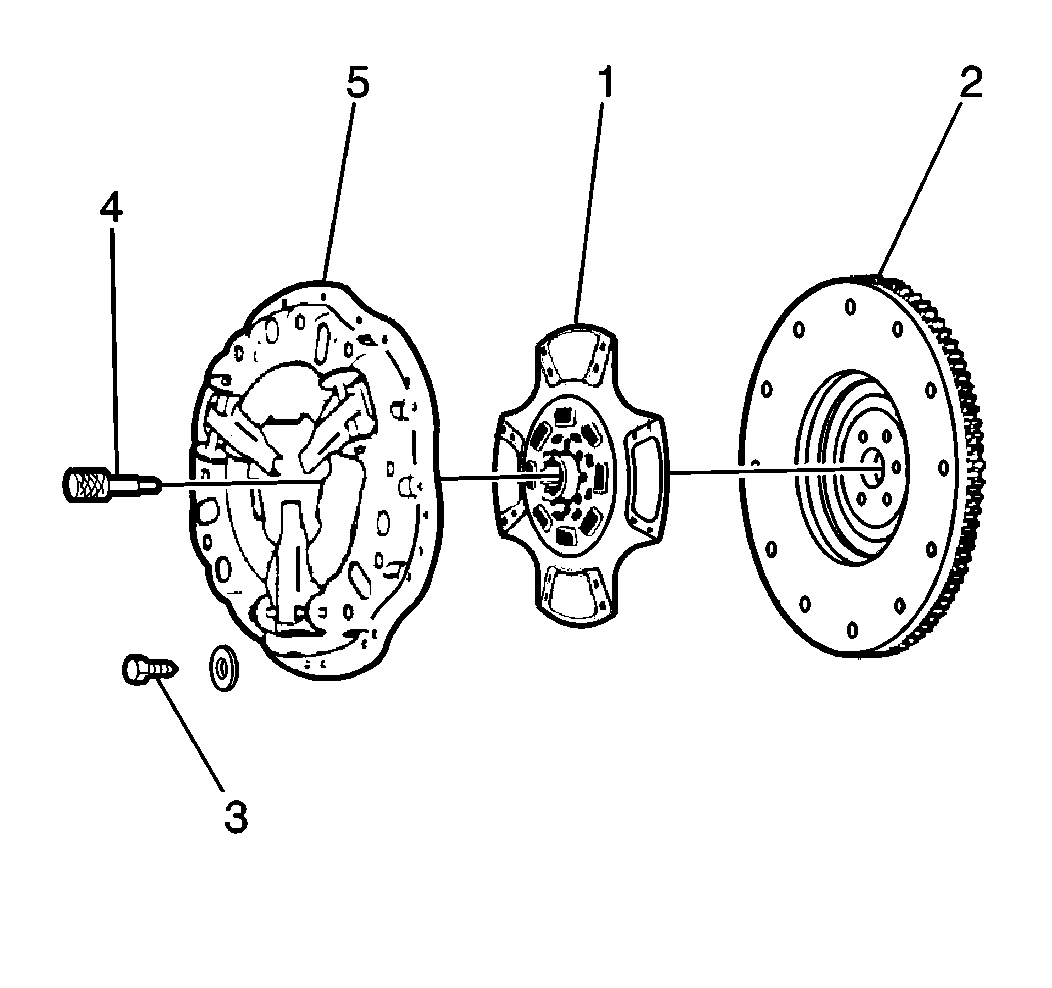
- Remove the bolts and the washers that secure the pressure plate and the driven plate to the flywheel.
- Remove the pressure plate.
- Remove the driven plate.
- Inspect the following parts:
| • | The clutch fork for wear, cracks, or distortion |
| • | The release bearing for roughness |
| • | The driven plate for broken springs, loose rivets, and cracks |
| • | The hub splines for wear and damage |
| • | The pressure plate for wear and damage |
| • | The flywheel for wear or damage |
- Inspect for unnecessary grease or oil on any of the components.
- Measure the following components:
| • | The driven plate friction material for thickness |
| • | Replace the driven plate if the material thickness is less than 1.27 mm (0.050 in). |
| • | The pressure plate friction surface flatness |
| • | Replace the pressure plate if the friction surface flatness is less than 0.10 mm (0.0039 in). |
Installation Procedure
- Apply lubrication to the hub splines.

- Install the driven plate (1).
- Install the
J 35990
or
J 26455-A
to the center of the driven plate.
- Install the pressure plate.
- Install the bolts and the washers.
Notice: Use the correct fastener in the correct location. Replacement fasteners
must be the correct part number for that application. Fasteners requiring
replacement or fasteners requiring the use of thread locking compound or sealant
are identified in the service procedure. Do not use paints, lubricants, or
corrosion inhibitors on fasteners or fastener joint surfaces unless specified.
These coatings affect fastener torque and joint clamping force and may damage
the fastener. Use the correct tightening sequence and specifications when
installing fasteners in order to avoid damage to parts and systems.
- Install the bolts and washers securing the clutch assembly to the flywheel.
Starting with the lower left hand bolt, progressively tighten the 8 mounting bolts in a crisscross pattern until you achieve the final torque value.
Tighten
Tighten the bolts to 54 N·m (40 lb ft).
- Remove the
J 35990
or
J 26455-A
from the driven plate.
- Install the transmission.
- Adjust the clutch. Refer to
Clutch Assembly Adjustment.


