Removal Procedure
- Drain the engine oil.
- Remove the engine. Refer to Engine Replacement .
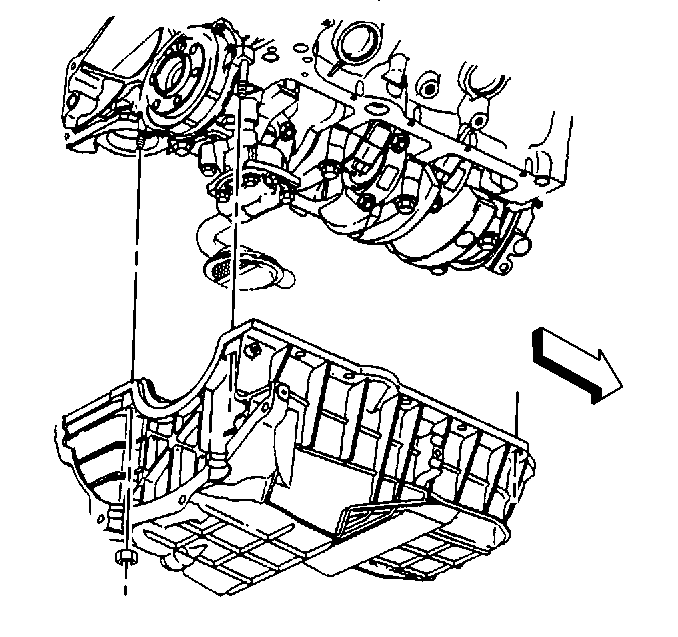
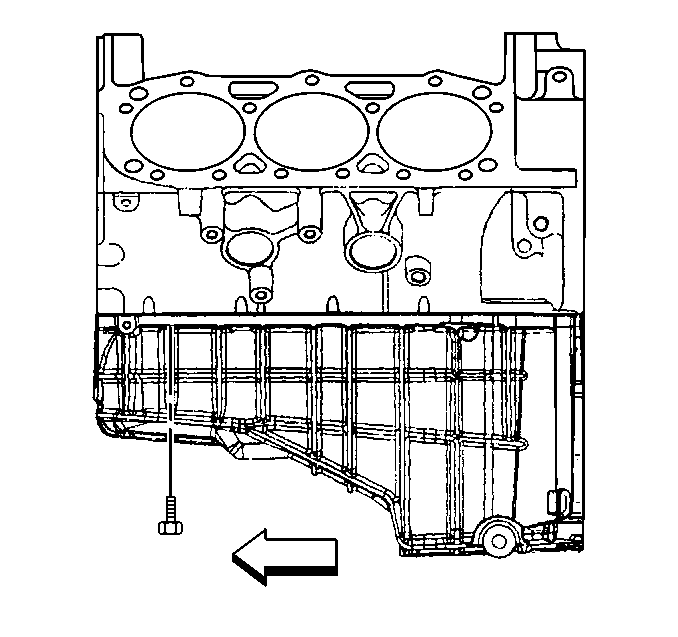
- Remove the oil pan.
Installation Procedure
- Apply an approved sealant 10 mm (0.393 in) wide and 20 mm (0.787 in) long at the engine front cover to engine block junction.
- Apply an approved sealant 25 mm (1.0 in) long to the crankshaft rear oil seal housing to engine block junction.
- Install a new oil pan gasket.
- Install the oil pan to the engine block.
- Slide oil pan back against straight edge usingJ 34673
- Install oil pan bolts and nuts. Do not tighten.
- Install the bolts and nut finger tight.
- Tighten the engine oil pan bolts in the following sequence.
- Tighten the bolts to 25 N·m (18 lb ft).
- Tighten the nuts to 25 N·m (18 lb ft).
- Measure the clearance again between the three oil pan-to-transmission bell housing contact points to verify proper alignment.
- Install the oil filter gasket.
- Install the oil filter adapter o-ring seal, if equipped.
- Install the oil filter adapter bolts.
- Inspect the oil filter adapter bypass valve and spring for operation and cracks. If bypass looks damaged in any way, replace the oil filter adapter assembly.
- Lubricate the new oil filter seal with clean engine oil.
- Install a new oil filter.
- Install the engine. Refer to Engine Replacement .
Important: Apply an approved sealer 25 mm (1.0 in) in either direction of the radius cavity of the junctions.
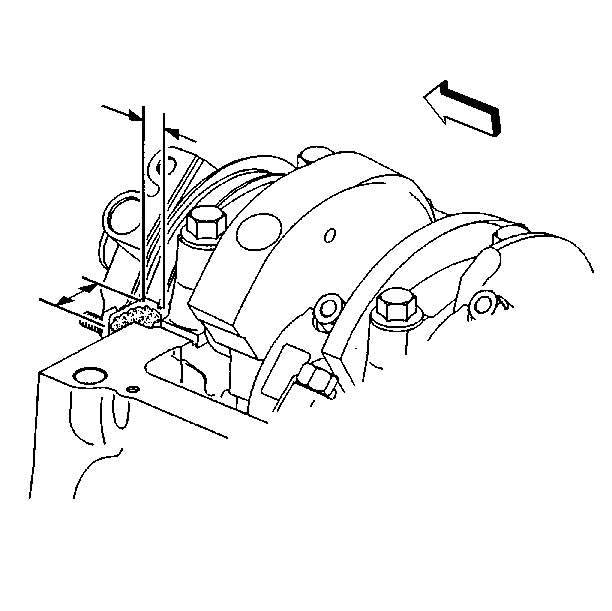
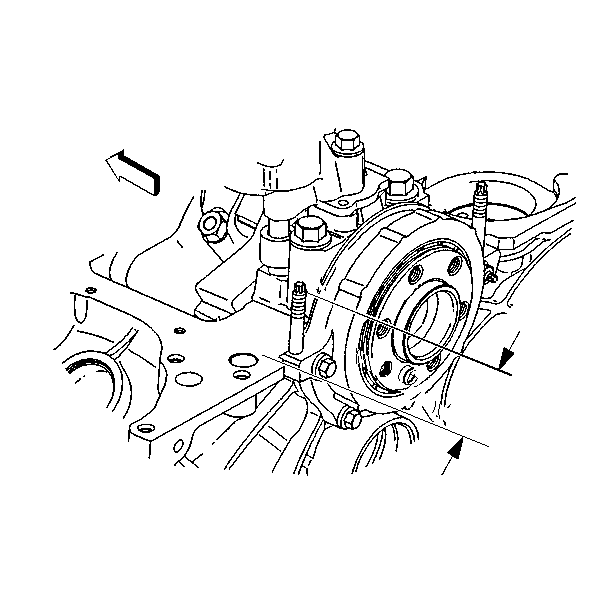
Important: Always install a new oil pan gasket.

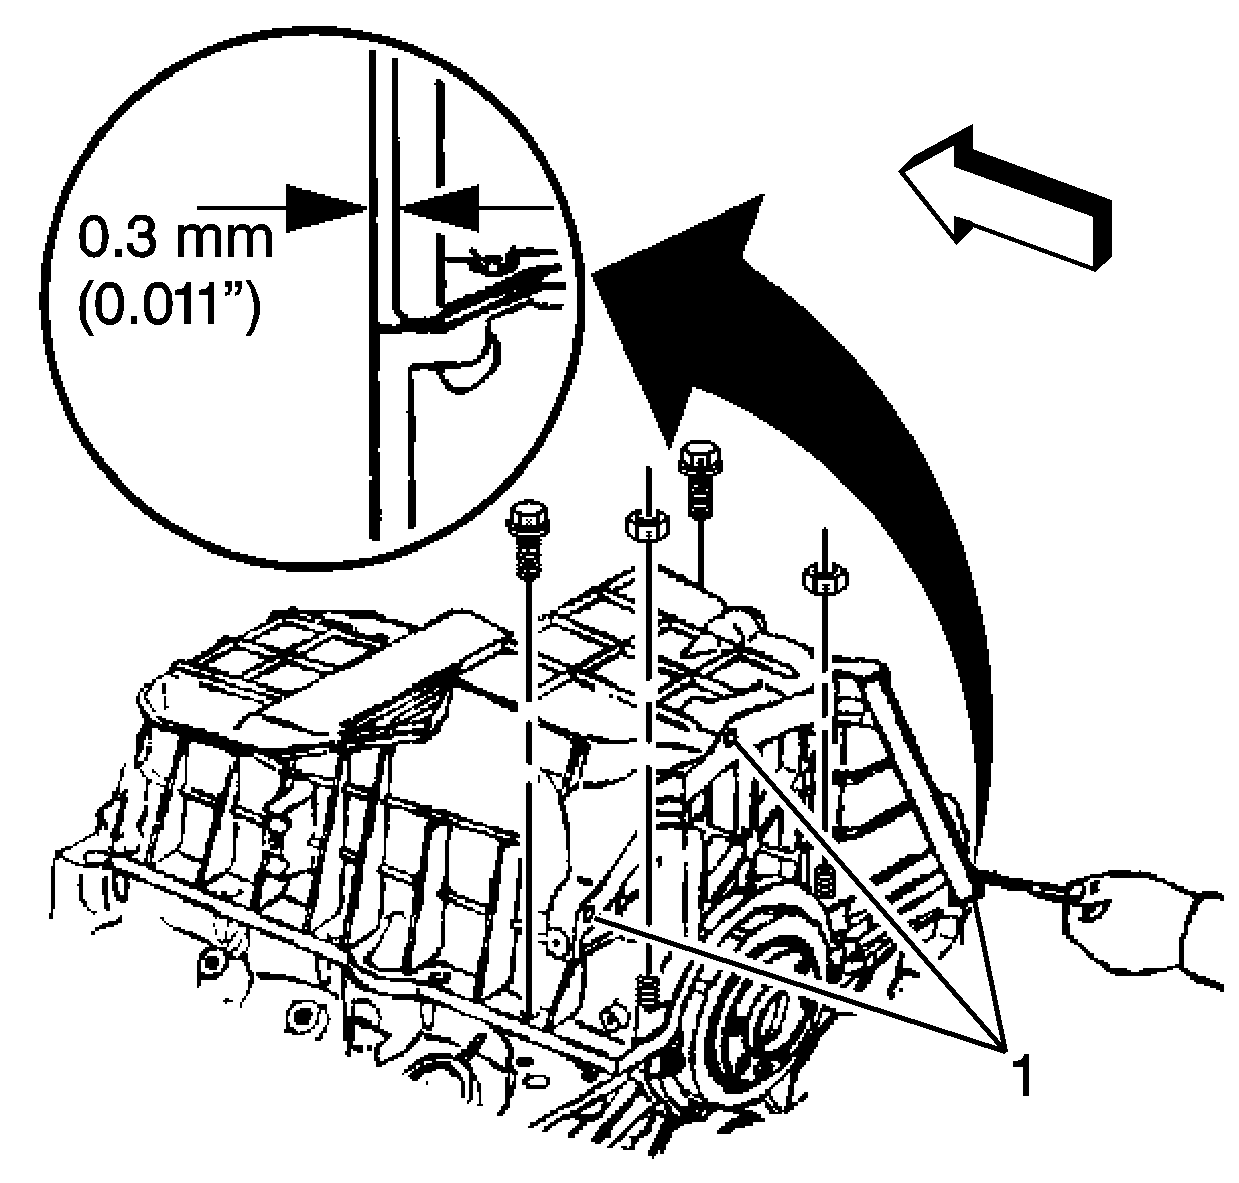
Important: Use a feeler gauge to check the clearance between the three oil pan-to-transmission bell housing contact points. If clearance exceeds 0.254 mm (0.010 in) at any of the three points, repeat the steps until the clearance is within specification.
Notice: The alignment of the mating components is crucial. An offset greater than 0.30 mm (0.011 in) between the rear faces of the oil pan and block is not acceptable. Offsets greater than 0.30 mm (0.011 in) will affect the alignment between the engine assembly and the transmission. Mis-alignment of the engine assembly to the transmission can lead to internal and external damage to the engine assembly and/or transmission.
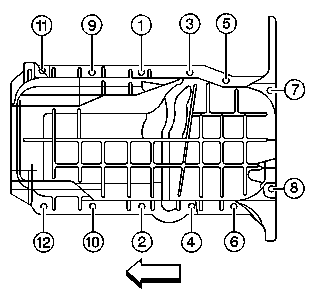
Tighten
Tighten
Tighten the bolts to 20 N·m (15 lb ft).
