For 1990-2009 cars only
Removal Procedure
- Disconnect the negative battery cable. Refer to Battery Negative Cable Disconnection and Connection .
- Recover the refrigerant. Refer to Refrigerant Recovery and Recharging .
- Remove the compressor. Refer to Air Conditioning Compressor Replacement .
- Remove the clutch drive assembly. Refer to Compressor Clutch Assembly Replacement .
- Remove the pulley and bearing assembly. Refer to Clutch Rotor and/or Bearing Replacement .
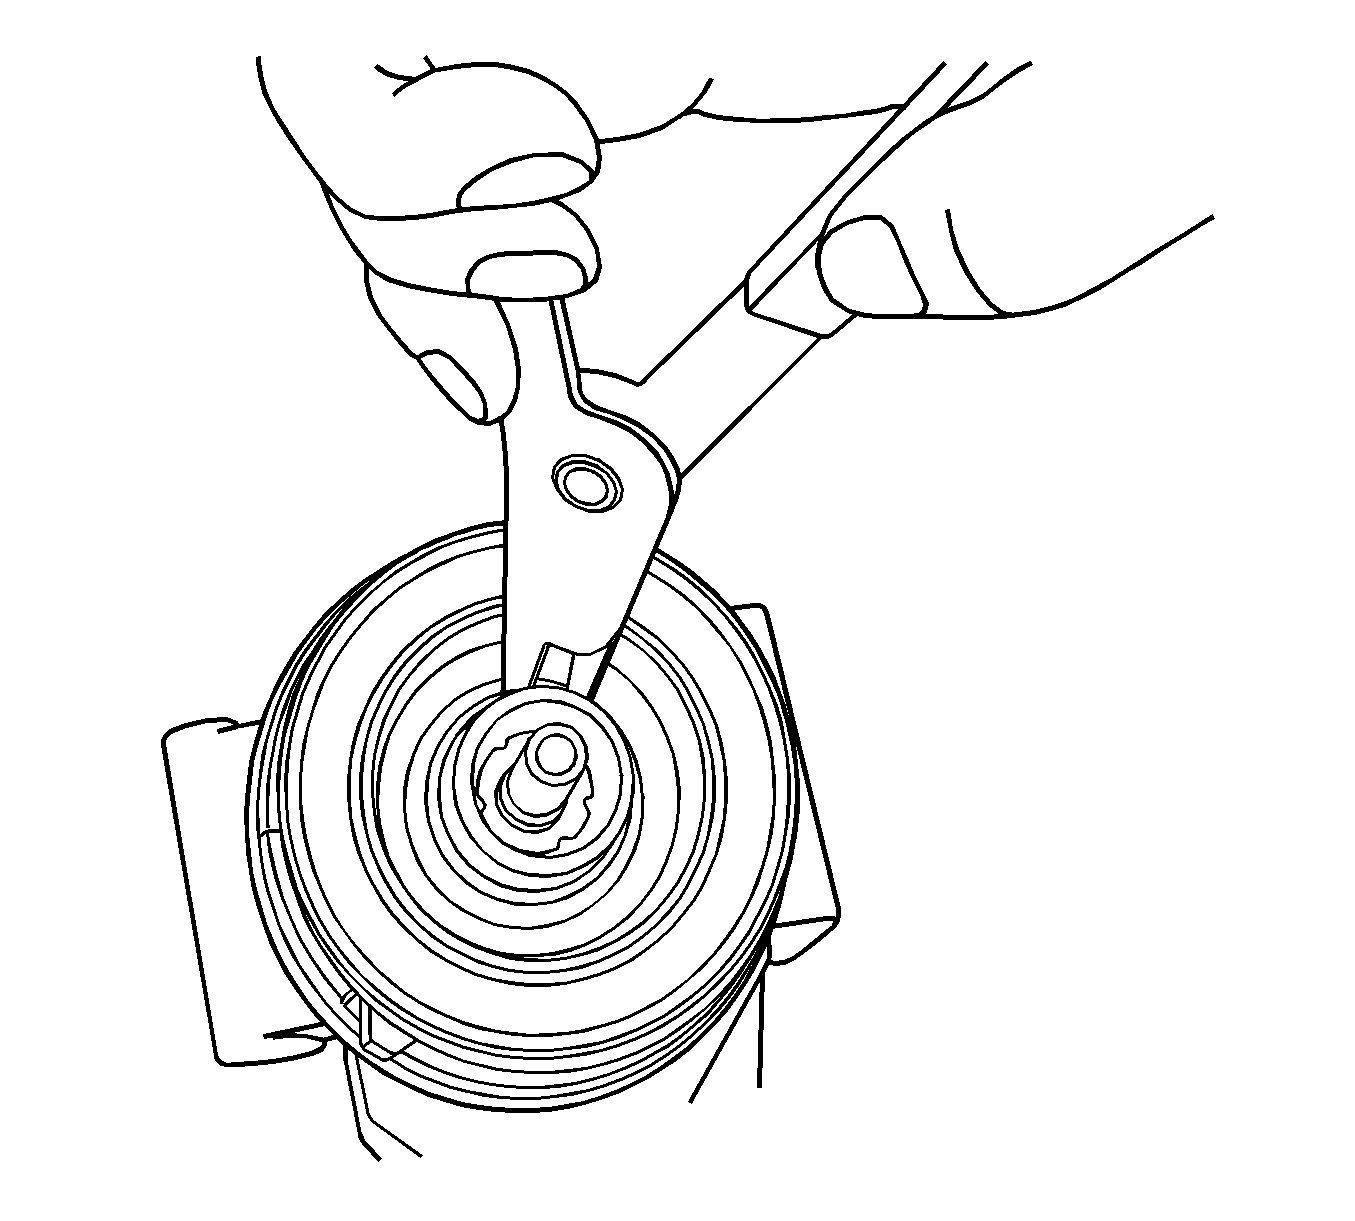
- Remove the snap ring from the clutch coil .
- Remove the clutch coil from the compressor .
Caution: Refer to Battery Disconnect Caution in the Preface section.
Installation Procedure
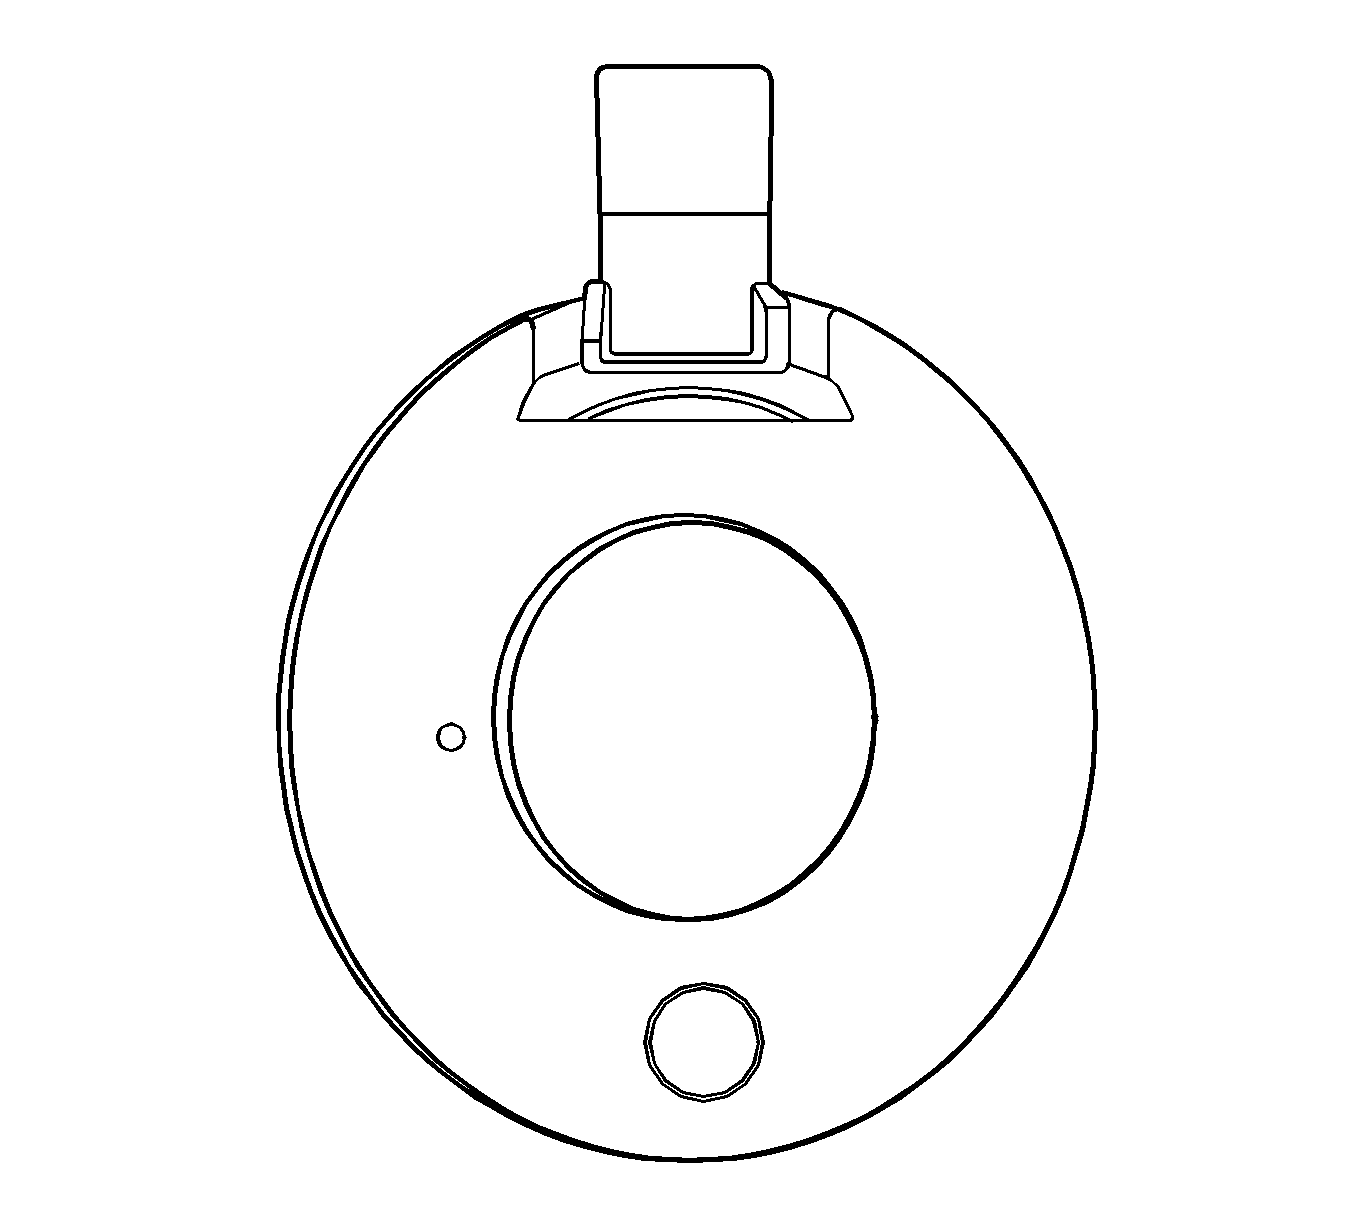
- Prior to assembly, make sure that the embossment on the coil plate is in the locating slot on the compressor to ensure the pump so that coil can not be rotated.
- 2. The locating hole on the coil plate should be placed on the locating pin on the compressor to ensure that coil can not be rotated. (VM Diesel only)
- Install the clutch coil to the compressor.
- Install the snap ring to the clutch coil.
- Install the pulley and bearing assembly. Refer to Clutch Rotor and/or Bearing Replacement .
- Install the clutch drive assembly. Refer to Compressor Clutch Assembly Replacement .
- Install the compressor. Refer to Air Conditioning Compressor Replacement .
- Connect the negative battery cable. Refer to Battery Negative Cable Disconnection and Connection .
- Recharge the A/C. Refer to Refrigerant Recovery and Recharging .
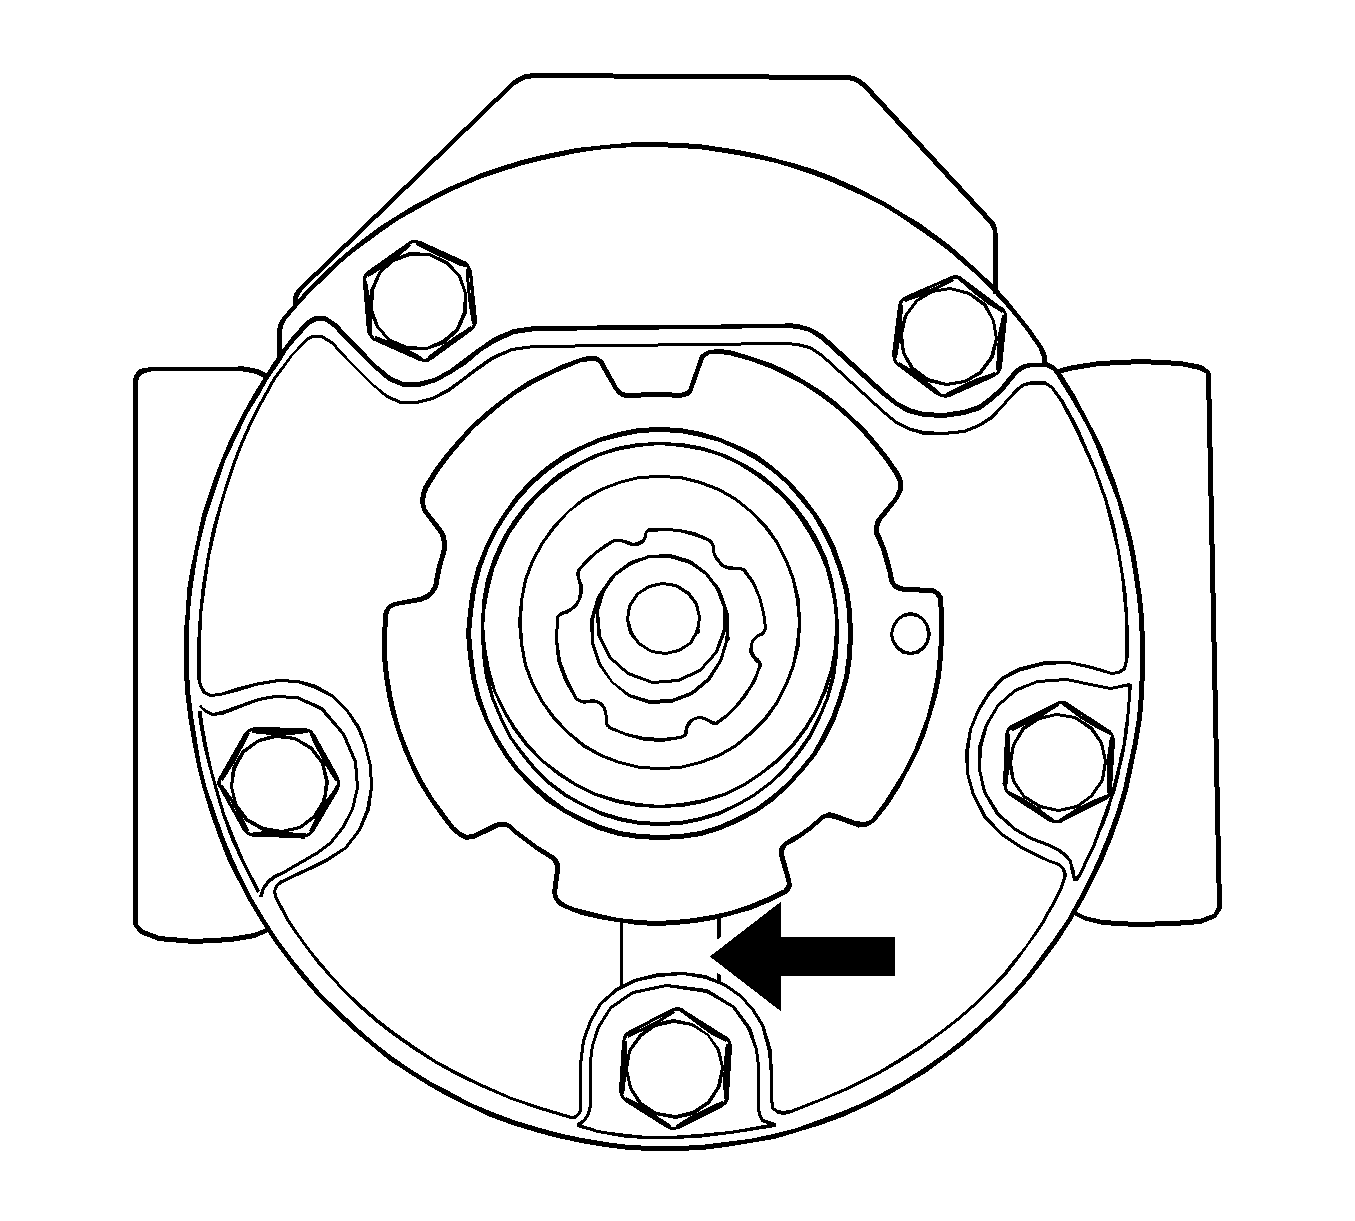
Important: The snap ring can not be seated if the coil is not placed correctly.
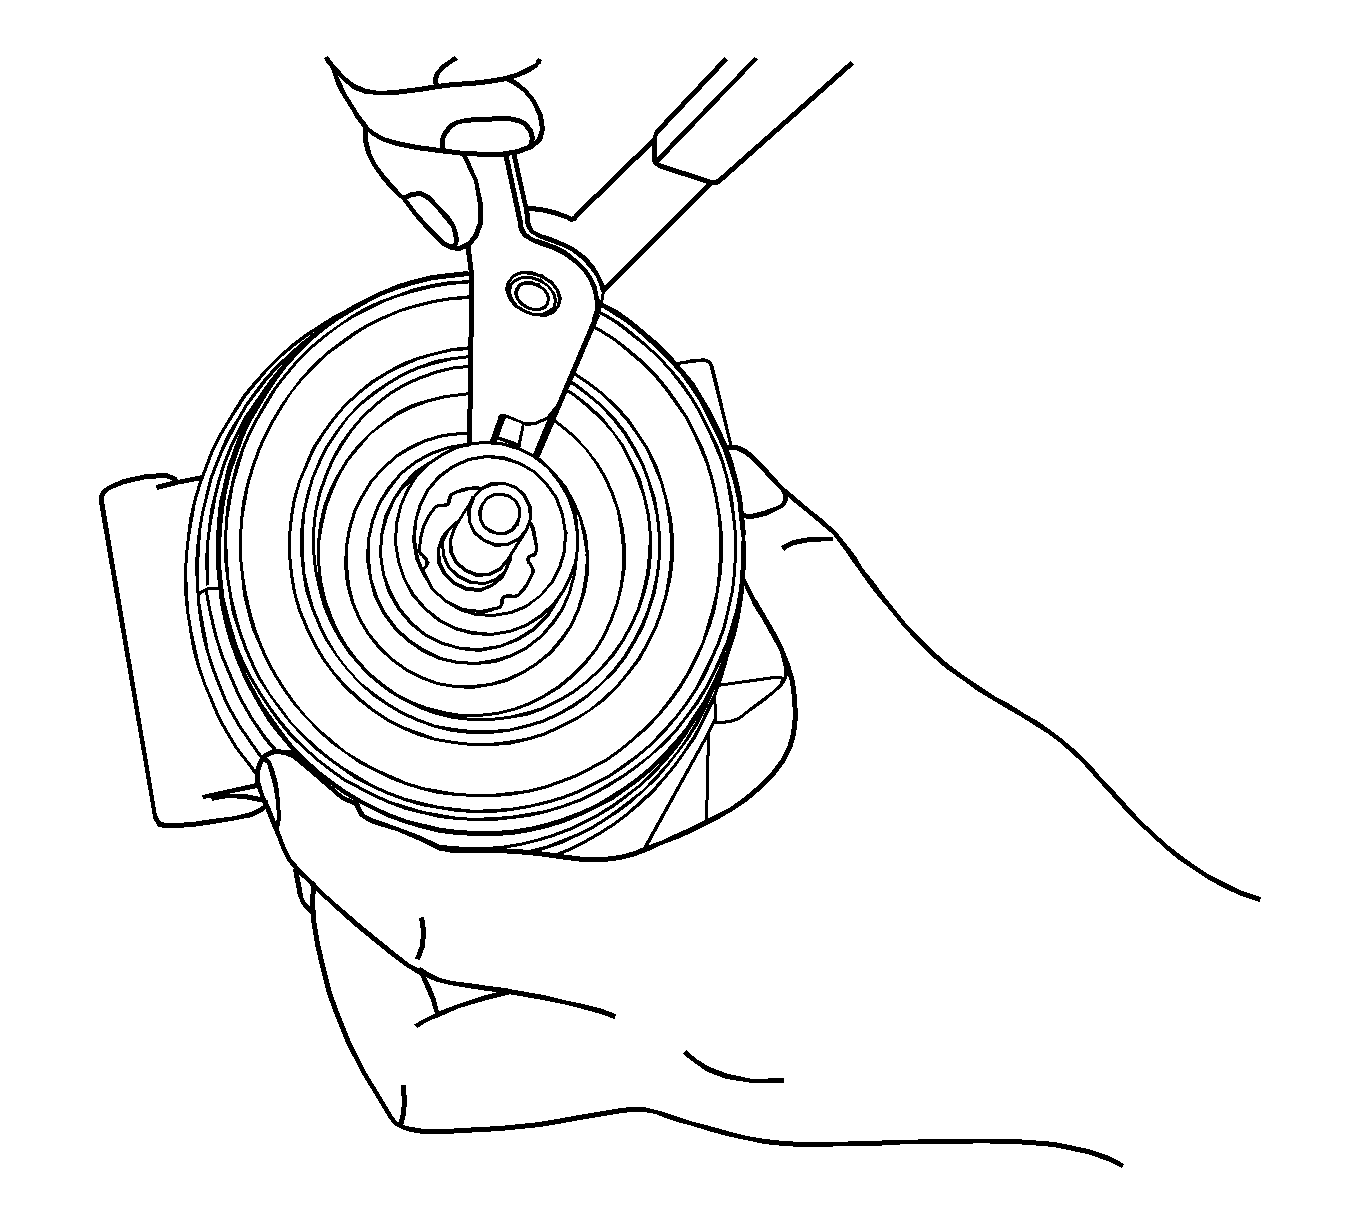
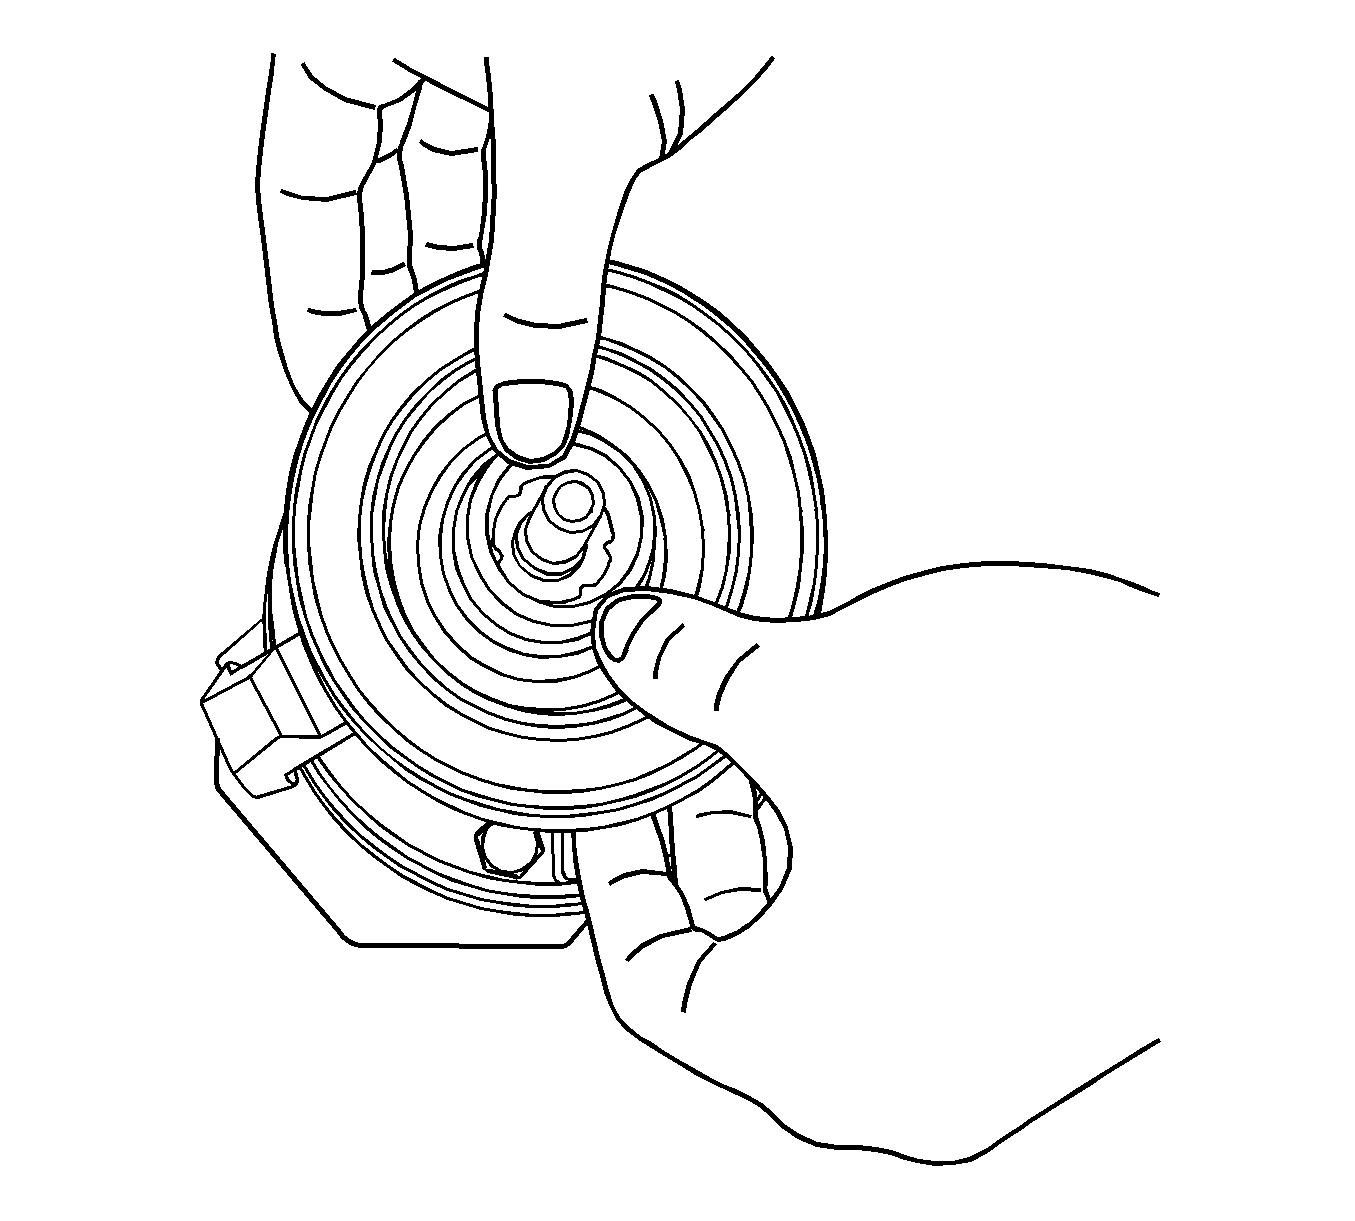
Important: Make sure that the chamfer edge side the snap ring is on the upper side. After assembling, squeezing is required to make sure that the snap ring was assembled properly.
