For 1990-2009 cars only
Removal Procedure
- Raise and support the vehicle. Refer to Lifting and Jacking the Vehicle in General Information.
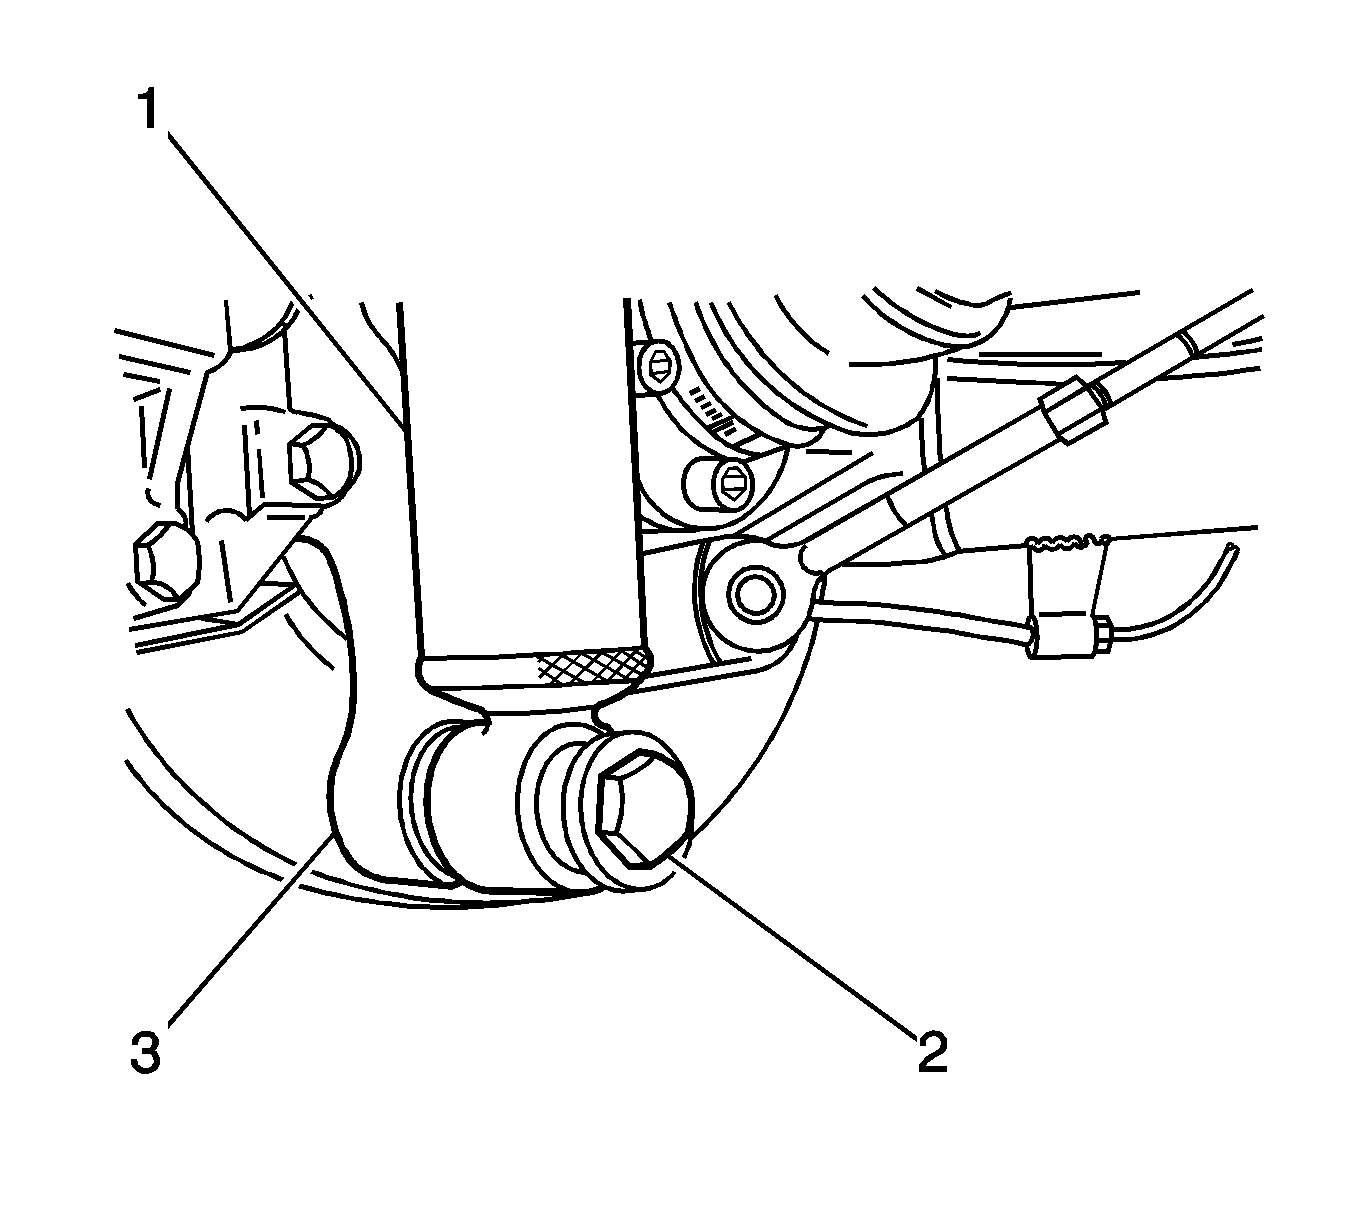
- Remove the bolt (2) and the washer from the shock absorber (1).
- Separate the shock absorber from the control arm (3).
- Lower the vehicle to the appropriate height for accessing the rear compartment.
- In the rear compartment, remove the rear center trim panel carpet. Refer to Rear Compartment Front Trim Panel Replacement in Interior Trim.
- If necessary in order to remove the right rear shock absorber, remove the filler tube. Refer to Filler Tube Replacement in Engine Controls - 6.0L.
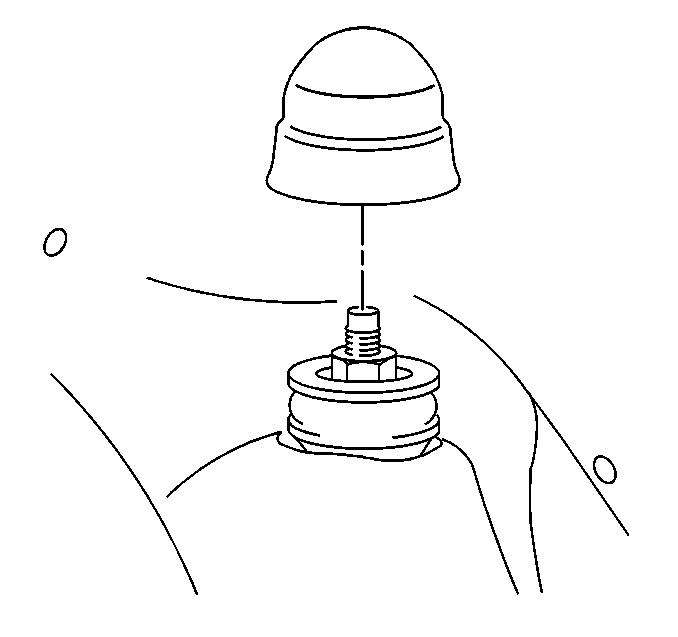
- Remove the cap from the shock absorber.
- Remove the upper mounting nut.
- Remove the upper mounting upper washer.
- Remove the upper mounting upper bushing.
- Remove the shock absorber from the vehicle.
- If necessary, remove the upper mounting lower bushing.
- If necessary, remove the upper mounting lower washer.


Installation Procedure
- If you removed the upper mounting lower washer, install the washer to the shock absorber.
- If you removed the upper mounting lower bushing, install the bushing to the shock absorber.
- Install the shock absorber to the vehicle.
- Install the upper mounting upper bushing.
- Install the upper mounting upper washer.
- Install the upper mounting nut.
- Install the cap to the shock absorber.
- Install the washer and the bolt (2) in order to retain the shock absorber (1) to the control arm (3).
- Lower the vehicle.
- If you removed the filler tube, install the filler tube. Refer to Filler Tube Replacement in Engine Controls - 6.0L.
- Install the rear center trim panel carpet. Refer to Rear Compartment Front Trim Panel Replacement in Interior Trim.
- With the weight of the vehicle on the tire and wheel assemblies, bounce the rear of the vehicle several times in order to stabilize the rear suspension.
- Tighten the bolt that retains the shock absorber to the control arm.
Notice: Refer to Fastener Notice in the Preface section.
Important: Do not use power tools on the nut.
Tighten
Tighten the nut to 14 N·m (10 lb ft).


Important: Do not tighten the bolt yet. The weight of the vehicle must be on the tire and wheel assemblies before tightening the bolt.
Tighten
Tighten the bolt to 115 N·m (85 lb ft).
