Engine Coolant Thermostat Housing Replacement L61
Removal Procedure
Important: During extremely cold weather, -12°C (10°F) or colder, your engine's
coolant temperature will decrease quickly when idling with the heater fan on high
speed and cool air may flow from the heater outlets. The fan control switch can be
set at a slower speed position, fan speed I or II, to maintain
the hottest air flow.
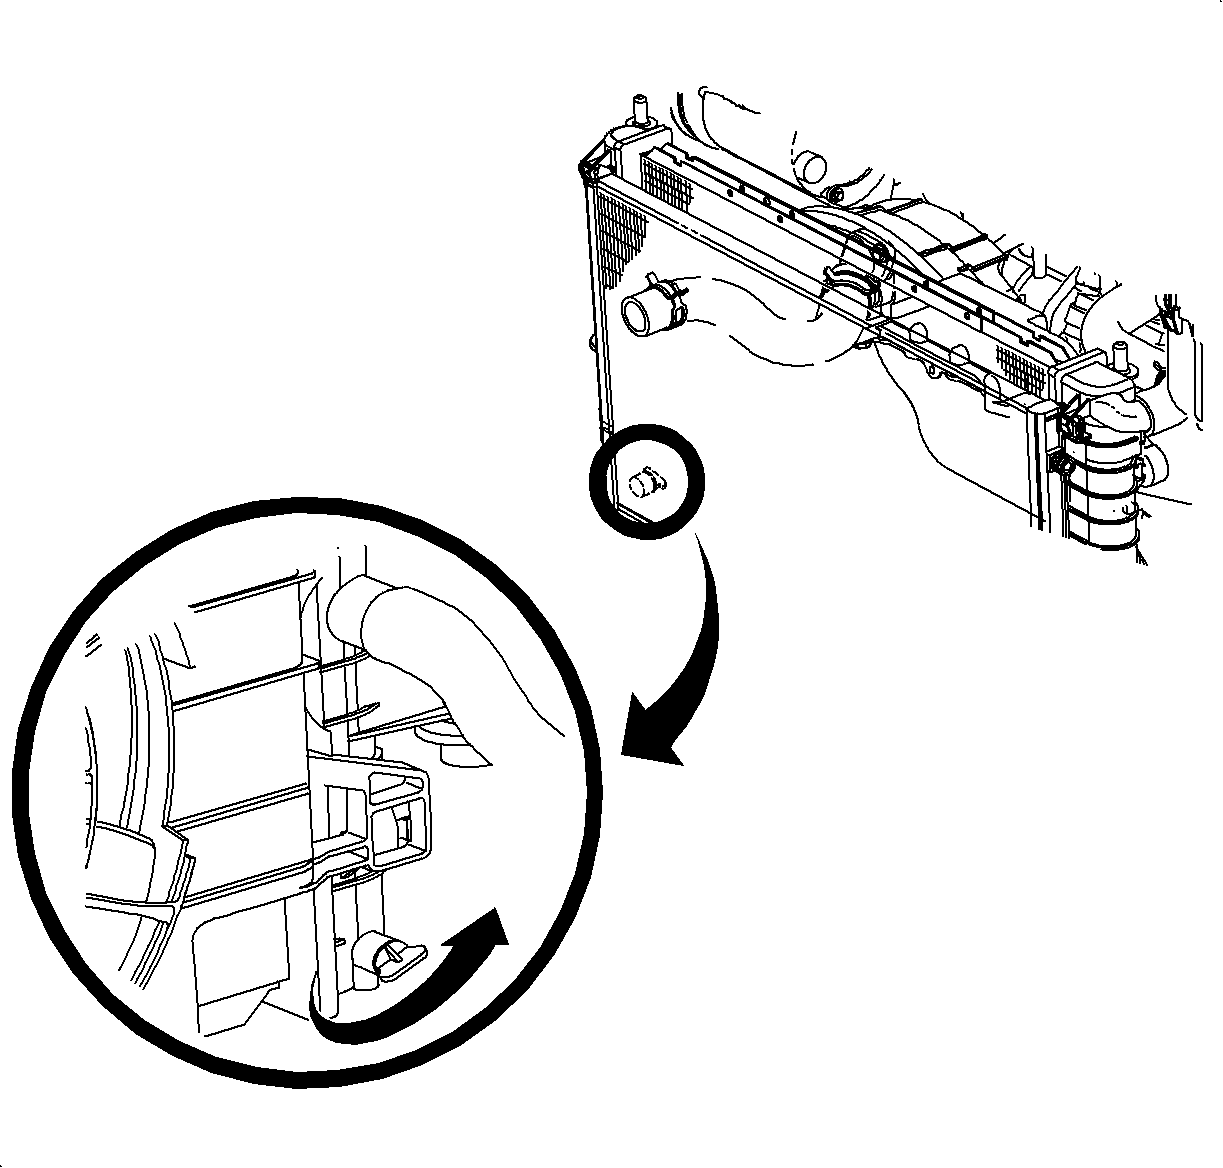
- Drain coolant. Refer to Draining
Coolant
.
- Disconnect the radiator hose at the thermostat housing. Use Snap-on® Tool HCP 10
or 20 or equivalent to remove the hose clamp.
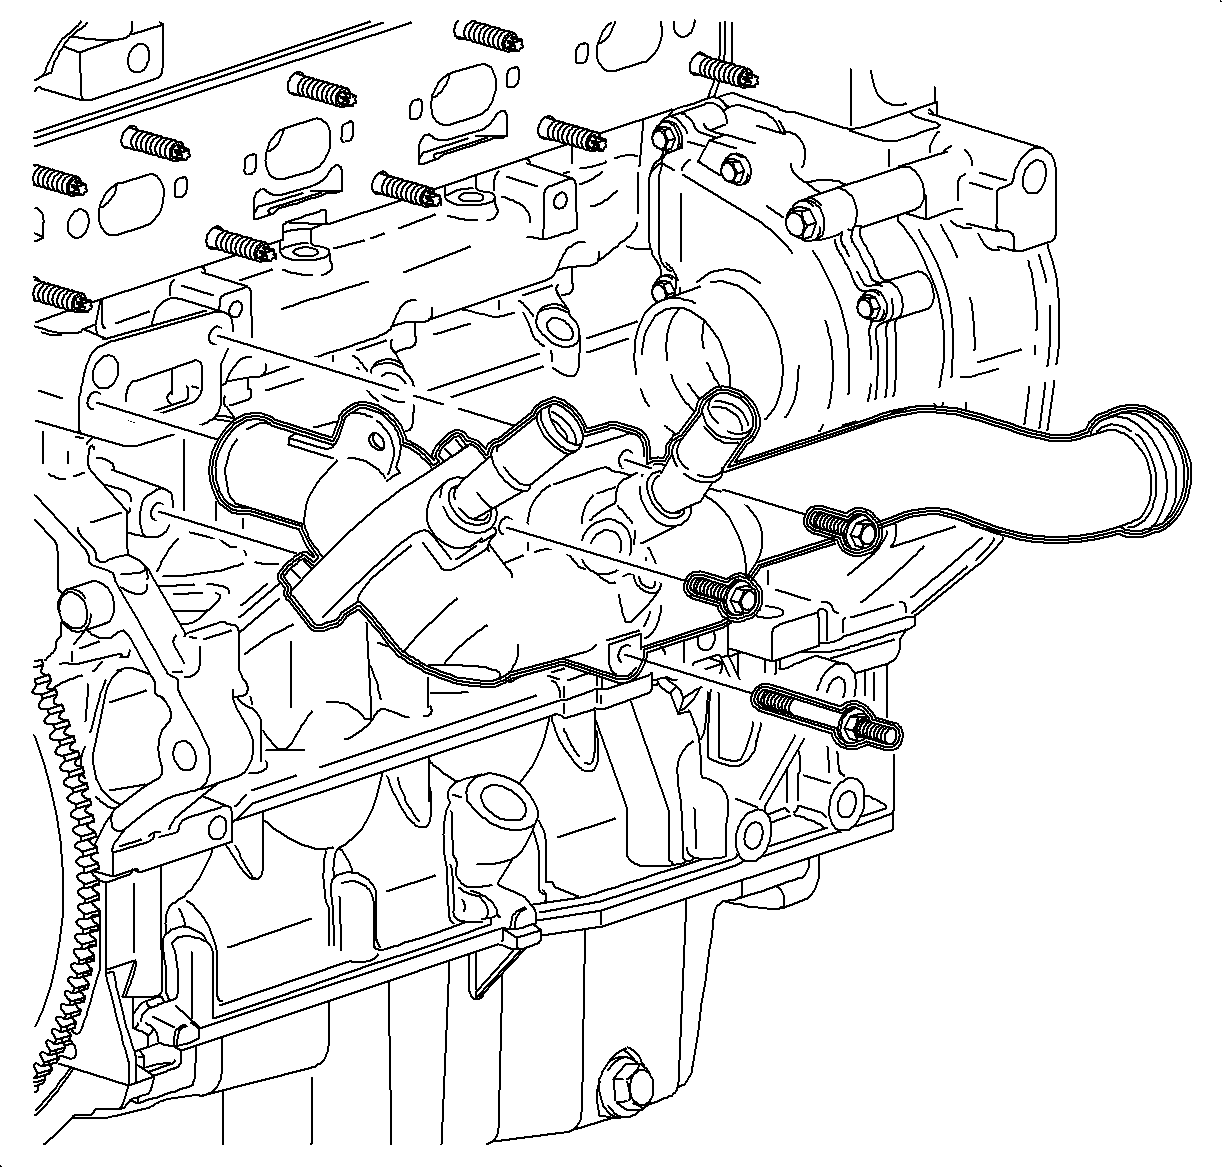
- Remove the thermostat housing bolts.
- Remove the thermostat housing and thermostat element.
- Discard the O-ring.
Notice: The thermostat will not function correctly once it is contacted by oil. If oil
is found in the cooling system, it must be flushed and the thermostat's cartridge
replaced.
- Inspect the thermostat components for damage,
seat deterioration, etc.
Inspection
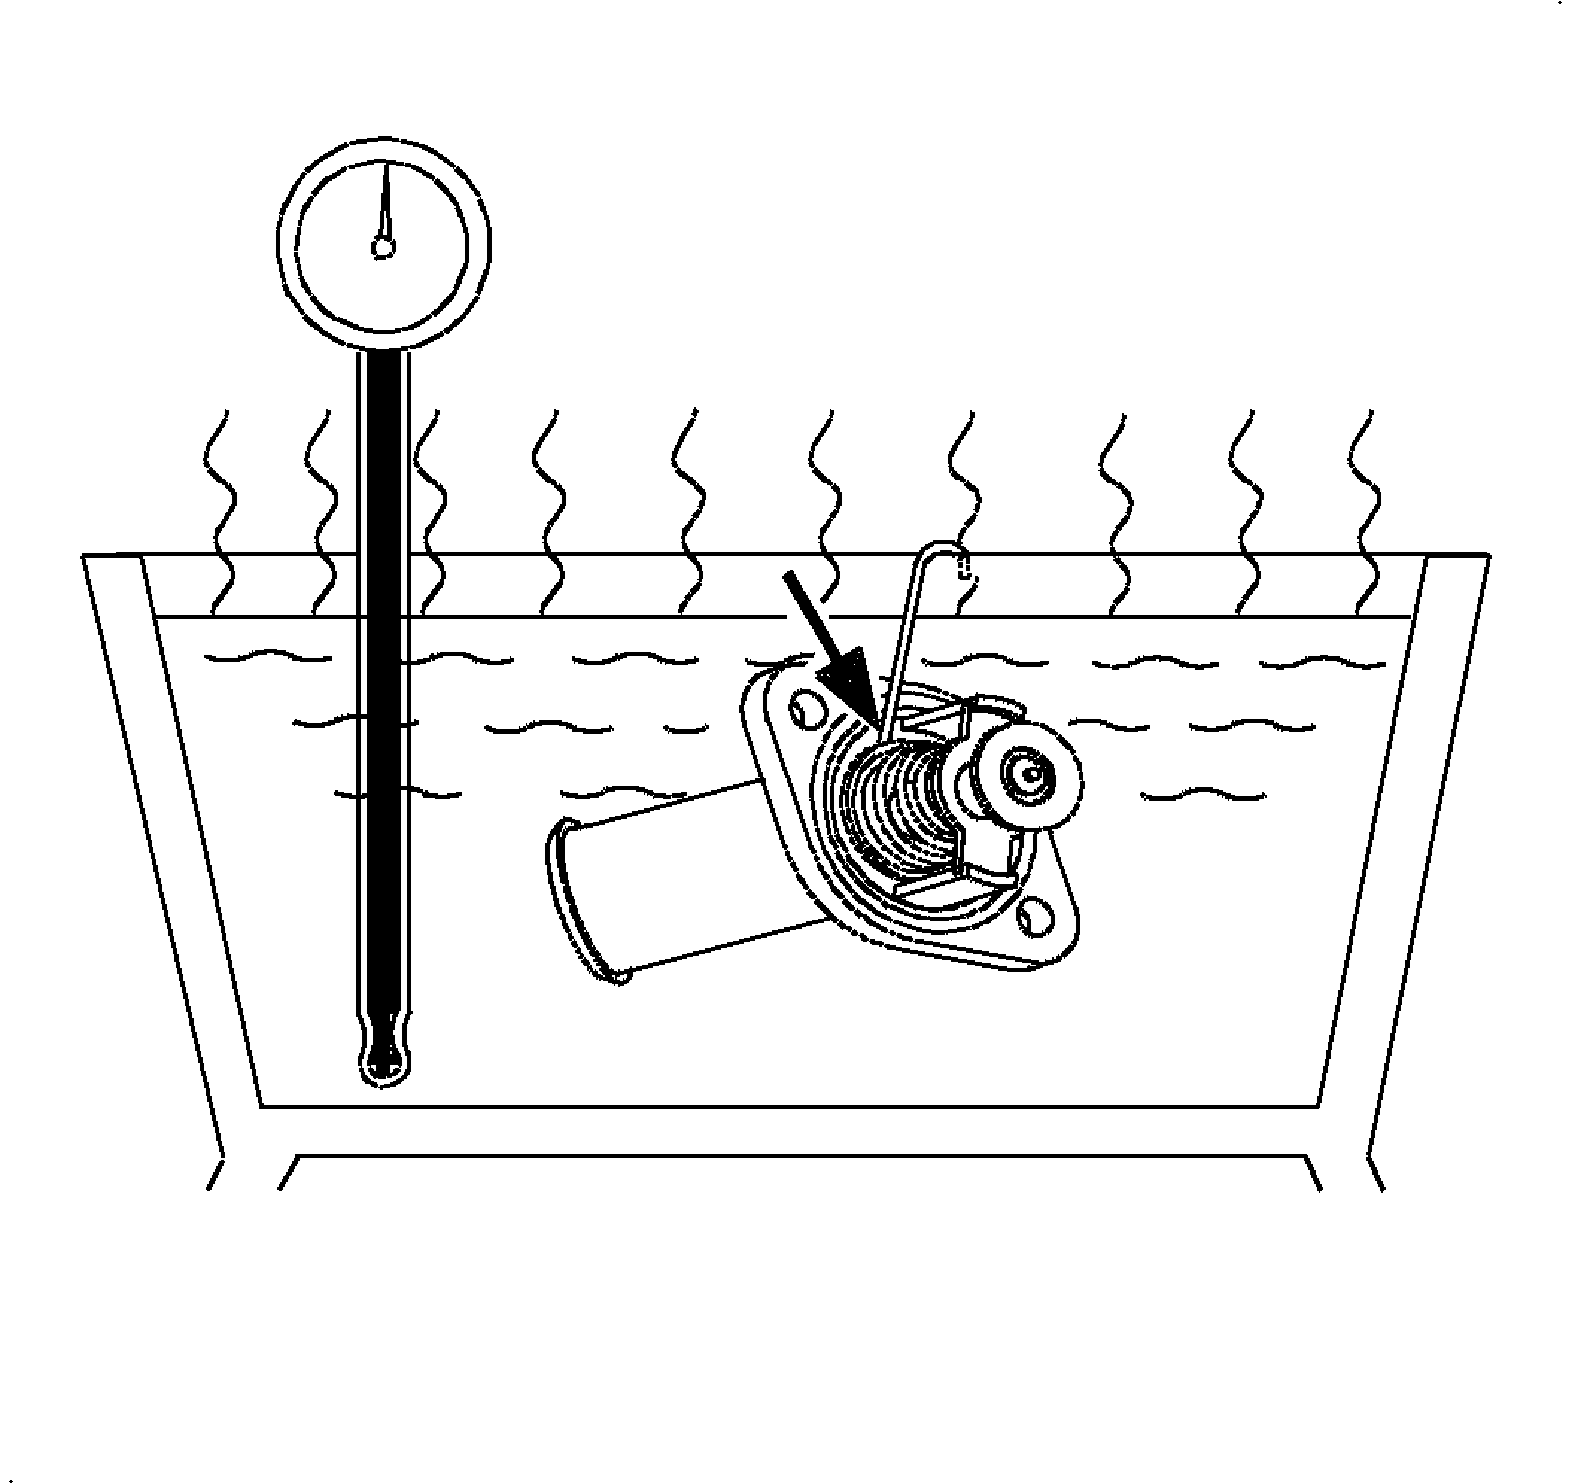
Notice: Use extreme care and do not damage or scratch the machined aluminum surfaces.
Leaks will result.
- In order to check
if the thermostat valve is opening properly, perform the following test:
| 1.1. | Completely submerge the thermostat in the glycol solution. The solution
should be 11°C (22°F) above the temperature indicated on the thermostat valve. |
| 1.2. | Thoroughly agitate the solution. Under these conditions, the thermostat
valve should open. |
- In order to check if the thermostat valve is closing properly, perform
the following test:
| 2.1. | Completely submerge the thermostat in the glycol solution. The solution
should be 6°C (10°F) below the temperature indicated on the thermostat valve. |
| 2.2. | Thoroughly agitate the solution. Under these conditions, the thermostat
valve should close completely. |
Installation Procedure
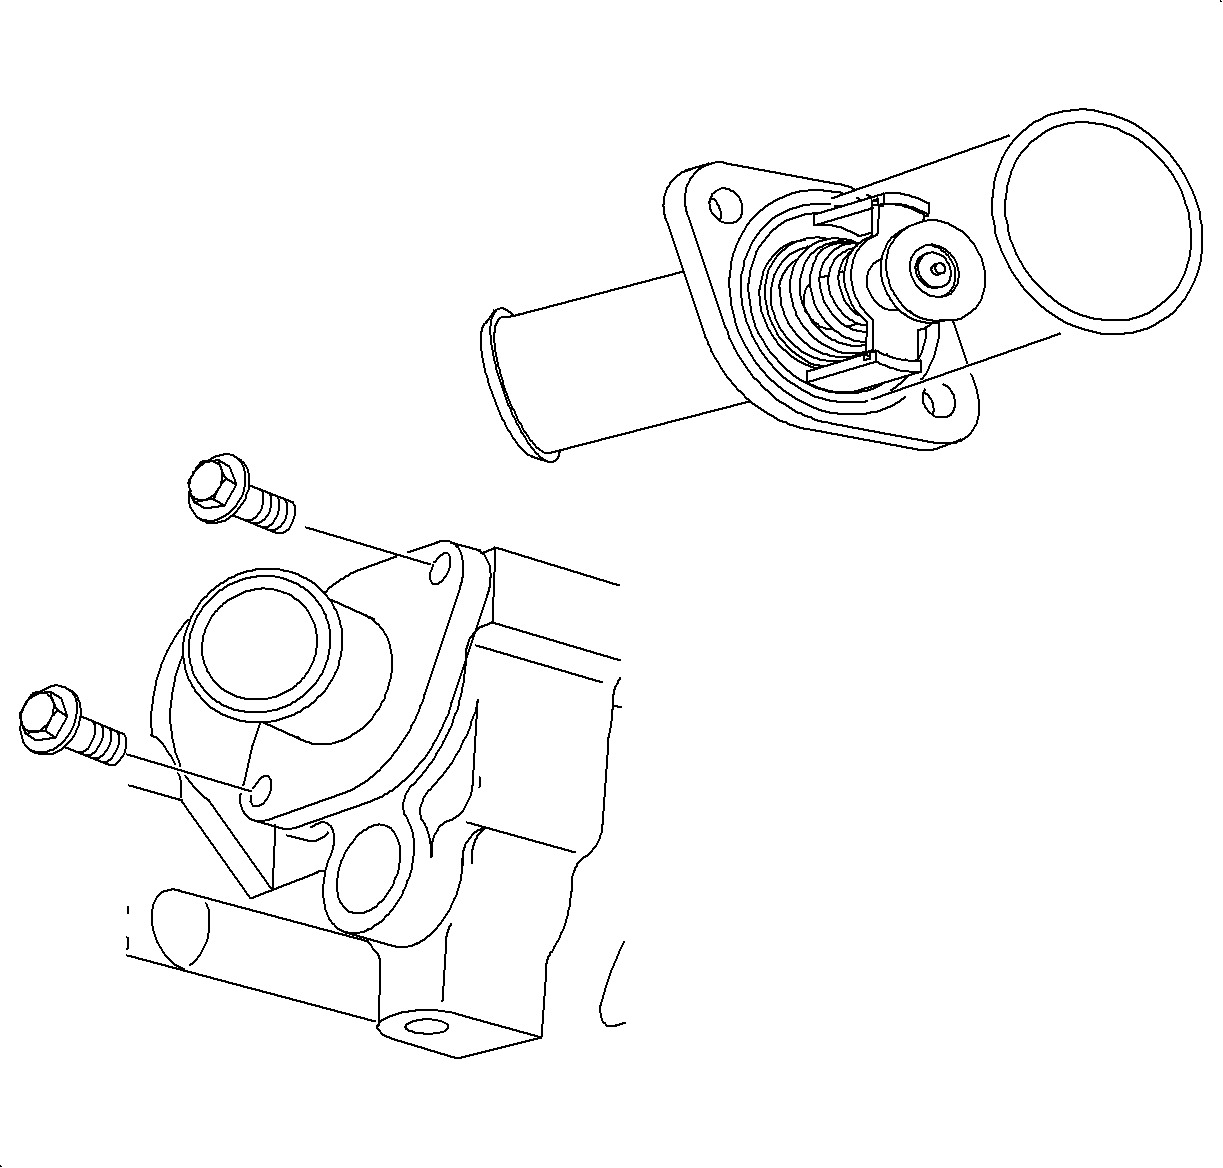
- Install a new O-ring on the inlet housing.
| 1.1. | Install the thermostat and inlet housing into the thermostat inlet housing. |
| 1.2. | Install the retaining bolts. |
Tighten
Tighten the thermostat housing to block bolts to 10 N·m (89 lb in).
| 1.3. | Close the radiator drain plug. |
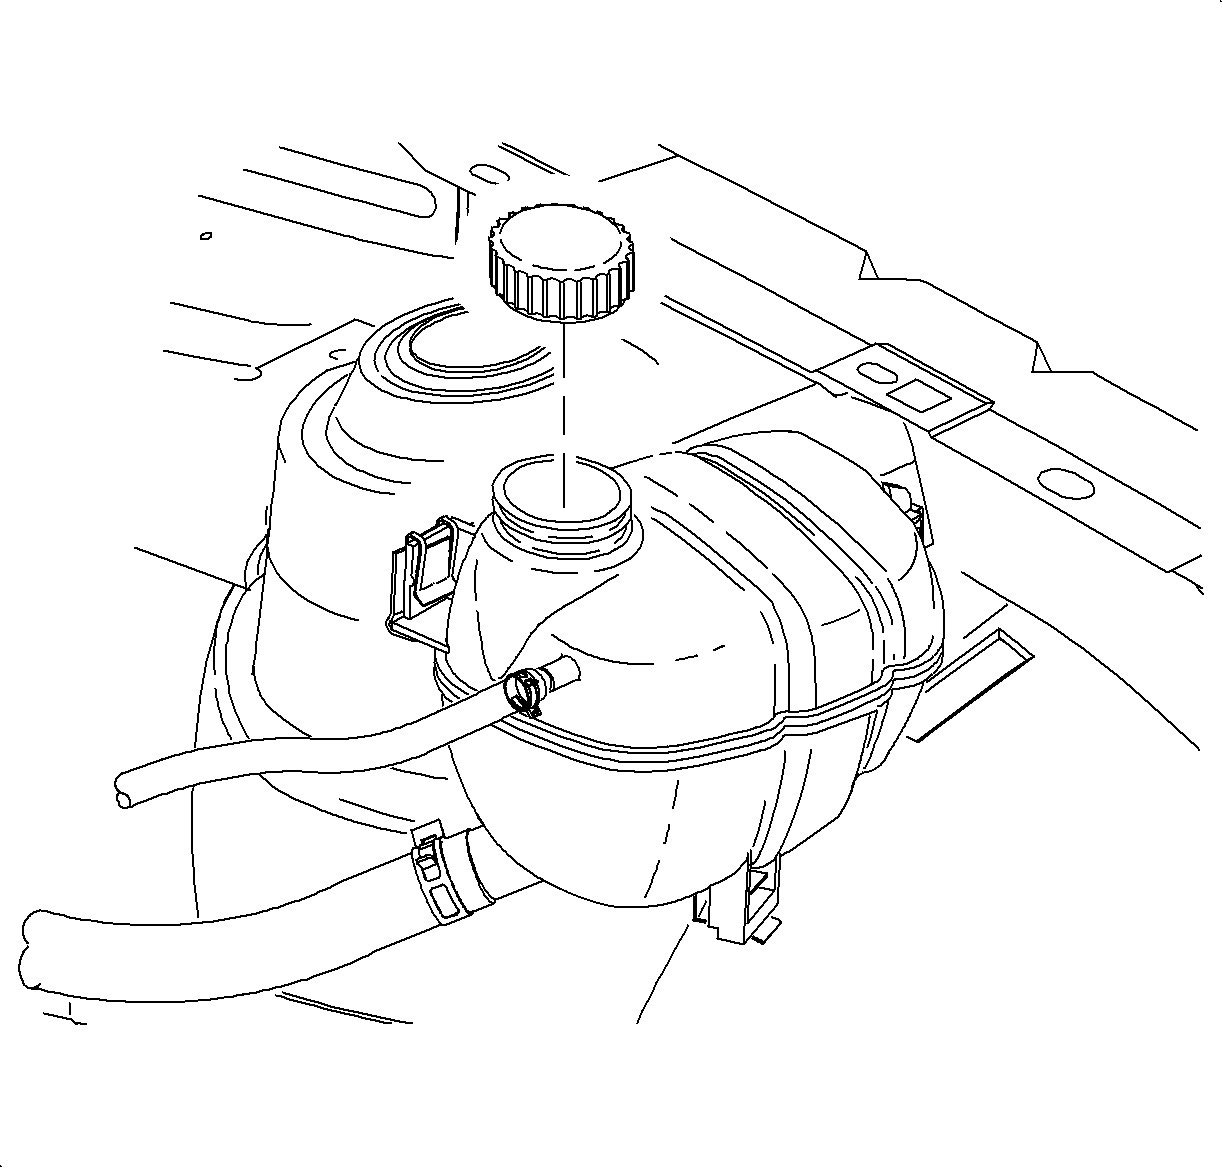
Important: The vehicle must be level when filling with coolant.
- Fill the cooling system to the FULL COLD line with coolant. Use a 50/50 mixture
of DEX-COOL® antifreeze and clean water.
- Run the engine until the upper radiator hose is hot, then add additional
coolant, if needed, to bring the level to the FULL COLD line.
- Install the pressure cap and check for leaks.
Engine Coolant Thermostat Housing Replacement L81
Removal Procedure
Important: During extremely cold weather, -12°C
(10°F) or colder, your engine's coolant temperature will decrease quickly when
idling with the heater fan on high speed and cool air may flow from the heater outlets.
The fan control switch can be set at a slower speed position, fan speed I or II,
to maintain the hottest air flow.
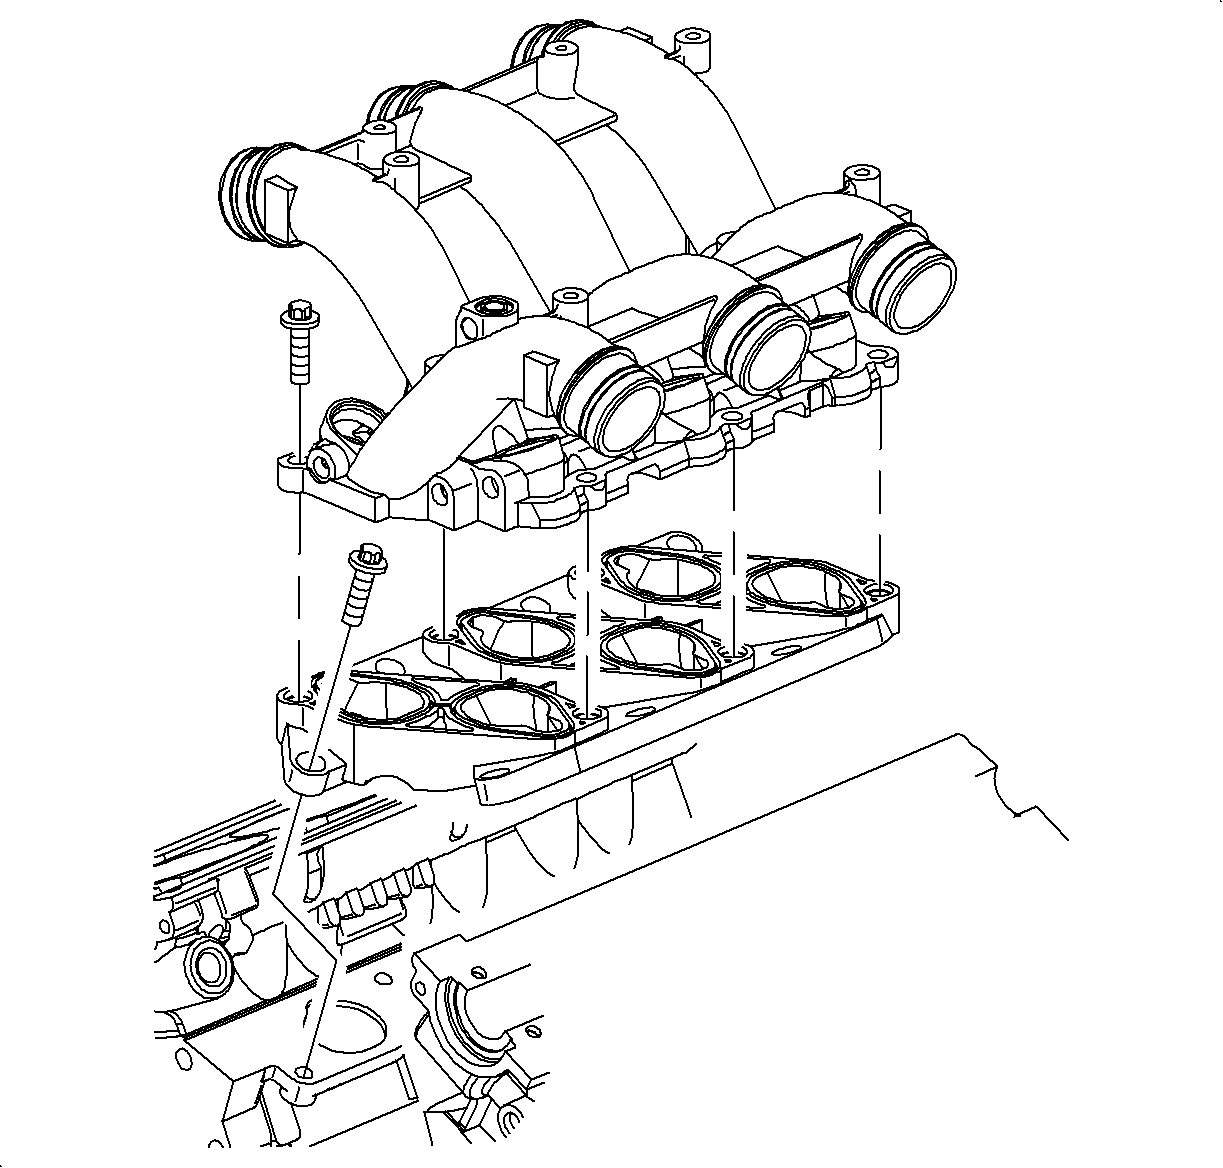
- Drain the coolant. Refer to
Engine Coolant Check and Replacement
.
- Remove the intake plenum. Refer to
Intake Plenum Replacement
.
- Remove the intake manifold. Refer to
Intake Manifold Replacement
.
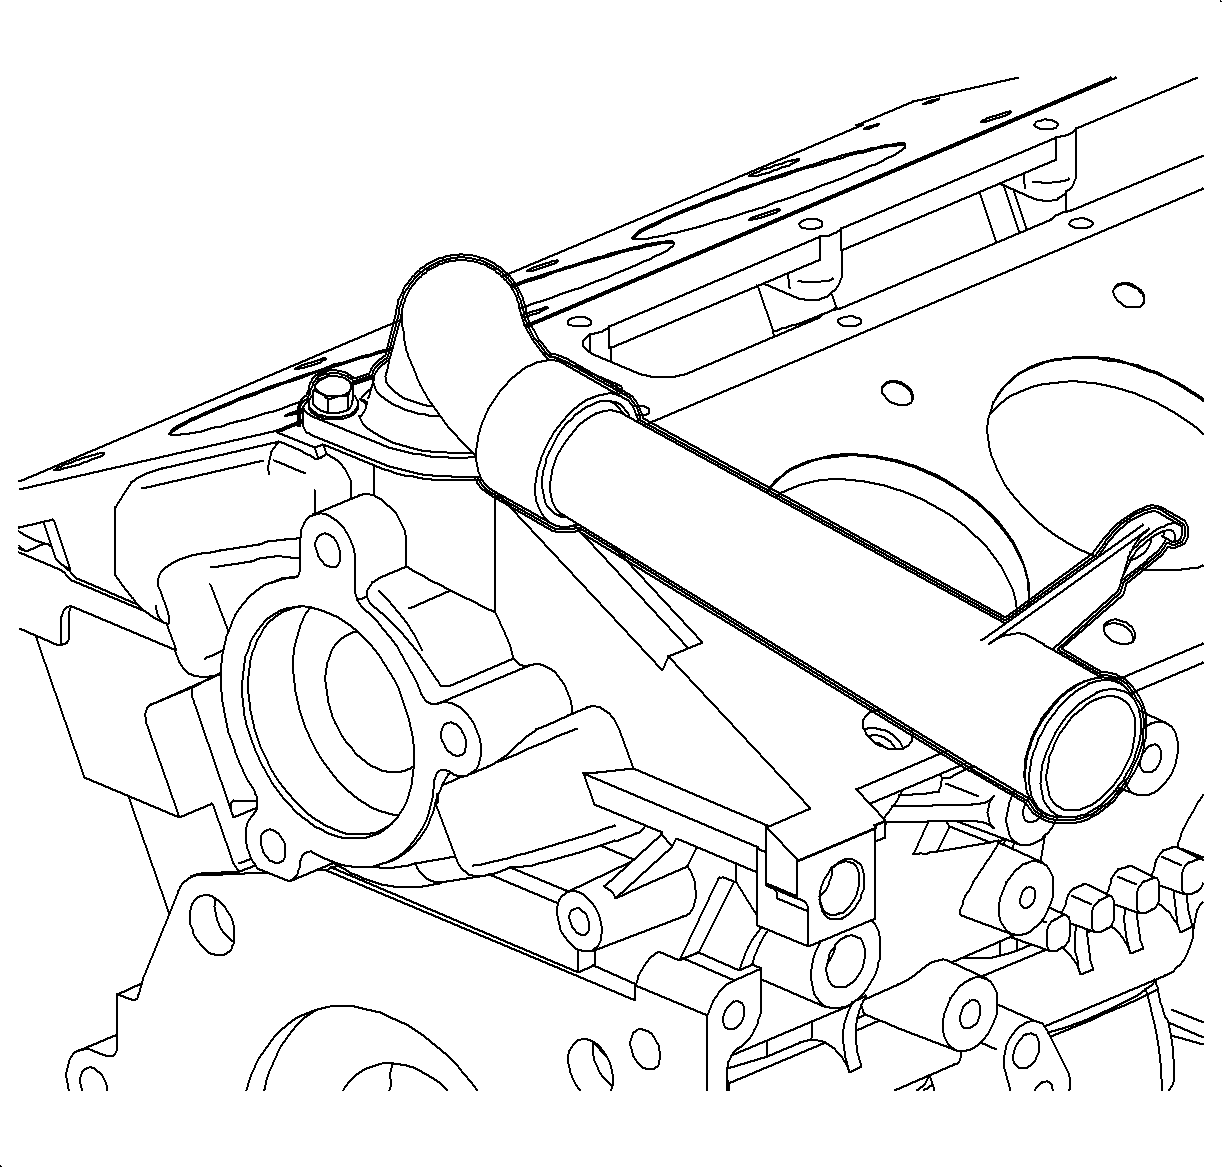
- Remove the radiator hose from the inlet housing.
Important: It may be necessary to lift the engine with
a floor jack to allow the extension housing to be removed over the radiator.
- Remove the thermostat extension housing bolt and the extension housing.
- Remove and discard the O-ring seals.
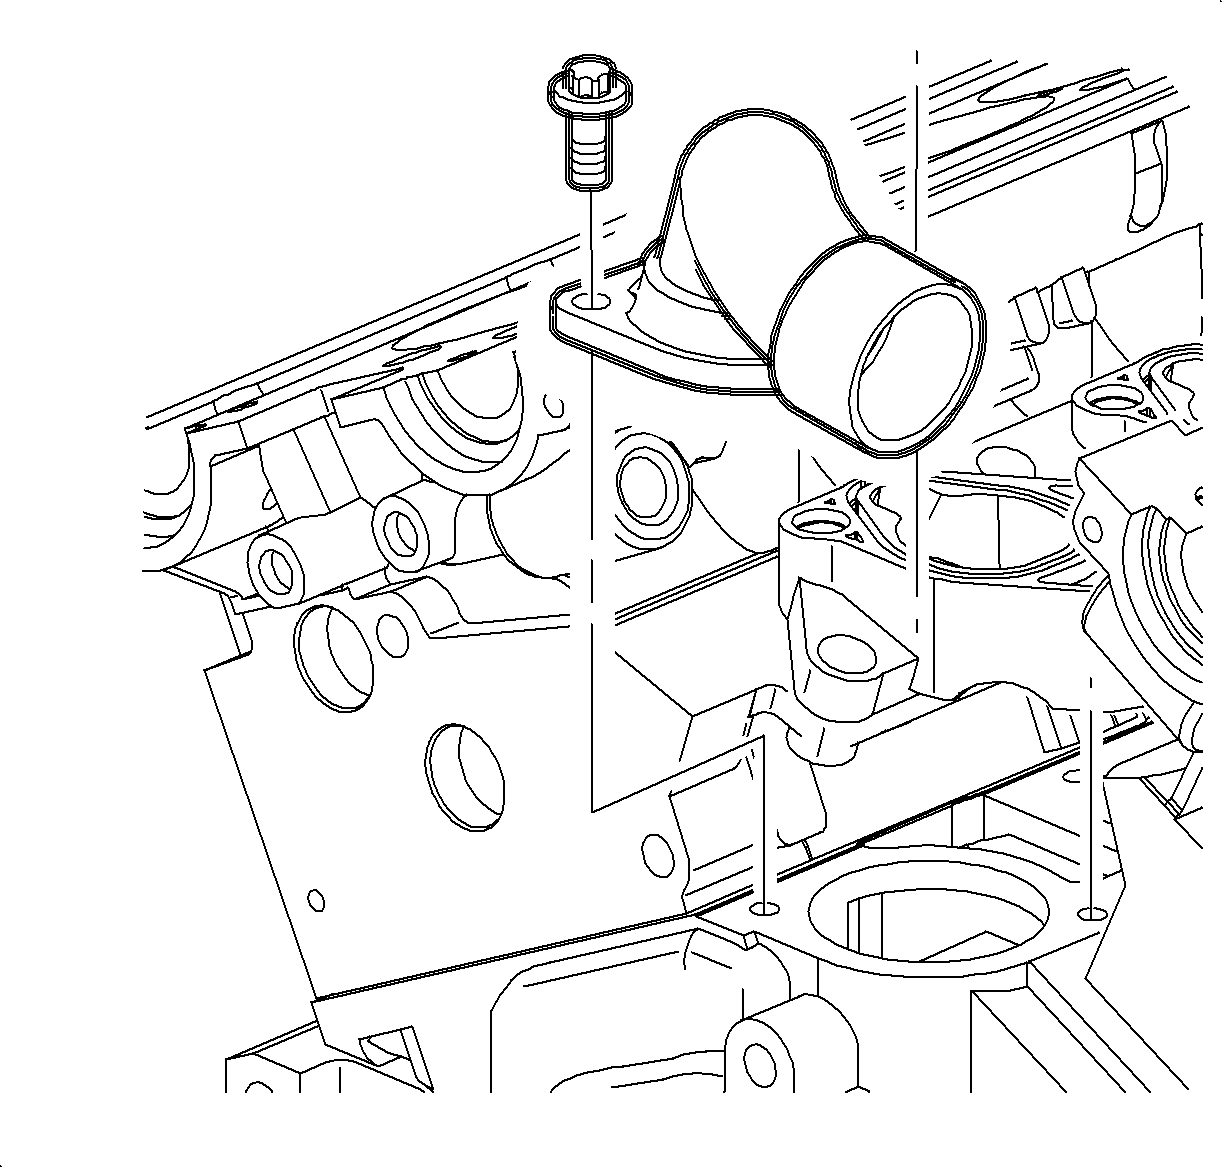
- Remove the thermostat with the housing:
| 7.2. | Tilt the rear of the thermostat housing upward. |
| 7.3. | Lift out the housing. |
| 7.4. | Remove and discard the O-ring seal. |
- Use the thermostat extension housing to compress and remove the thermostat
from the thermostat housing.
Inspection Procedure
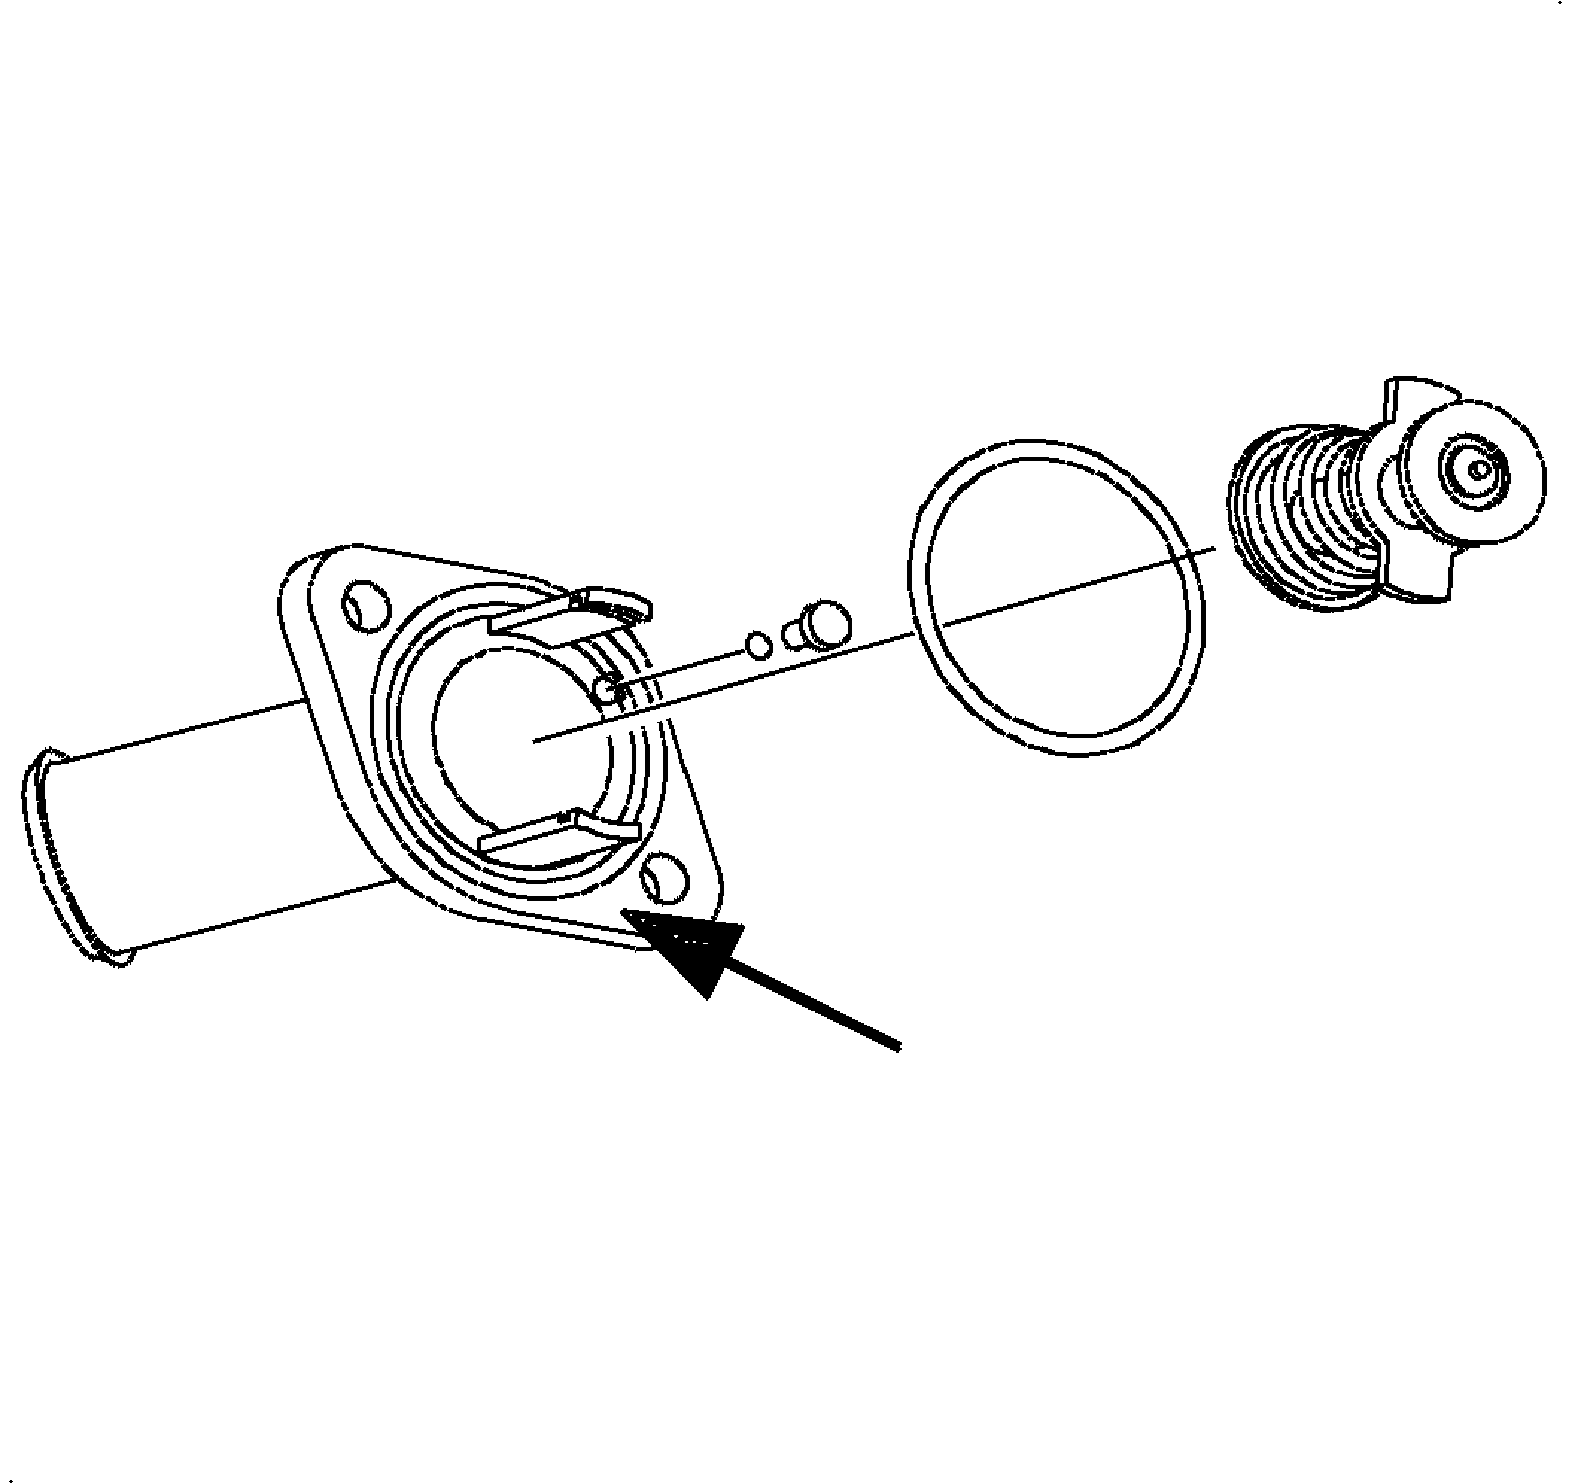
Notice: Use extreme care and do not damage or scratch the machined aluminum surfaces.
Leaks will result.
- Check the valve opening temperature.
| 1.1. | Suspend the thermostat in a pan of water. |
| 1.2. | Gradually heat the water until the thermostat begins to open. |
| 1.3. | Check the water temperature immediately after the thermostat opens. |
| 1.4. | Replace the thermostat if it does not open within specifications. |
Specification
| • | A new thermostat starts to open at 84-88°C (182-190°F). |
| • | A used thermostat starts to open at 83-89°C (180-192°F) |
- Inspect the thermostat sealing surfaces for leaks.
Installation Procedure

- Install the thermostat with the housing:
| 1.1. | Install a new O-ring seal. |
| 1.2. | Position the thermostat with the housing. |
| 1.3. | Apply the thread sealant PST 565® to the bolt threads. |
| 1.4. | Install the housing bolts. |
Tighten
Tighten the thermostat housing bolts to 20 N·m
(15 lb ft).
- Lubricate the extension housing O-rings with coolant.
- Install the O-rings on the extension housing.
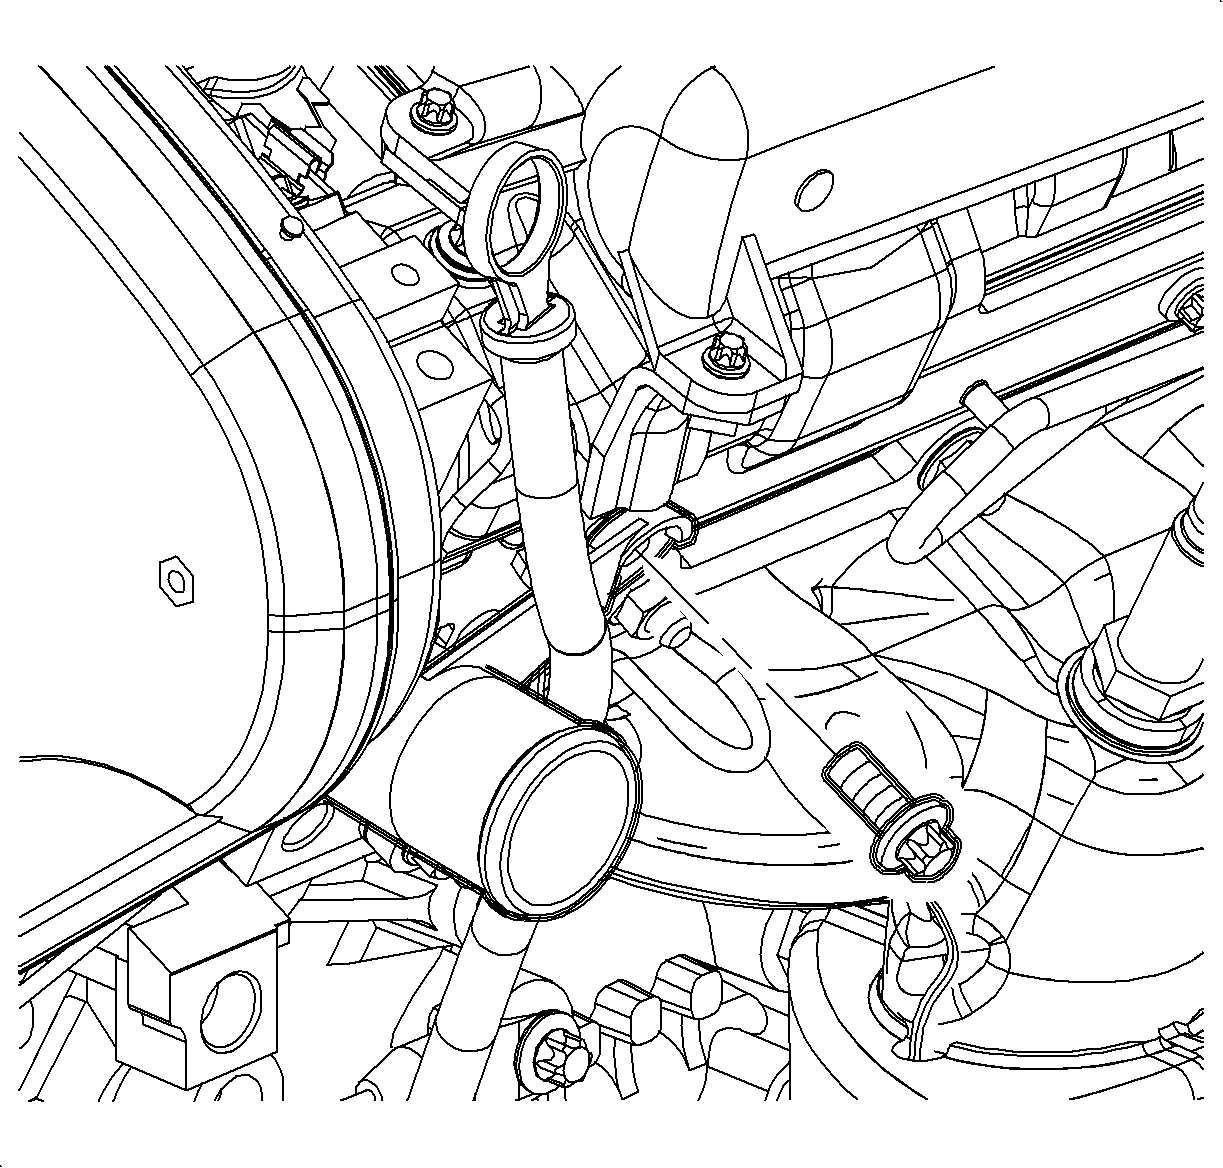
Important: It may be necessary to lift the engine with
a floor jack to allow the extension housing to be installed over the radiator.
- Install the extension housing on the thermostat housing.
- Install the extension housing bolt.
Tighten
Tighten the thermostat housing bolts to 20 N·m
(15 lb ft).
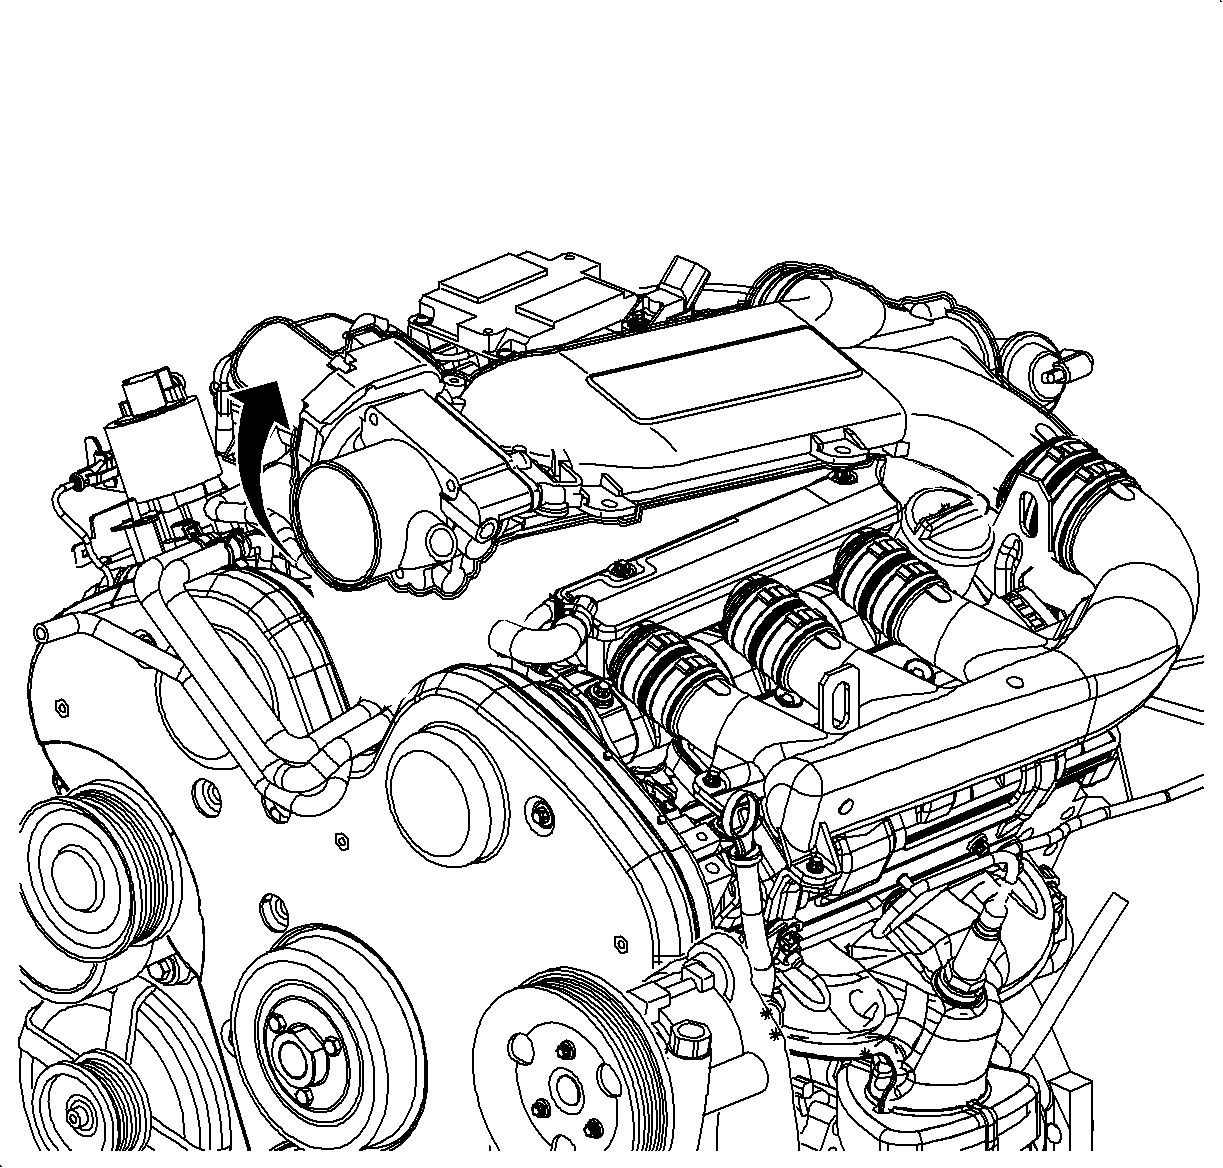
- Install the radiator hose to the thermostat extension pipe.
- Install the intake manifold. Refer to
Intake Manifold Replacement
.
- Install the intake plenum. Refer to
Intake Plenum Replacement
.
- Fill the cooling system. Refer to
Engine Coolant Check and Replacement
.


