Transmission Fluid Check Level Check
- Start the engine and operate the vehicle until the transaxle fluid temperature reaches at least 40°C (104°F).
- Depress the brake pedal and move the shift lever through all the gear ranges, pausing a few seconds in each range. Return the shift lever to the PARK range.
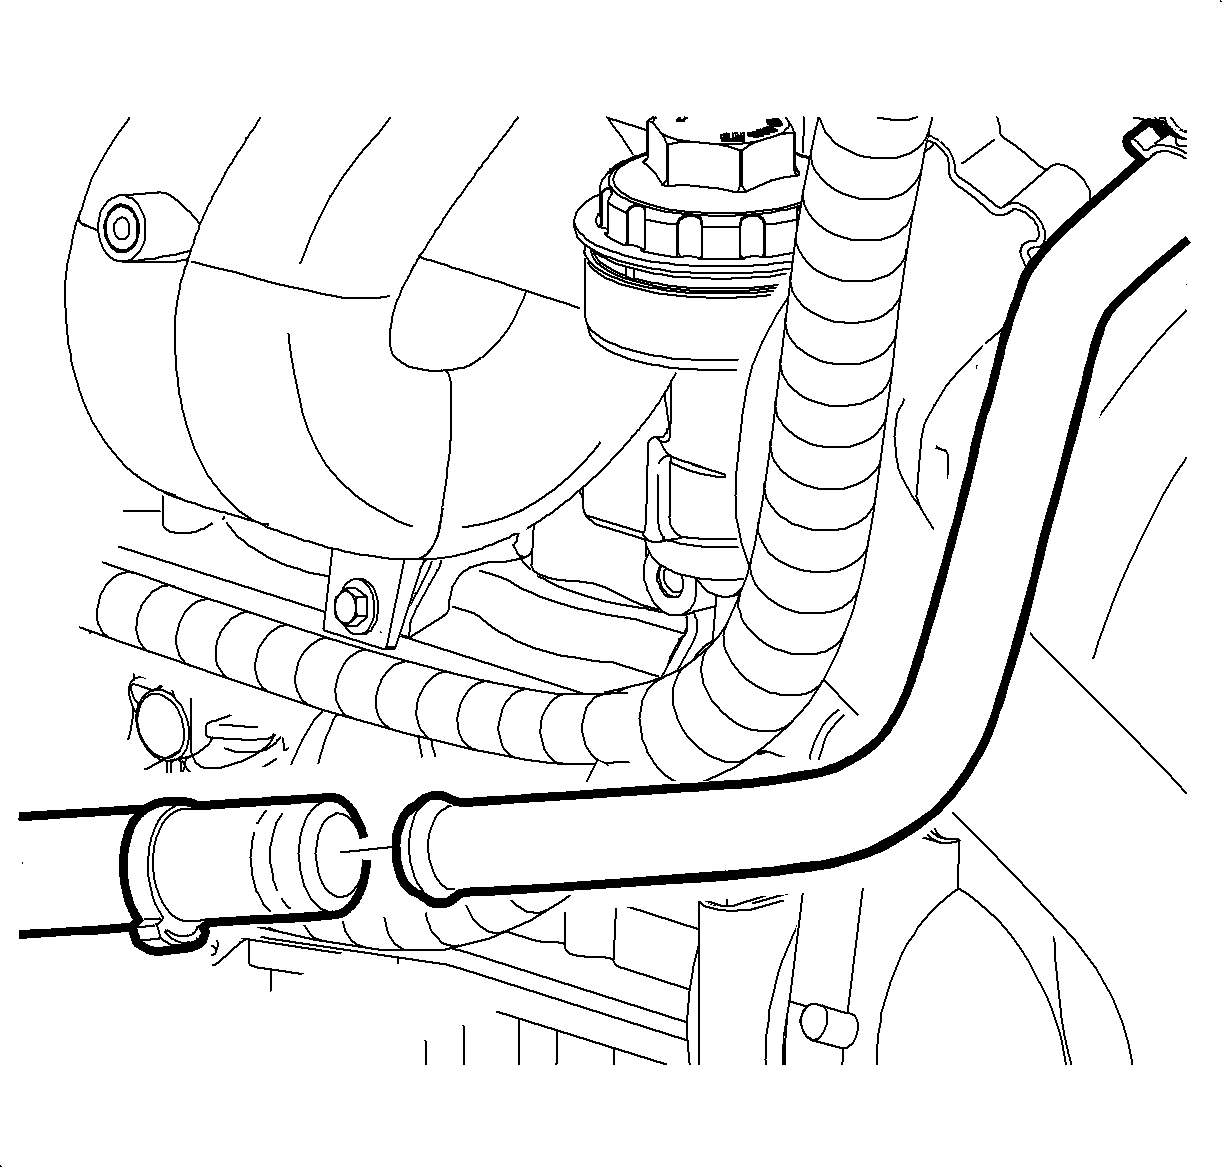
- Remove the clamp from the AIR hose behind the cooling fan.
- Separate the AIR tube from the hose and push the tube back towards the transaxle.
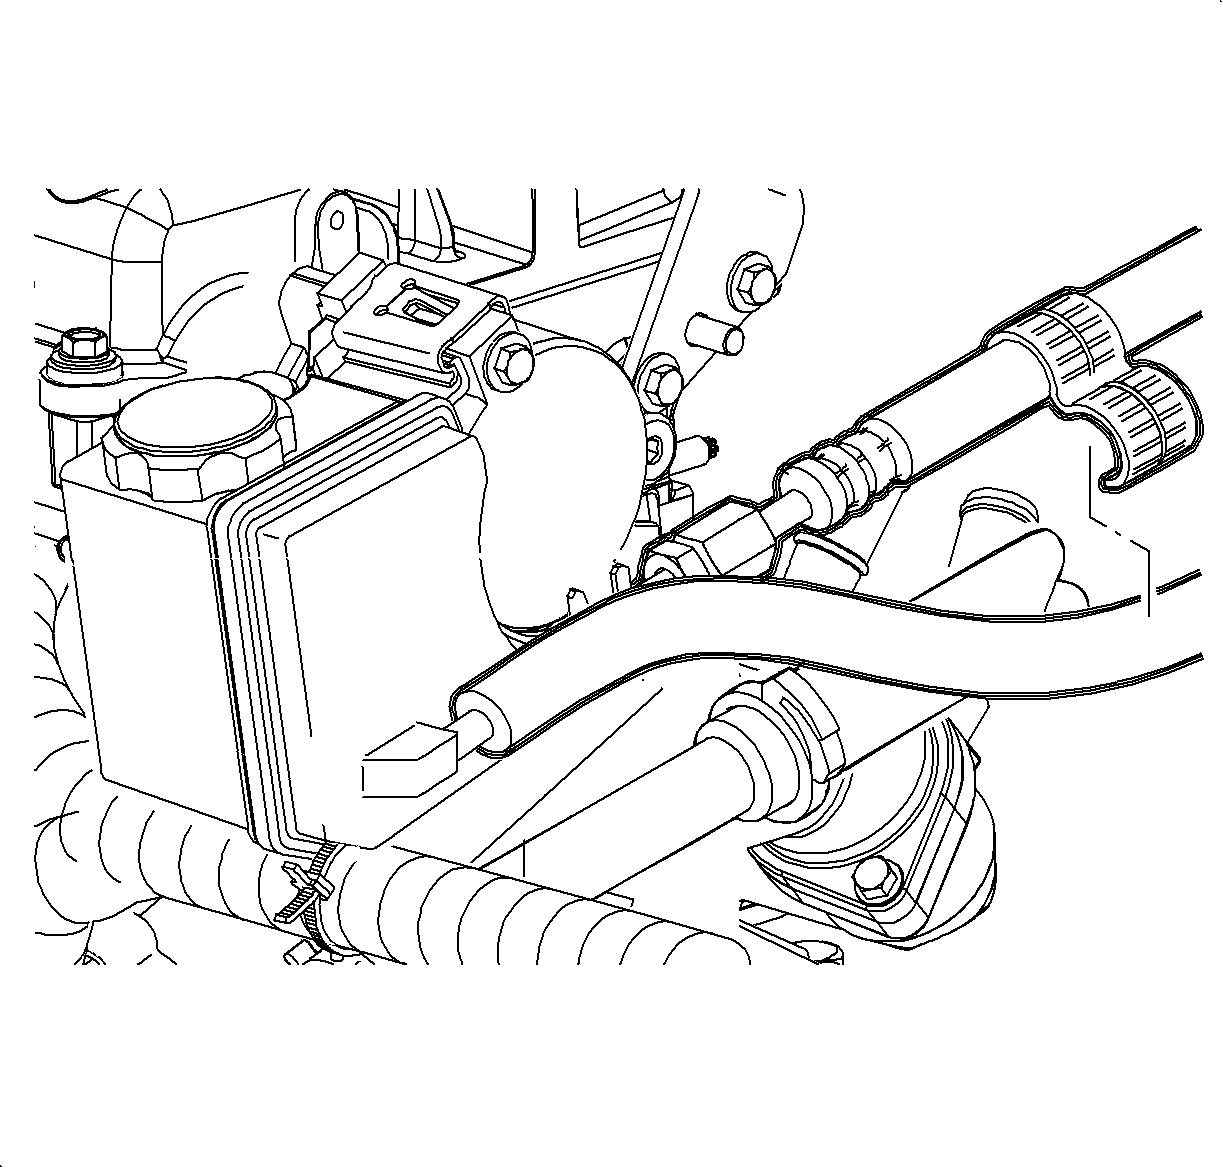
- Remove the hose clip holding the 2 power steering lines together.
- Raise the vehicle. The vehicle must be level, with the engine running.
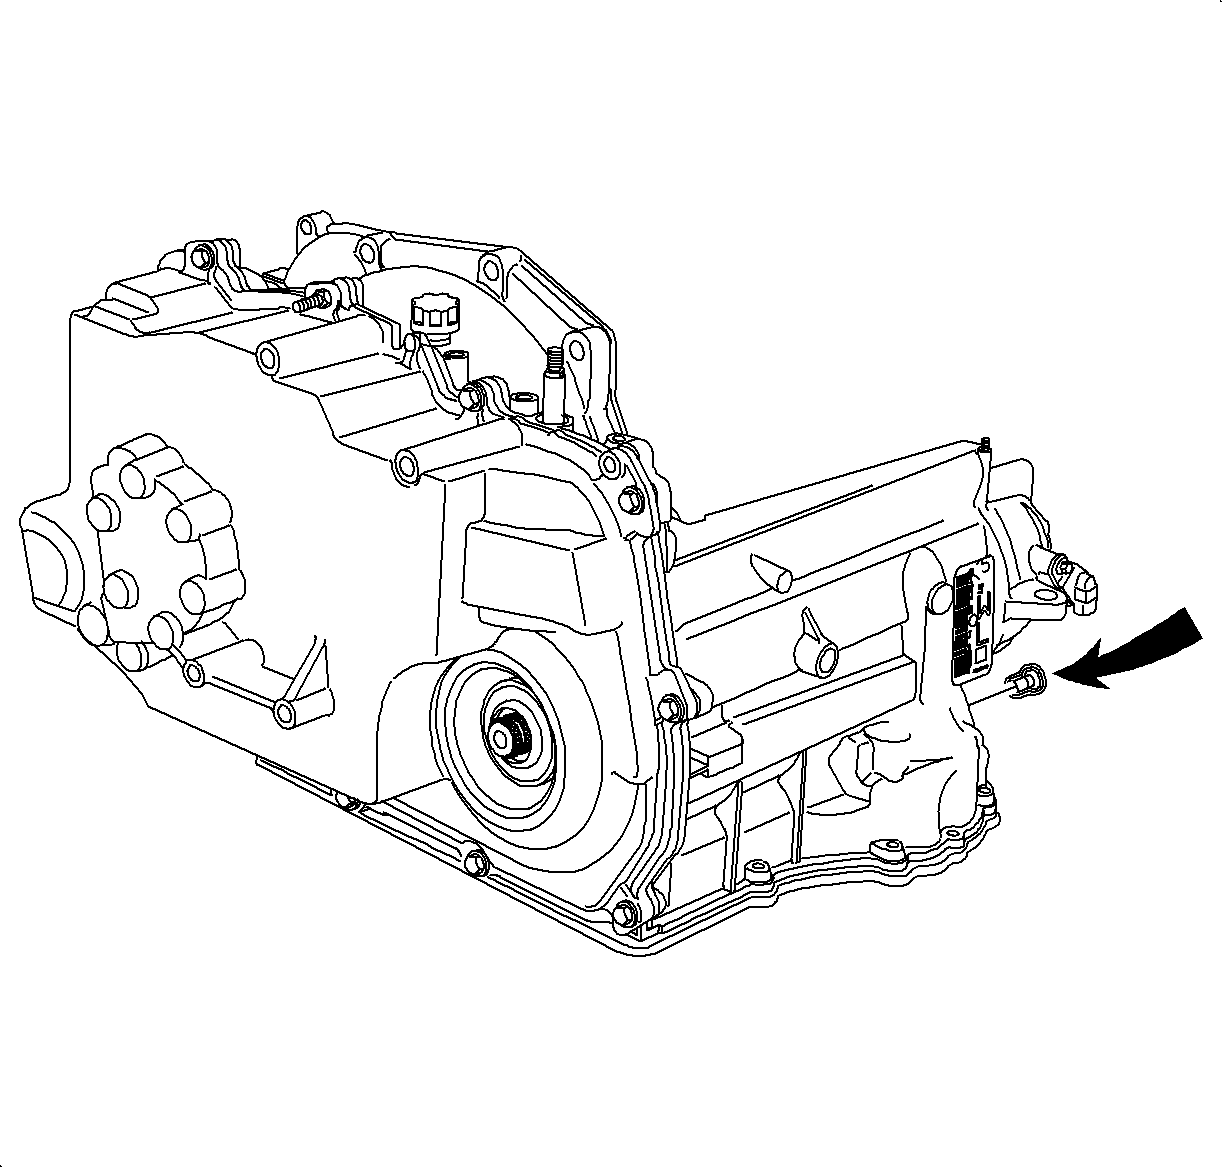
- Remove the transaxle level plug with the engine running.
- Check the fluid level. The fluid level should be even with the bottom of the threaded plug hole.
- Check the condition of the transaxle fluid. Refer to Transmission Fluid Check .
- If the fluid level is low, add DEXRON® III automatic transaxle fluid in increments of 0-47 liters (0.5 quarts) until the fluid drains from the plug hole. If more than 1.5 liters (1.6 quarts) of fluid needs to be added to the transaxle, the transaxle may have a leak. Refer to Fluid Leak Diagnosis .
- Allow the fluid to finish draining from the plug hole. Install the plug and wipe any excess fluid from the transaxle with a rag or shop towel.
- Install the hose clip to the 2 power steering lines.
- Pull the AIR tube back to the original position.
- Insert the tube into the hose and install the clamp.
- Ensure the stand-off clip between the AIR tube and the wiring harness is installed correctly.

Important: For 4-cylinder vehicles only, perform steps 3-5.
Important: Note the original position of the AIR components, if equipped.


Caution: Ensure that the vehicle is properly supported and squarely positioned. To help avoid personal injury when a vehicle is on a hoist, provide additional support for the vehicle on the opposite end from which the components are being removed.
Caution: The transaxle fluid is hot. Caution must be taken to prevent personal injury when the transaxle fluid drains from the transaxle.
Notice: Saturn ATF P/N 21005966 is not compatible with this transaxle. If Saturn ATF is used, transaxle damage will result. This transaxle uses DEXRON® III ATF P/N 21019223.
Important: Before installing the transaxle level plug, apply LOCTITE Threadlocker 242®.
Tighten
Tighten the transaxle fluid level plug to 12 N·m (9 lb ft).
Important: For 4-cylinder vehicles only, perform steps 11-14.

Important: The clamp must be installed with the locking portion facing down.
Important: There is a stand-off clip between the A.I.R. tube and the wiring harness at the front of the transaxle. This must be in place to eliminate the possibility of chafing between the tube and the harness.
Transmission Fluid Check Color Check
Fluid Color | Correction | ||||||||||||||||||||
|---|---|---|---|---|---|---|---|---|---|---|---|---|---|---|---|---|---|---|---|---|---|
Red or Light Brown | This is the normal color for automatic transaxle fluid. Make sure the transaxle fluid is at the proper level. Refer to Transmission Fluid Check . | ||||||||||||||||||||
Non-Transparent (Cloudy or Milky Pink) | Determine the sources of contamination, possibly an oil cooler leak. Notice: Antifreeze will deteriorate the Viton® O-ring seals and glue used to bond the clutch material to the clutch plates. Both conditions may cause transaxle damage. Perform the following steps if the transaxle oil cooler has developed a leak, allowing engine coolant to enter the transaxle.
| ||||||||||||||||||||
Foaming Fluid | The following could be possible causes of this condition:
| ||||||||||||||||||||
Dark Brown | Drain the fluid to determine the source of possible contamination.
|
