Removal Procedure
- Remove the rear door outer panel. Refer to Outer Door Panel Replacement Rear - Bolt On removal procedure.
- Remove the rear door insulator. Refer to Rear Side Door Insulator removal procedure.
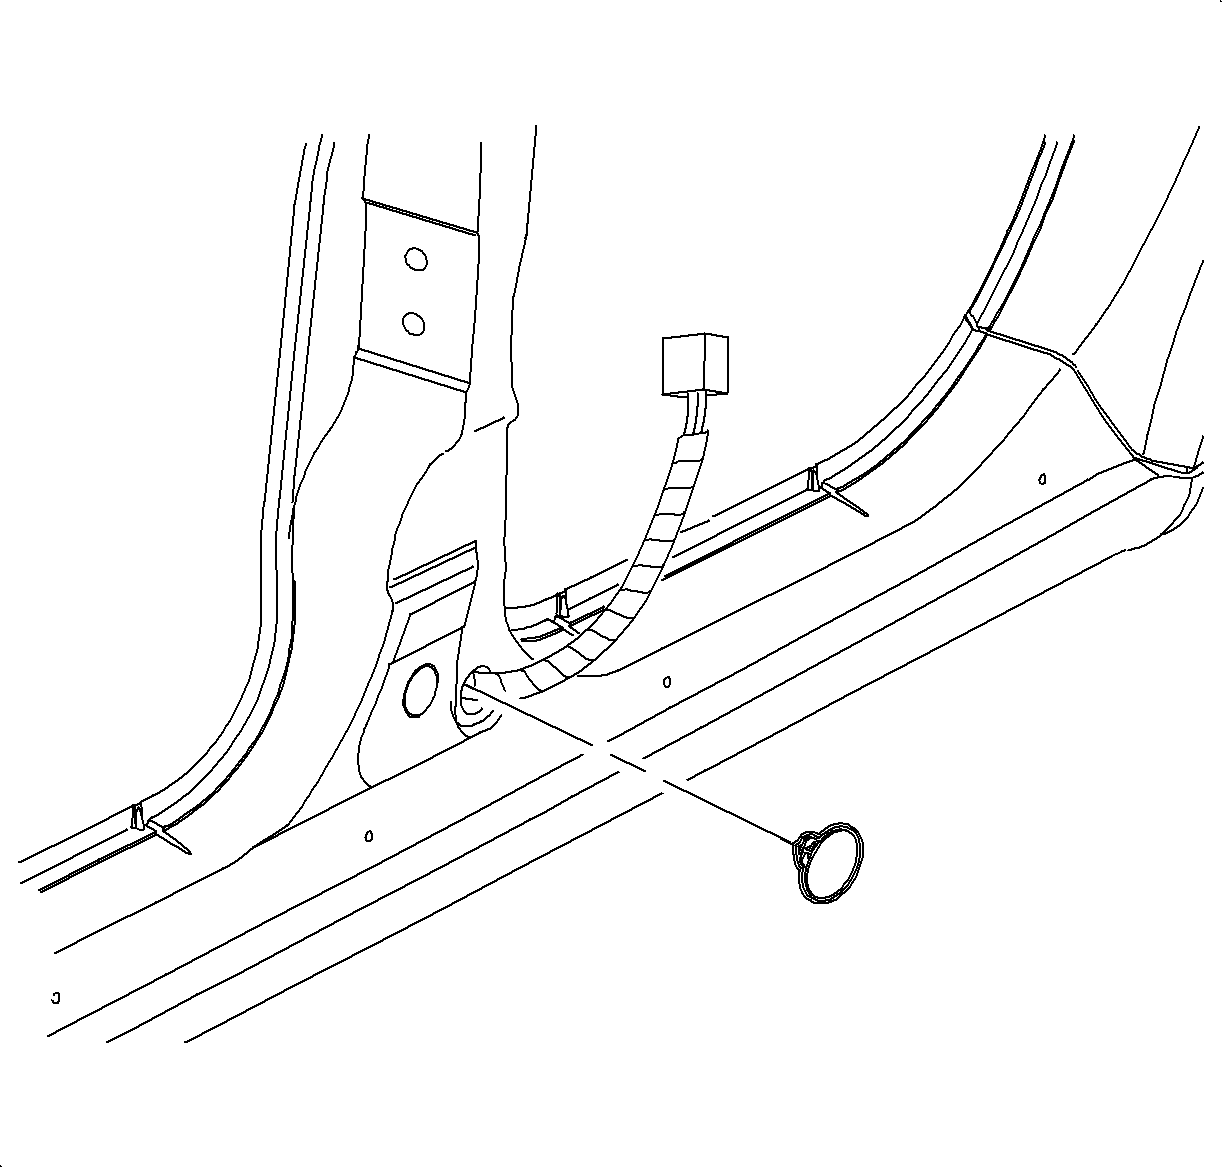
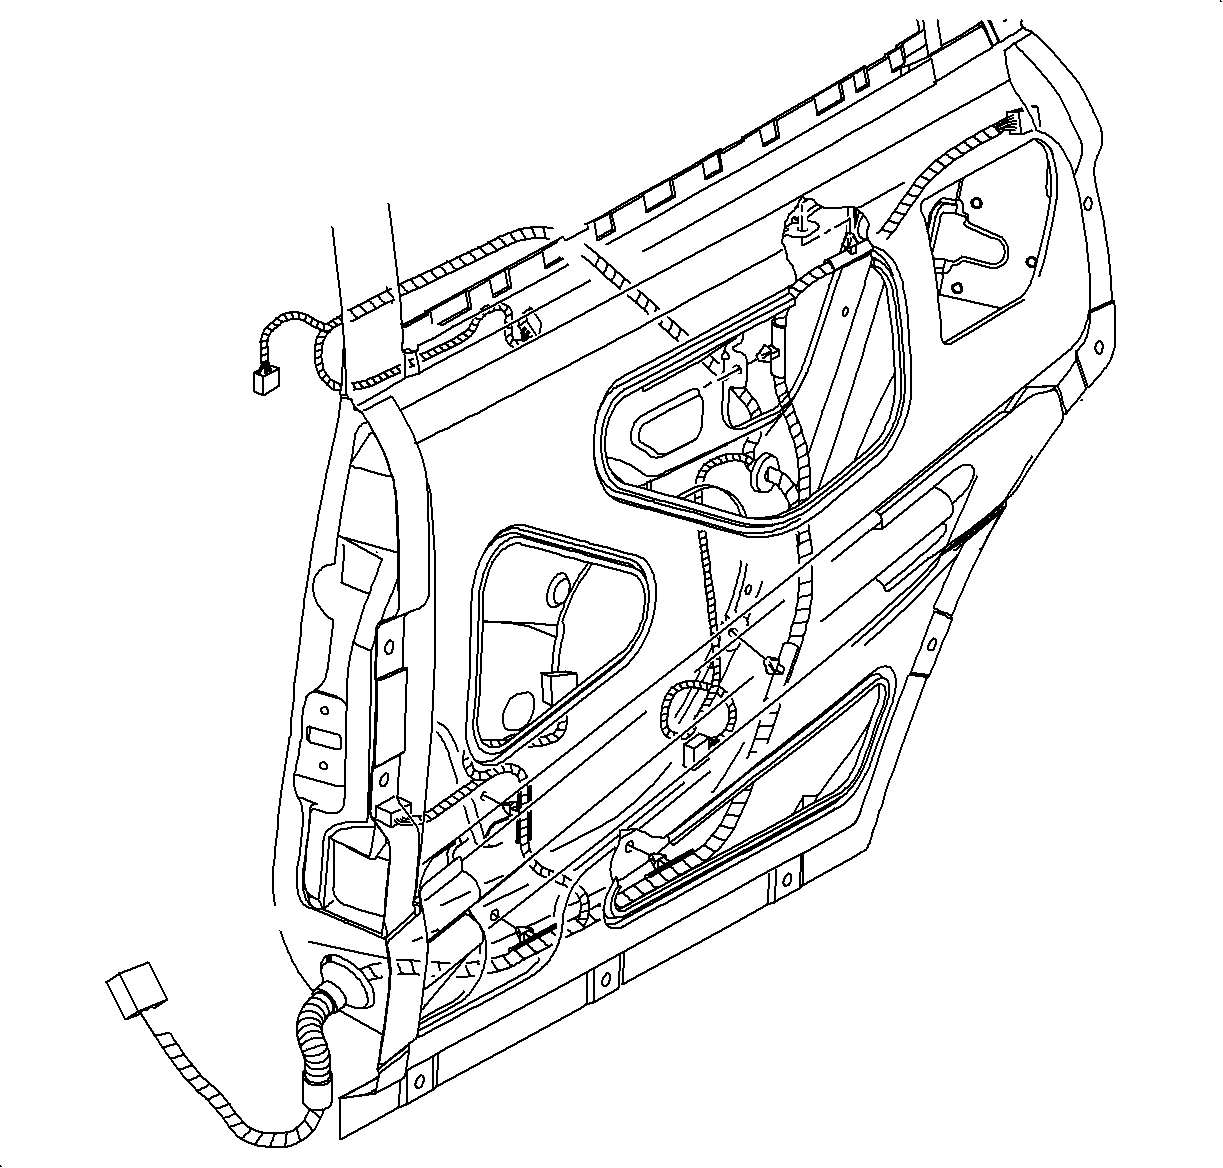
- Remove the wiring harness access plug.
- Disconnect the wiring harness connector at the body side.
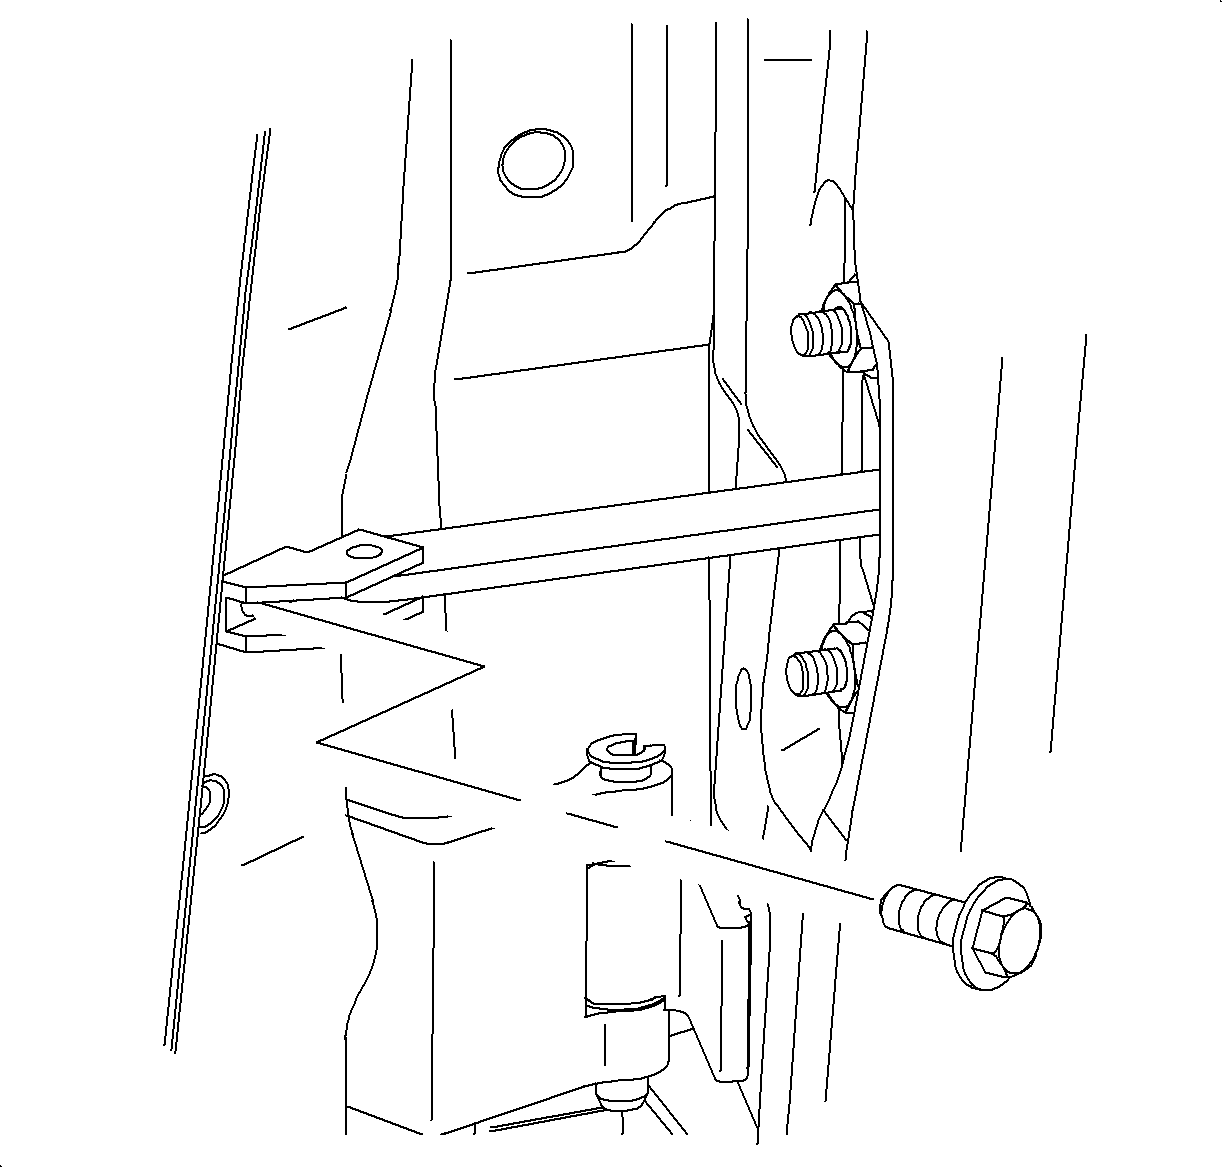
- Remove the check link to body structure bolt.
- Support the door.
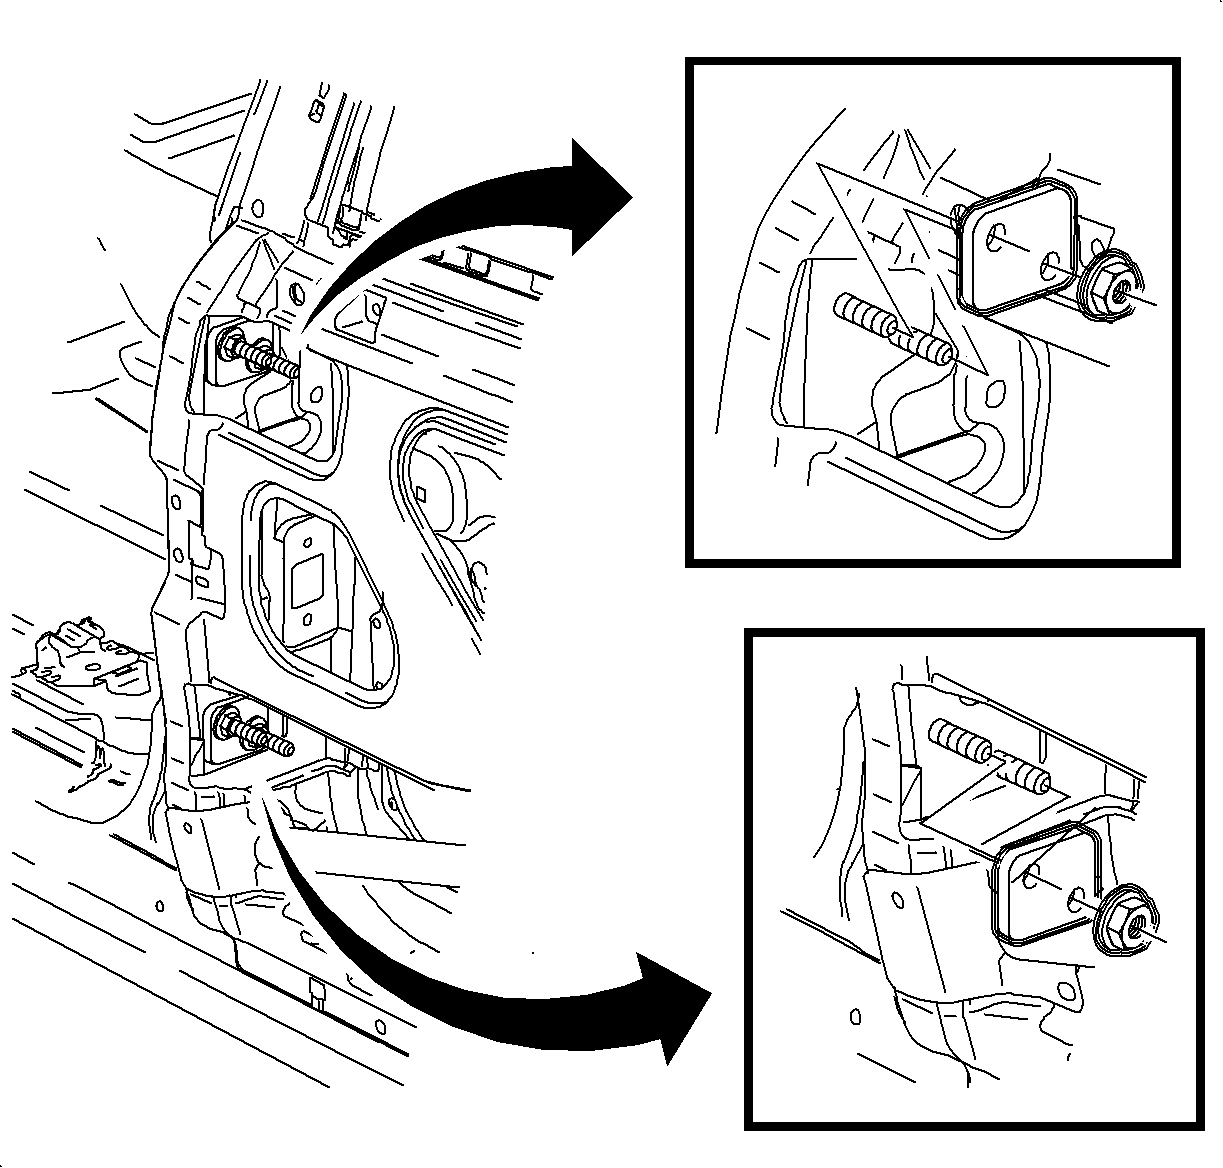
- Remove the nuts and reinforcement plates from the door structure.
- Remove the door from the vehicle.
- Move the front seat to the forward most position.
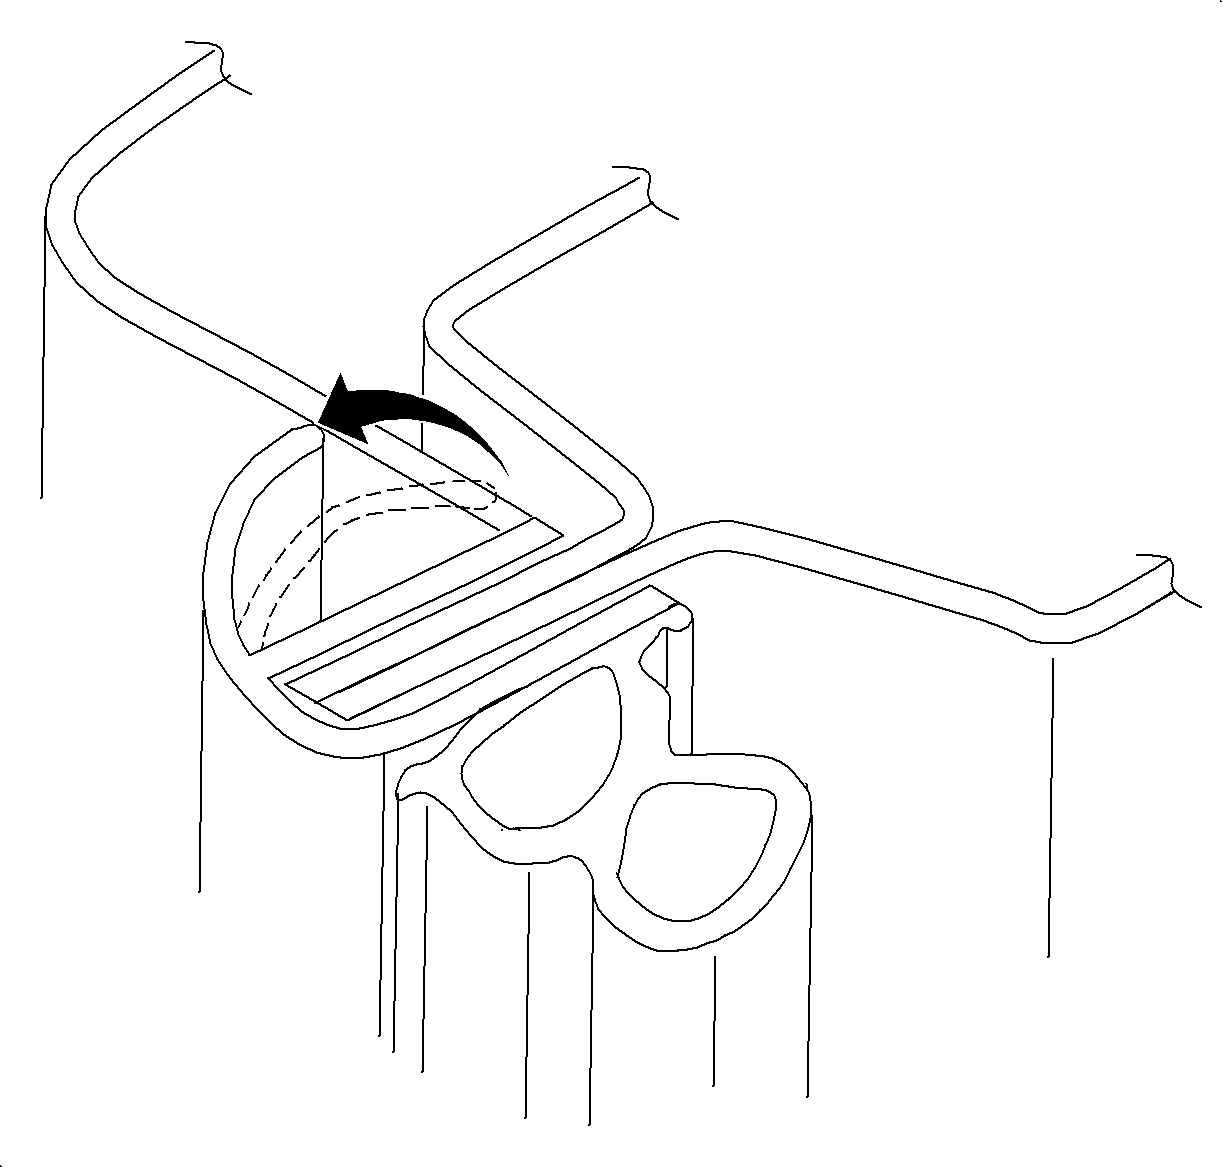
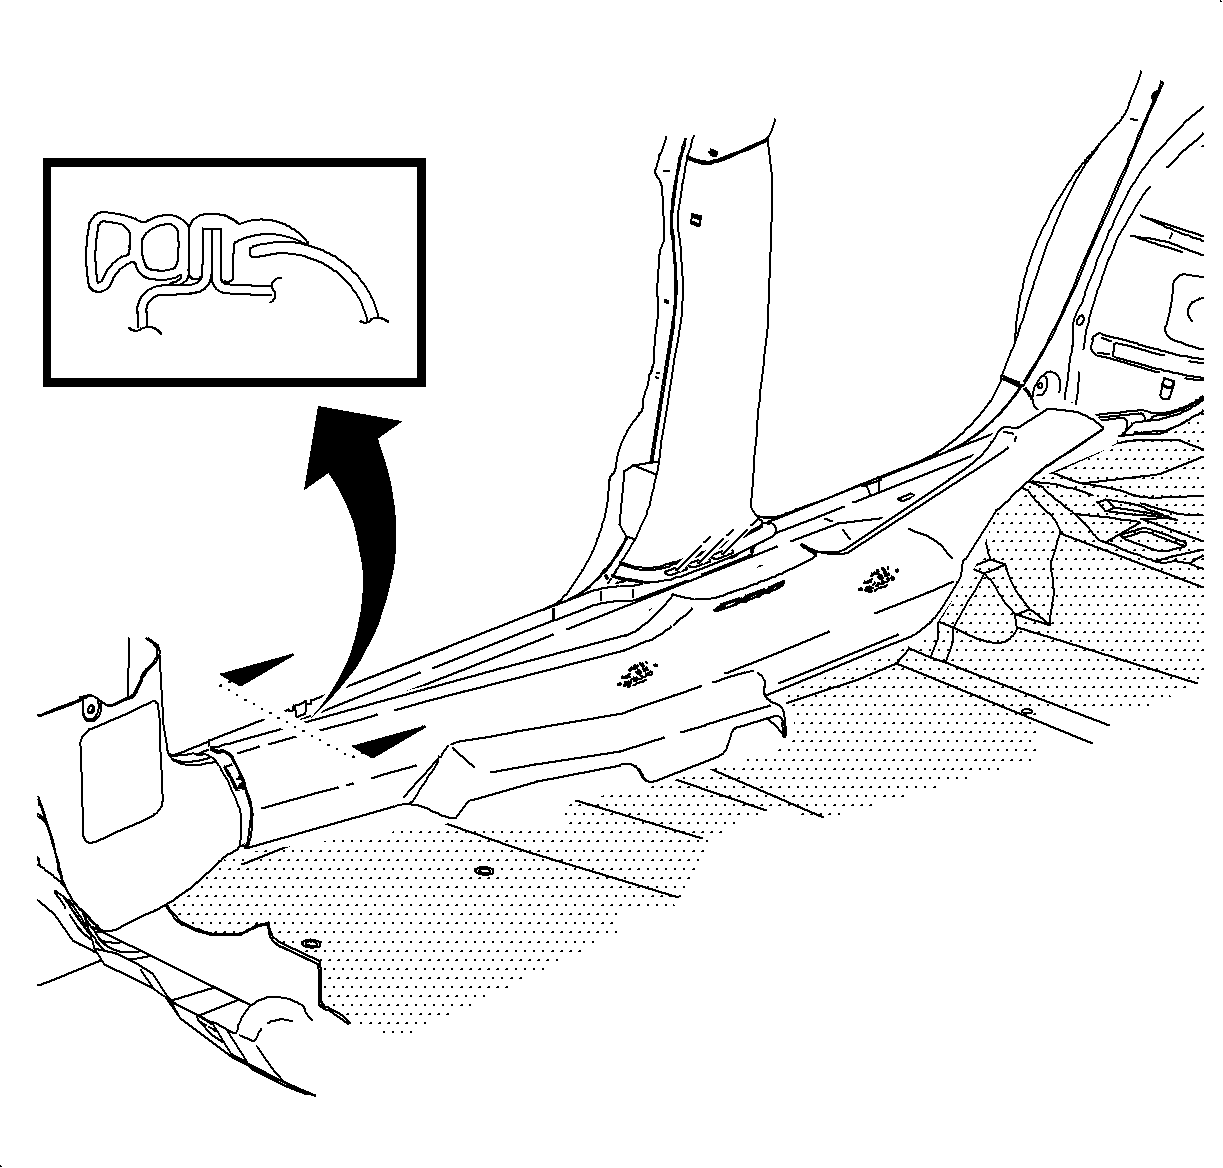
- Partially remove the carpet retainer enough to expose the center pillar lower molding at the carpet retainer.
- Using a trim tool, remove the center pillar outside weatherstrip.
- Remove the shoulder belt retractor fastener access plug.
- Remove the shoulder belt retractor fastener.
- Starting at the top, gently pull on the center pillar upper molding to disengage the attaching clips.
- Pull on the center pillar lower molding to disengage the attaching clips.
- Remove the shoulder belt from the shoulder belt guide.
- Lay the entire shoulder belt assembly forward allowing to rest on the seat back.
- Using a soft marker, mark around the hinge location for installation alignment purposes.
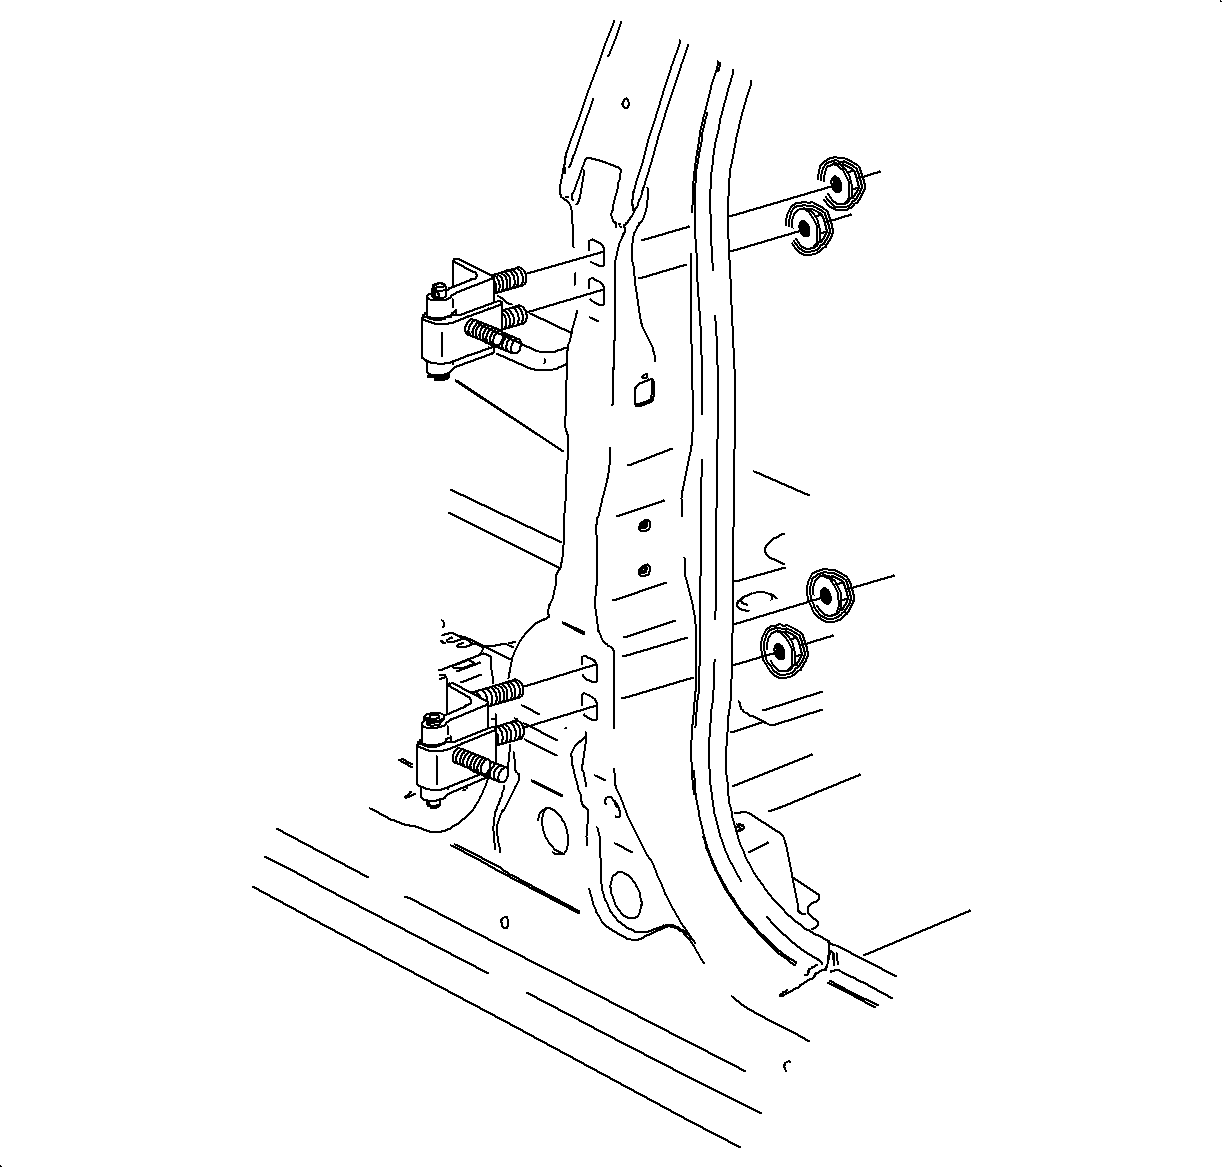
- Remove the nuts from the hinge studs.
- Remove the hinge from the vehicle.
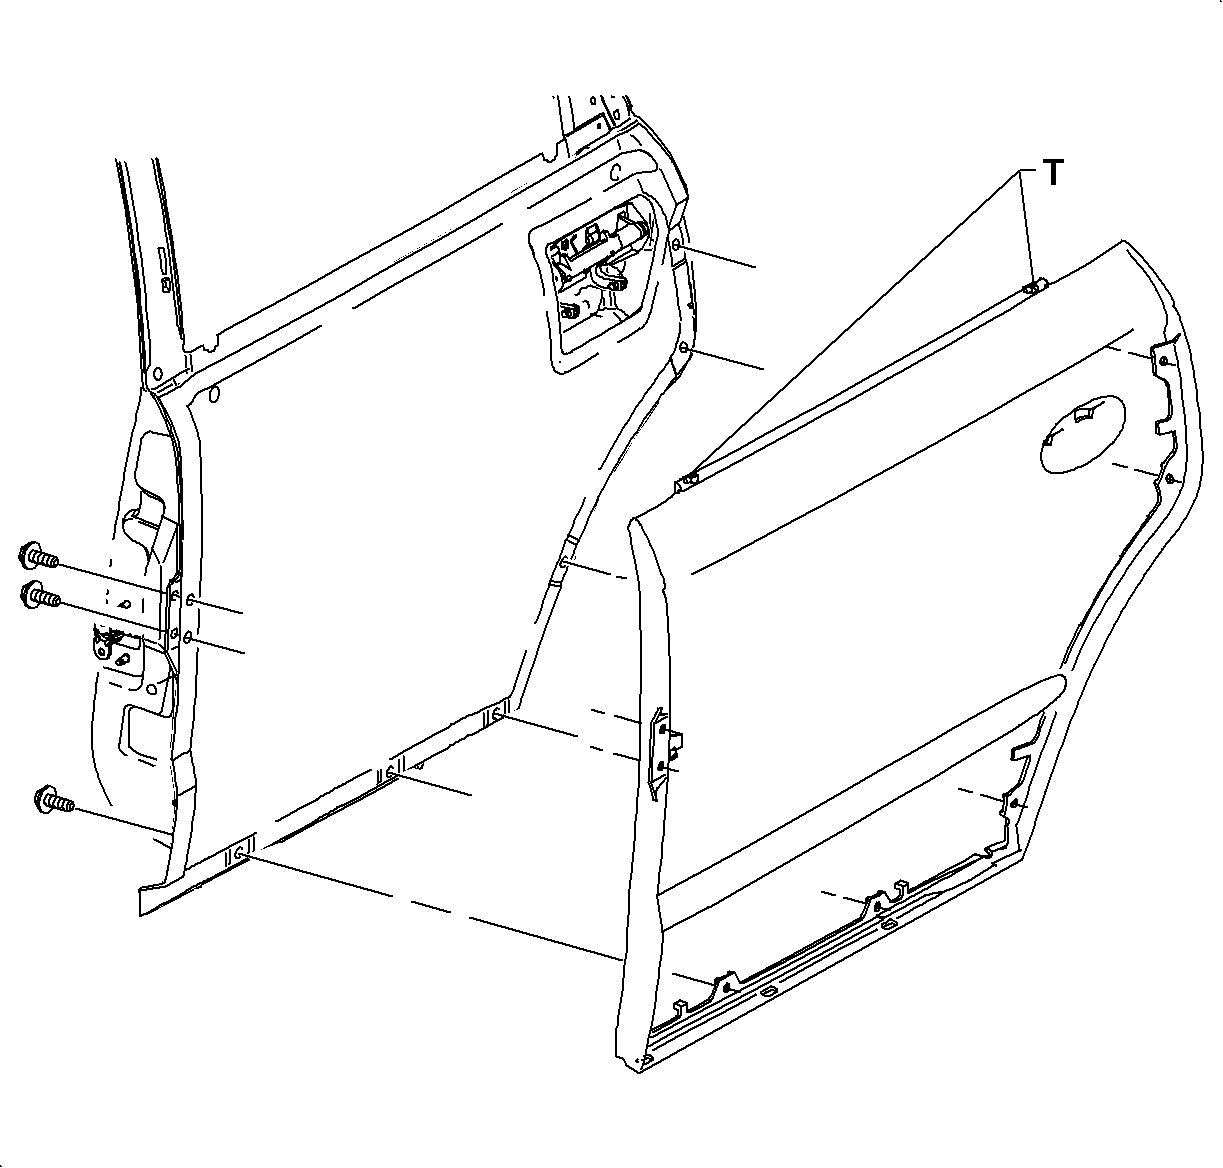
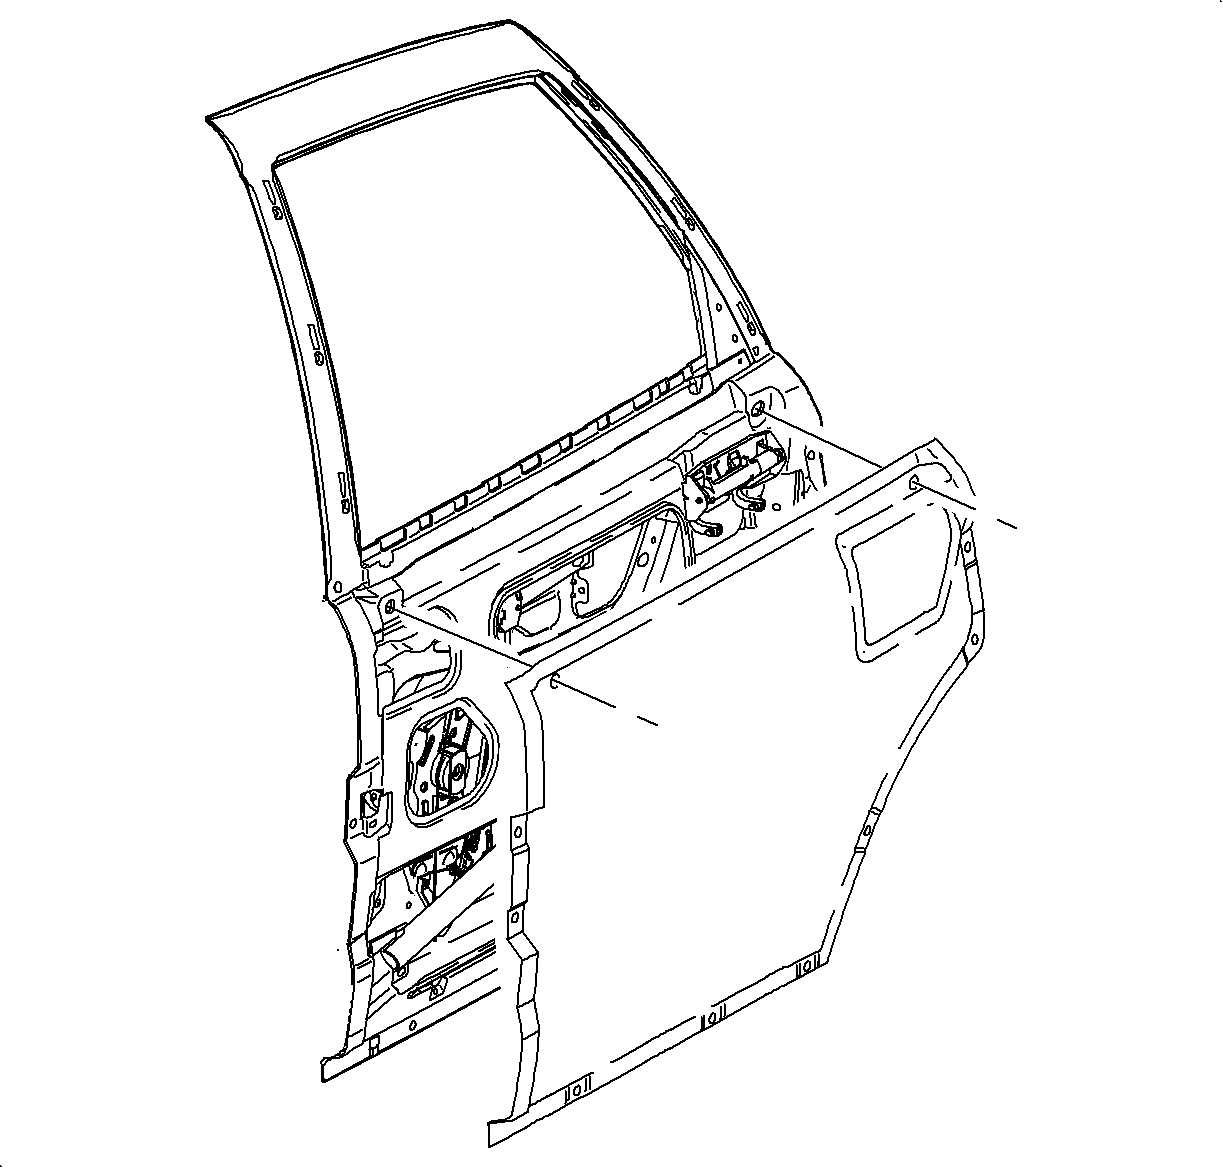
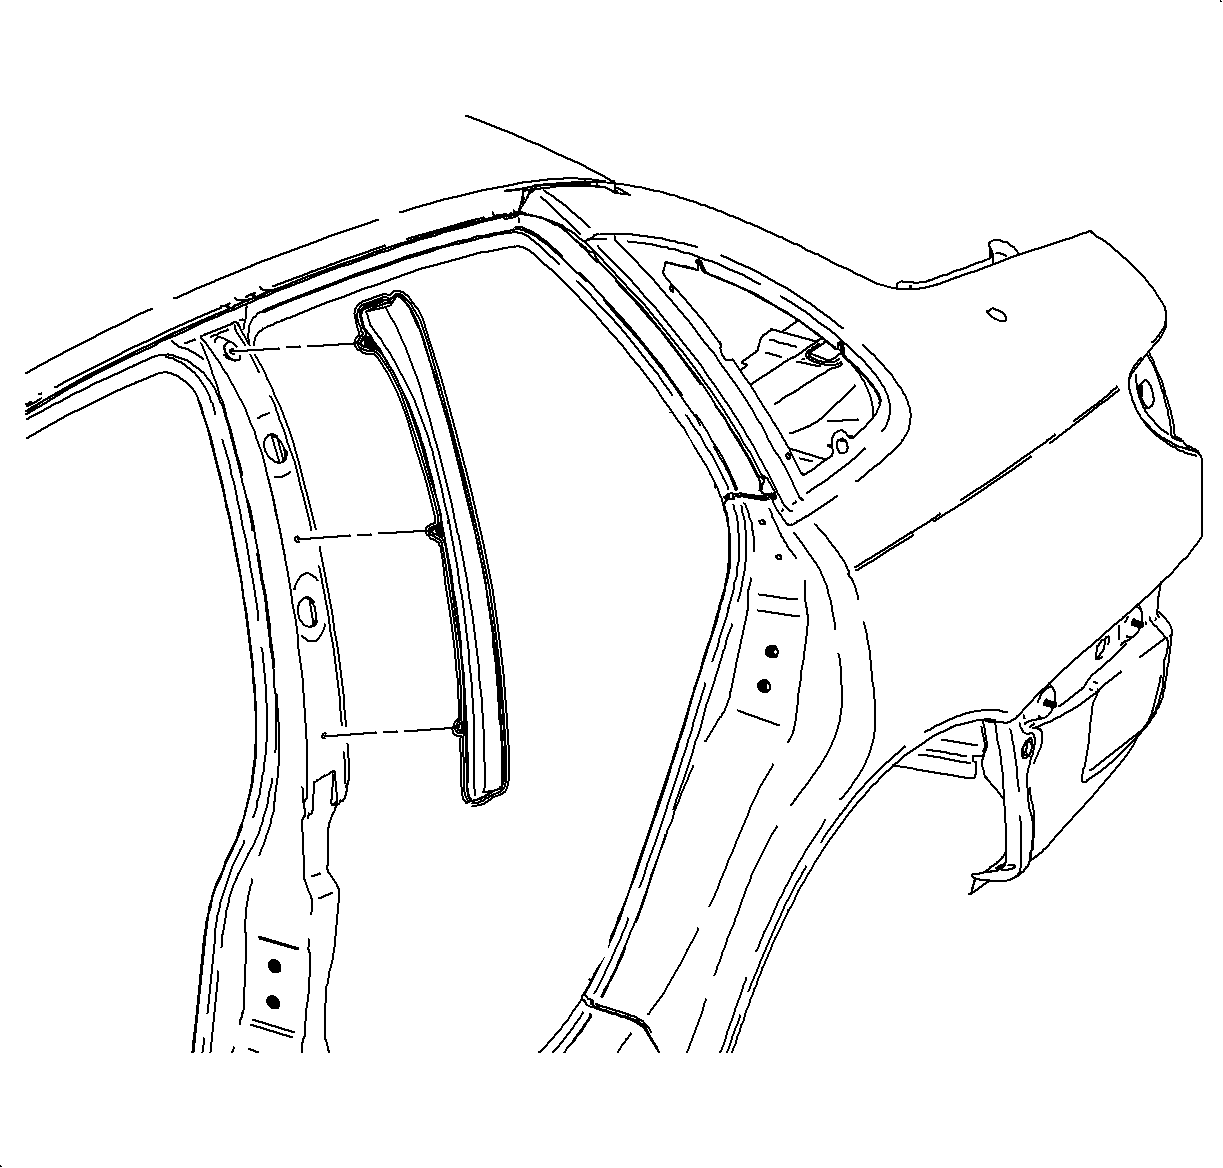
Important: Care must be taken not to drop the fasteners in the center pillar structure.
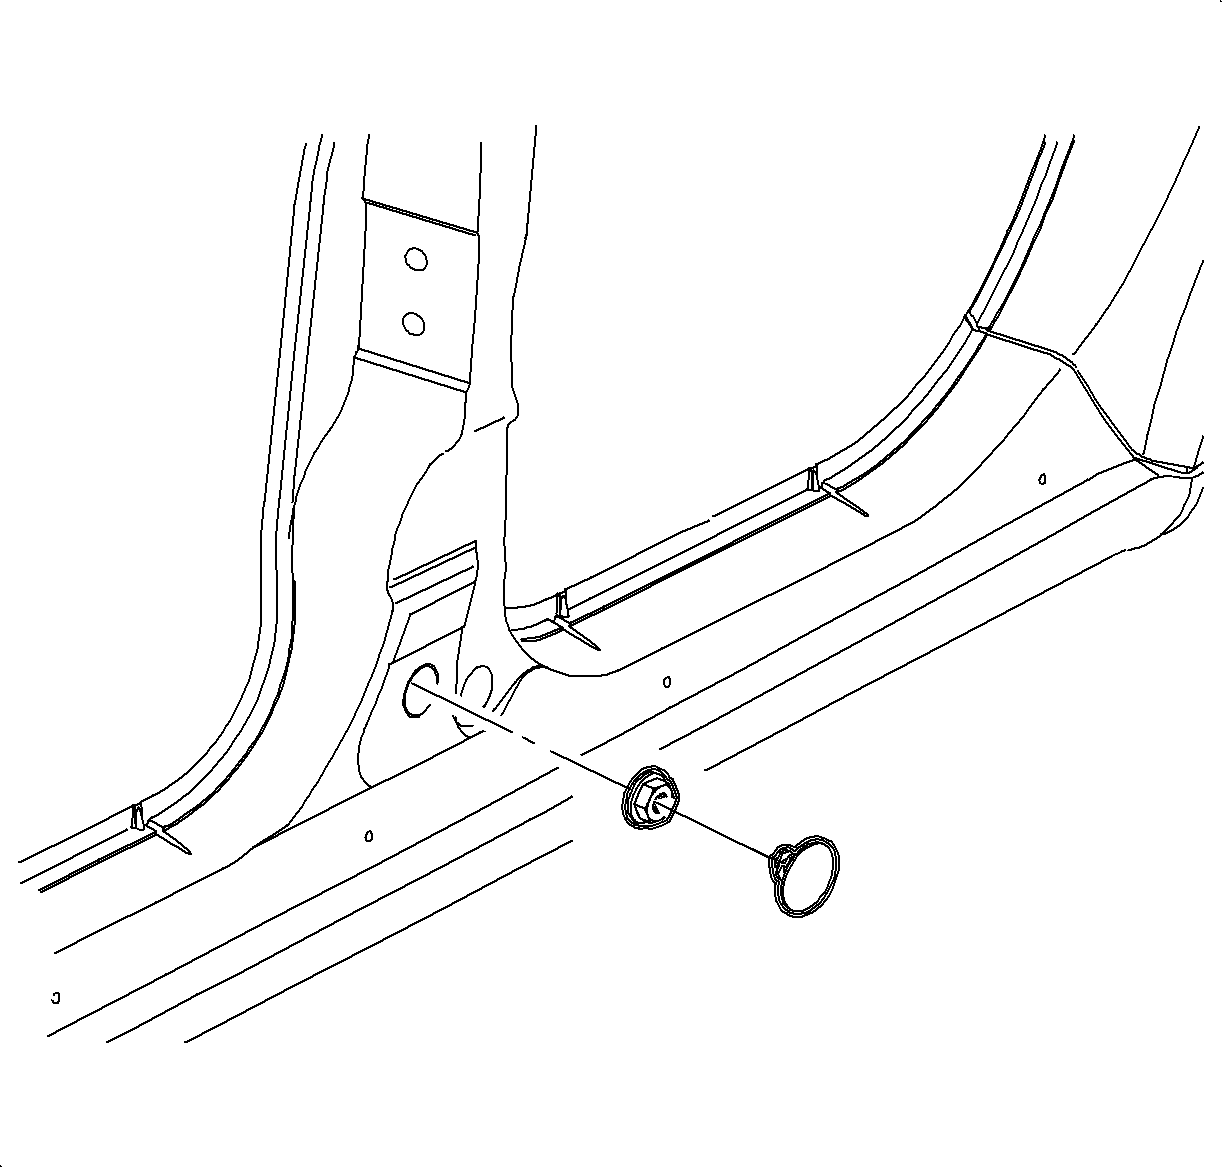
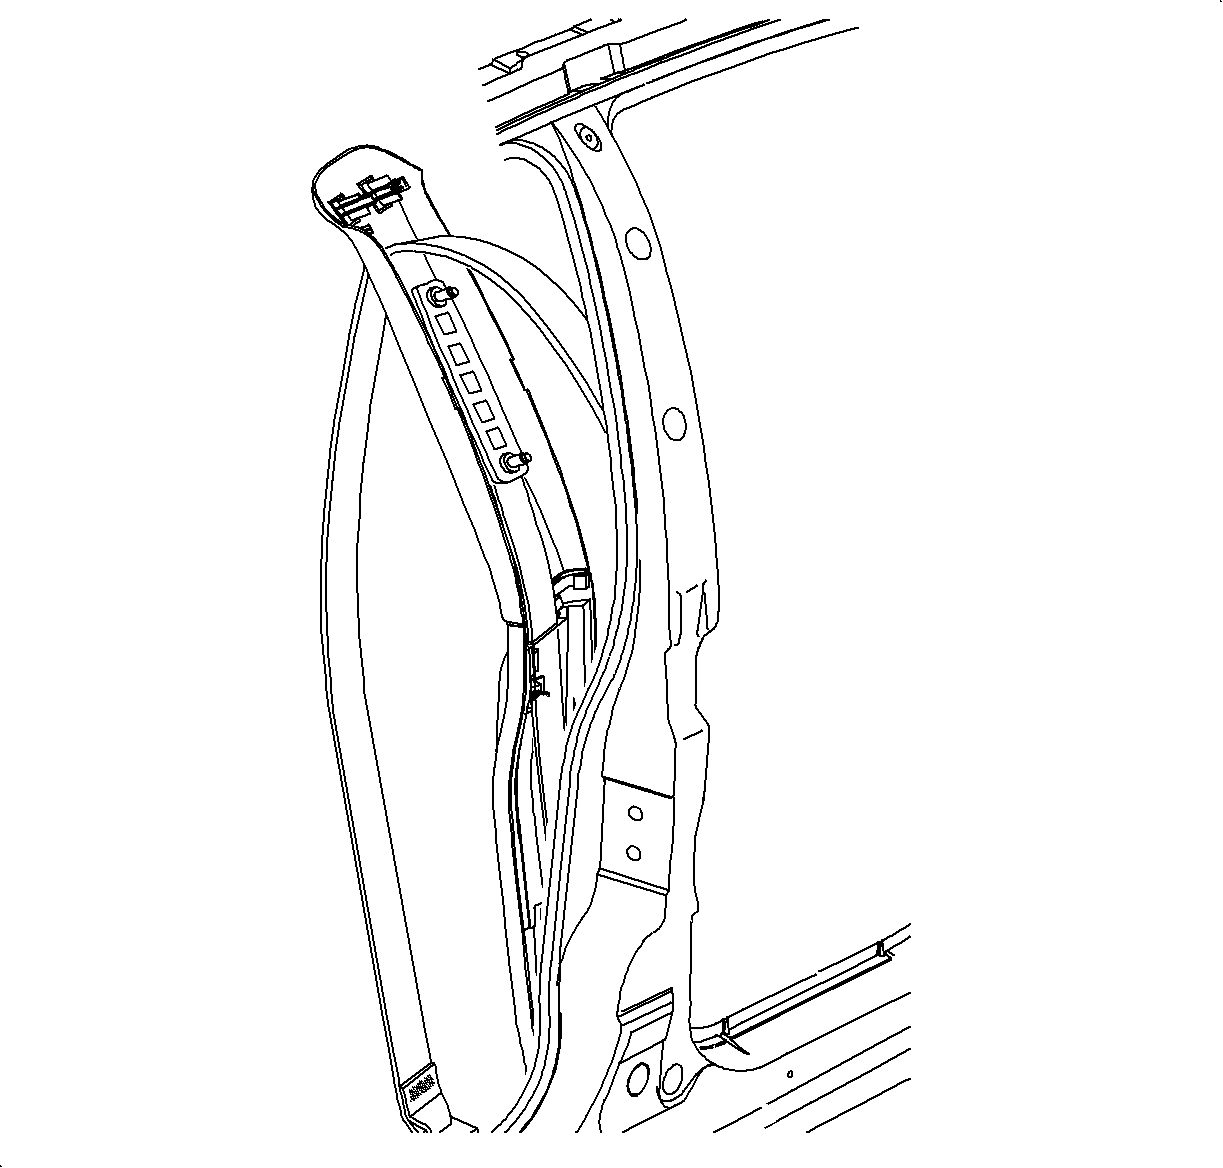
Important: Upper and lower moldings will stay attached to each other while being removed.
Important: The shoulder belt assembly and height adjuster unit will stay attached to the center pillar upper and lower moldings when the moldings are removed.
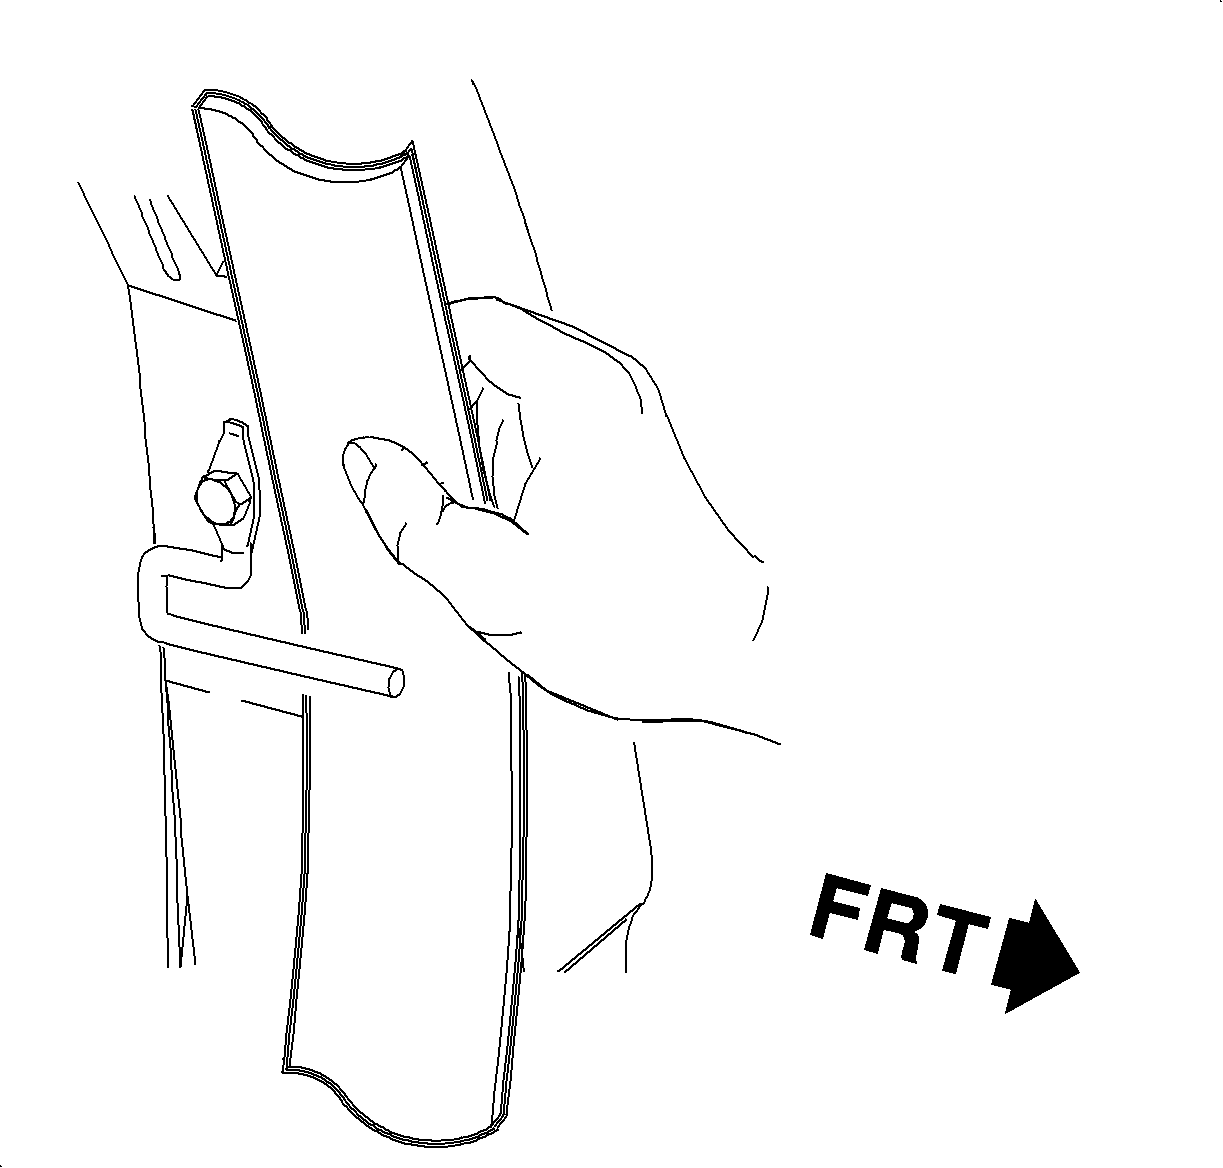
Installation Procedure
- Position the hinge to the vehicle.
- Align the hinge with the marks made prior to removal.
- Install the nuts to the hinge studs and tighten.
- Install the door to the hinge studs.
- Install the reinforcement plates and nuts to the studs.
- Install the check link to body structure bolt.
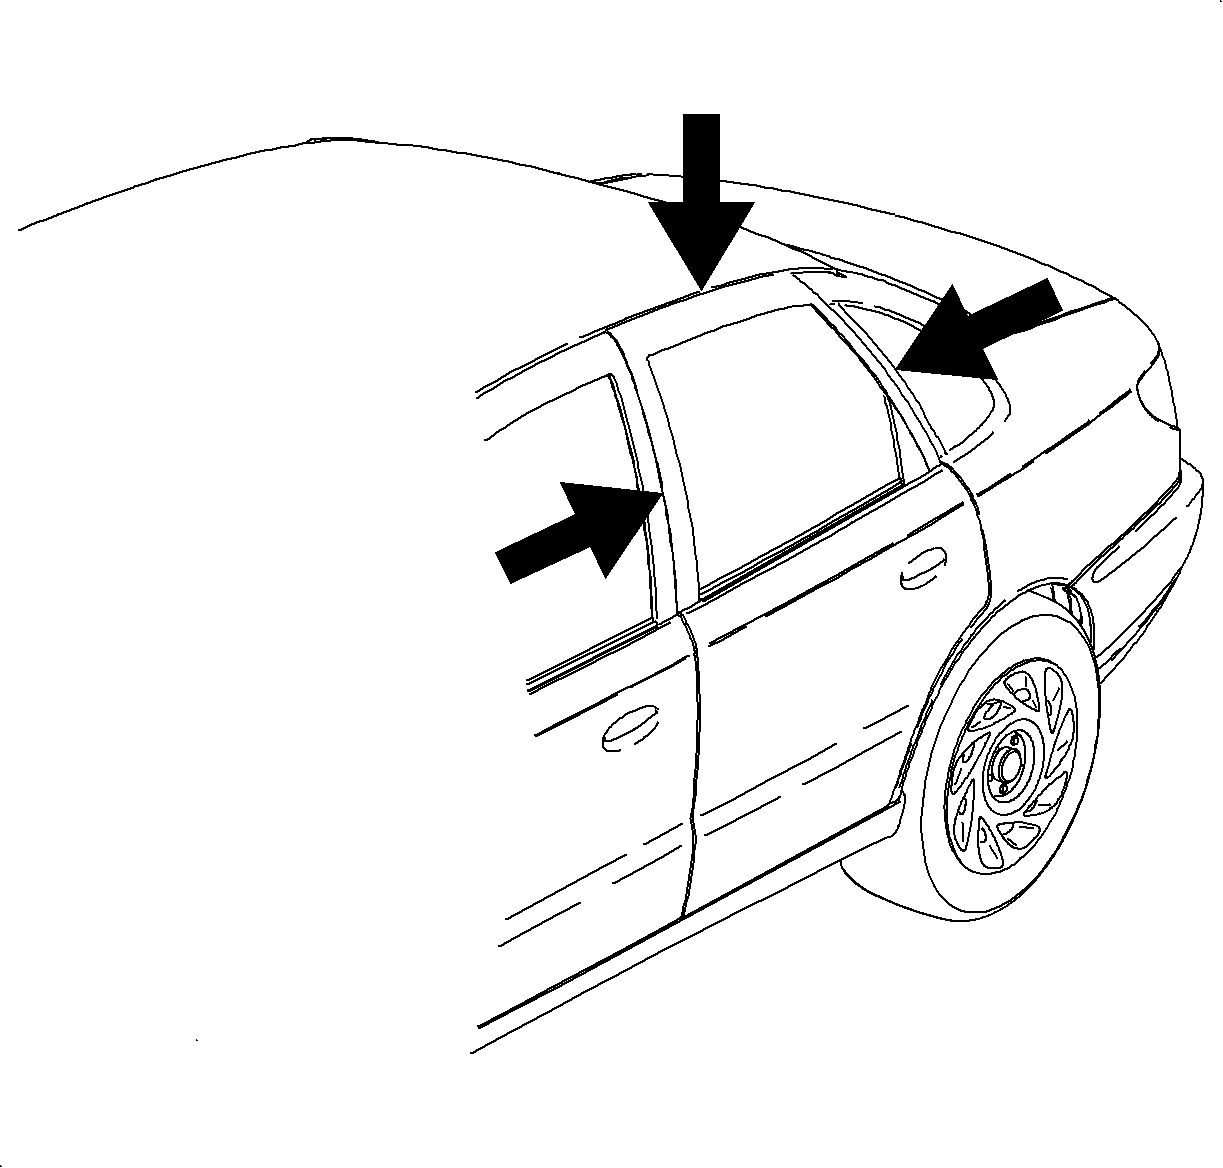
- Verify the door is aligned properly at the header and front and rear appliques. If the door adjustment is required, refer to Rear Door Adjustment procedure.
- Connect the wiring harness connectors.
- Install the wiring harness access plug.
- Install the rear door insulator. Refer to Rear Side Door Insulator installation procedure.
- Install the rear door outer panel. Refer to Outer Door Panel Replacement Rear - Bolt On installation procedure.
- Verify the door is aligned properly. Refer to Rear Door Adjustment procedure.
- Position the center pillar upper and lower molding to the vehicle aligning the shoulder belt retractor stud at the center pillar structure hole.
- Position the shoulder belt behind the shoulder belt guide.
- Attach the center pillar upper and lower molding to the vehicle by firmly pushing at the clip locations.
- Install the retractor fastener and plug.
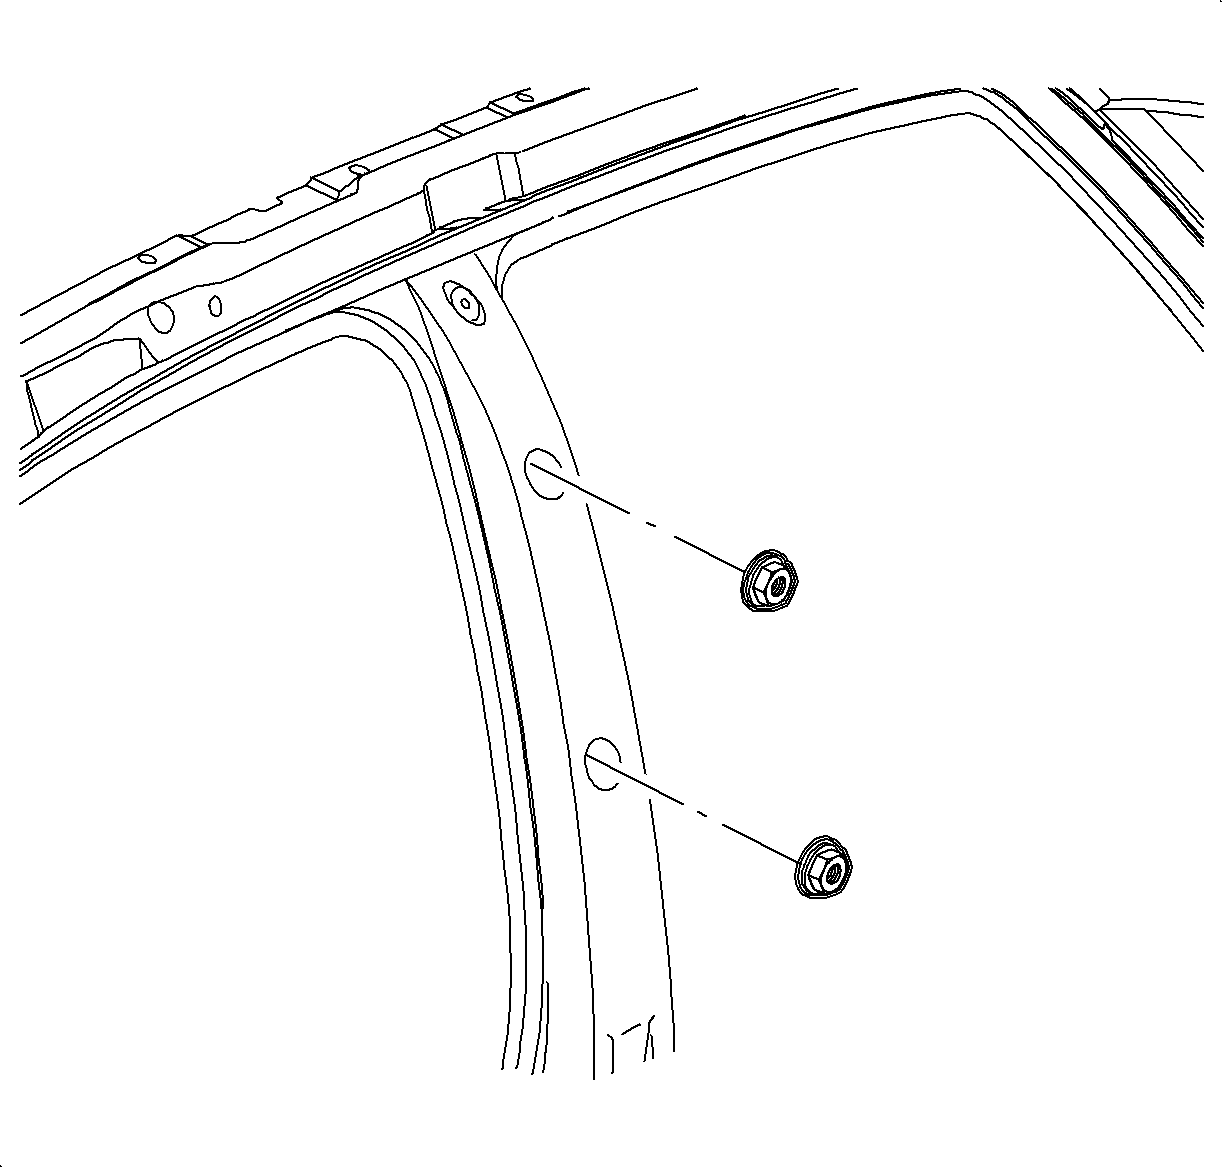
- Install the height adjuster fasteners.
- Install the center pillar outside weatherstrip.
- Install the carpet retainer.
- Position the weatherstrips over the center pillar moldings and carpet retainer.

Notice: Refer to Fastener Notice in the Preface section.
Tighten
Tighten the rear door hinge-to-body nuts to 30 N·m (22 lb ft).

Tighten
Tighten the door and reinforcement plate-to-hinge nuts to 30 N·m
(22 lb ft).

Tighten
Tighten the door check link-to-body bolt to 10 N·m (89 lb in).


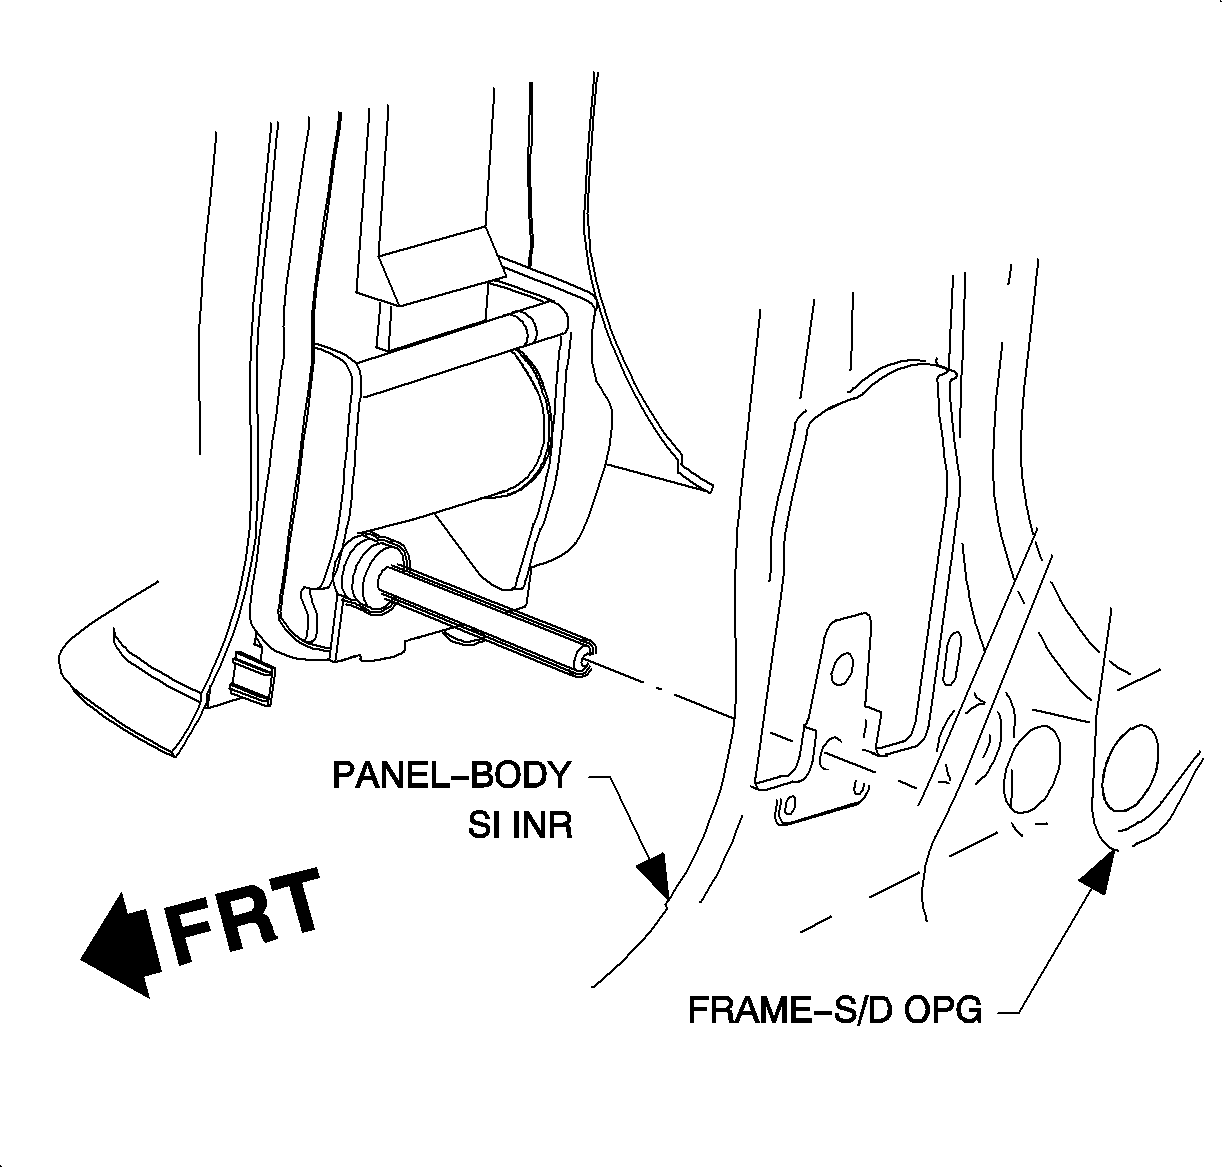
Important: Make sure the center pillar lower molding is placed behind the carpet retainer.


Tighten
Tighten the retractor fastener to 35 N·m (26 lb ft).
Tighten
Tighten the height adjuster fasteners to 35 N·m (26 lb ft).


