Tools Required
J 42069 Timing Belt Alignment Kit
Removal Procedure
- Disconnect the negative battery cable.
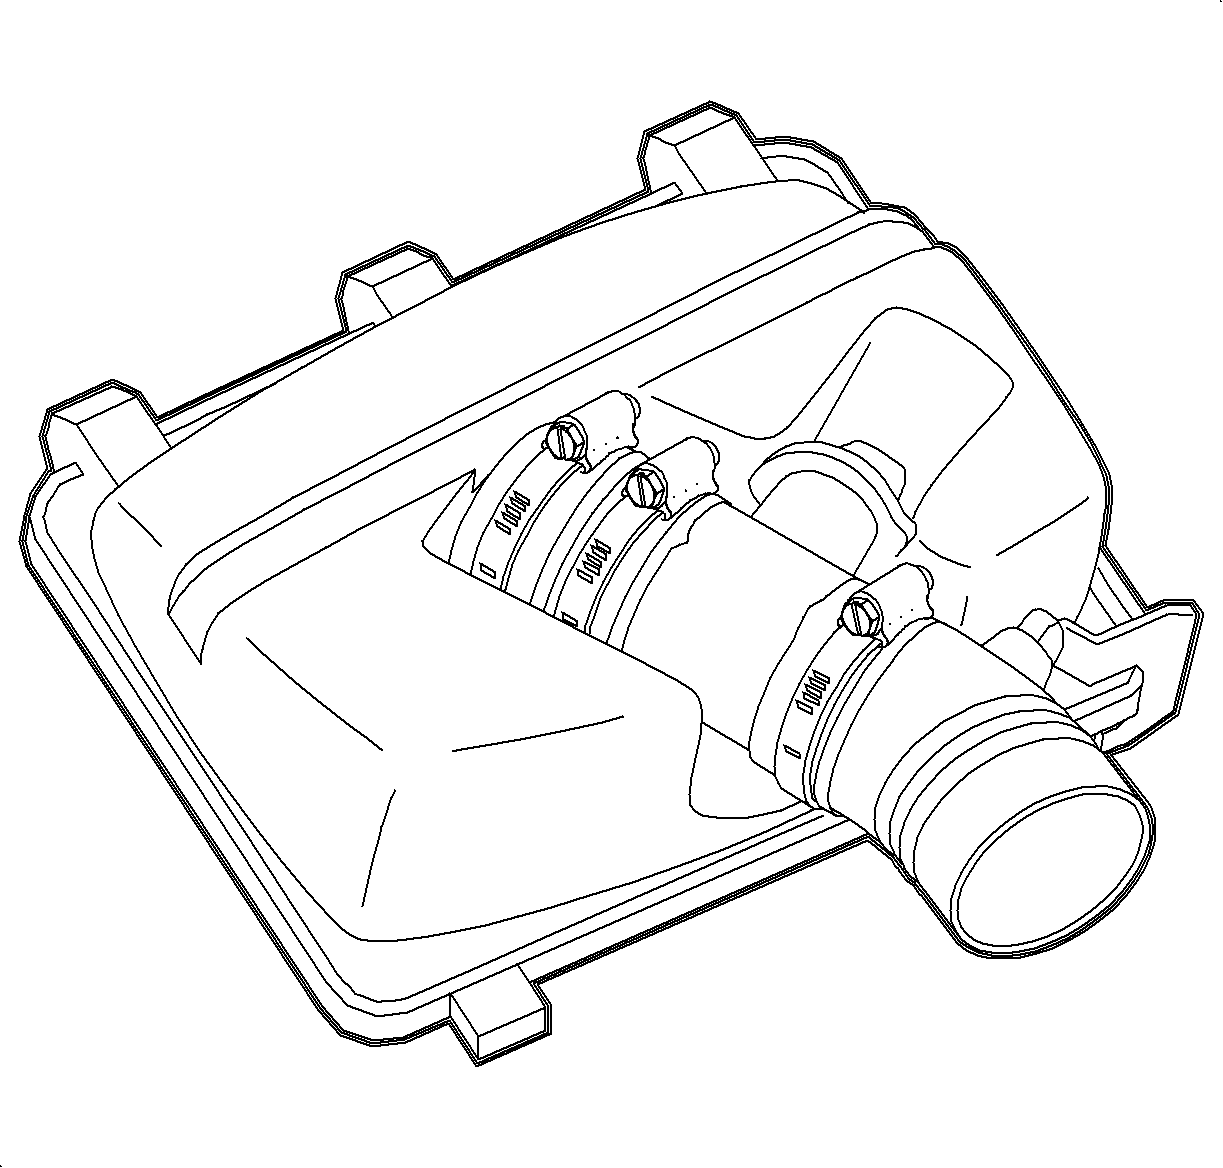
- Remove the air cleaner assembly.
- Remove the front timing belt cover. Refer to Timing Belt Rear Cover Replacement .
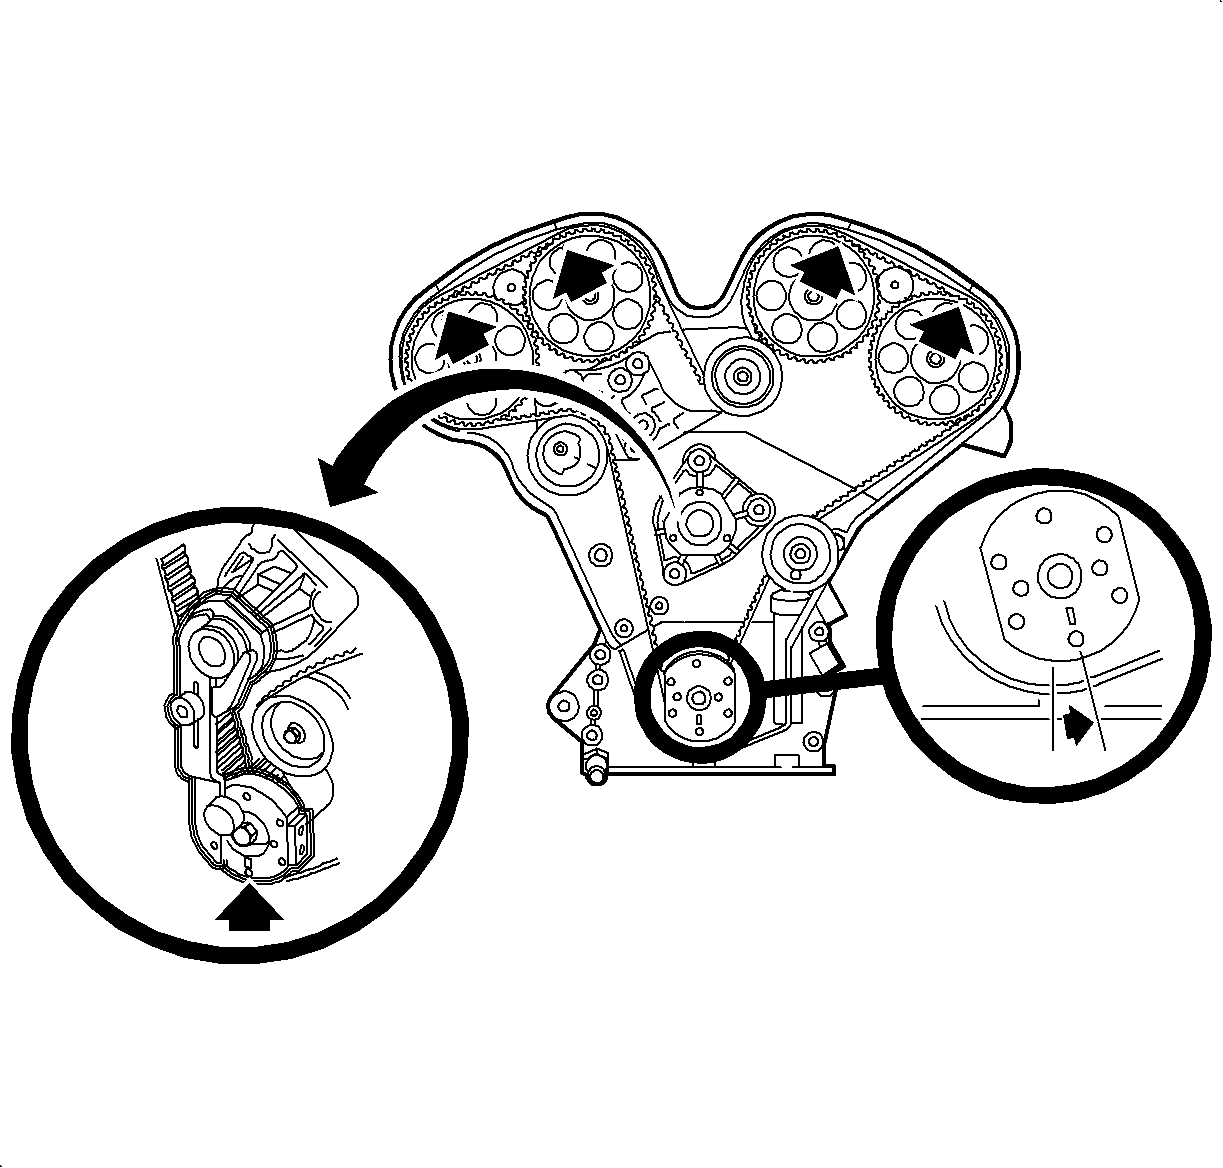
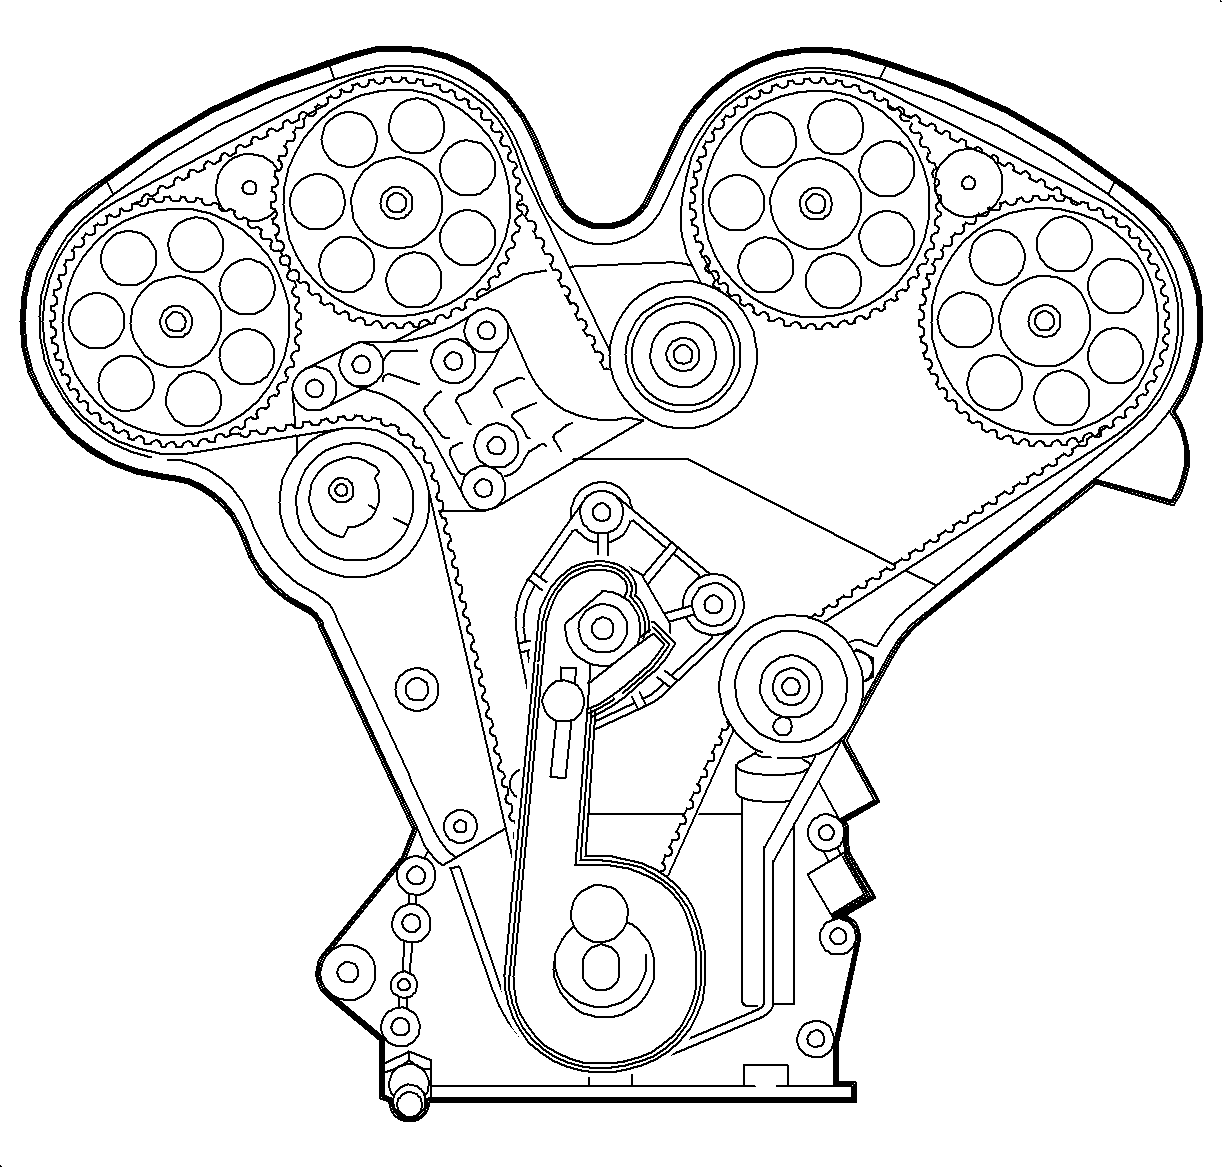
- Remove the timing belt. Refer to Timing Belt Replacement .
- As a precaution, rotate the crankshaft counterclockwise to 60 degrees BTDC position to prevent valve/piston contact.
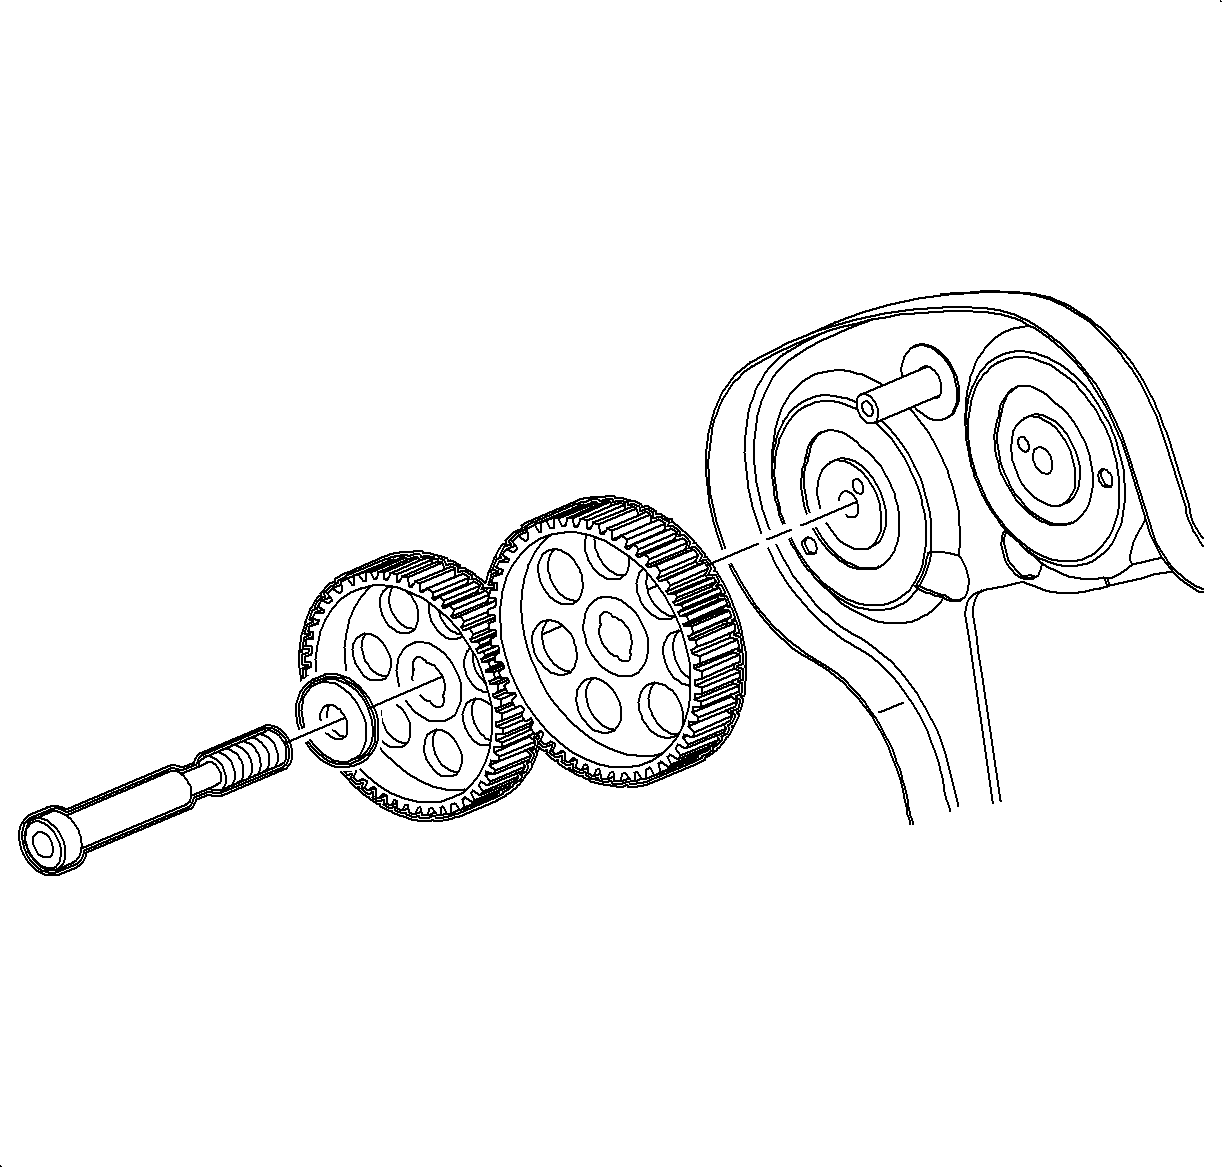
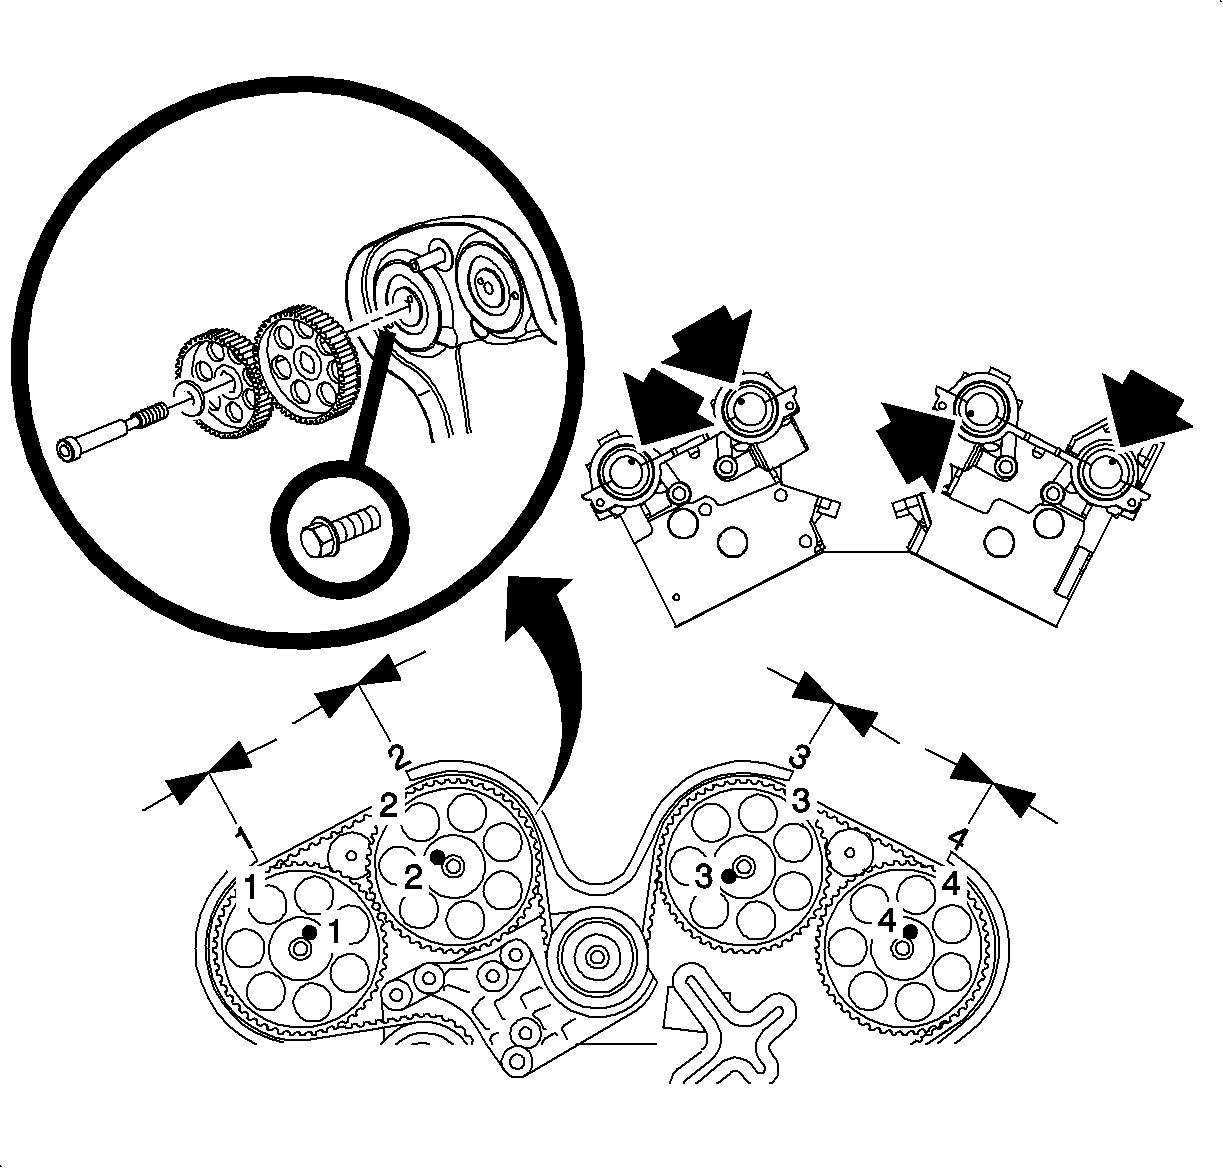
- Remove the camshaft gears using the camshaft lock kit tools J 42069-1 and J 42069-2 within the J 42069 to lock the gears when initially loosening the camshaft gear bolts.
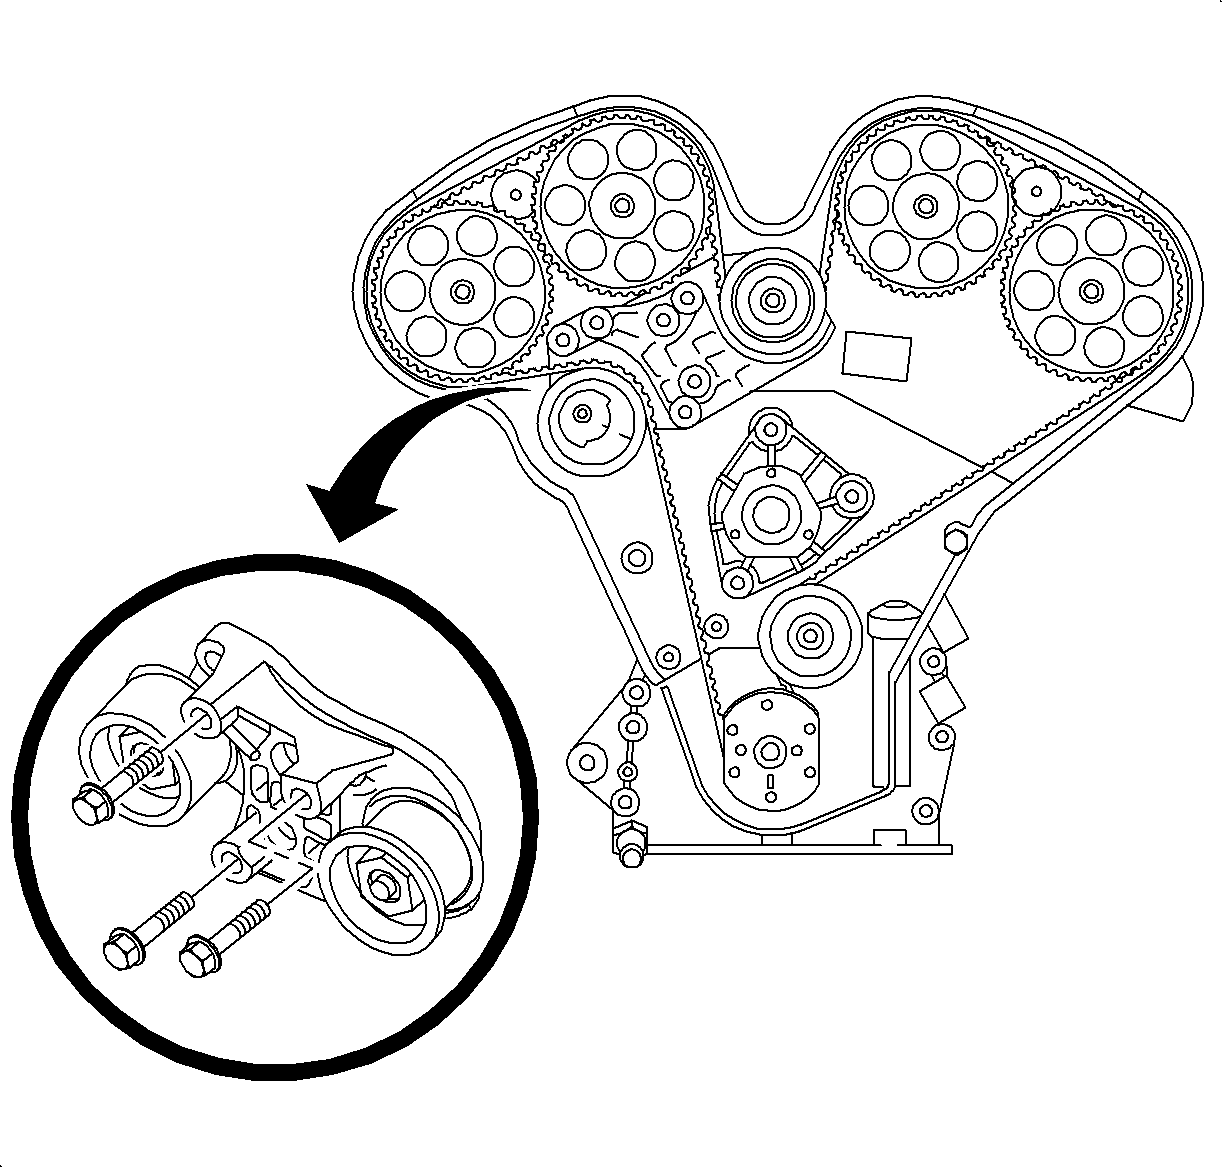
- Remove the timing belt tensioner bracket bolts.
- Remove the timing belt tensioner bracket.
- Remove the lower timing belt idler pulley bolt.
- Remove the lower timing belt idler pulley.
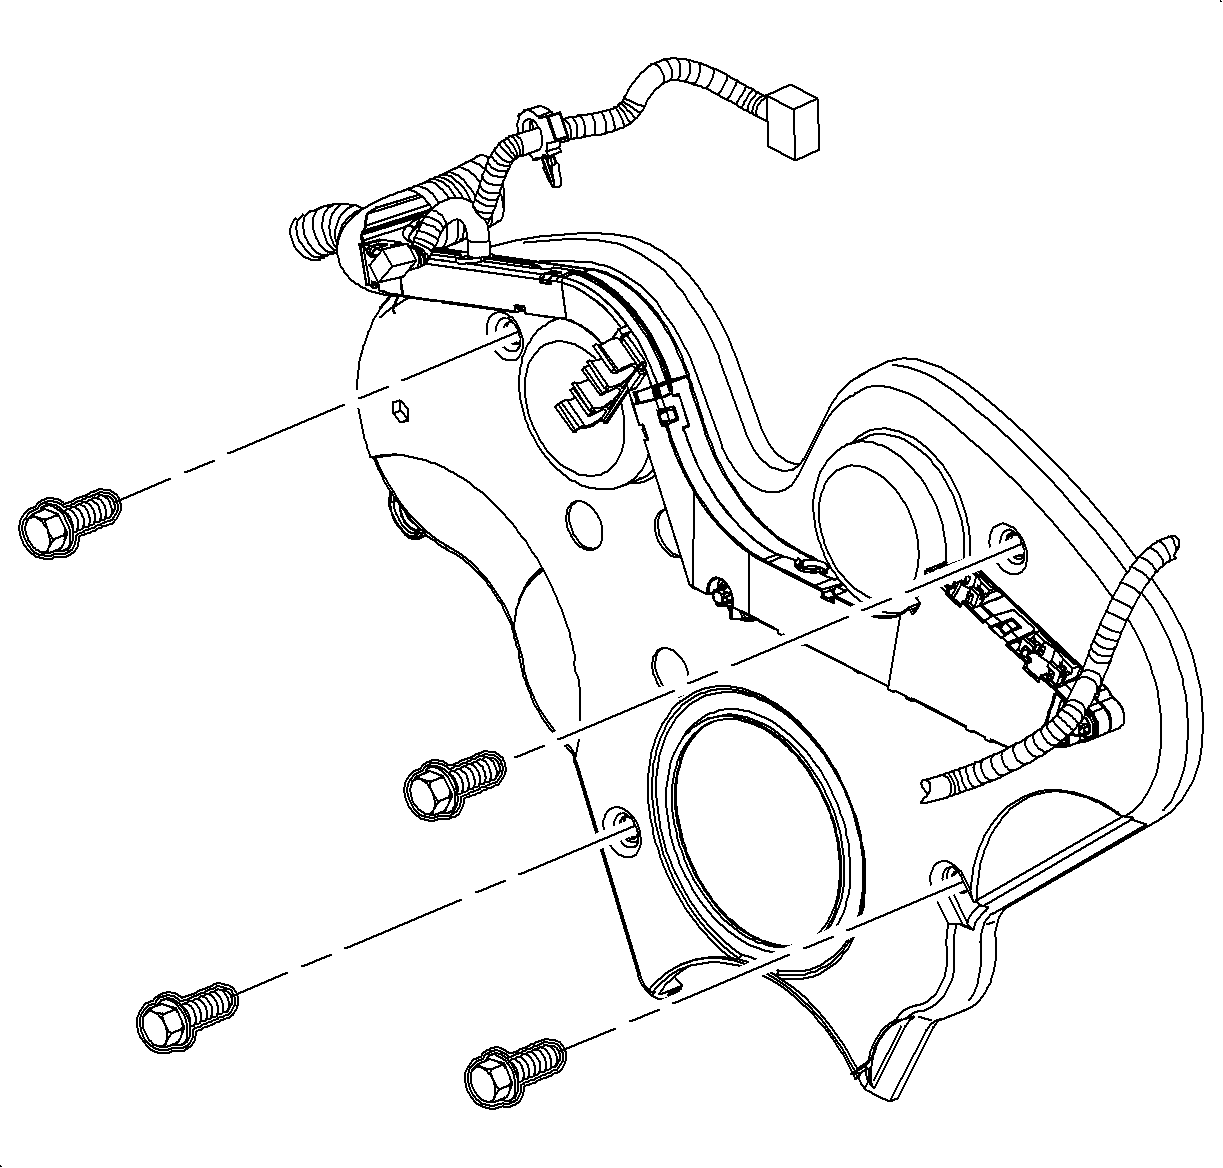
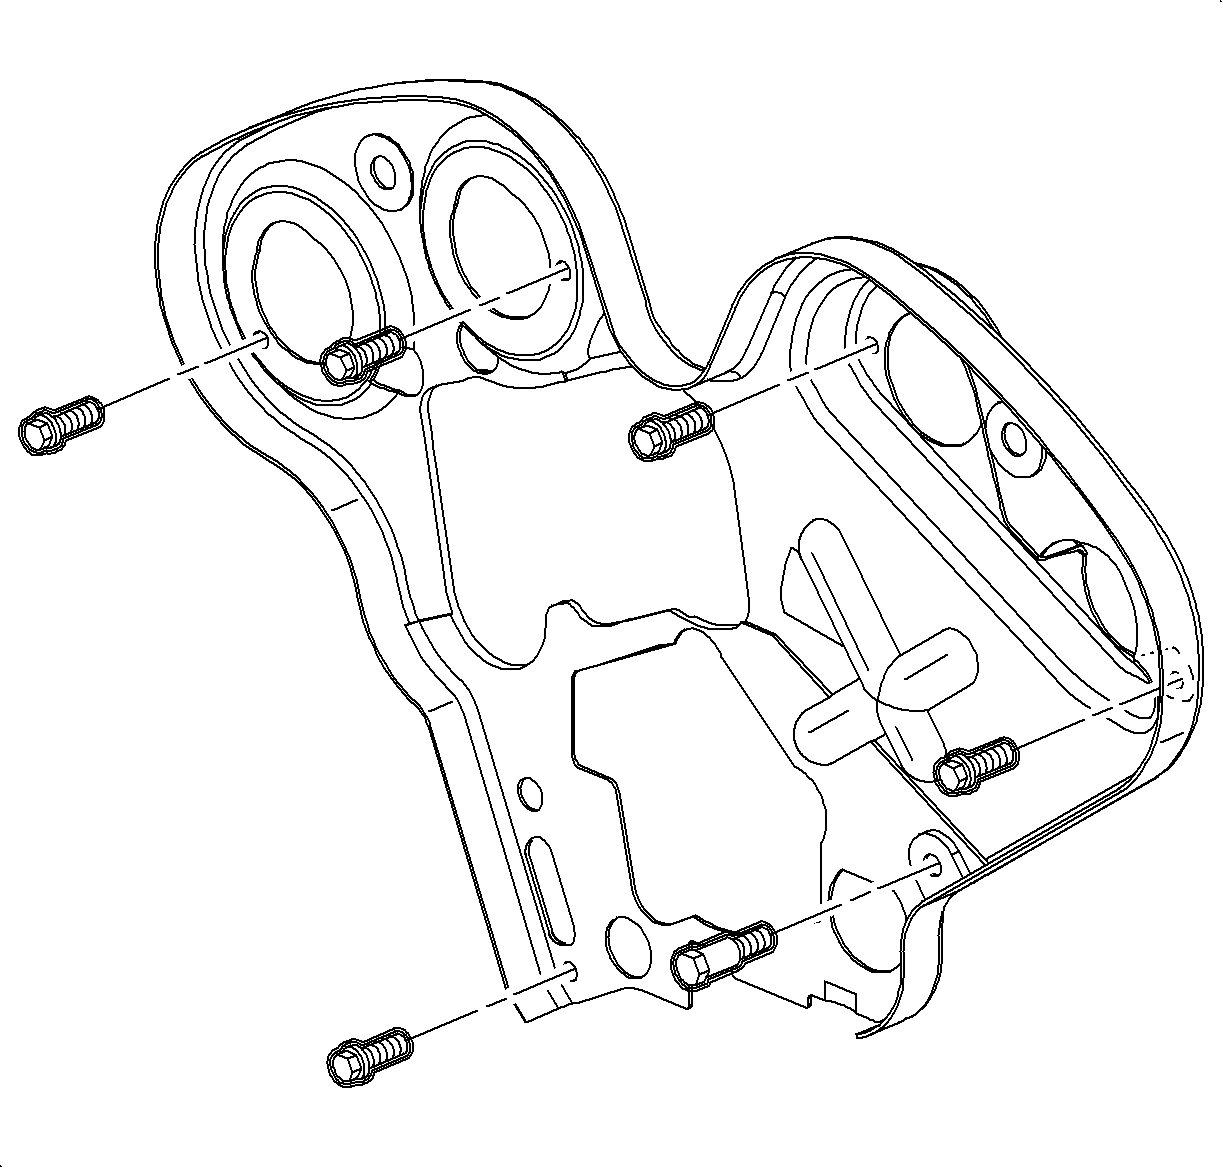
- Remove the rear timing belt cover bolts.
- Remove the rear timing belt threaded pin.
- Remove the rear timing belt cover.
Installation Procedure
- Install rear timing belt cover.
- Coat threaded pin with Threadlocker LOCTITE® 242 compound, or equivalent.
- Install the rear timing belt cover bolts.
- Install the rear timing belt threaded pin.
- Install both timing belt idler pulleys.
- Install the timing belt tensioner bracket.
- Install the timing belt tensioner bracket bolts.
- Install the camshaft gears and new bolts using the camshaft lock kit tools J 42069-1 and J 42069-2 within the J 42069 to lock the gears when tightening the gear bolts.
- Install and adjust the timing belt. Refer to Timing Belt Replacement .
- Install the front timing belt cover.
- Install the front timing belt cover bolts.
- Install the intake air resonator.
- Reconnect the negative battery cable.

Notice: Refer to Fastener Notice in the Preface section.
Tighten
Tighten the rear timing belt cover bolt to 8 N·m
(71 lb in).
Tighten
Tighten the rear timing belt cover threaded pin
to 10 N·m (89 lb in).
Important: The upper idler pulley (cams 1 and 2) and the lower idler puller (cams 3 and 4) use different bolts and spacers of different thicknesses. The upper idler pulley uses a narrow 5 mm (0.2 in) thick spacer and a black bolt. The lower idler puller uses a 11 mm (0.4 in) thick spacer and a silver bolt.
Important: Tighten the timing belt idler pulley bolt until snug. After the final timing belt adjustments are made, the bolt will be tightened to specifications.
Tighten
Tighten the idler pulley fastener to 40 N·m
(30 lb ft).

Tighten
Tighten the timing belt tensioner bracket bolt to
40 N·m (30 lb ft).
Tighten
Tighten the camshaft gear bolt to 50 N·m
(37 lb ft) plus 60 degrees plus 15 degrees.


Tighten
Tighten the front timing belt cover bolt to 8 N·m
(71 lb in).

Tighten
Tighten the battery terminal bolts to 17 N·m
(13 lb ft).
