For 1990-2009 cars only
Removal Procedure
- Raise the vehicle on a hoist. Refer to Lifting and Jacking the Vehicle in General Information.
- Remove the rear wheel and the tire assembly. Refer to Tire and Wheel Removal and Installation in Tires and Wheels.
- Disassemble the rear drum brakes. Refer to Rear Drum Brake Disassemble .
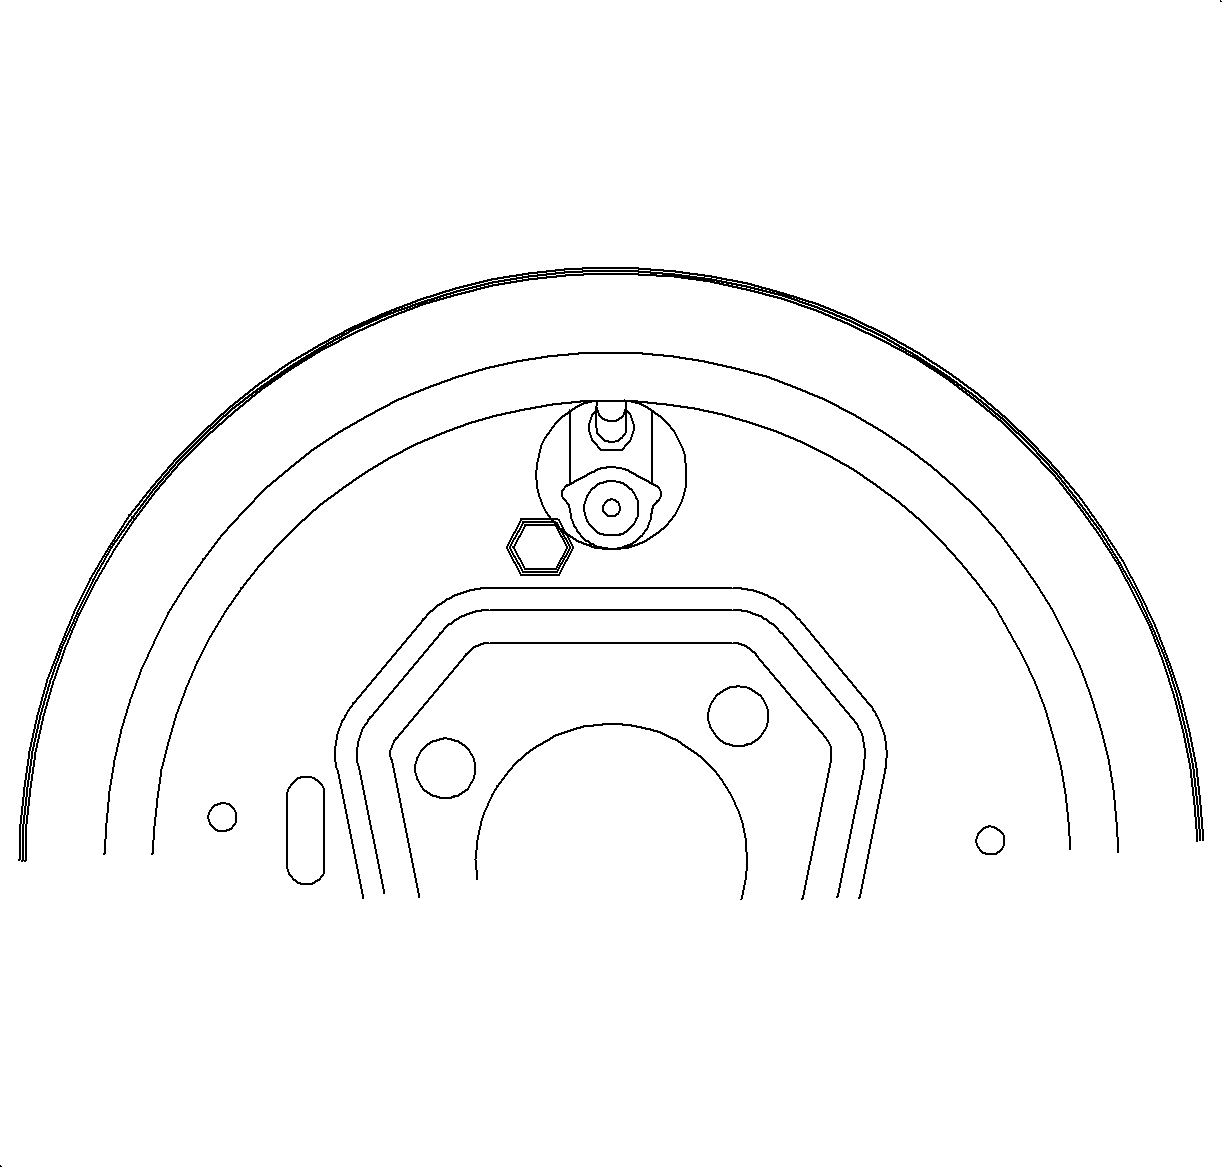
- Disconnect the rear brake pipe from the wheel cylinder. Plug the open brake pipes to prevent brake fluid loss and contamination.
- Remove the wheel cylinder screw and the wheel cylinder.
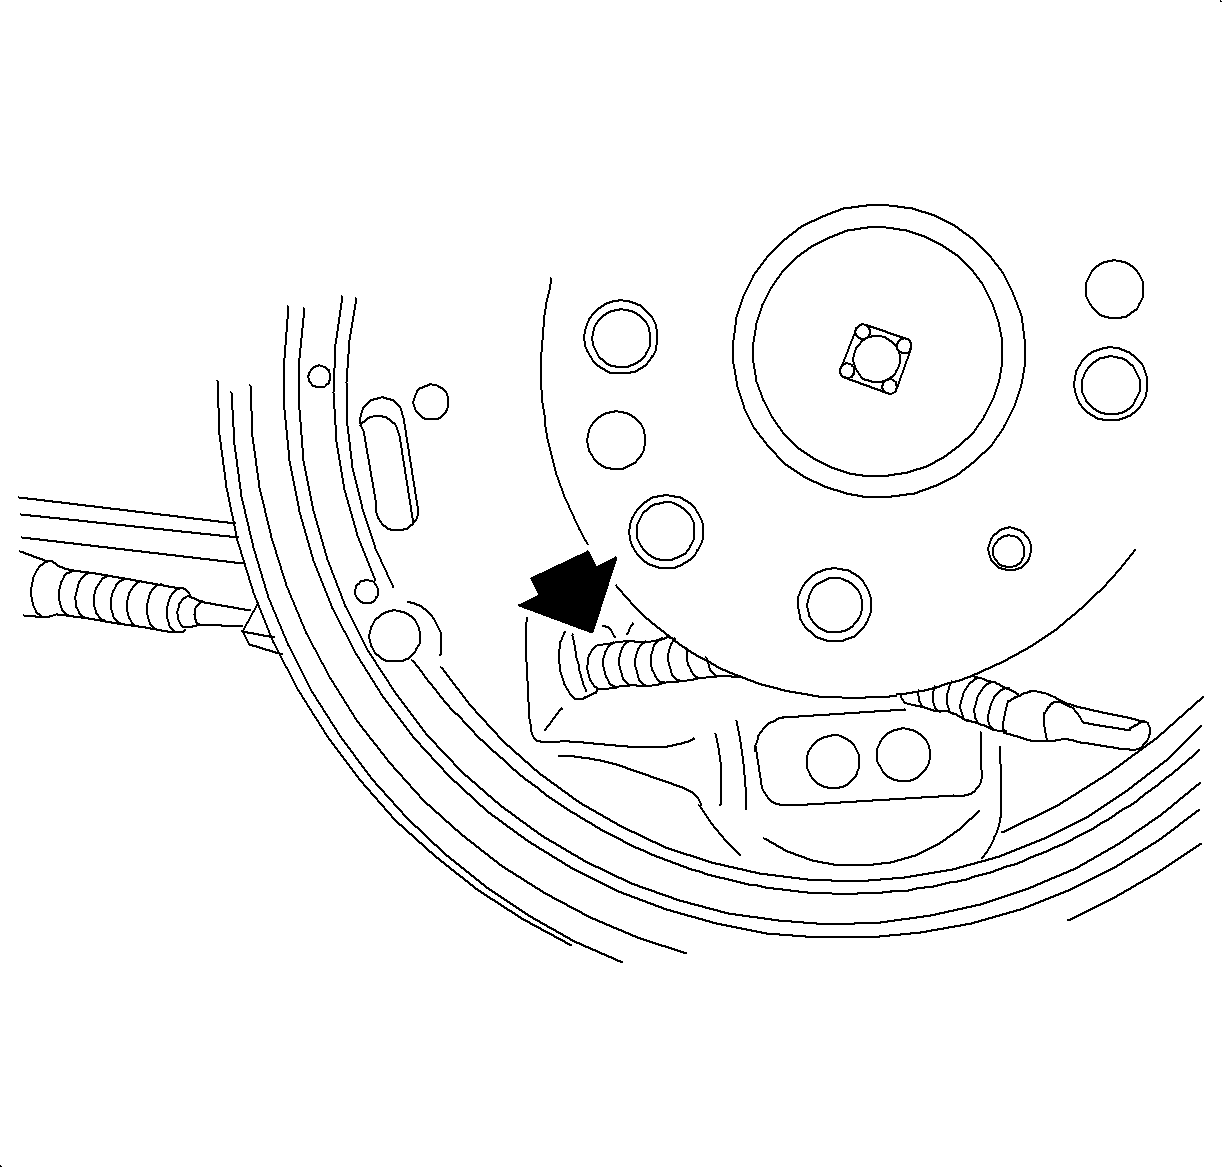
- Remove the park brake cable.
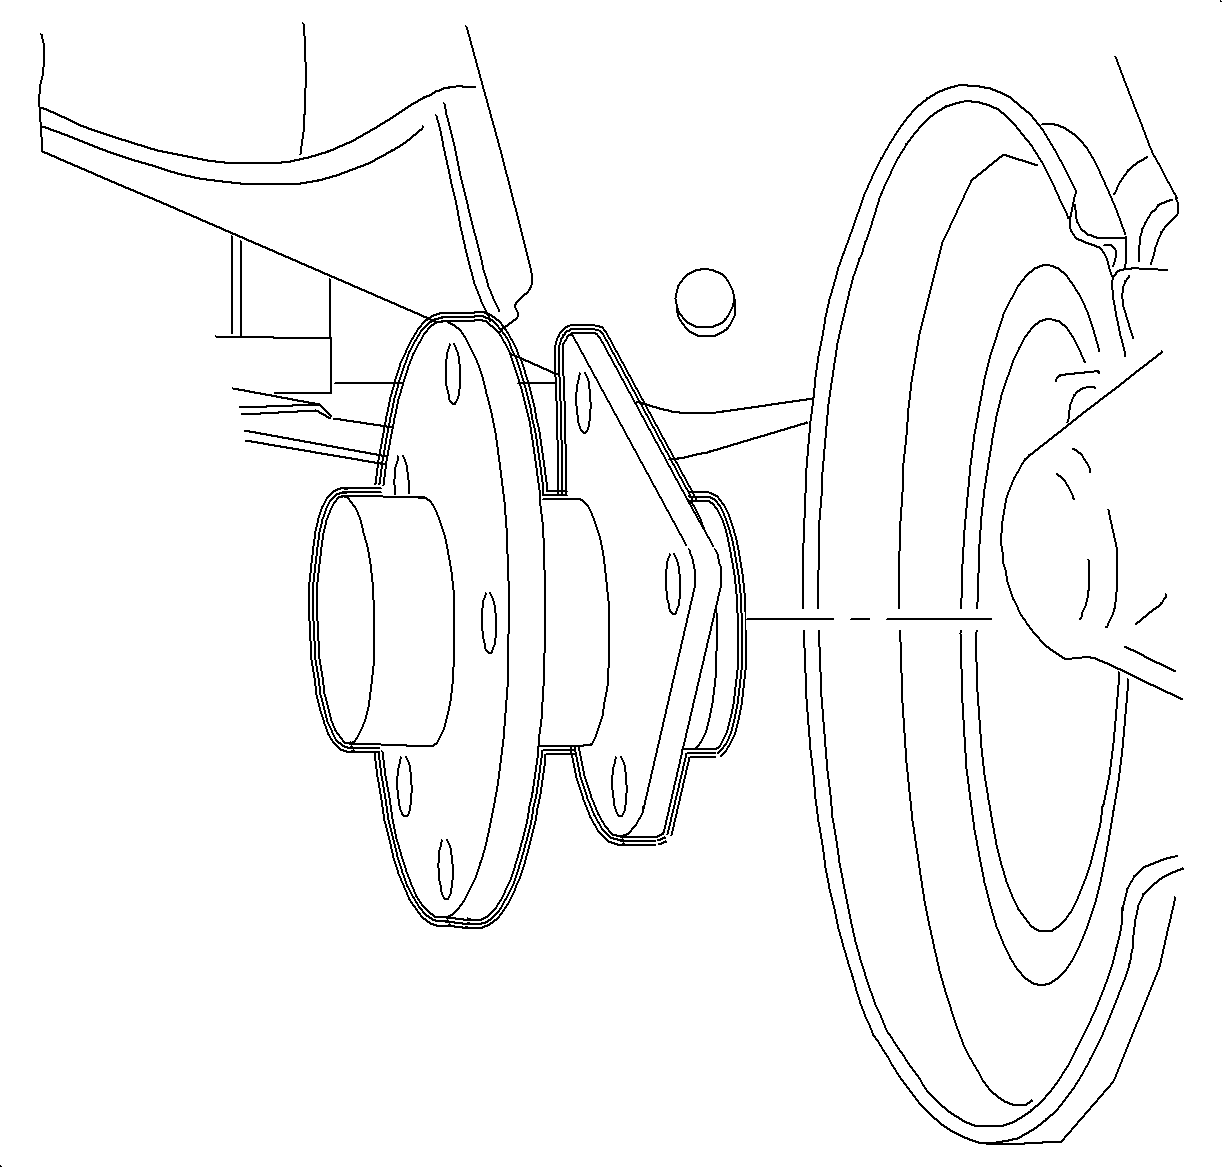
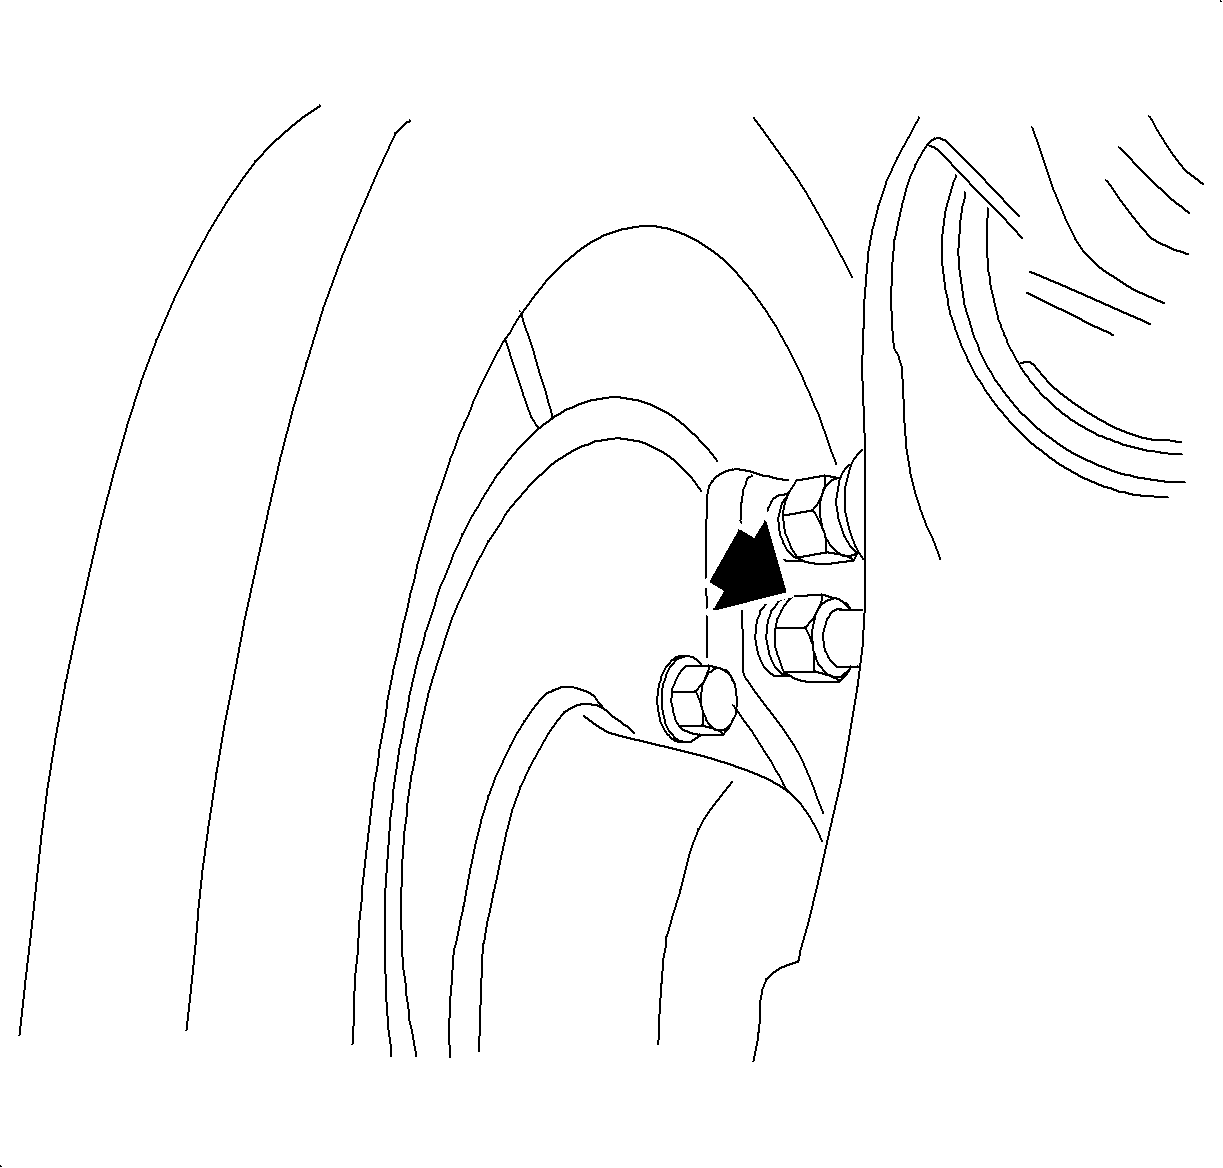
- Remove the hub-to-knuckle nuts, the hub, and the backing plate from the knuckle.
Caution: Ensure that the vehicle is properly supported and squarely positioned. To help avoid personal injury when a vehicle is on a hoist, provide additional support for the vehicle on the opposite end from which the components are being removed.


Installation Procedure
- Position the hub assembly and the backing plate to the knuckle and tighten using new nuts.
- Install the parking brake cable.
- Install the wheel cylinder and the fastener.
- Install the brake pipe onto the wheel cylinder.
- Completely assemble the rear drum brakes. Refer to Brake Drum Replacement .
- Position the wheel and the tire assembly onto the hub.
- Install the wheel and tire assembly. Refer to Tire and Wheel Removal and Installation in Tires and Wheels.
- Lower the vehicle from the hoist.
- Bleed the brakes. Refer to Hydraulic Brake System Bleeding .
Notice: Refer to Fastener Notice in the Preface section.

Important: Use new nuts. Torque retention of old nuts may not be sufficient.
Tighten
Tighten the rear hub assembly-to-knuckle nuts to
50 N·m (37 lb ft) + 30-45 degrees.


Tighten
Tighten the wheel cylinder-to-backing plate bolt
to 9 N·m (80 lb in).

Tighten
Tighten the brake pipe-to-rear wheel cylinder to
16 N·m (12 lb ft).
