Adjustment Check Procedure
Caution: Ensure that the vehicle is properly supported and squarely positioned. To help avoid personal injury when a vehicle is on a hoist, provide additional support for the vehicle on the opposite end from which the components are being removed.
Notice: On new vehicles (less than 50 miles) and on vehicles which have just had the rear brake serviced, before performing Park Brake Adjustment procedures, apply and release the brake pedal 20 times. This allows the adjuster to position the brake linings and prevents premature wear of the brake linings due to improper park brake adjustment.
- Raise the vehicle on a hoist.
- There should be no drag at the rear wheels with the park brake lever in the rest position.
- Pull the park brake lever to the fourth click. There should be heavy brake drag to no rotation at both the rear wheels when turned by hand.
- Adjust if necessary. Refer to Park Brake Adjustment .
Important: If both rear wheels do not exhibit similar drag in step 3, check for damaged or incorrectly installed drum brake assembly installation of drum assembly components, park brake cables, and/or park brake lever assembly. The park brake is adjusted correctly if it meets the specifications explained in steps 2 and 3.
Adjustment Procedure
Notice: On new vehicles (less than 50 miles) and on vehicles which have just had the rear brake serviced, before performing Park Brake Adjustment procedures, apply and release the brake pedal 20 times. This allows the adjuster to position the brake linings and prevents premature wear of the brake linings due to improper park brake adjustment.
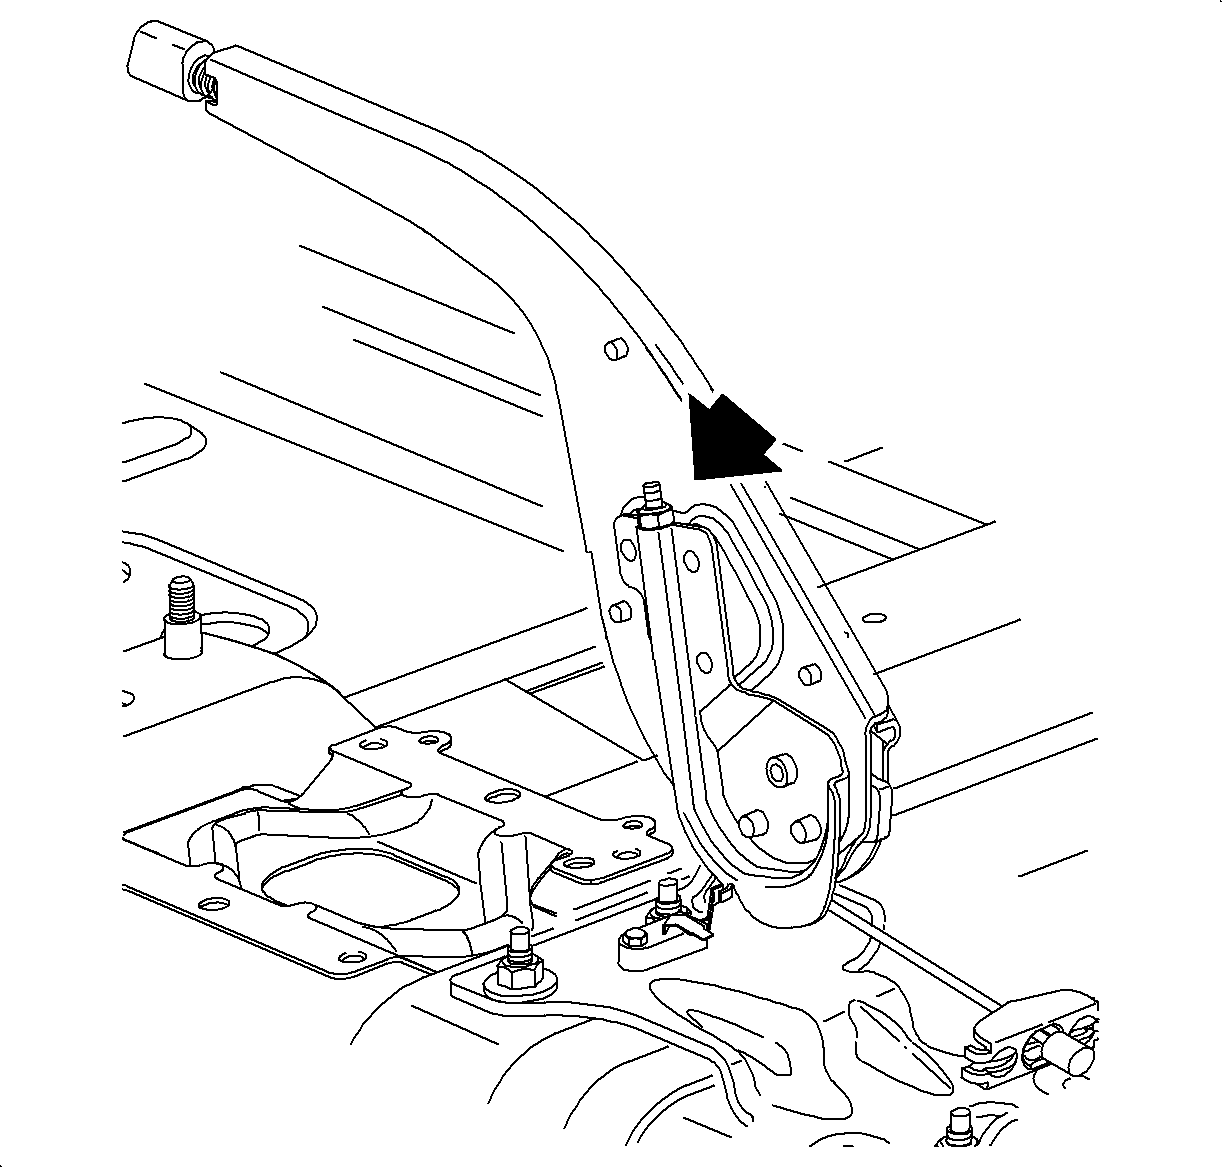
- Lift the park brake lever.
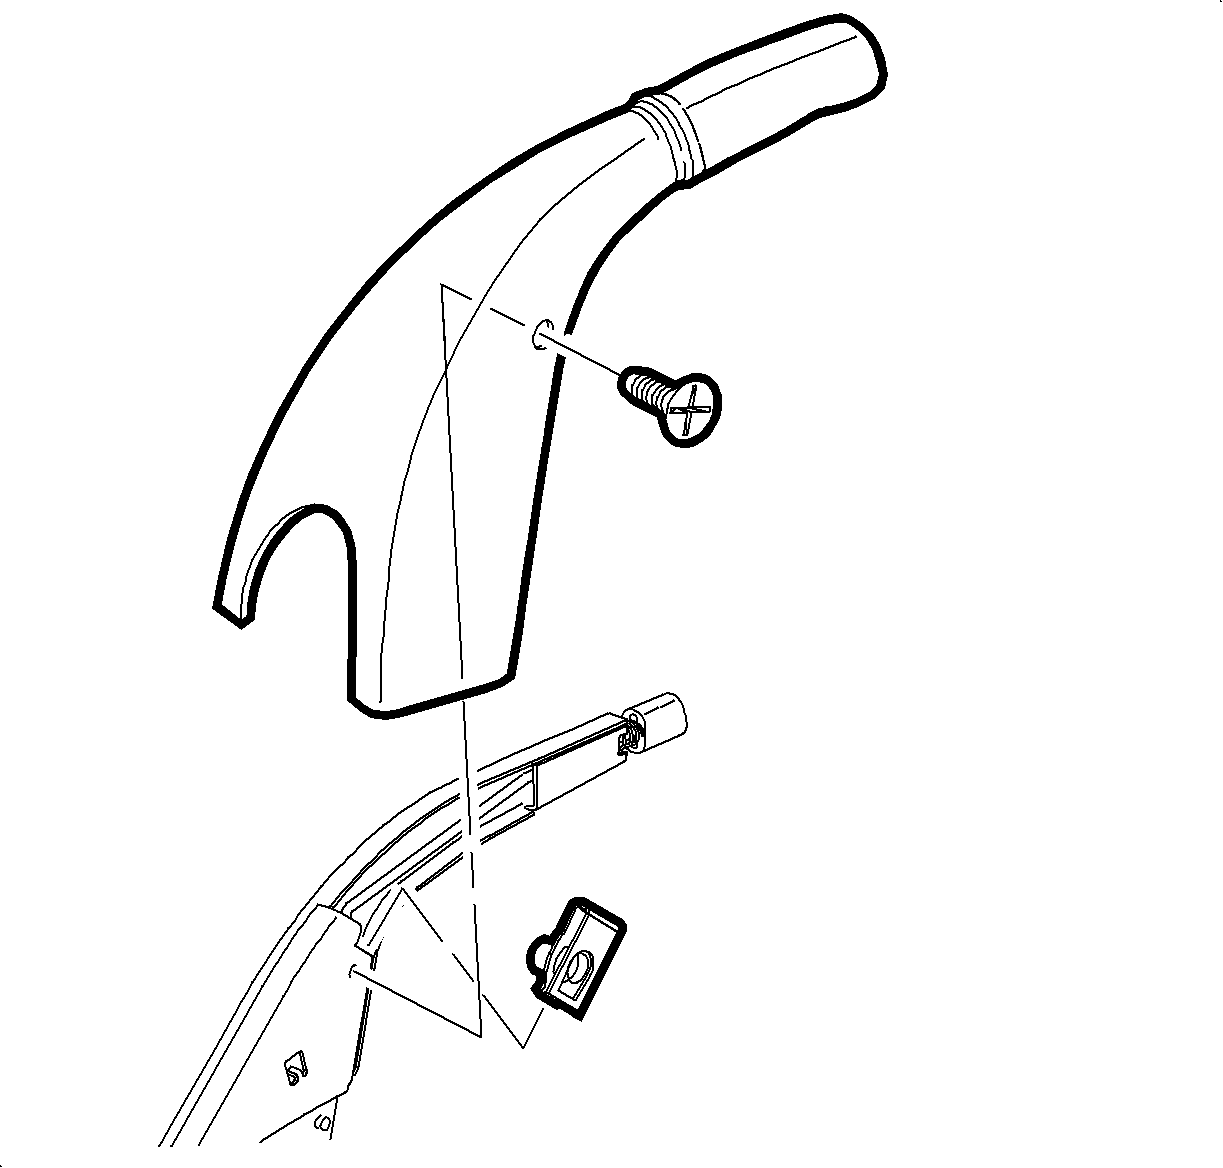
- Remove the screw on the right-hand side of the park brake cover. Remove the cover by sliding it forward.
- Raise the vehicle on a hoist.
- Pull the park brake lever to the first click.
- Tighten the adjuster nut until moderate drag is felt at both rear wheels when turned by hand.
- Apply and release the park brake several times. There should be no drag when the park brake lever is in the rest position.
- Pull the park brake lever to the first click. There should be moderate drag at both rear wheels when turned by hand.
- If necessary, repeat steps 5 through 7 until the adjustment is correct.
- Install the park brake cover. Secure with the screw on right hand-side of cover.

Caution: R-134a service equipment or vehicle a/c systems should not be pressure tested or leak tested with compressed air. Some mixtures of air/R-134a have been shown to be combustible at elevated pressures. These mixtures are potentially dangerous and may result in fire or explosion causing injury or property damage. Additional health and safety information may be obtained from refrigerant and lubricant manufacturers.

Important: After installation of any new park brake system component(s), the park brake system must be set prior to performing final park brake adjustment. To set park brake system after performing initial adjustment, pull up on park brake lever three or four times with approximately 445 N (100 lbs) of force. It will require approximately 445 N (100 lbs) of force to reach the twelfth or thirteenth click position after initial adjustment.
Notice: Do not overtighten screw or it may pull through cover.
Important: If both rear wheels do not exhibit similar drag in steps 5 through 7, check for damaged or incorrectly installed drum brake assembly components, park brake cables, and/or park brake lever assembly. Correct as necessary; return to step 5 of this procedure.
