Seat Belt Retractor Replacement - Left Front Coupe 1st Design
Removal Procedure
- Remove the seat belt rocker anchor Torx® fasteners.
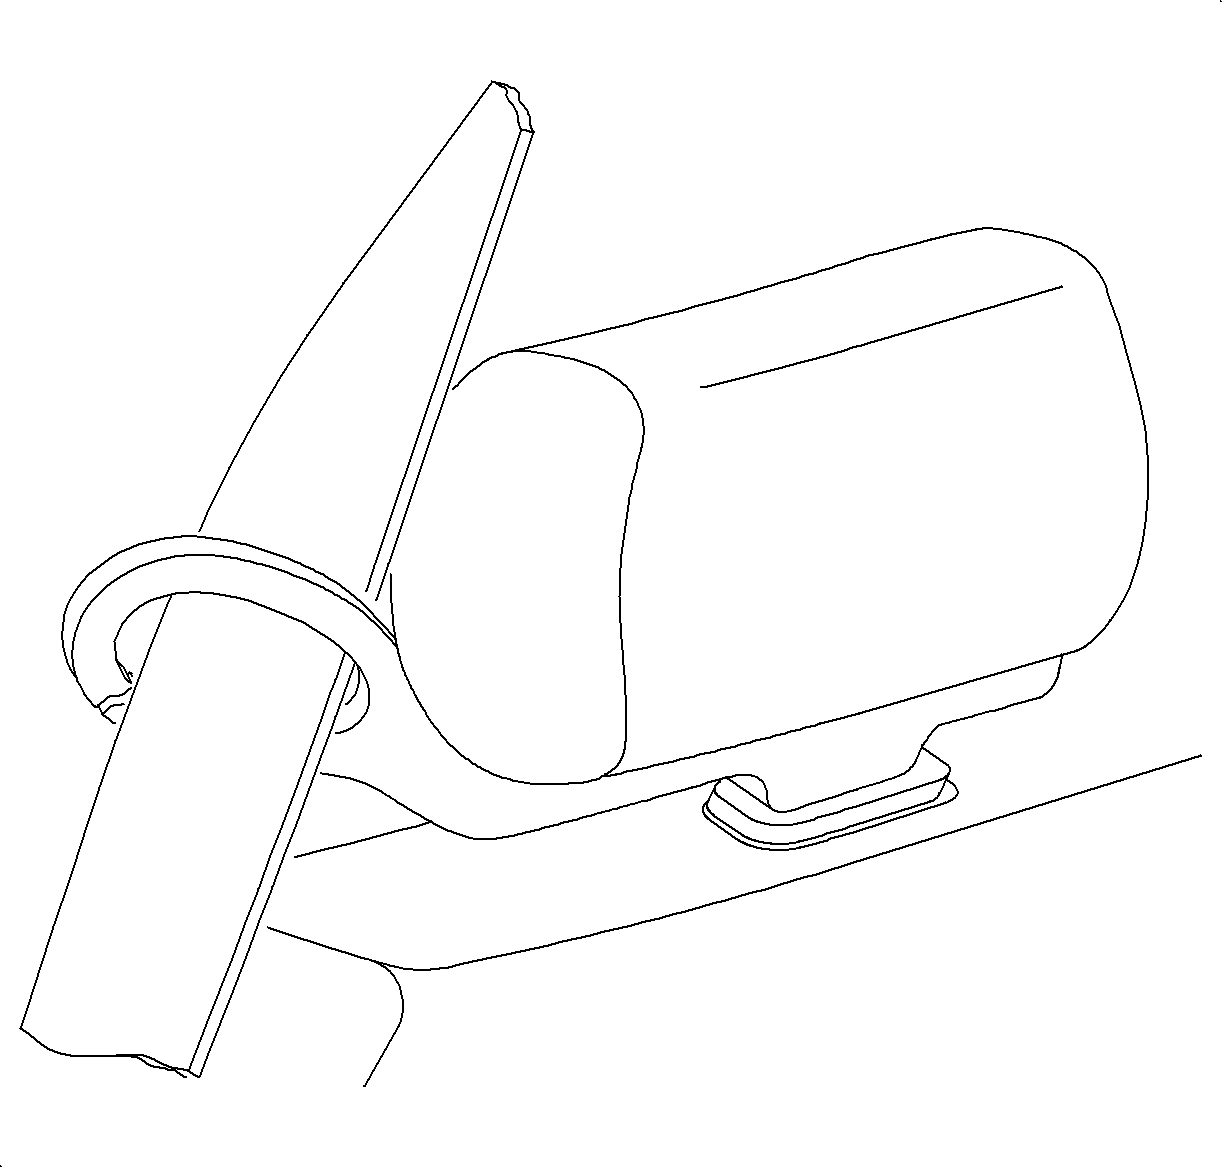
- Route the seat belt webbing through the slit on the shoulder belt guide.
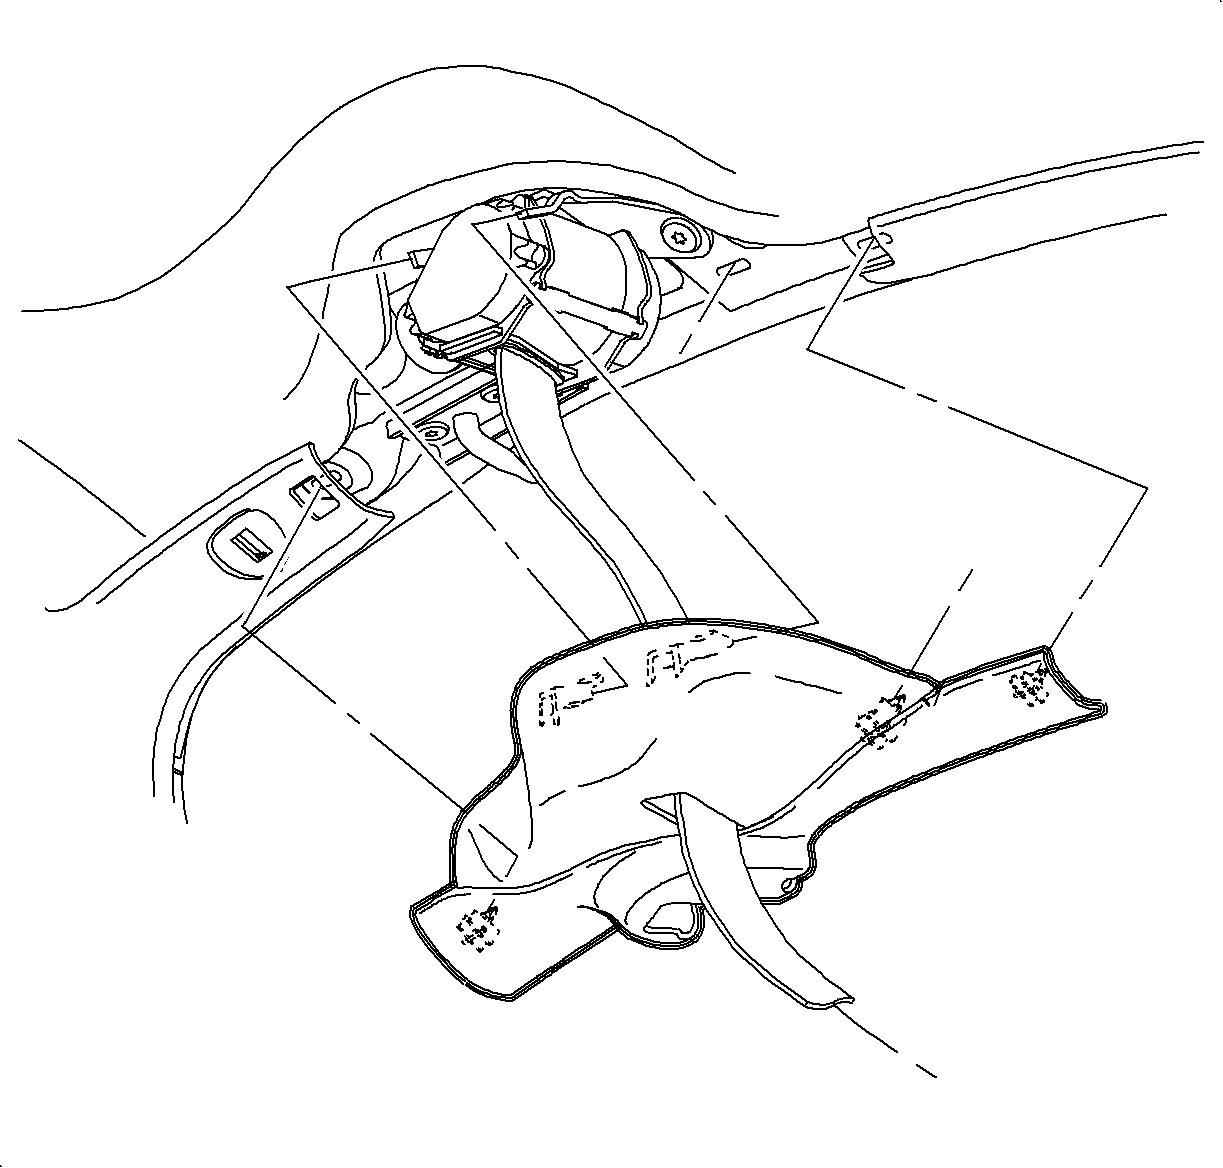
- Remove seat belt retractor cover by pulling.
- Route the seat belt retractor cover down the seat belt webbing.
- Remove the Torx® fasteners and the seat belt unit.
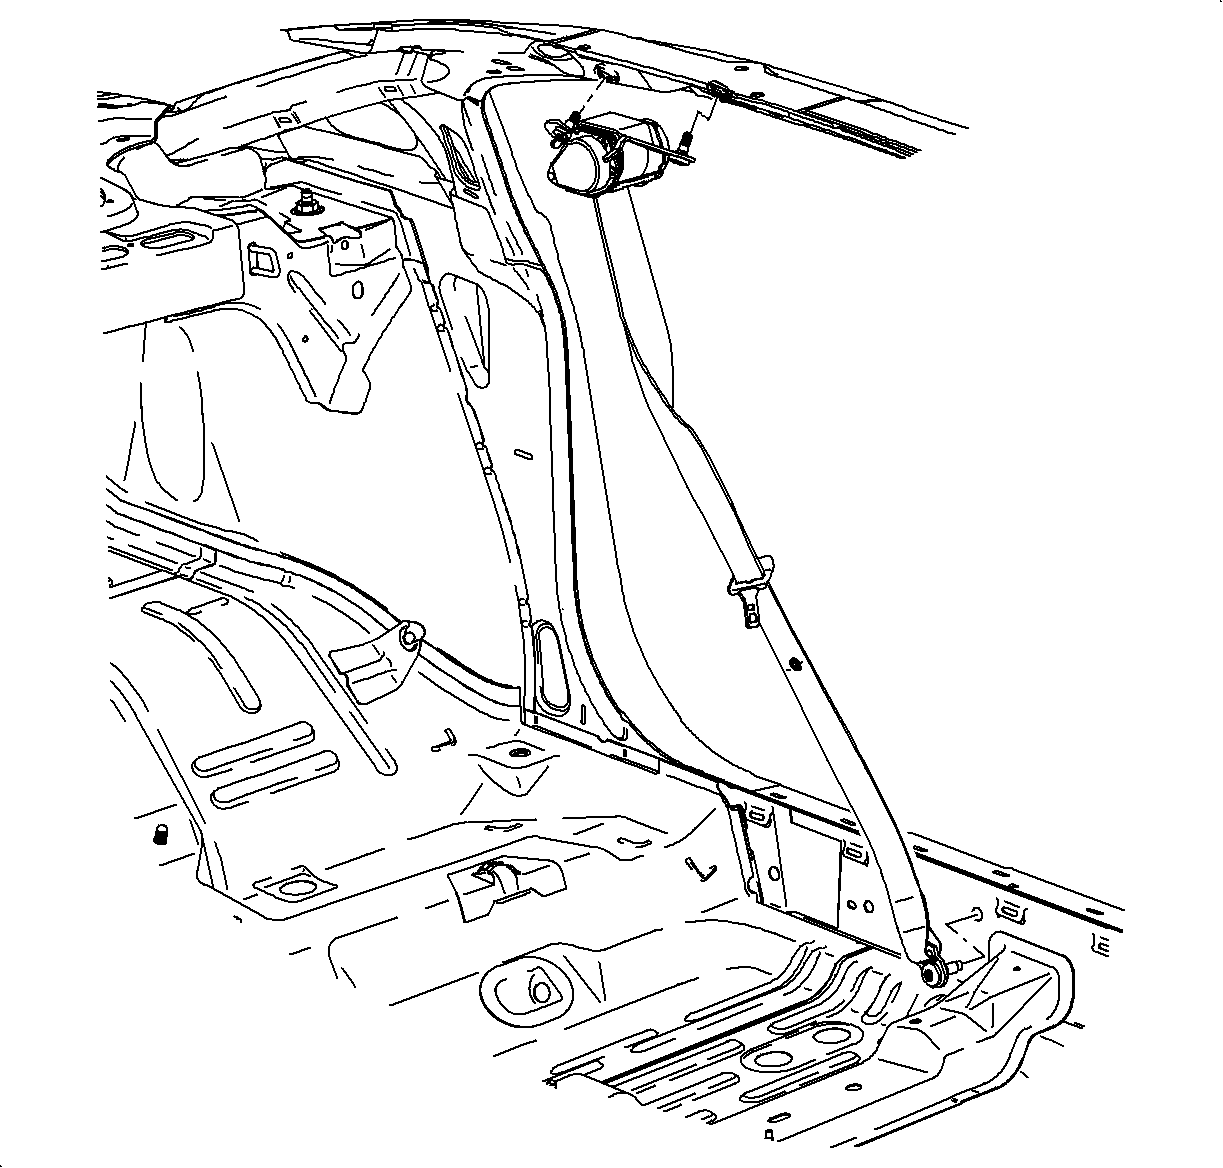
Important: SC2 shown, SC1 similar.

Installation Procedure
- Install the seat belt unit and the Torx® fasteners.
- Route the seat belt retractor cover up through the seat belt webbing.
- Install the seat belt retractor cover.
- Route the seat belt webbing through the slit on shoulder belt guide.
- Install the seat belt rocker anchor Torx® fasteners.
Notice: Refer to Fastener Notice in the Preface section.

Tighten
Tighten the seat belt rocker fastener to 50 N·m (37 lb ft).


Important: Apply LOCTITE 242® Threadlocker, or equivalent, to all restraint bolts/nuts before installing them.
Tighten
Tighten the seat belt rocker fastener to 50 N·m (37 lb ft).
Seat Belt Retractor Replacement - Left Front Coupe 2nd Design
Removal Procedure
Notice: Use care when working around the head curtain inflator module. Sharp tools may puncture the curtain airbag. If the head curtain inflator module is damaged in any way, it must be replaced.
- If vehicle is equipped with the optional head curtain inflator module, disable the head curtain inflator module. Refer to Disabling the SIR System in SIR.
- Remove headliner. Refer to Headlining Trim Panel Replacement in Interior Trim.
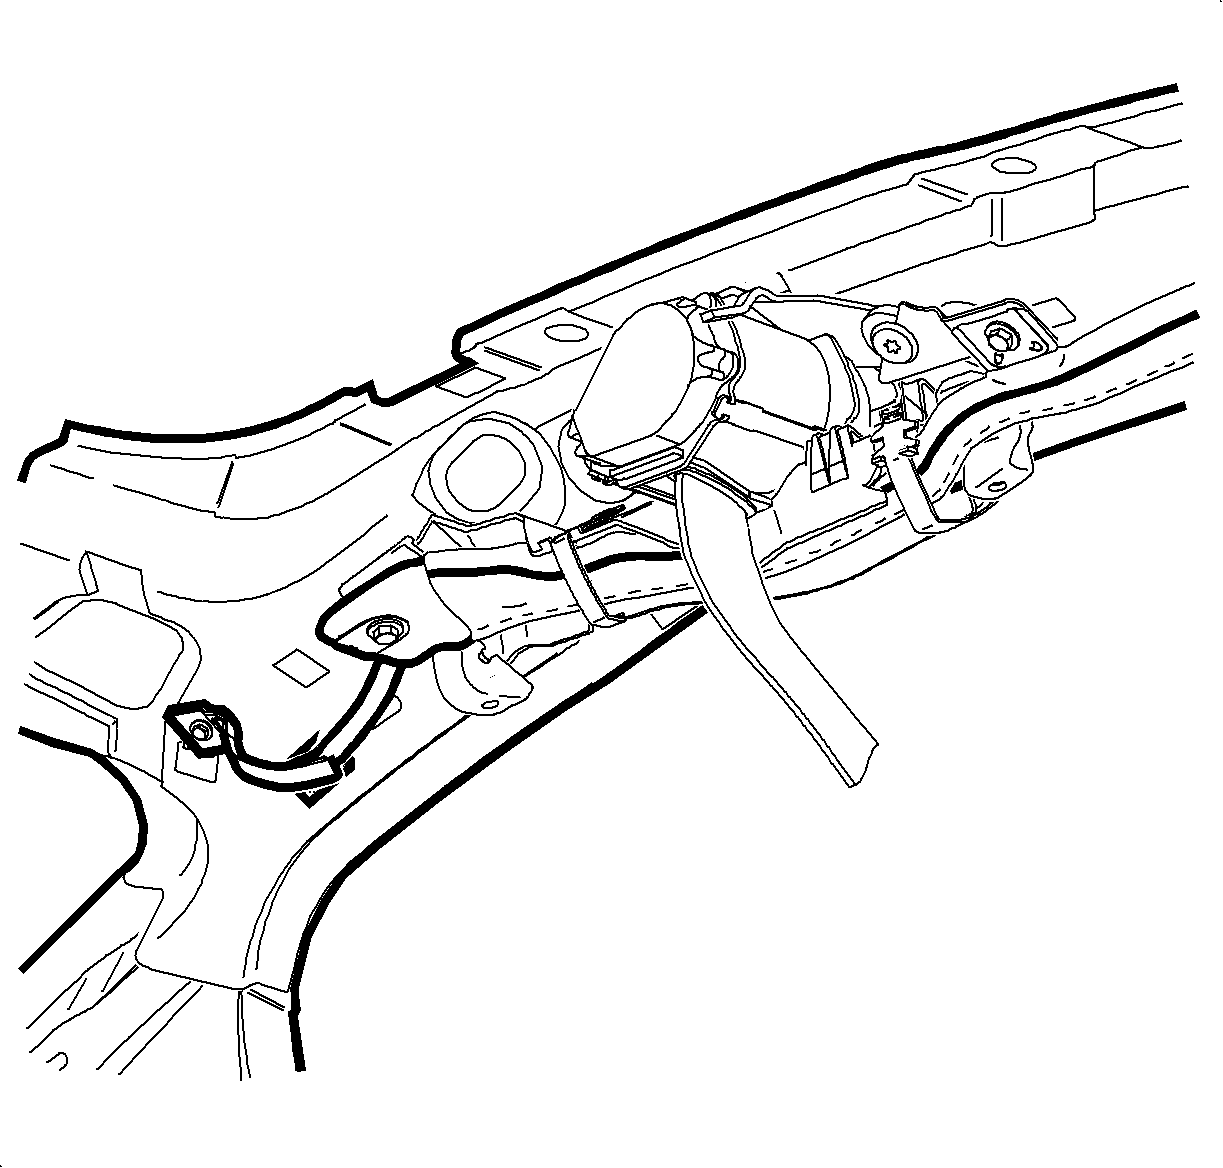
- If vehicle is equipped with optional head curtain inflator module, remove the head curtain inflator module fastener from retractor bracket.
- Remove the seat belt rocker anchor Torx® fastener.
- Remove the upper retractor Torx® fasteners and the retractor.
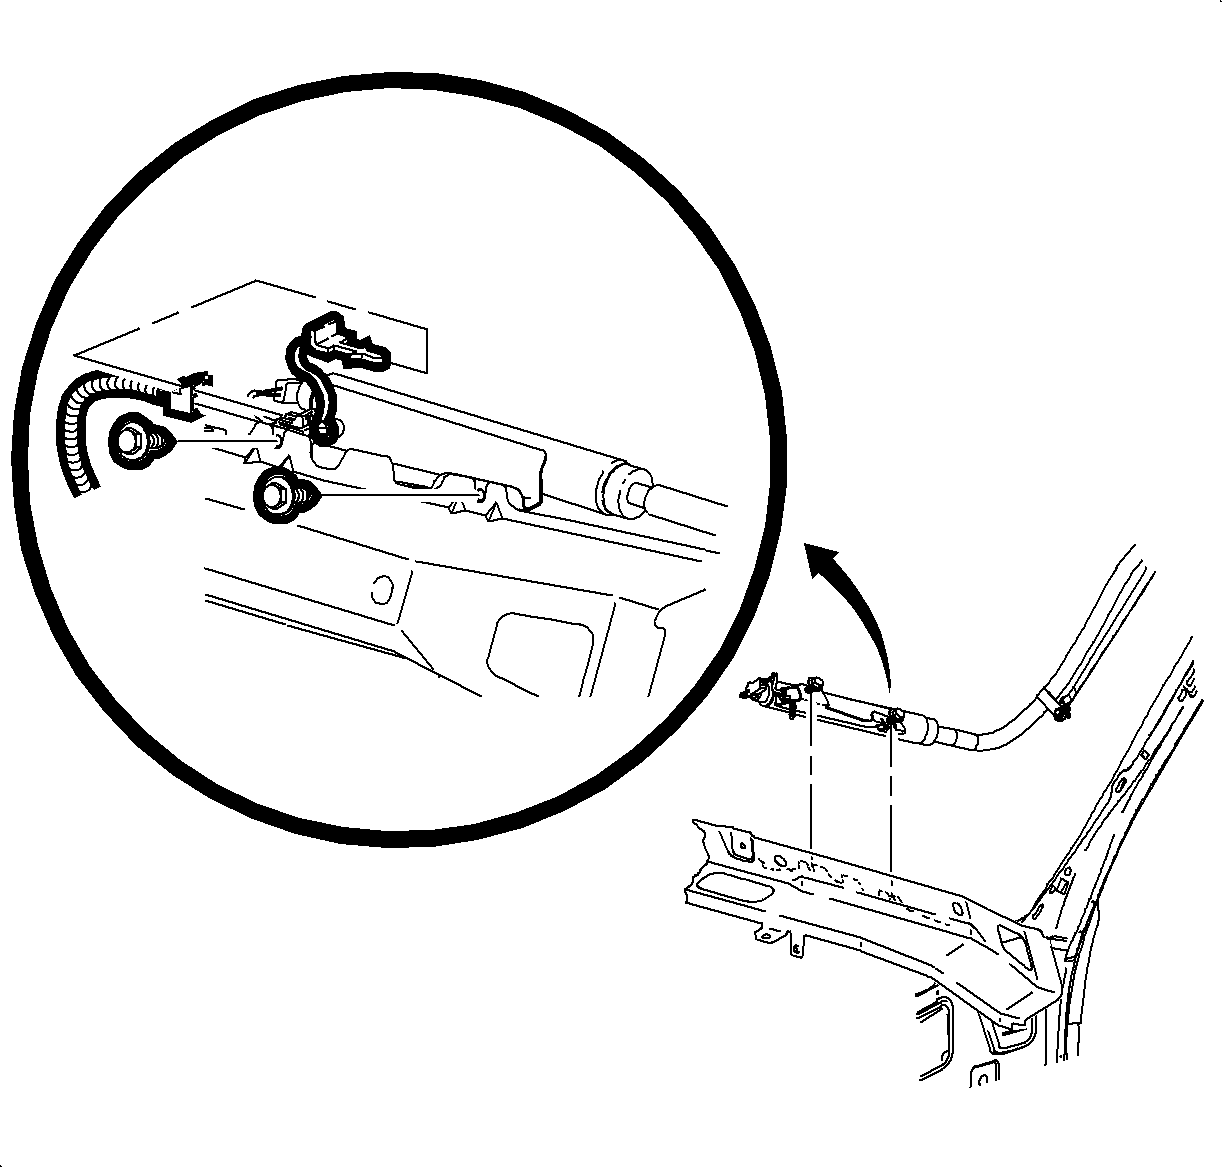
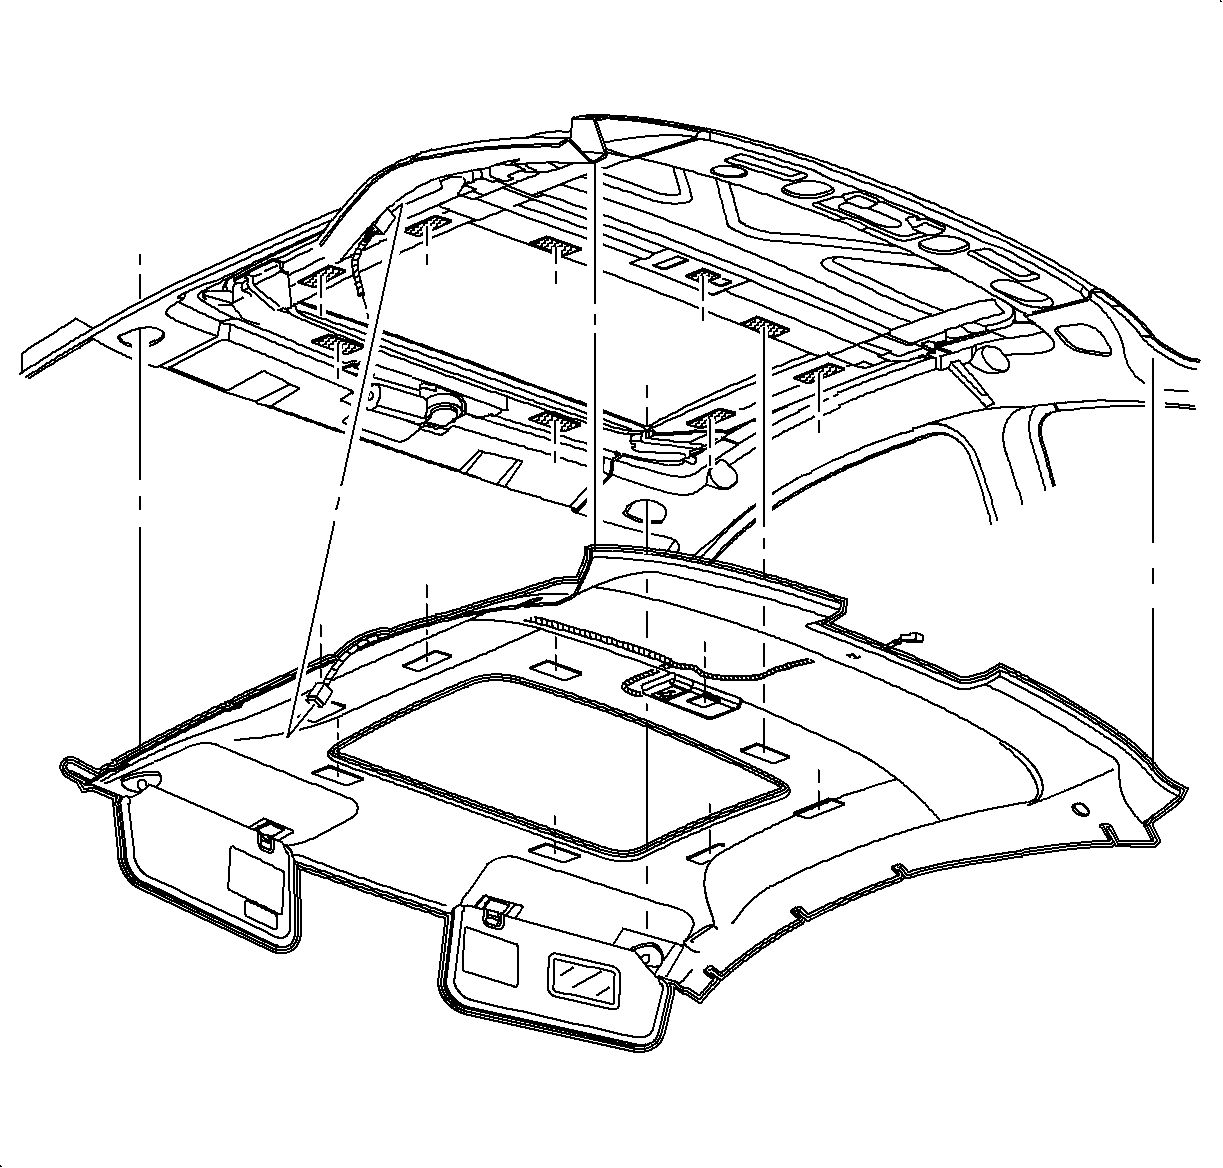
Notice: When removing the headliner, be careful not to bend the headliner. If the headliner is bent, it will break and leave a wrinkle that cannot be repaired.
Important: Before removal, note the position of the door weather strips over the edge of headliner.

Installation Procedure
Notice: Refer to Fastener Notice in the Preface section.
Important: Apply LOCTITE 242® Threadlocker, or equivalent, to all restraint bolts/nuts before installing them.
- Install the seat belt unit and the Torx® fasteners.
- Install the seat belt rocker anchor Torx® fastener.
- If vehicle is equipped with an optional head curtain inflator module, install the head curtain inflator module fastener into the retractor bracket.
- Ensure the tether is properly attached to hook-and-loop fastener.
- Install the headliner. Refer to Headlining Trim Panel Replacement in Interior Trim.
- If vehicle is equipped with the optional head curtain inflator module, enable the head curtain inflator module. Refer to Enabling the SIR System in SIR.
Tighten
Tighten the seat belt unit retractor fastener to 50 N·m (37 lb ft).
Tighten
Tighten the seat belt rocker fastener to 50 N·m (37 lb ft).

Notice: If a vehicle is equipped with a head curtain inflator module ensure that the inflator module and tether are undamaged. If tether or curtain airbag are damaged in any way, they must be replaced.
Tighten
Tighten the head curtain module fastener to 8 N·m (71 lb in).

Caution: Ensure that the curtain inflator module tether is not hanging below the edge of headliner. Improper routing can cause personal injury or improper curtain airbag deployment.
Notice: When removing the headliner, be careful not to bend the headliner. If the headliner is bent, it will break and leave a wrinkle that cannot be repaired.

