Generator Replacement 2.2L (L61)
Tools Required
J 44811 Accessory Belt Tensioner Unloader
Removal Procedure
- Turn the ignition OFF.
- Disconnect the negative battery cable. Refer to Battery Negative Cable Disconnection and Connection .
- Remove the throttle body air duct.
- Remove the accessory drive belt. Refer to Drive Belt Replacement .
- Disconnect the generator electrical connections.
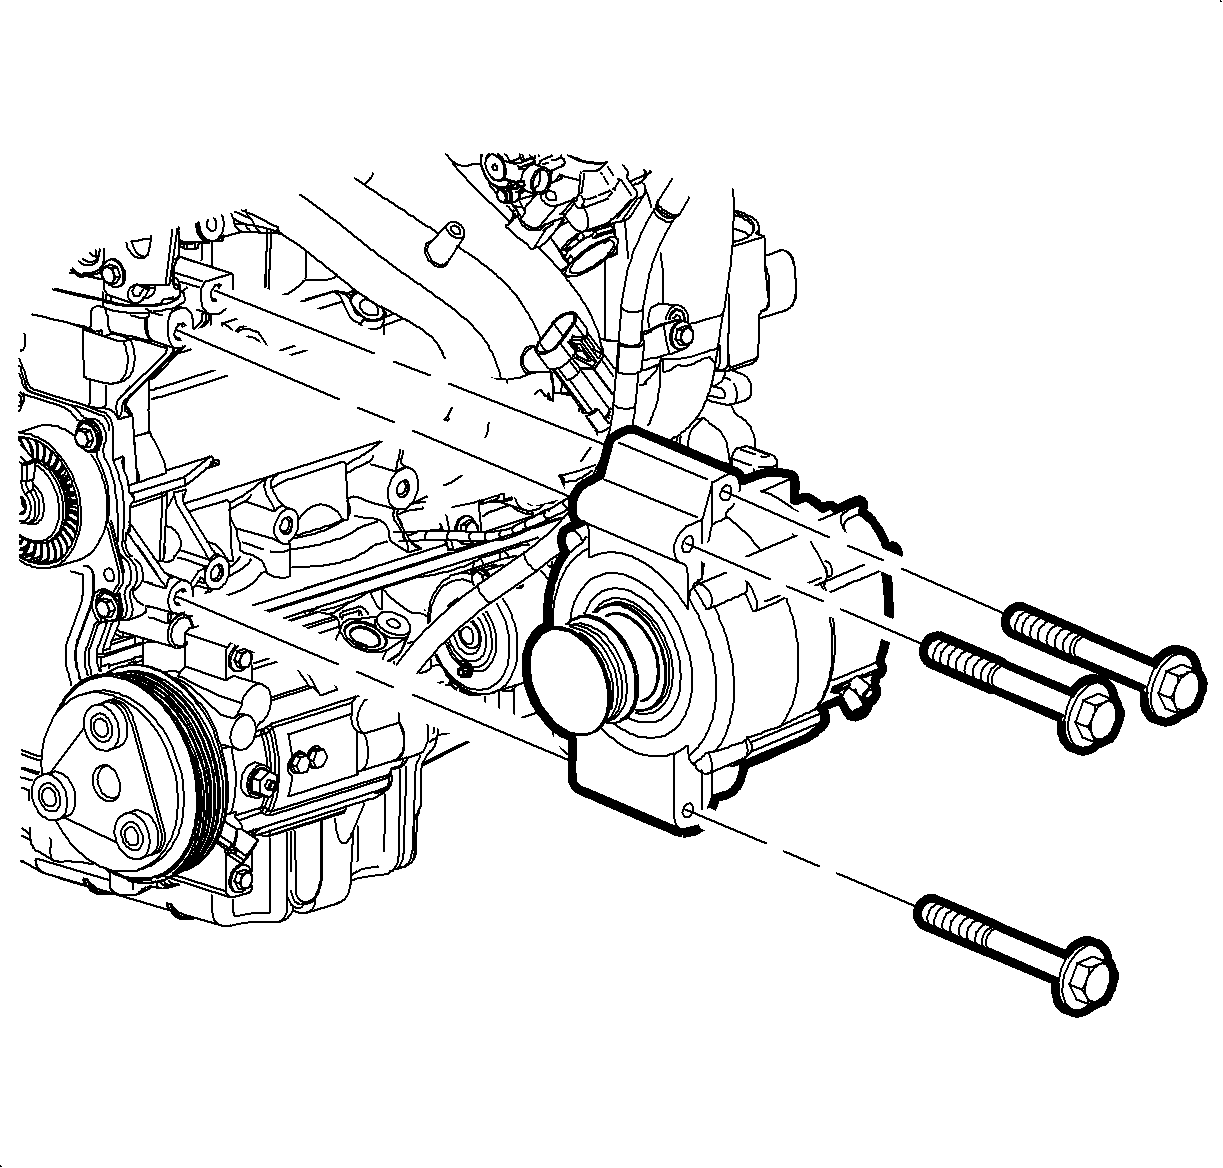
- Remove the generator to engine block bolts and the generator.
Important: Record all pre-set radio stations.
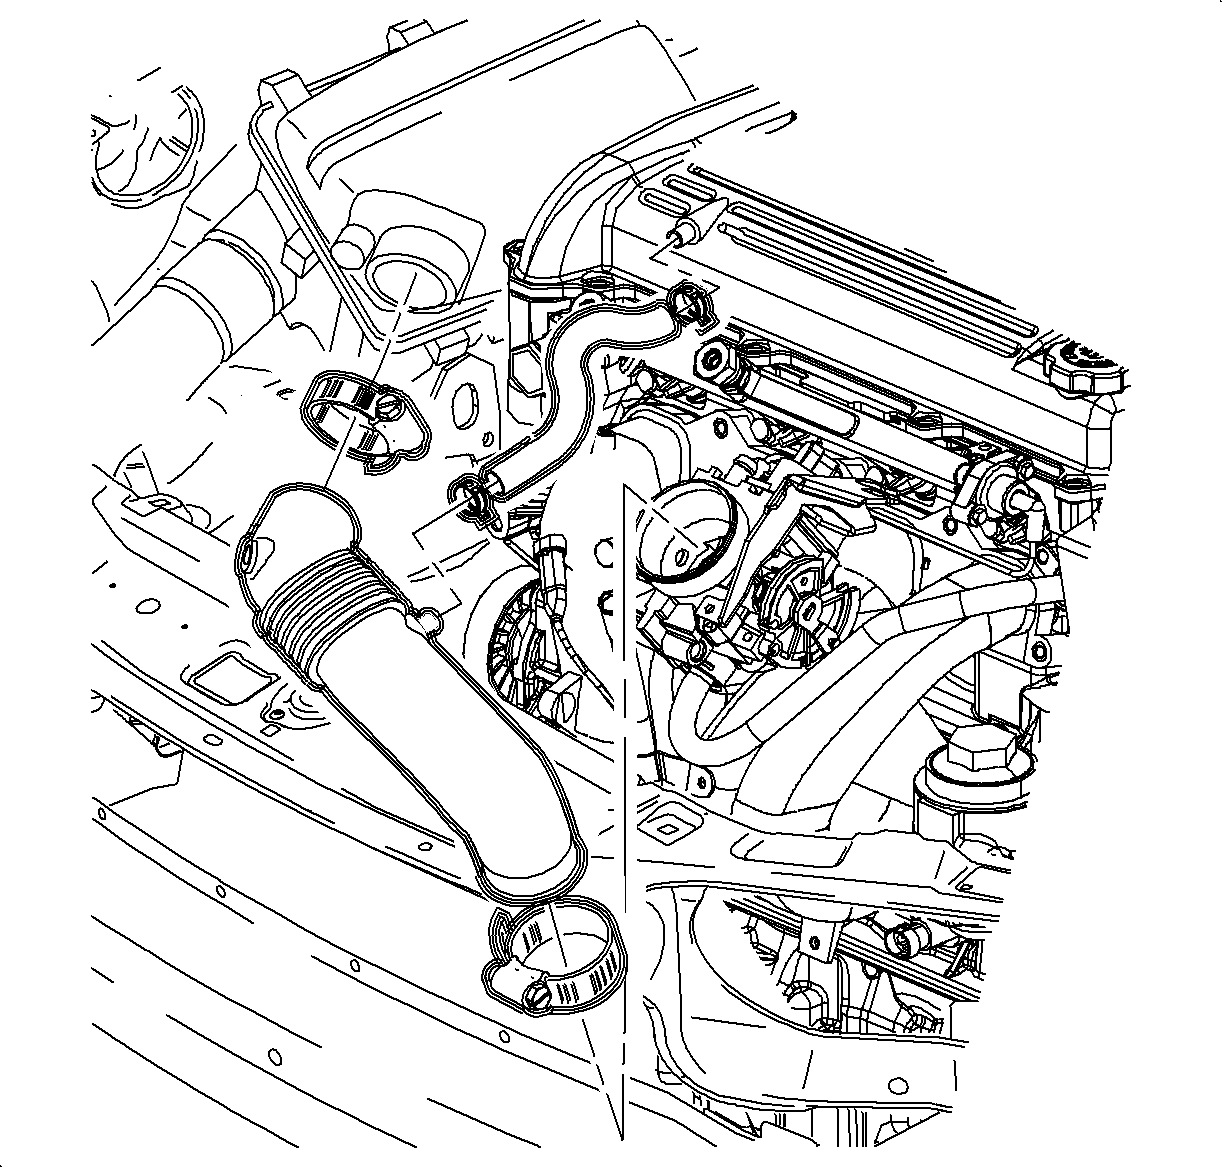
Important: Use the required J 44811 .
Installation Procedure
- Position the generator and install the top bolts finger tight.
- Install the bottom bolts and tighten all the generator bolts.
- Connect the electrical connections.
- Install the accessory drive belt. Refer to Drive Belt Replacement .
- Install the throttle body air duct. Refer to Air Cleaner Inlet Duct Replacement .
- Connect the negative battery cable. Refer to Battery Negative Cable Disconnection and Connection .
- Reprogram the radio stations.

Notice: Refer to Fastener Notice in the Preface section.
Tighten
Tighten the generator-to-engine block bolts to 22 N·m (16 lb ft).
Tighten
Tighten the B+ cable-to-generator nut to 20 N·m (15 lb ft).
Important: Use the required accessory drive belt removal tool number J 44811 .
Tighten
Tighten the battery terminal bolt to 17 N·m (13 lb ft).
Generator Replacement 3.5L (L66)
Removal Procedure
- Turn the ignition OFF.
- Disconnect the negative battery cable. Refer to Battery Negative Cable Disconnection and Connection .
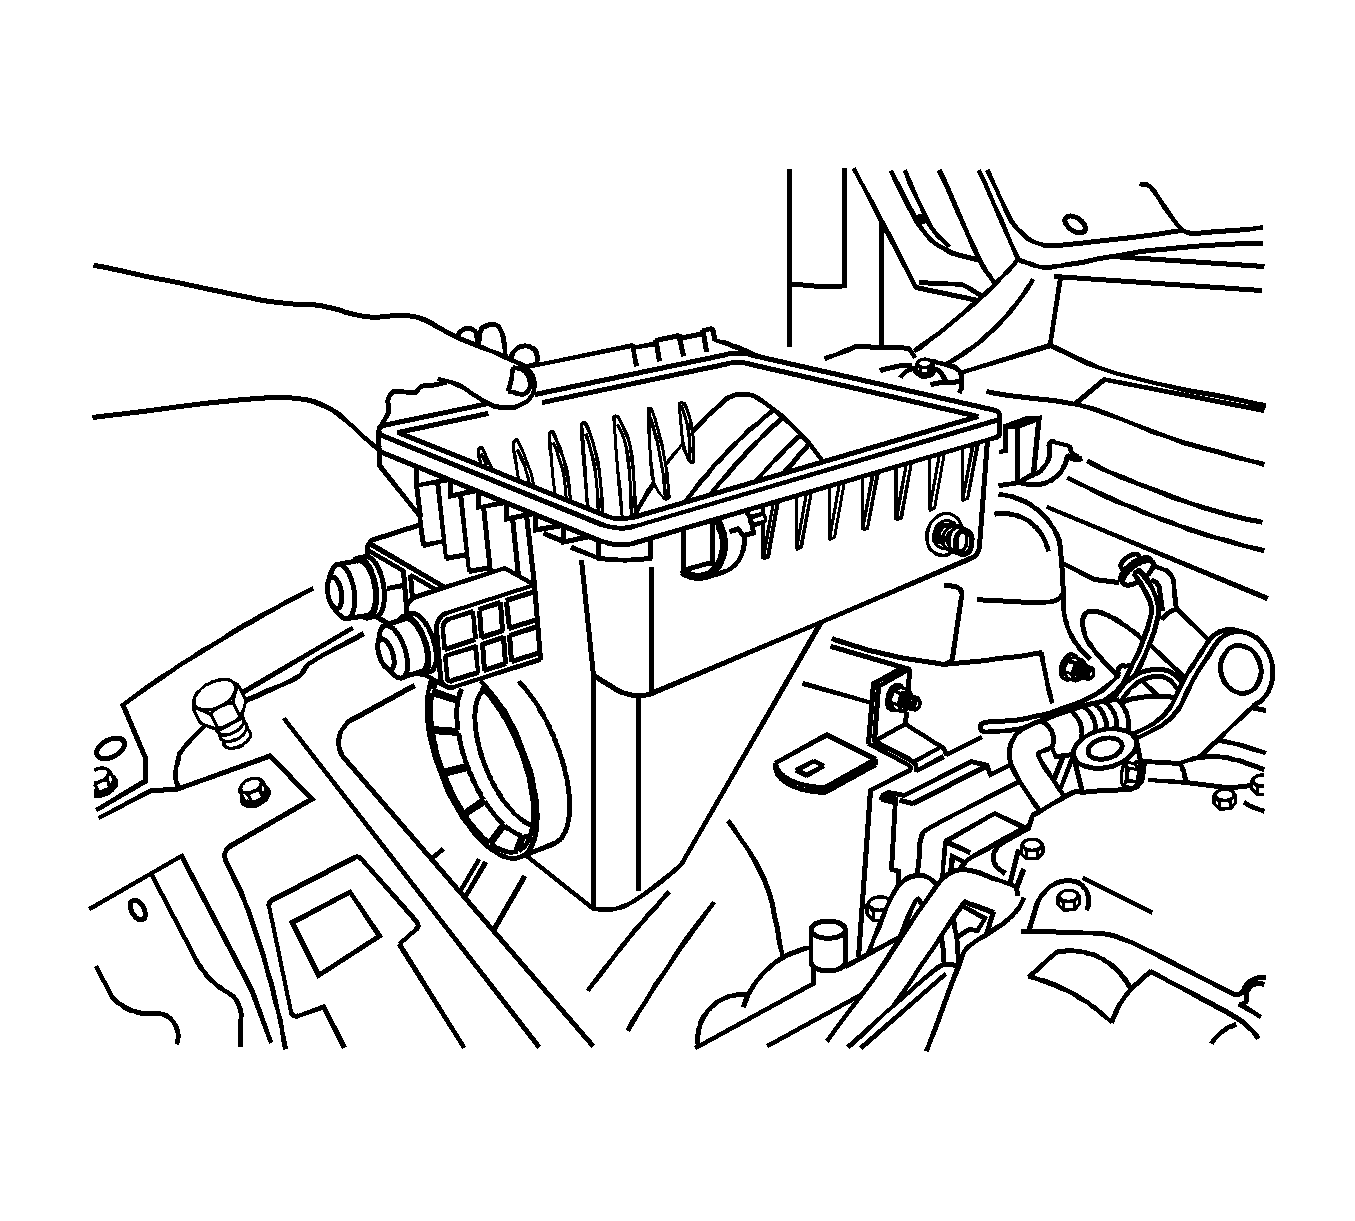
- Remove the air cleaner assembly. Refer to Air Cleaner Assembly Replacement .
- Remove the accessory drive belt tensioner. Refer to Drive Belt Tensioner Replacement .
- Install the engine support fixture. Refer to Engine Support Fixture .
- Remove the front of the engine mount throughbolt and raise the engine for proper clearance.
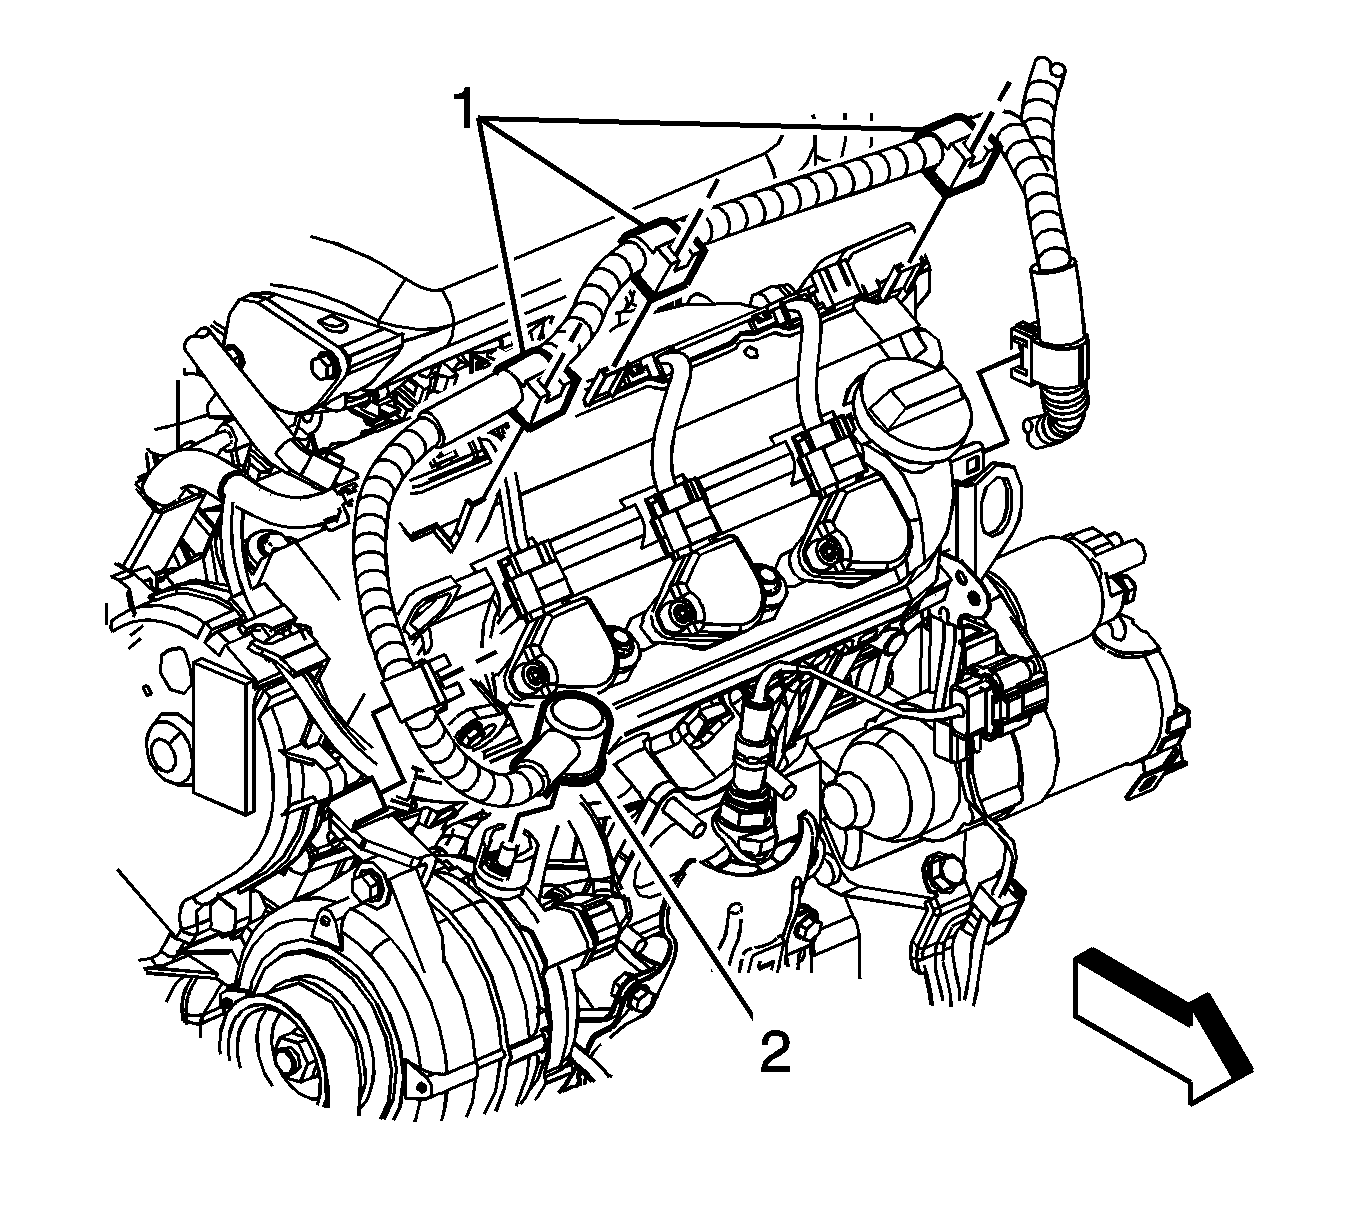
- Disconnect the generator electrical connections.
- Remove the generator to engine block bolts and the generator.
Important: Record all pre-set radio stations.
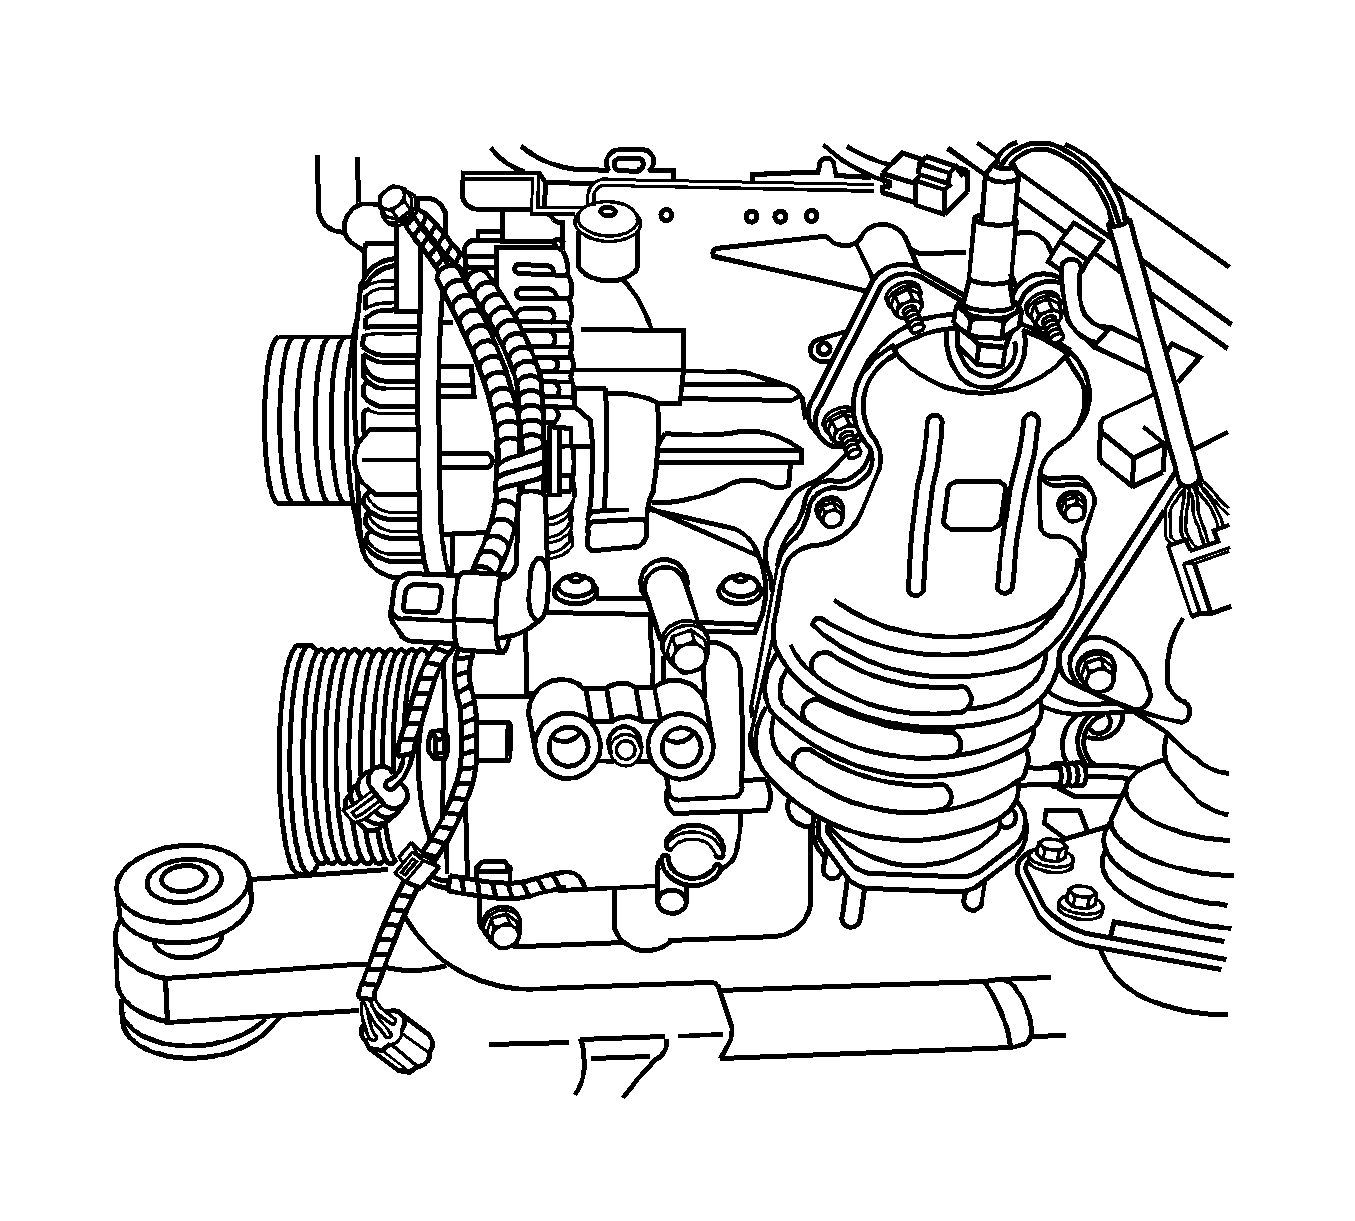
Installation Procedure
- Position the generator and install the top bolts finger tight.
- Install the bottom bolts and tighten all the generator bolts.
- Connect the electrical connections.
- Lower the engine and tighten the engine mount throughbolt.
- Remove the engine support fixture.
- Install the accessory drive belt tensioner. Refer to Drive Belt Tensioner Replacement ).
- Install the air cleaner assembly. Refer to Air Cleaner Assembly Replacement .
- Connect the negative battery cable. Refer to Battery Negative Cable Disconnection and Connection .
- Reprogram the radio stations.

Notice: Refer to Fastener Notice in the Preface section.
Tighten
Tighten the generator-to-engine block bolts to 44 N·m (33 lb ft).
Tighten
Tighten the B+ cable-to-generator nut to 12 N·m (106 lb in).
Tighten
Tighten the bolts to 110 N·m (81 lb ft).
Tighten
Tighten the battery terminal bolt to 17 N·m (13 lb ft).
