Removal Procedure
- Disable the frontal SIR system. Refer to SIR Disabling and Enabling in SIR.
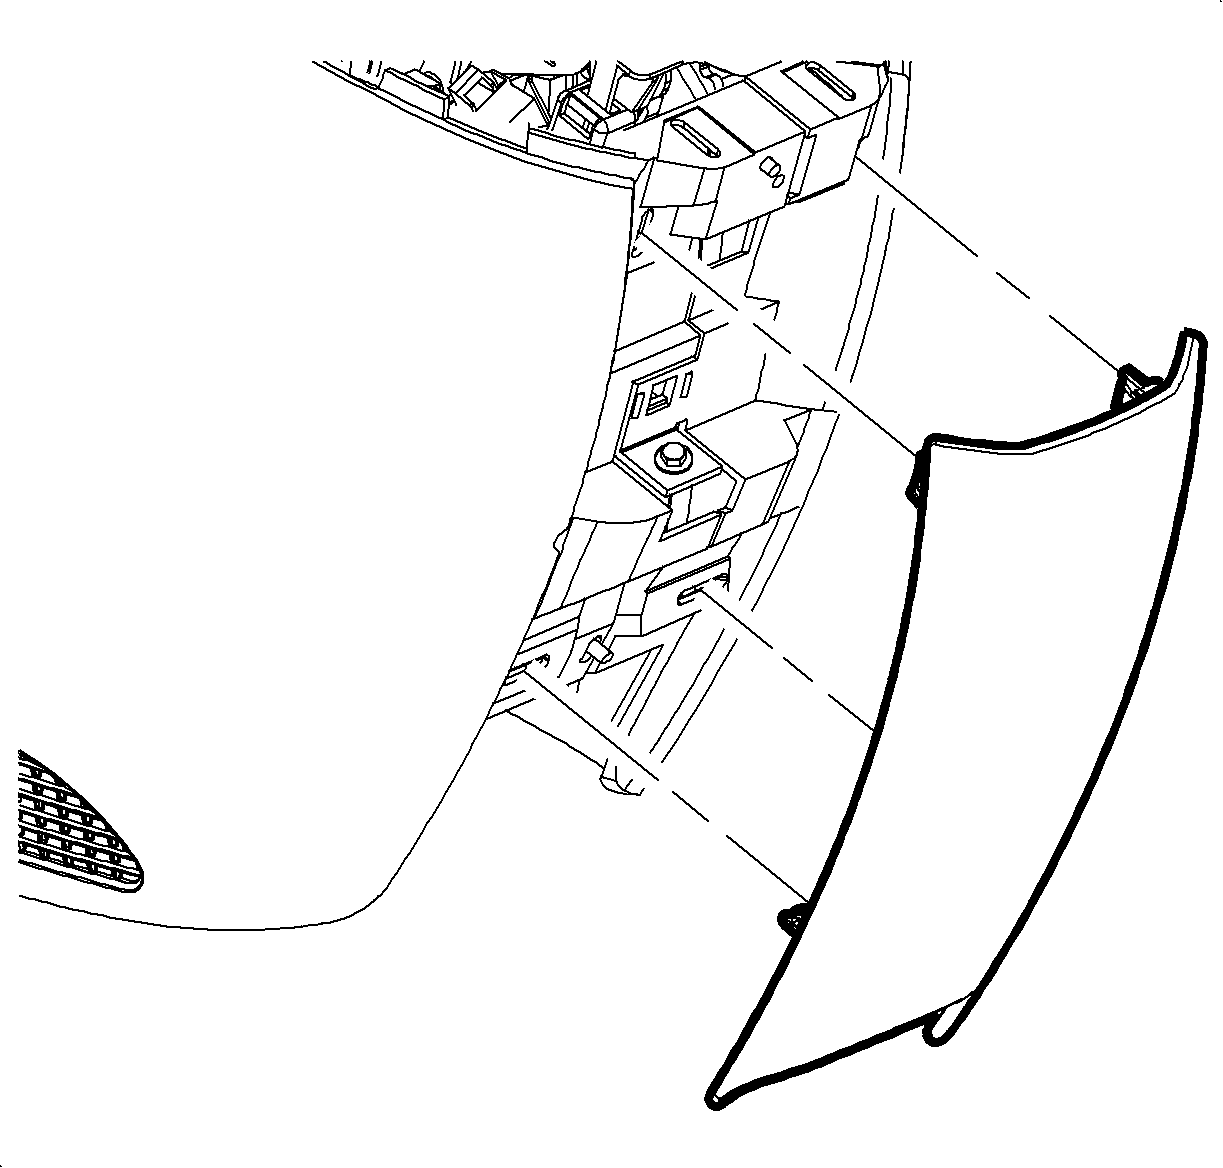
- Remove the I/P upper trim panel. Refer to Instrument Panel Upper Trim Panel Replacement .
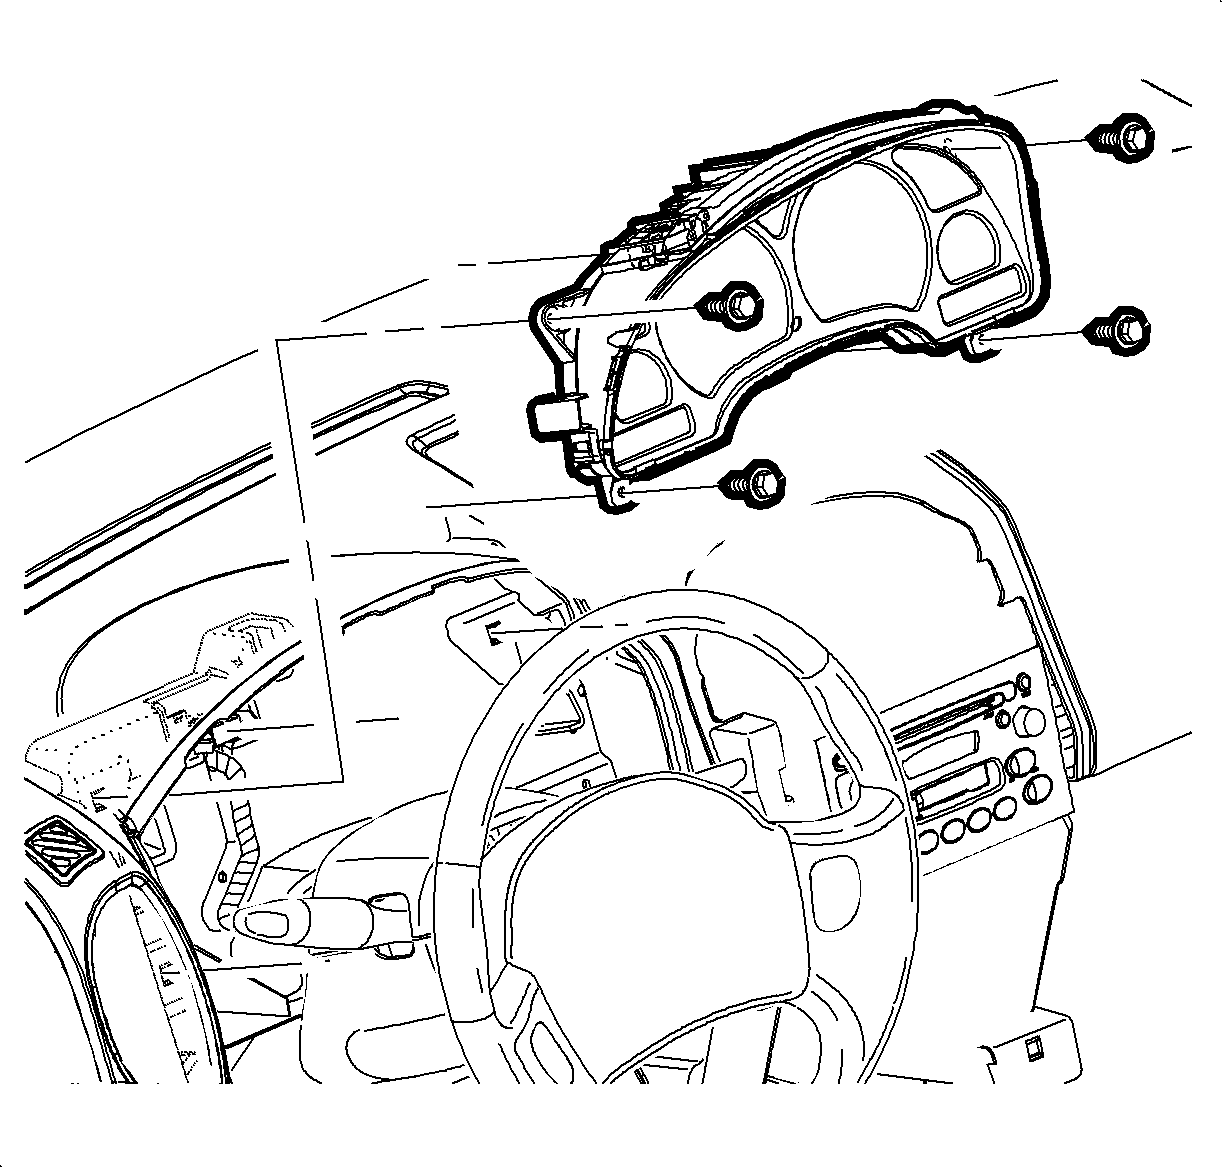
- Remove the I/P cluster screws
- Pull rearward to remove the I/P cluster.
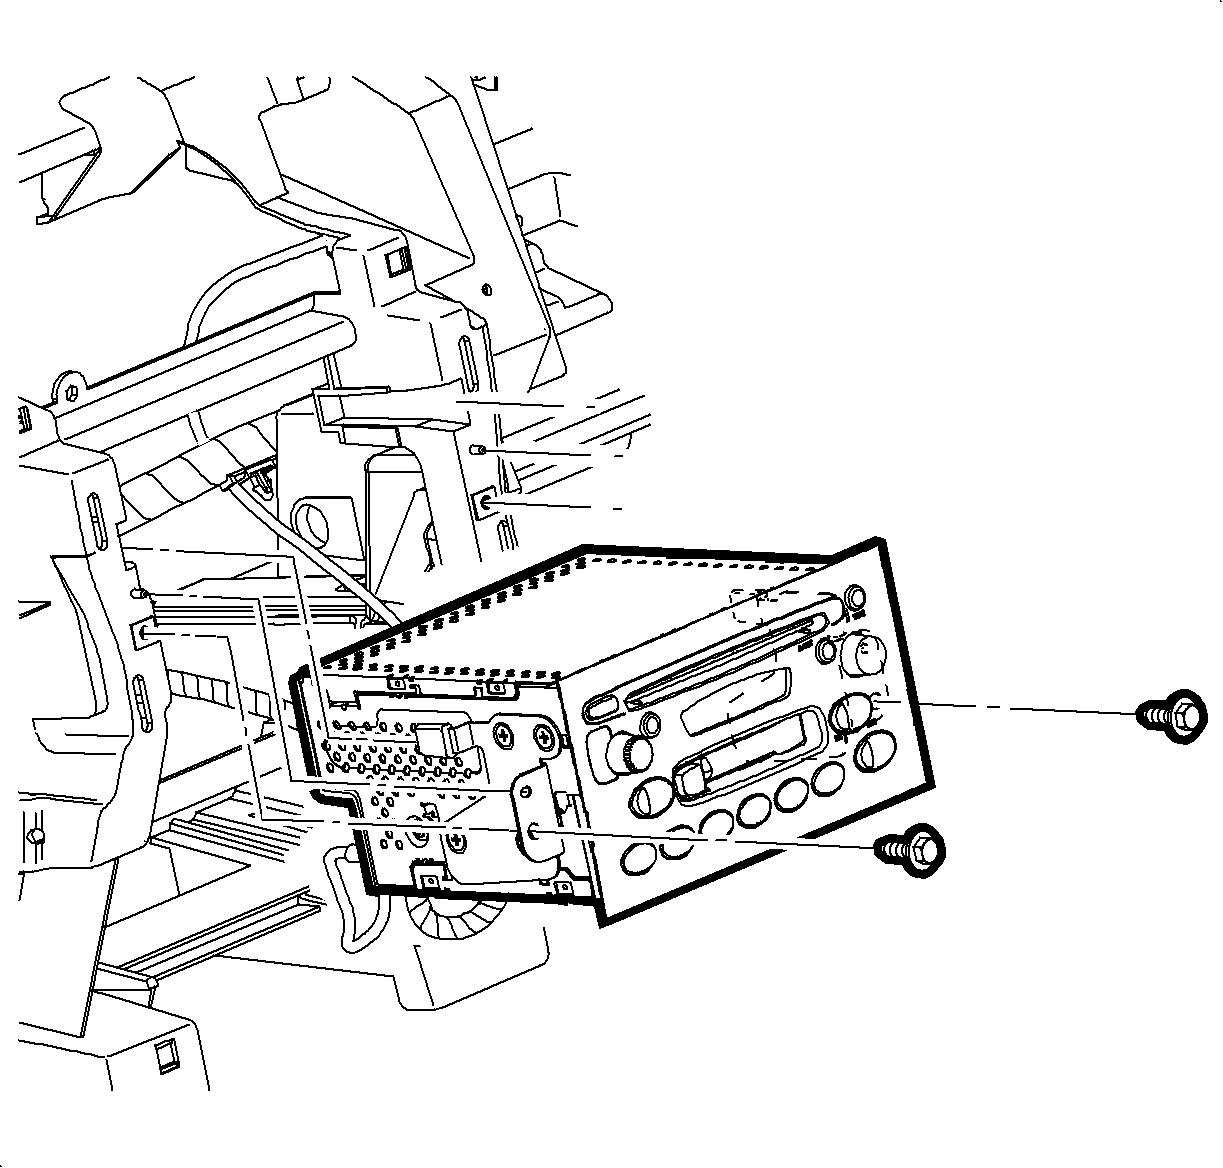
- Remove the radio screws.
- Remove the radio.
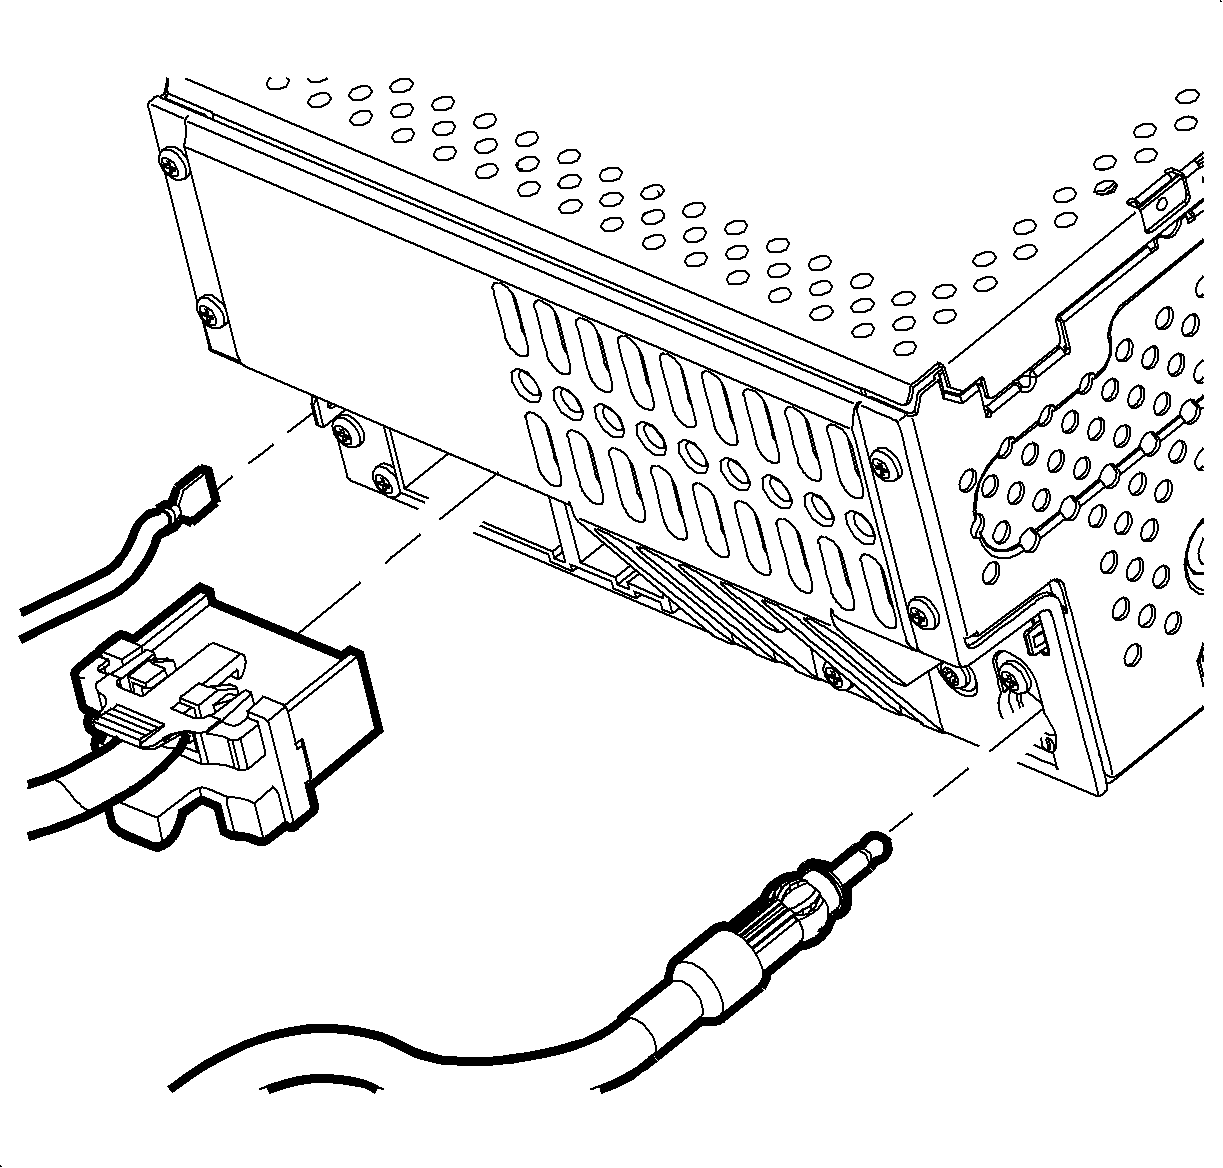
- Disconnect the radio antenna, the ground strap, and the electrical connectors.
- Position the front seats rearward.
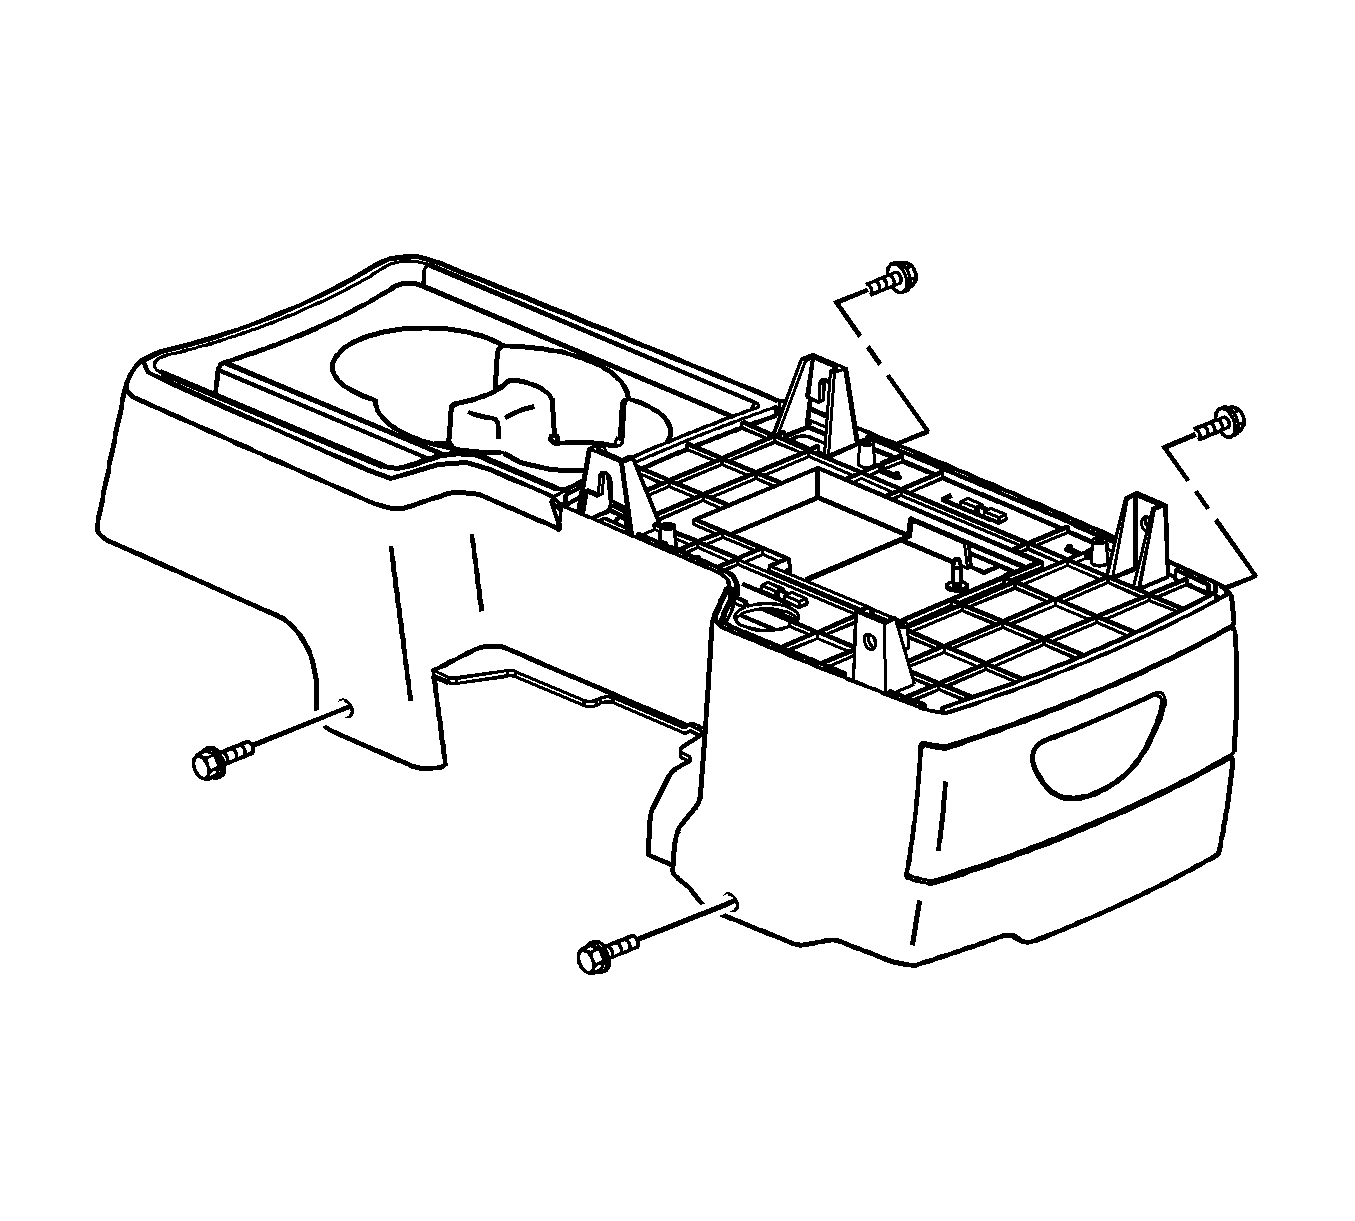
- Reach under the front seats to access the lower console screws.
- Remove the console screws.
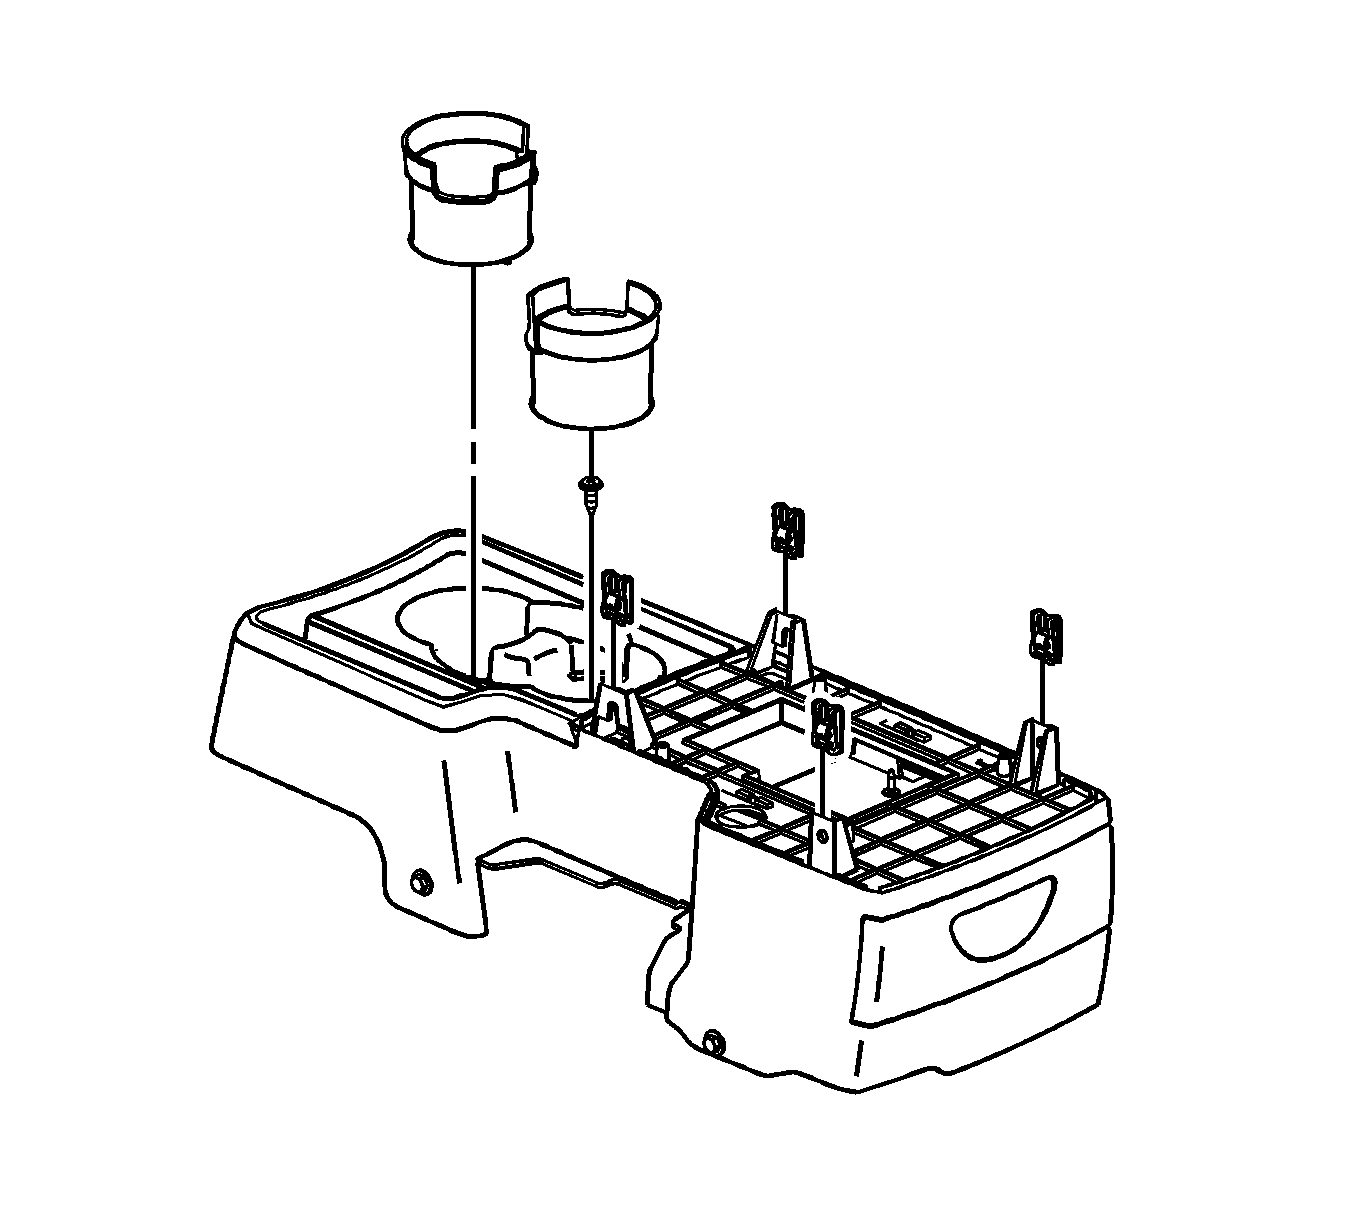
- Remove the cup holder liner.
- Remove the cup holder screw.
- Lift the rear of the center floor console.
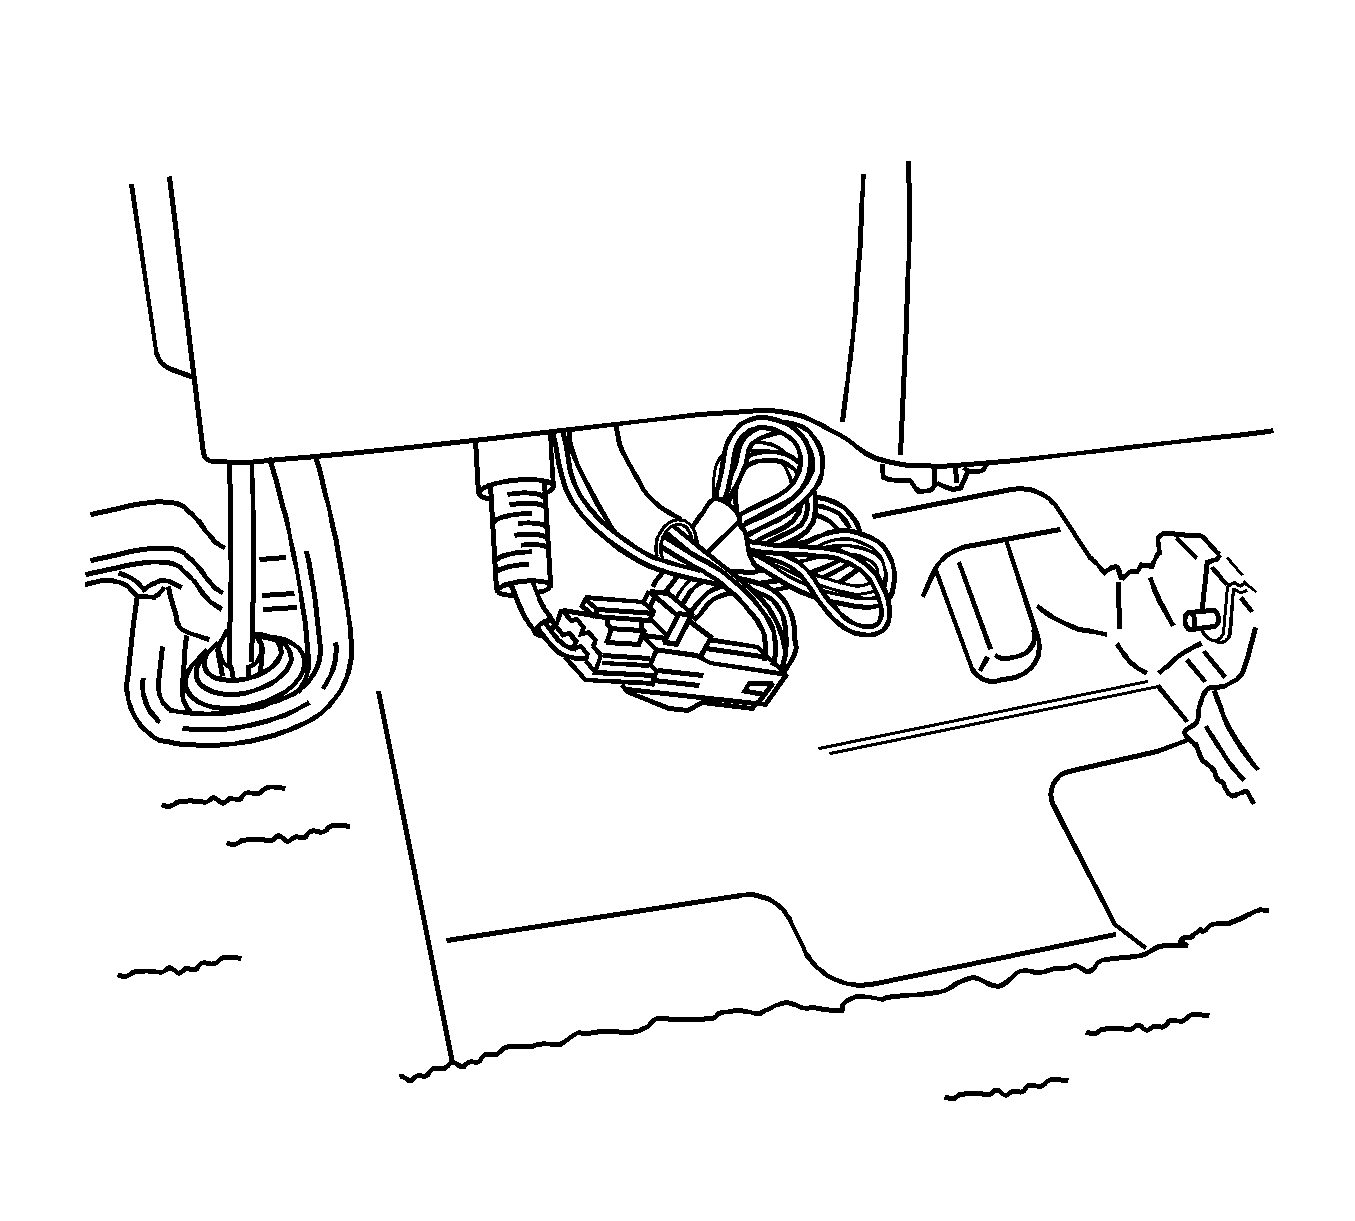
- Disconnect the electrical connector tot he auxiliary power outlet.
- Slide the console rearward.
- Remove the center trim plate from the front console.
- Remove the front console screws from the right and the left trim panels.
- Remove the front console trim panels.
- Remove the screws from the right and the left air outlet ducts.
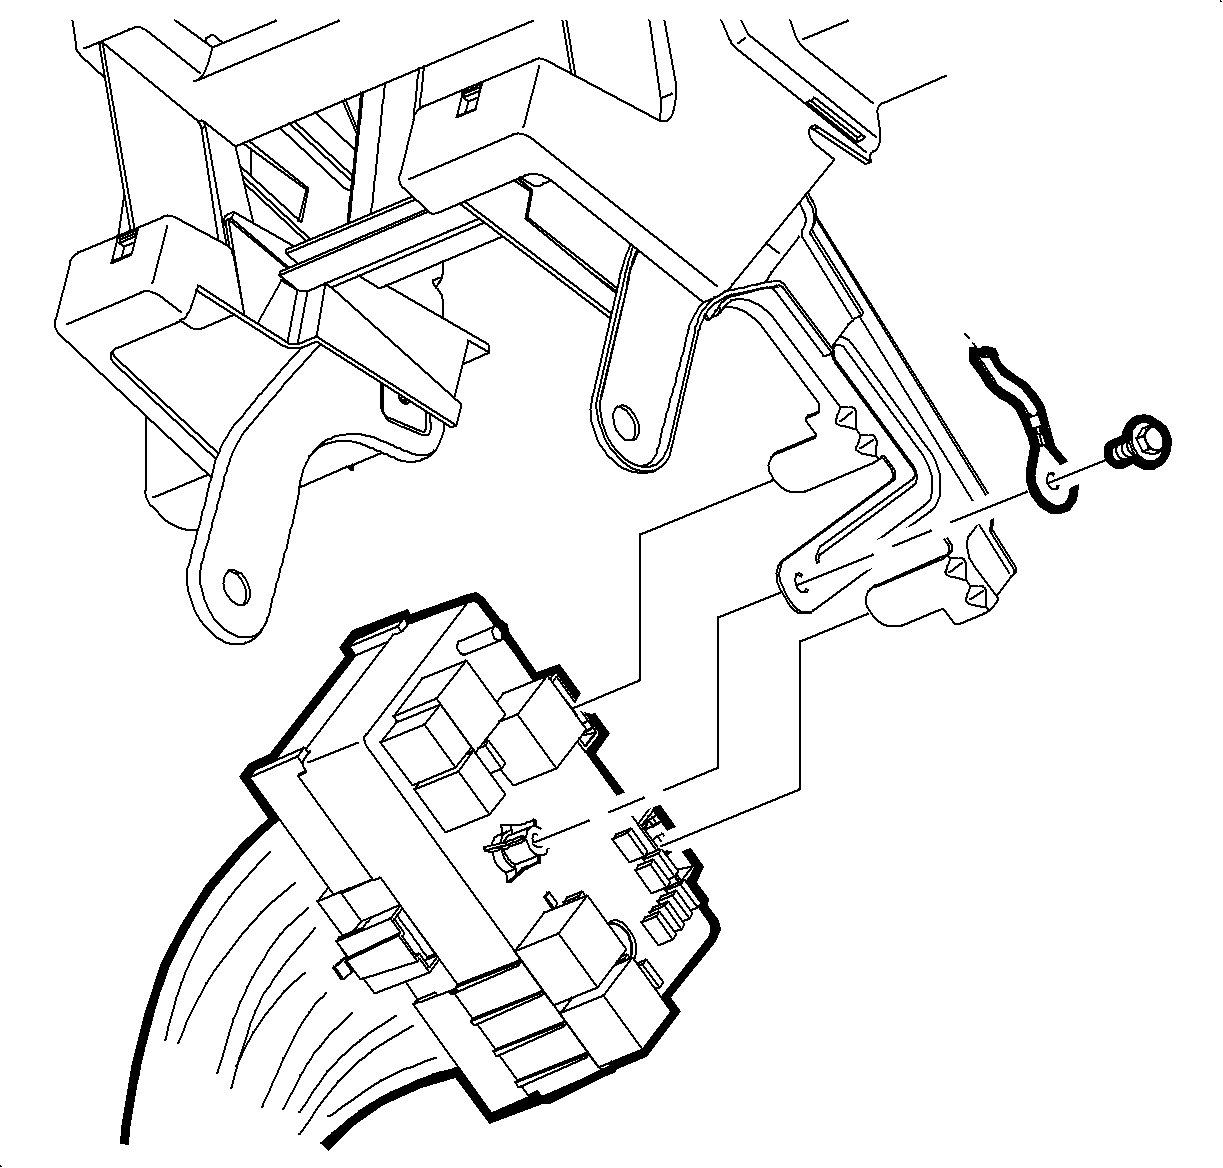
- Remove the I/P cluster electrical connector from the slot in the retainer.
- Remove the screw from the radio ground strap.
- Remove the radio ground strap.
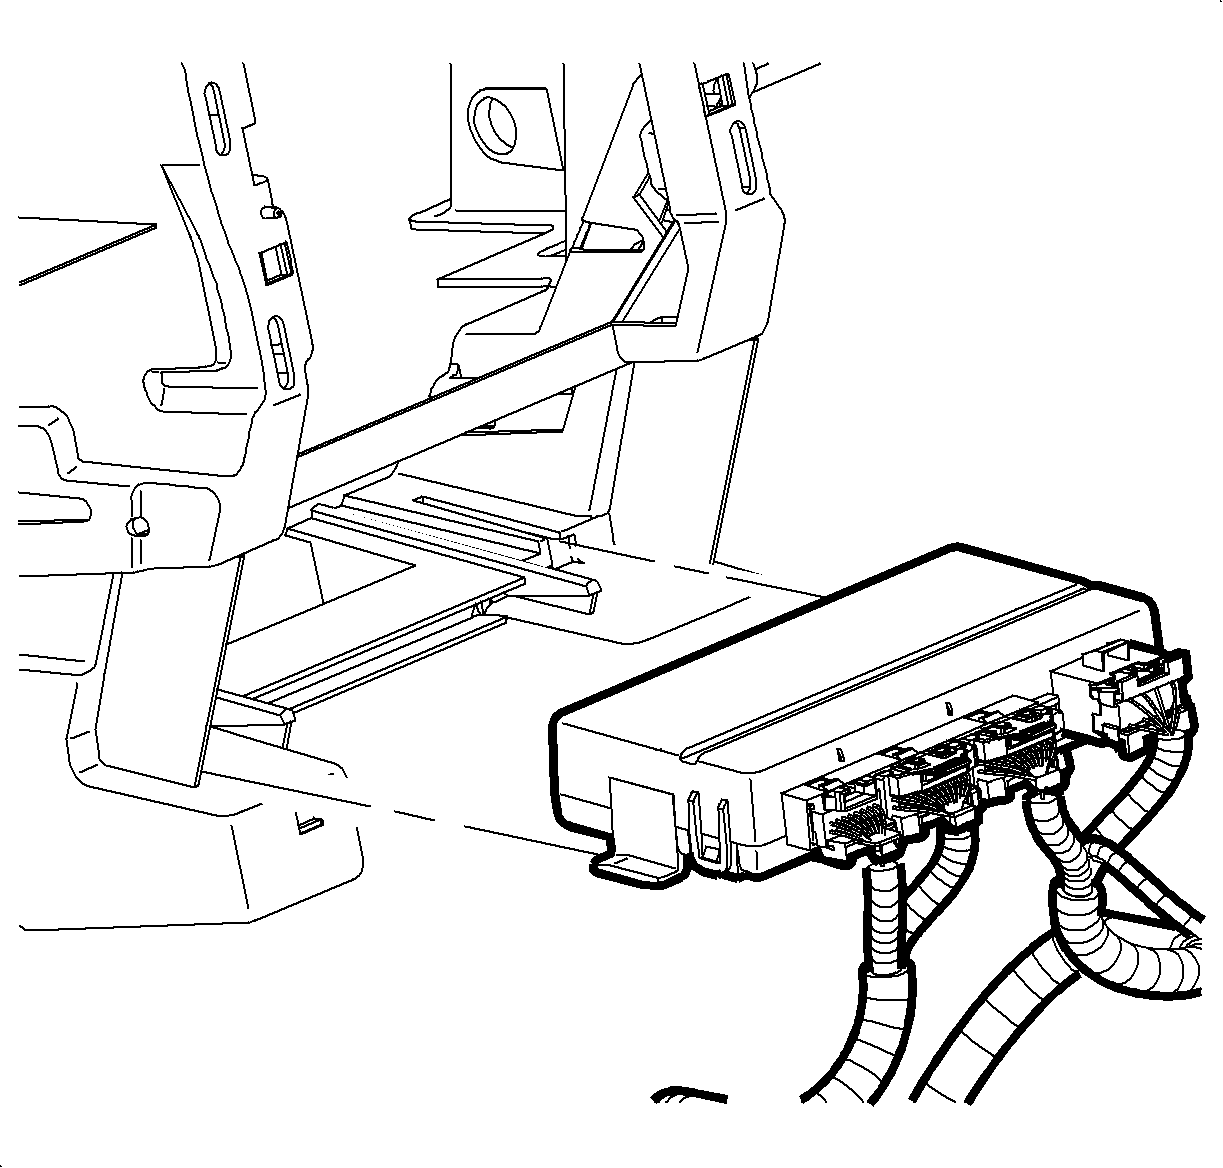
- Slide the I/P electrical center off of the tabs on the I/P bracket.
- Using a flat-bladed tool, pry underneath the I/P retainer to release the body control module tabs.
- Slide the module from the retainer.
- Remove the DLC by pressing the tabs and pushing the DLC through the I/P retainer.
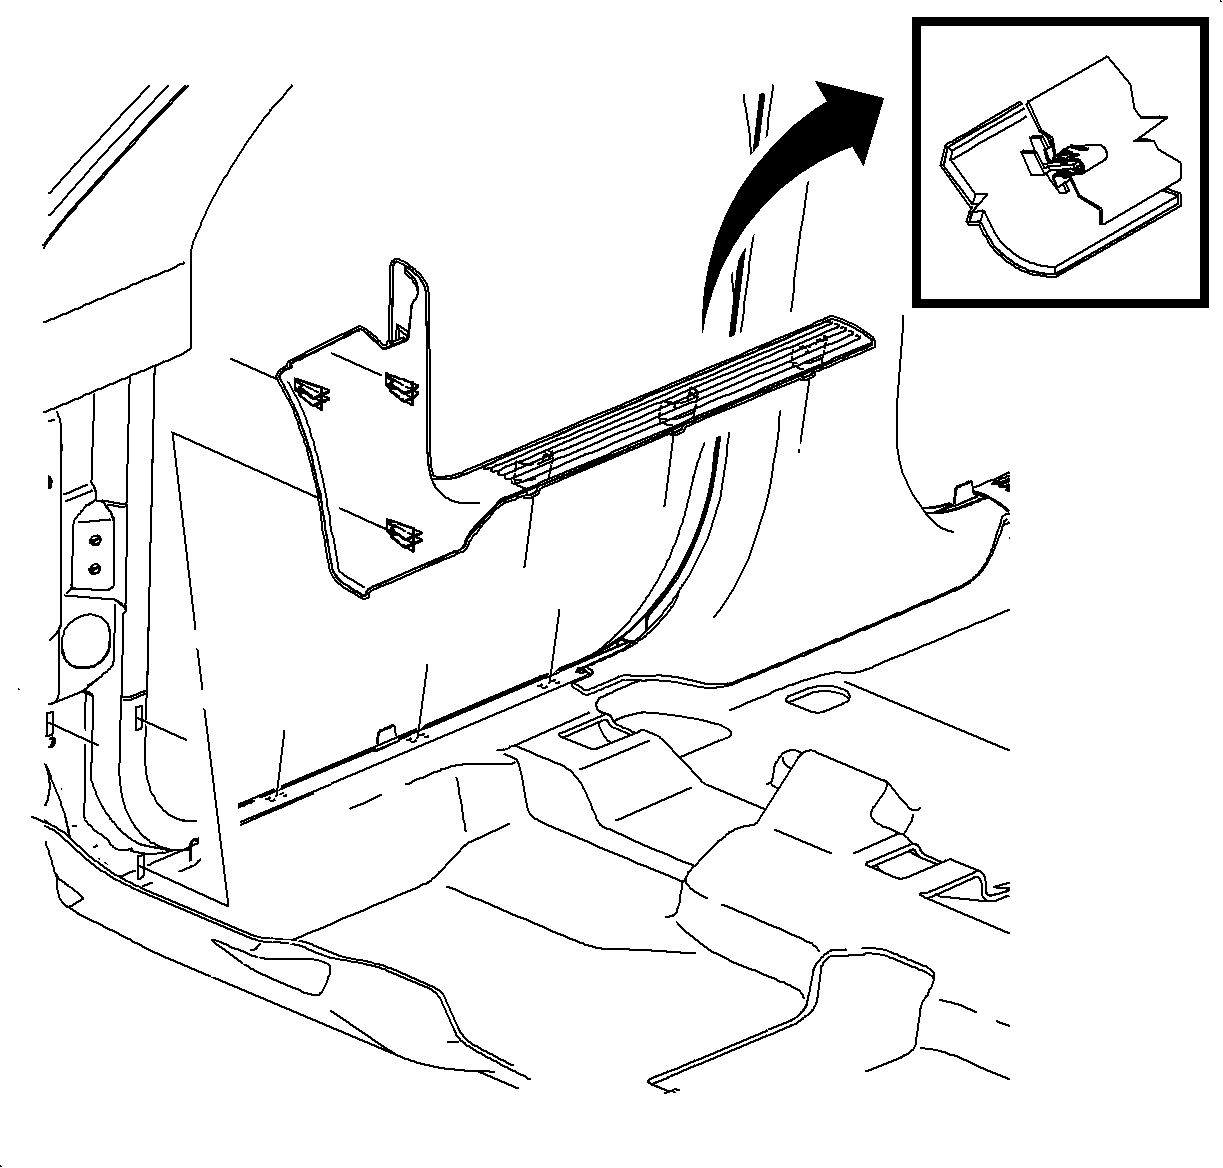
- Remove the front carpet retainers. Refer to Front Carpet Retainer Replacement in Interior Trim.
- Remove the bolts from the passenger SIR system. Access these bolts by reaching through the I/P retainer in the radio area or through the air outlet area.
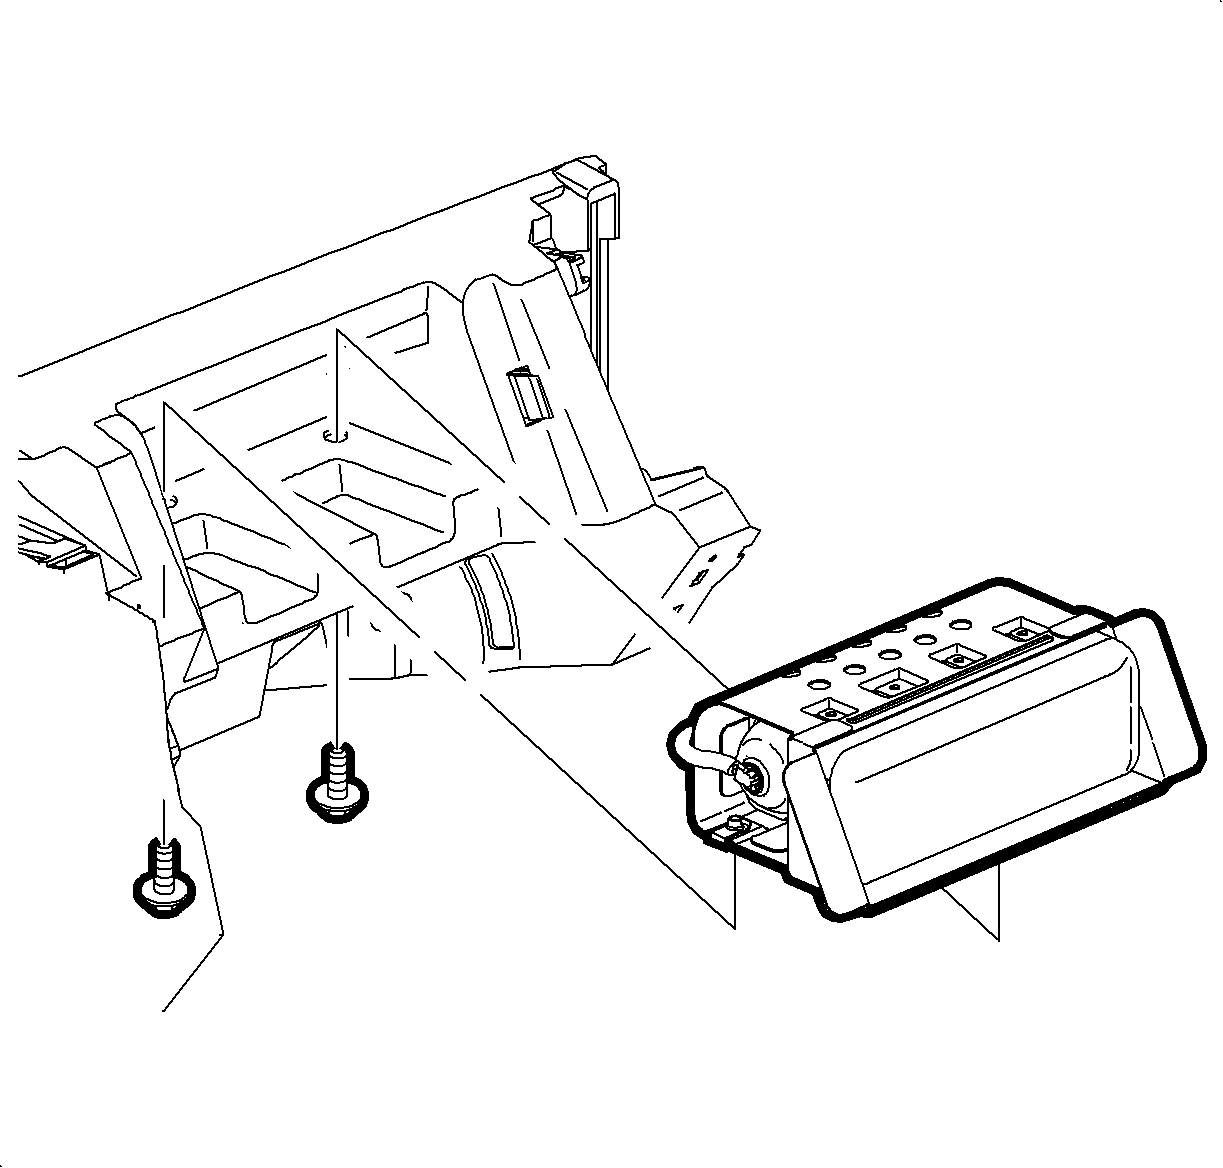
- Remove the retainer nuts.
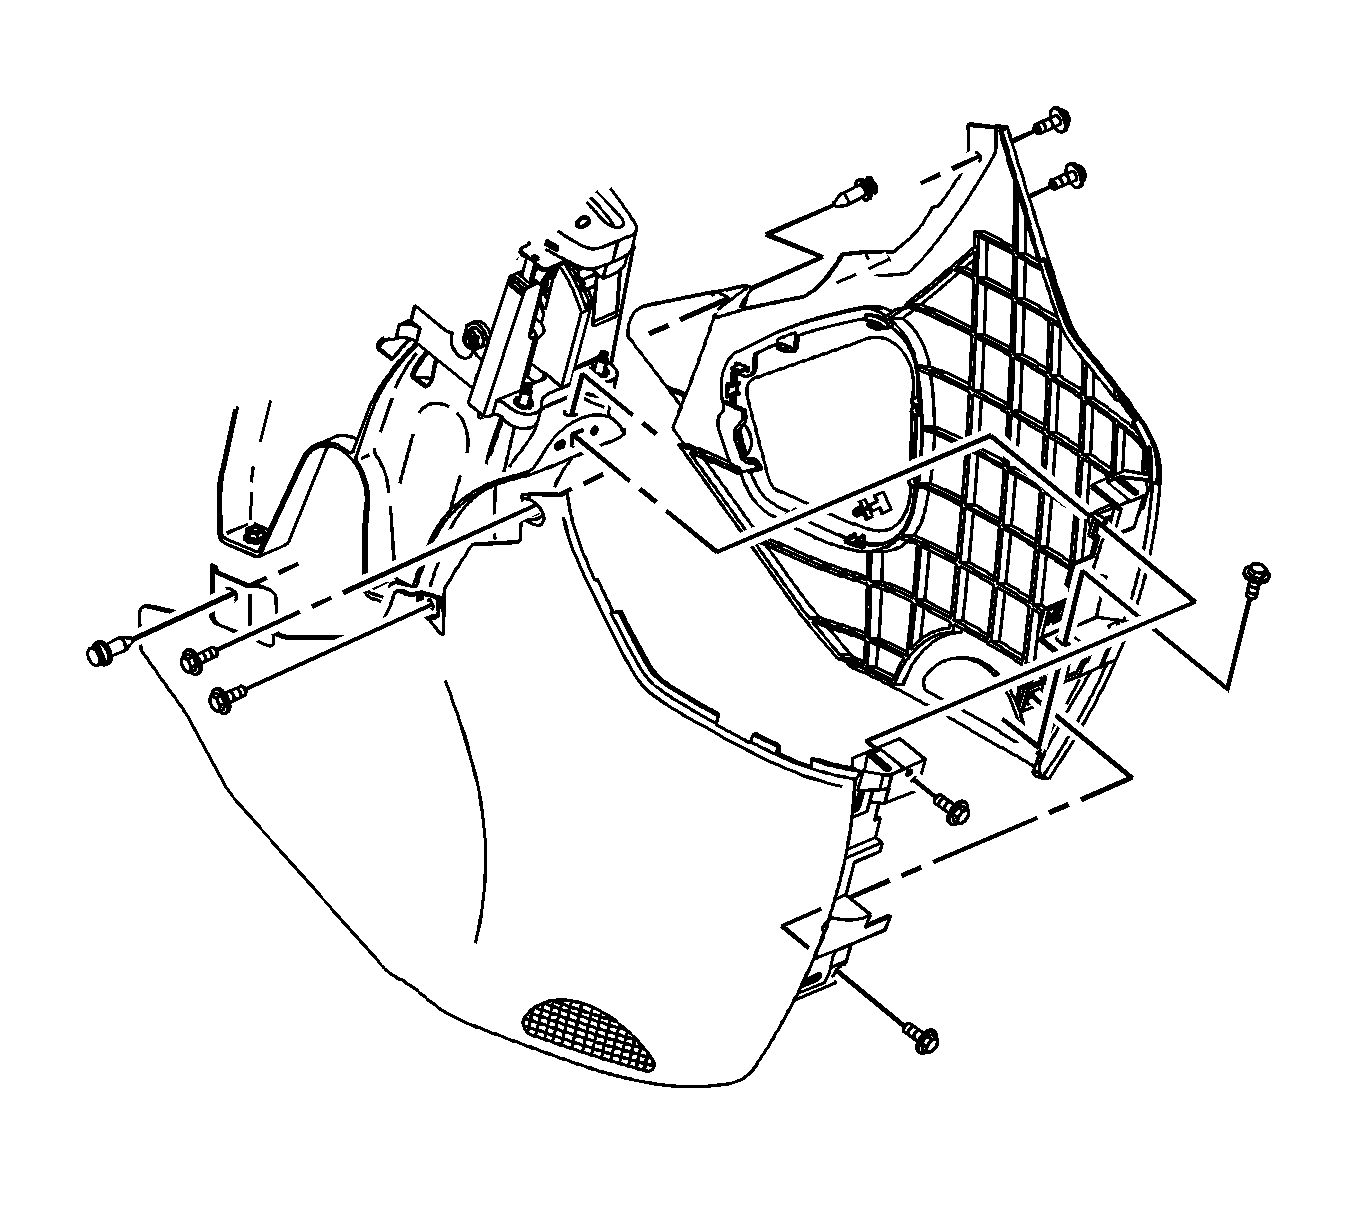
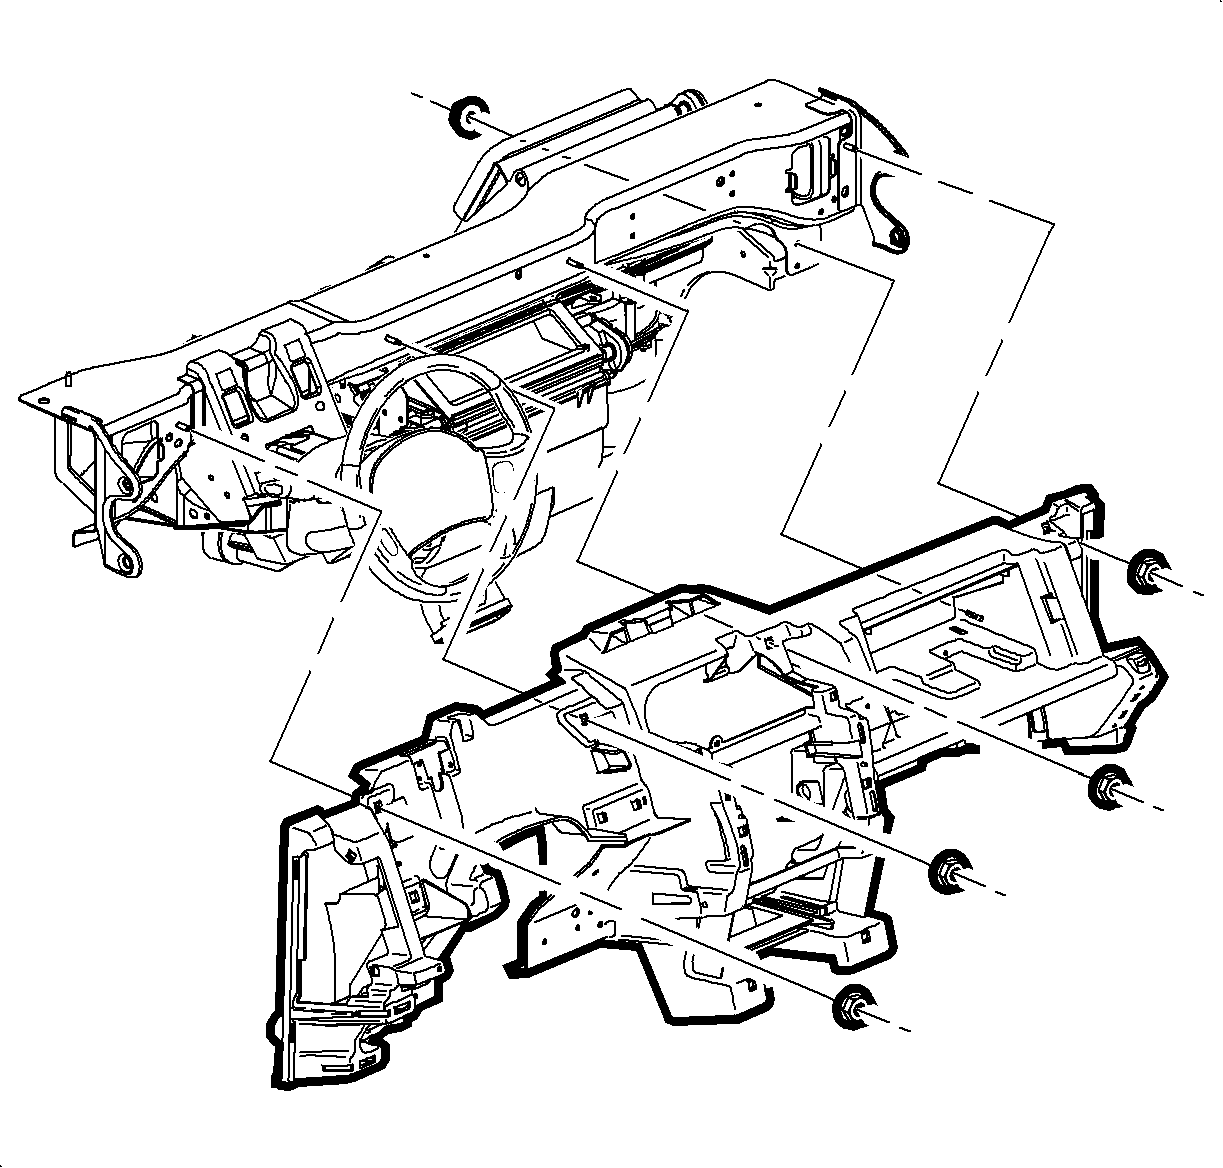
- Remove the I/P retainer from the vehicle.
Caution: Refer to SIR Inflator Module Handling and Storage Caution in the Preface section.
Caution: Refer to SIR Caution in the Preface section.
Caution: A deployed dual stage inflator module will look the same whether one or both stages were used, always assume a deployed dual stage inflator module has an active stage 2. Improper handling or servicing can activate the inflator module and cause personal injury.

Remove the outlet ducts.

Installation Procedure
- Verify that an insulator is present at each interface of the I/P retainer to the cross car beam. Install insulators where necessary.
- Install the I/P retainer by aligning the center 4-way locator first and then the outboard up/down locators with the corresponding holes in the cross car beam.
- Beginning in the center of the I/P, install the I/P retainer nuts.
- Position the passenger side frontal SIR component.
- Install the bolts to the SIR component.
- Install the front carpet retainers. Refer to Front Carpet Retainer Replacement in Interior Trim.
- Install the DLC in the I/P retainer.
- Slide the BCM into the I/P retainer until the snap tabs engage.
- Position the I/P electrical center on the H-brace bracket tabs.
- Position the radio ground strap.
- Install the screw to the radio ground strap.
- Install the I/P cluster electrical connector into the slot in the I/P retainer.
- Position the right and the left air outlet ducts.
- Install the screws to the outlet ducts.
- Position the right and the left trim panels on the front console.
- Install the screws to the front console trim panels.
- Position the center trim plate to the front console. Push on the plate until the trim clips engage.
- Lift the rear of the center floor console.
- Connect the electrical connector to the auxiliary power outlet.
- Reposition the center console.
- Install the cup holder screw.
- Install the cup holder liner.
- Position the front seats rearward.
- Reach under the front seats to access the lower console screws.
- Install the center console screws.
- Connect the radio antenna, the ground strap, and the electrical connector.
- Position the radio in the I/P retainer.
- Install the radio screws.
- Position the I/P cluster and install by pushing the cluster forward.
- Install the cluster screws.
- Install the I/P upper trim panel. Refer to Instrument Panel Upper Trim Panel Replacement .
- Enable the frontal SIR system. Refer to SIR Disabling and Enabling in SIR.
Important: Insulators are required between the I/P retainer and the cross car beam.
Notice: Refer to Fastener Notice in the Preface section.
Tighten
Tighten the bolts to 10 N·m (89 lb in).
Tighten
Tighten the bolts to 10 N·m (89 lb in).
Tighten
Tighten the bolts to 10 N·m (89 lb in).
Tighten
Tighten the screws to 2.5 N·m (22 lb in).
Tighten
Tighten the screws to 2.5 N·m (22 lb in).
Tighten
Tighten the screw to 2.5 N·m (22 lb in).
Tighten
Tighten the screw to 2.5 N·m (22 lb in).
Tighten
Tighten the screws to 2.5 N·m (22 lb in).
Tighten
Tighten the screws to 2 N·m (18 lb in).
