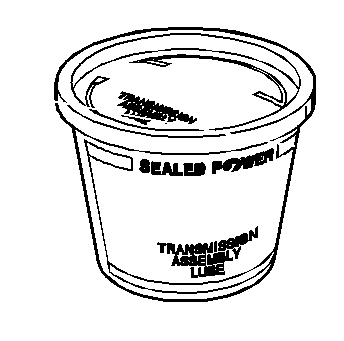
Notice: Use J 36850 or equivalent during assembly in order to retain
checkballs or to lubricate components. Lubricants other than the recommended
assembly lube changes the transmission fluid characteristics and
causes undesirable shift conditions or filter clogging.
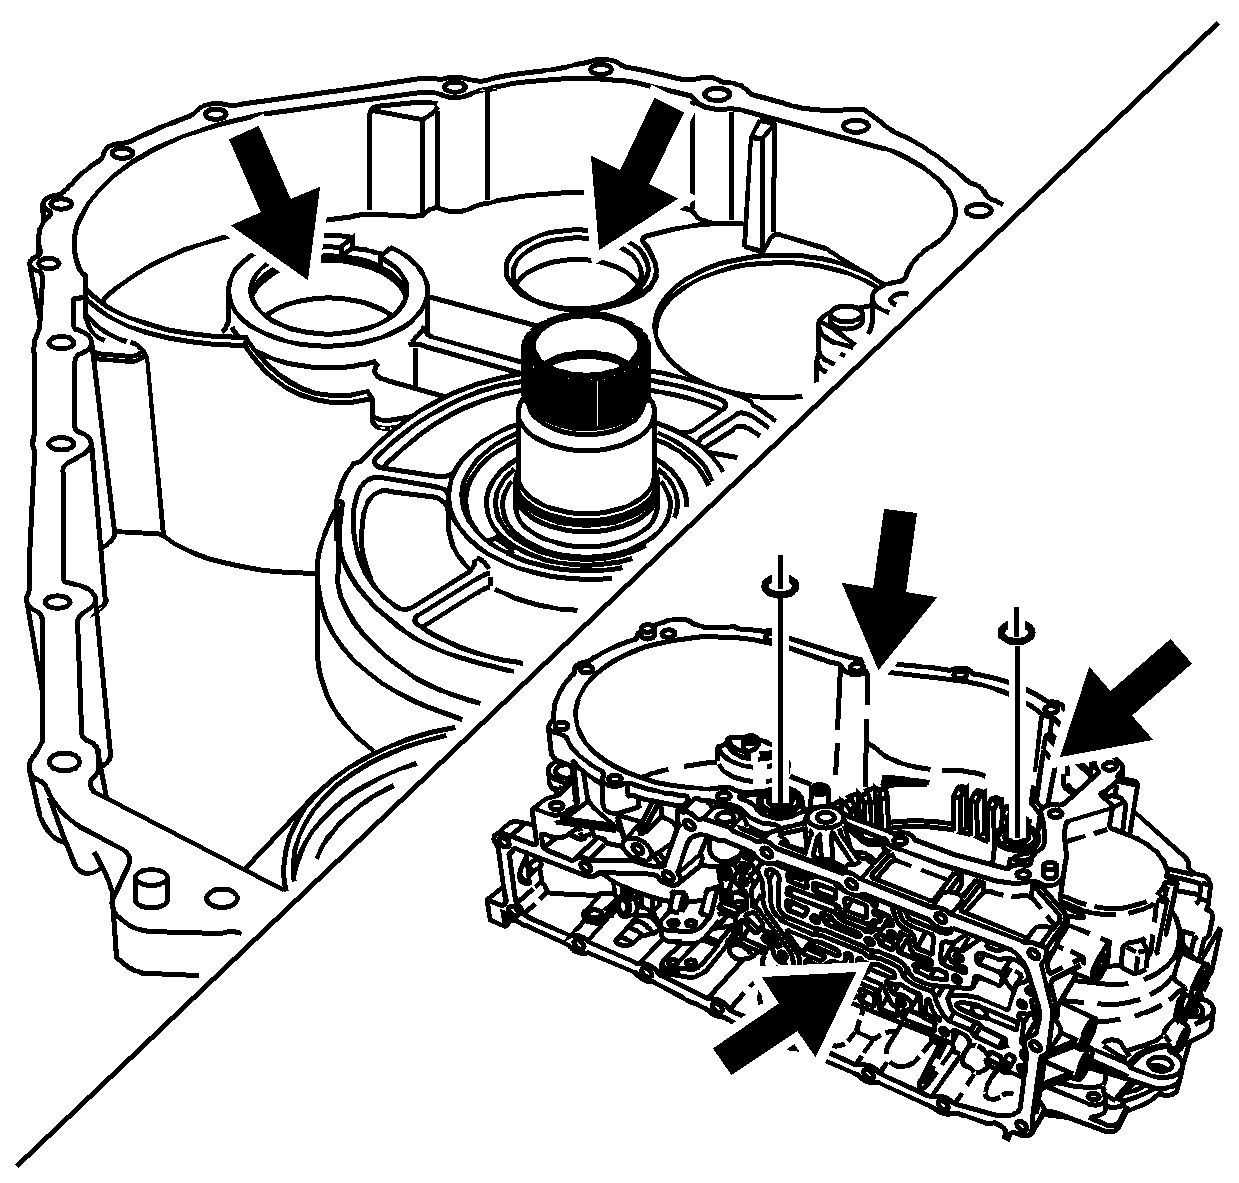
- Remove the 2 case cover O-ring seals from the transmission
case assembly. Discard the seals.
- Inspect the transmission case assembly for the following:
| • | Excess gasket material left on any case surfaces |
| • | A loose, missing, or damaged identification label - nameplate |
- Inspect the bearing cup for the front differential drive pinion
gear for damage. Replace if necessary. Refer to
Front Differential Transfer Gear Bearing and Cup Replacement
.
- Inspect the bearing cup for the front differential carrier for
damage. Replace if necessary. Refer to
Front Differential Carrier Bearing and Cup Replacement
.
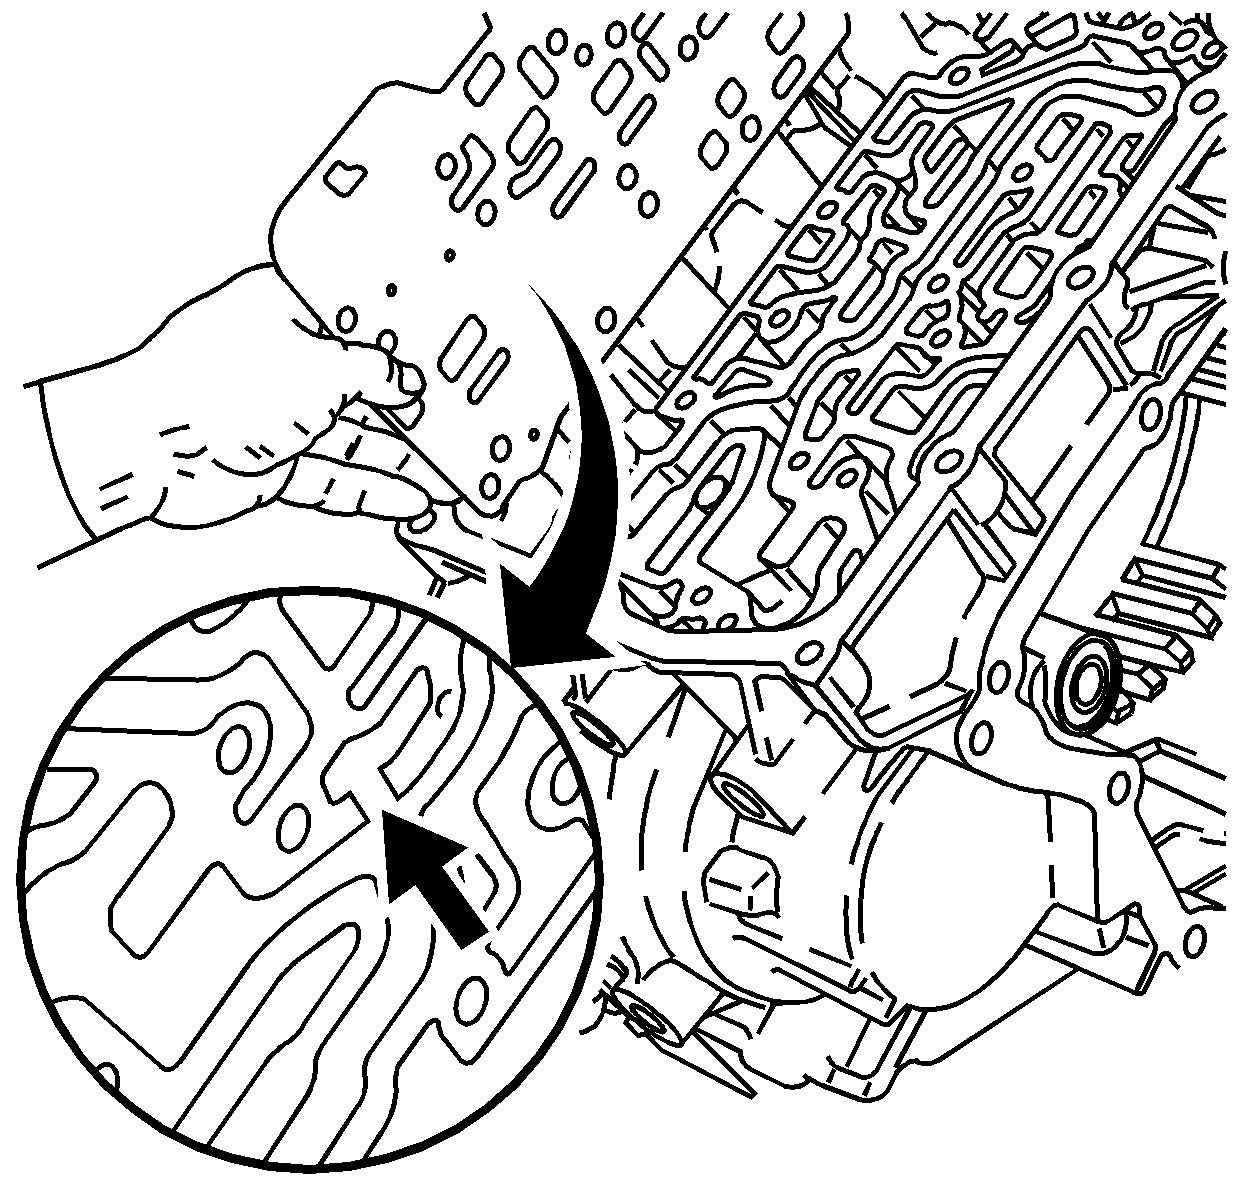
- Inspect the spacer plate
to case gasket for witness marks. The witness marks should be complete.
Incomplete witness marks may indicate an uneven case surface or cross-channel
leaks.
Notice: Use the correct fastener in the correct location. Replacement fasteners
must be the correct part number for that application. Fasteners requiring
replacement or fasteners requiring the use of thread locking compound or sealant
are identified in the service procedure. Do not use paints, lubricants, or
corrosion inhibitors on fasteners or fastener joint surfaces unless specified.
These coatings affect fastener torque and joint clamping force and may damage
the fastener. Use the correct tightening sequence and specifications when
installing fasteners in order to avoid damage to parts and systems.
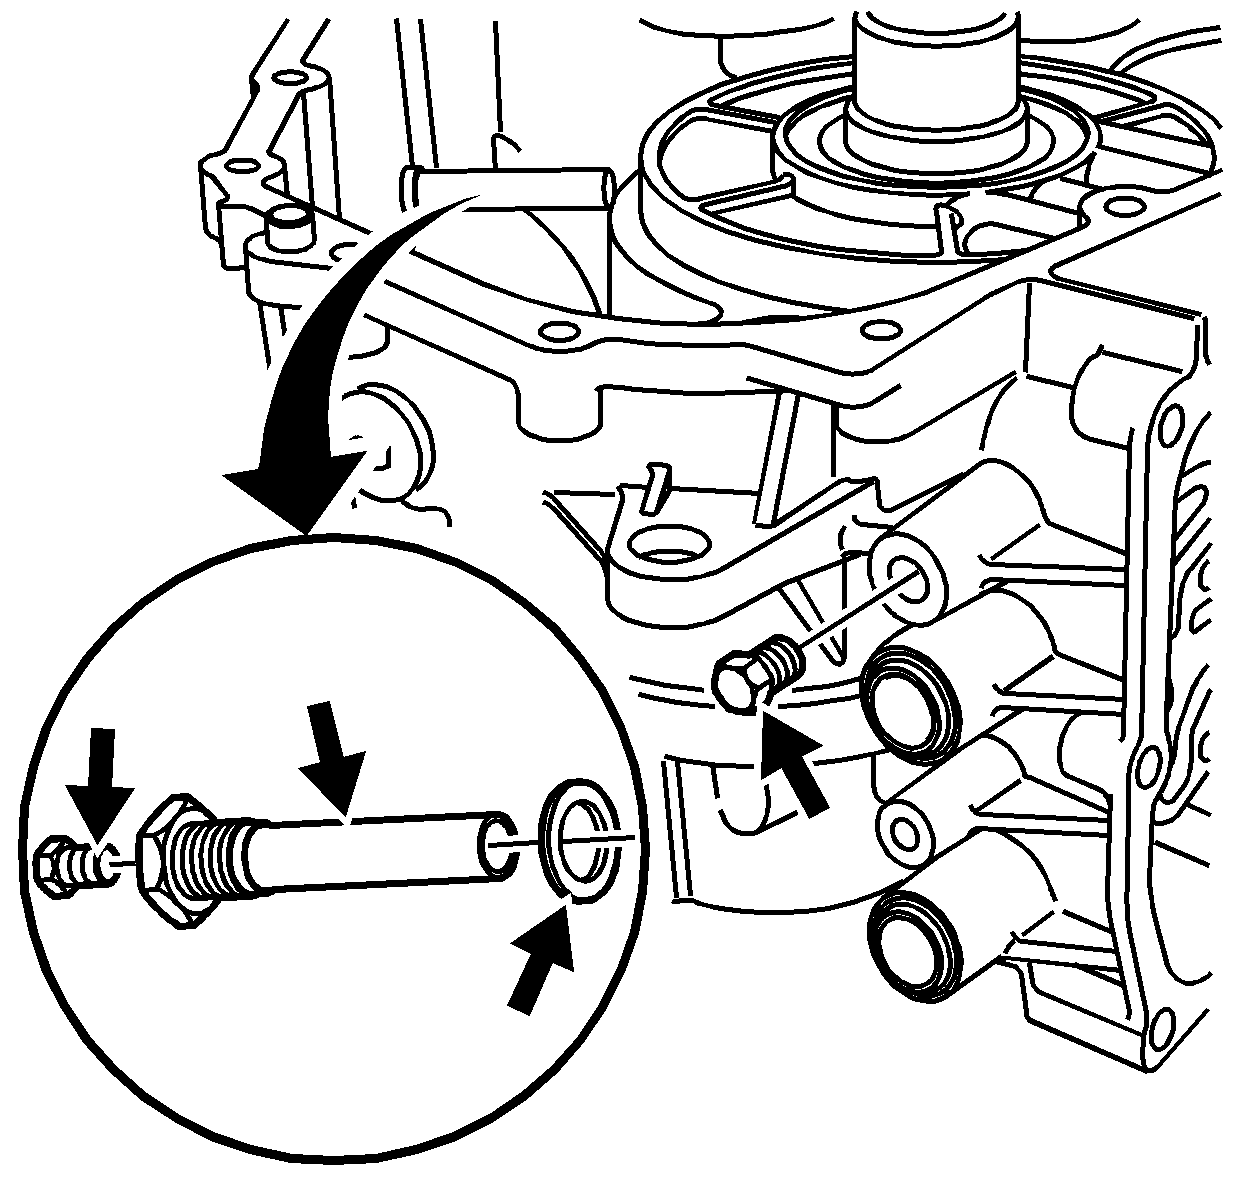
- Inspect the fluid pressure test hole plug for damage. Replace if necessary.
Tighten
Tighten the fluid pressure test hole plug to 9 N·m (7 lb ft).
- Inspect the fluid fill lower tube, seal, and plug for damage.
Replace if necessary.
Tighten
| • | Tighten the fluid fill lower tube assembly to 20 N·m
(15 lb ft). |
| • | Tighten the fluid fill lower tube assembly plug to 11 N·m
(8 lb ft). |

- Inspect the bolt holes
for thread damage. If necessary, repair any bolt holes.
- Inspect the retainer ring grooves for damage.
- Air check all fluid passages. Refer to
Fluid Passages
, Case Fluid Passages Illustration.
Notice: After cleaning the transmission components, allow to air
dry. Do not use cloth or paper towels in order to dry any transmission components.
Lint from the towels can cause component failure.
Important: Dirty solvent can deposit sediment that could damage the transmission.
- Thoroughly clean the transmission case assembly, including case threads,
with clean solvent.
- Clean gasket sealing surfaces. Remove all residual sealant and/or
gasket material.
- Using the J 36850
, install 2 new case cover O-ring seals on the transmission
case assembly.
