For 1990-2009 cars only
Special Tools
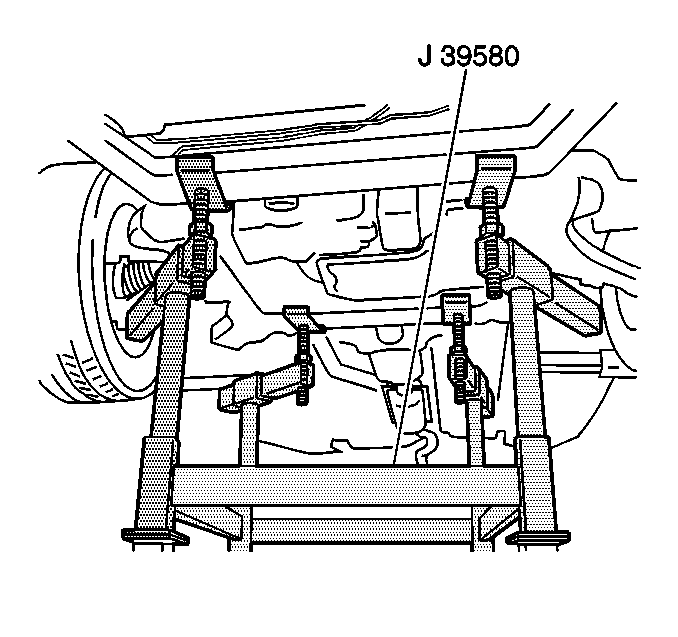
J 39580 Engine Support Table
Removal Procedure
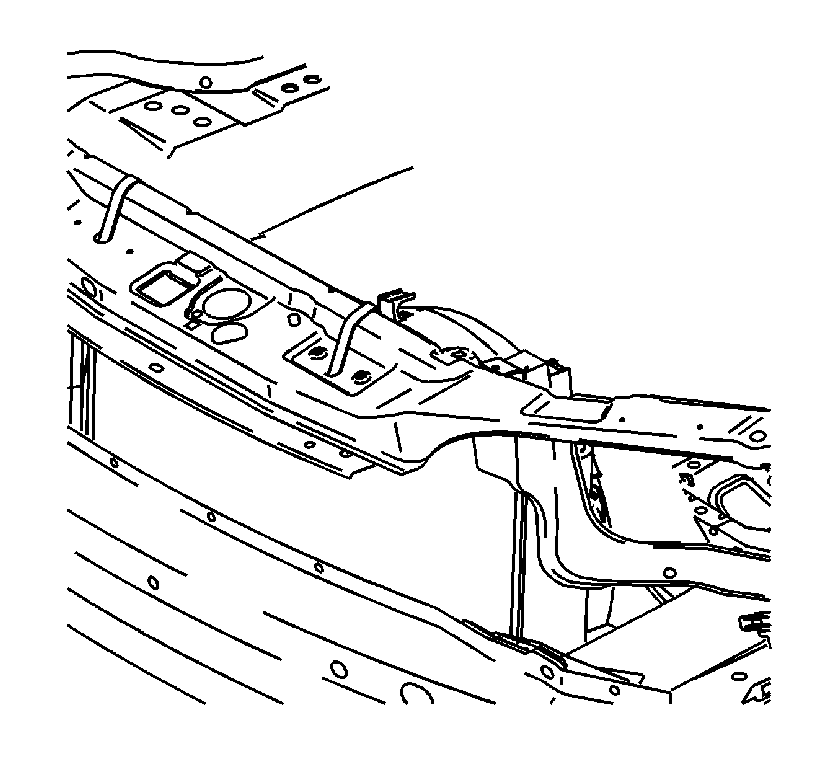
- Secure the radiator, air conditioning condenser, and fan module assembly to the upper tie bar to keep the assembly with the vehicle when the frame is removed.
- Install the engine support fixture. Refer to Engine Support Fixture .
- Raise and support the vehicle. Refer to Lifting and Jacking the Vehicle .
- Remove the tire and wheel assemblies. Refer to Tire and Wheel Removal and Installation .
- Remove the engine splash shields. Refer to Engine Splash Shield Replacement - Left Side and Engine Splash Shield Replacement - Right Side .
- Remove the catalytic converters. Refer to Catalytic Converter Replacement - Left Side and Catalytic Converter Replacement - Right Side .
- Remove the propeller shaft if the vehicle is equipped with AWD. Refer to Propeller Shaft Replacement .
- Remove both left and right stabilizer shaft insulator clamps. Refer to Stabilizer Shaft Insulator Replacement .
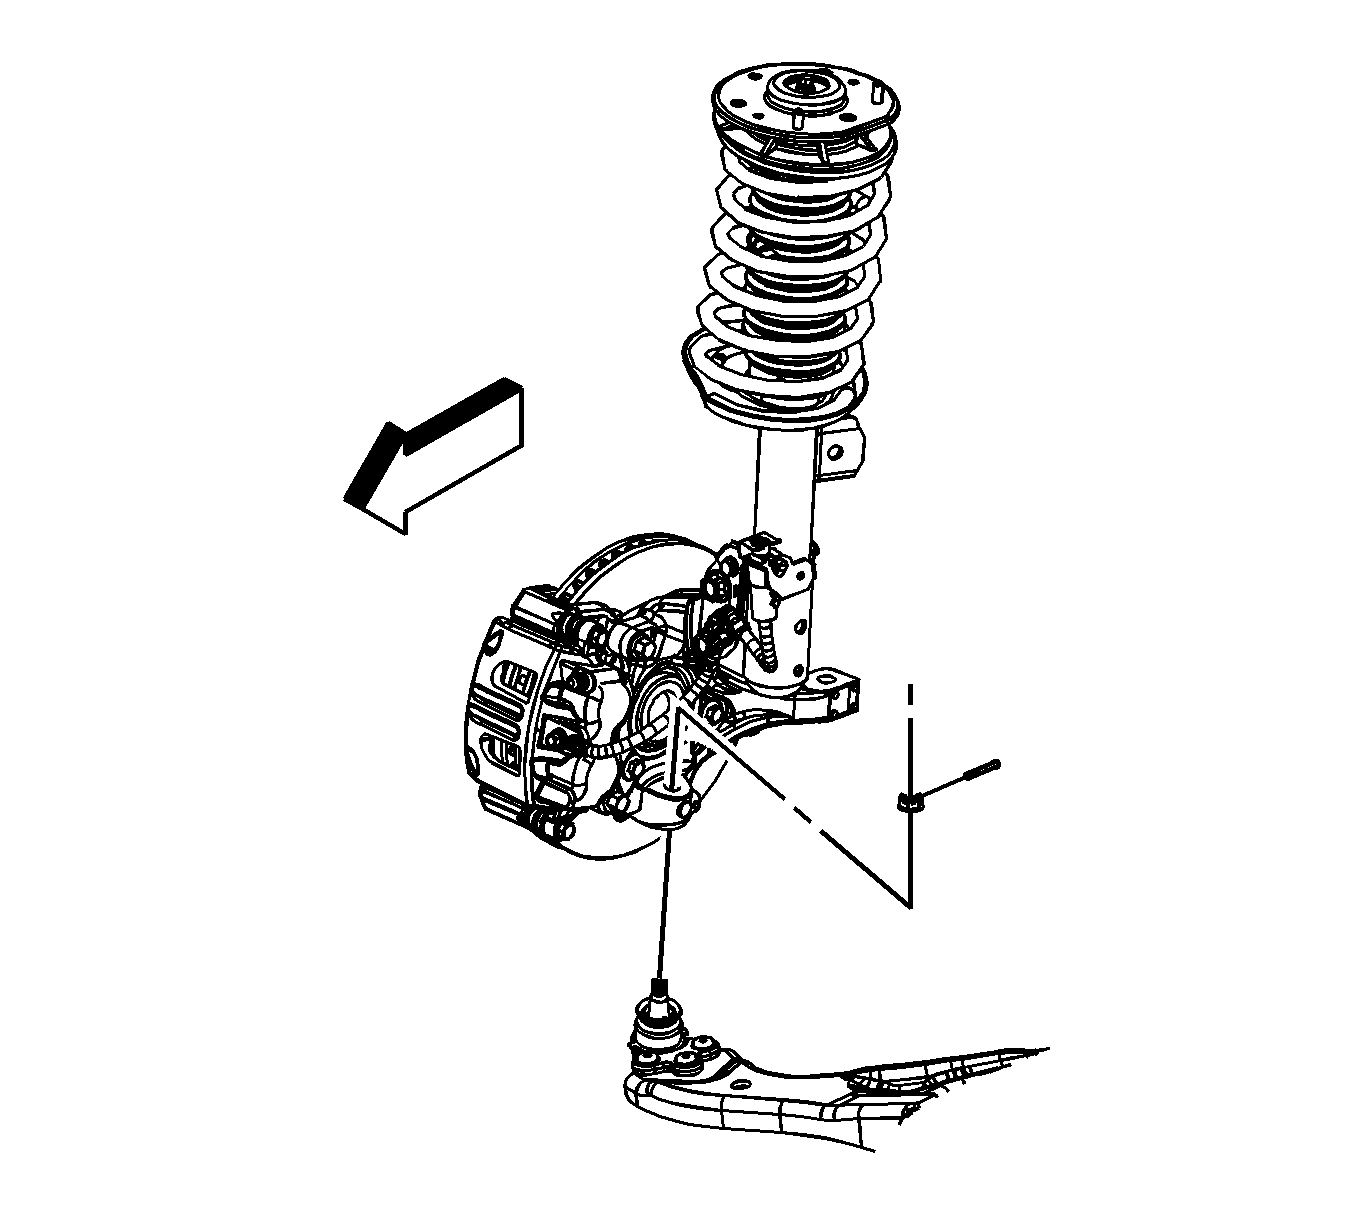
- Remove the lower ball joints from the steering knuckles. Refer to Lower Control Arm Replacement .
- Disconnect the intermediate steering shaft from the steering gear. Refer to Intermediate Steering Shaft Replacement .
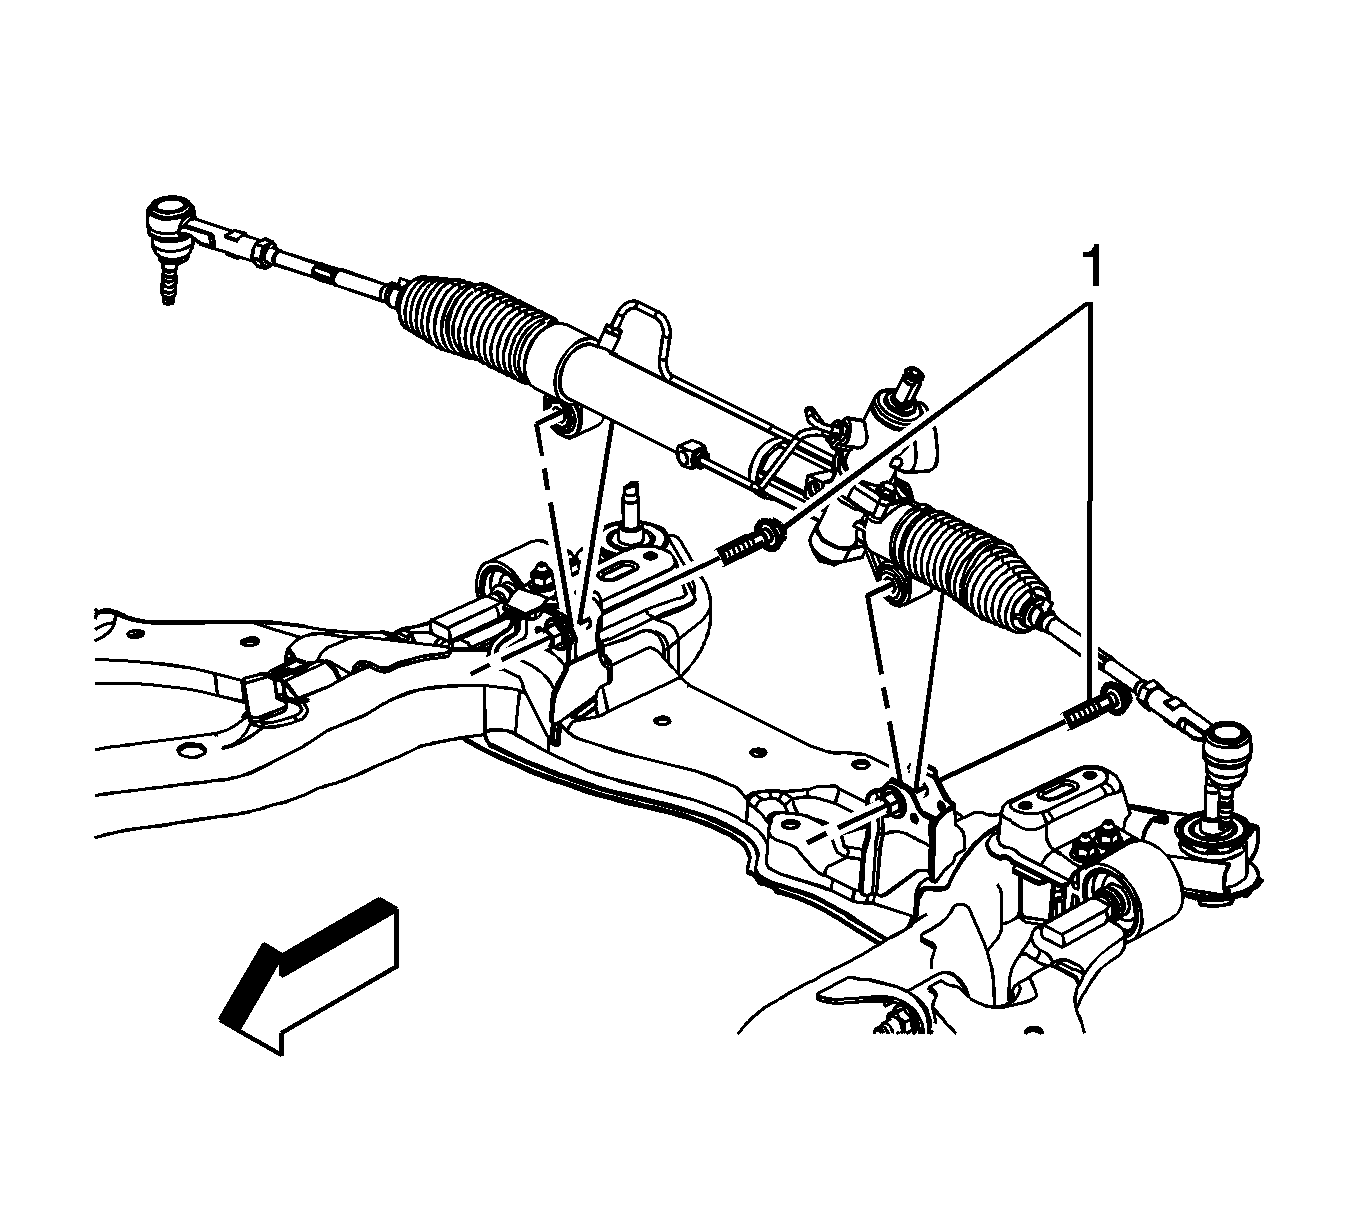
- Remove the power steering gear mounting bolts (1) and secure the gear out of the way using mechanics wire or equivalent. Refer to Steering Gear Replacement .
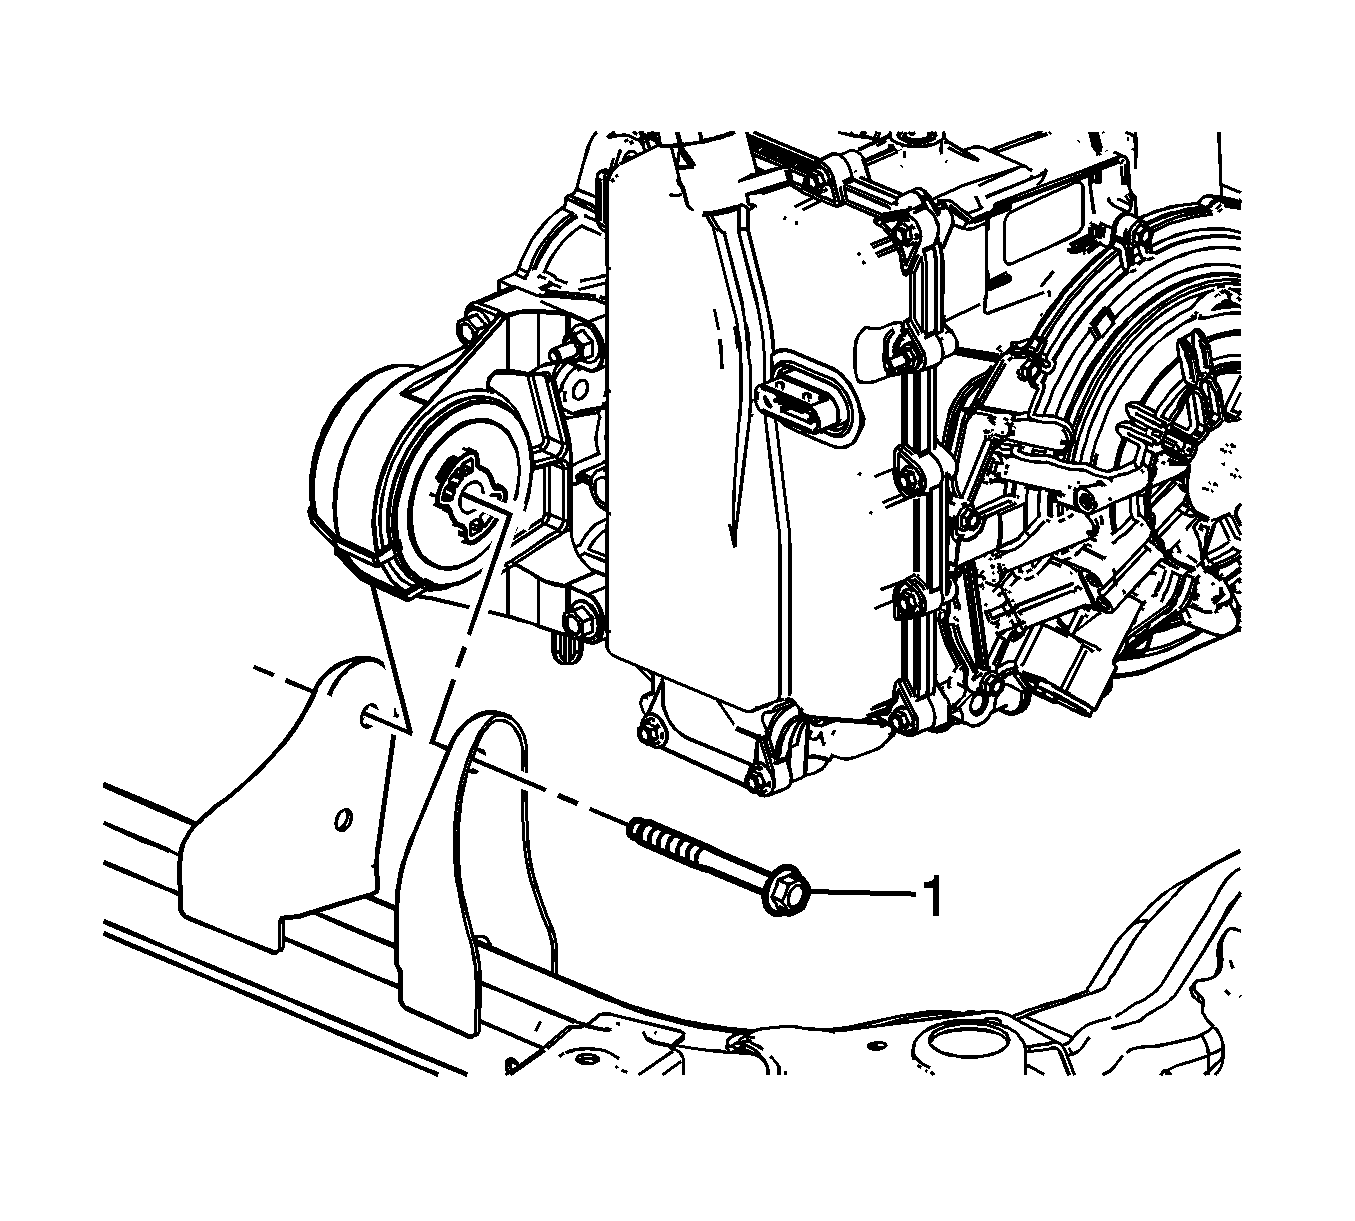
- Remove the front transmission mount thru bolt (1).
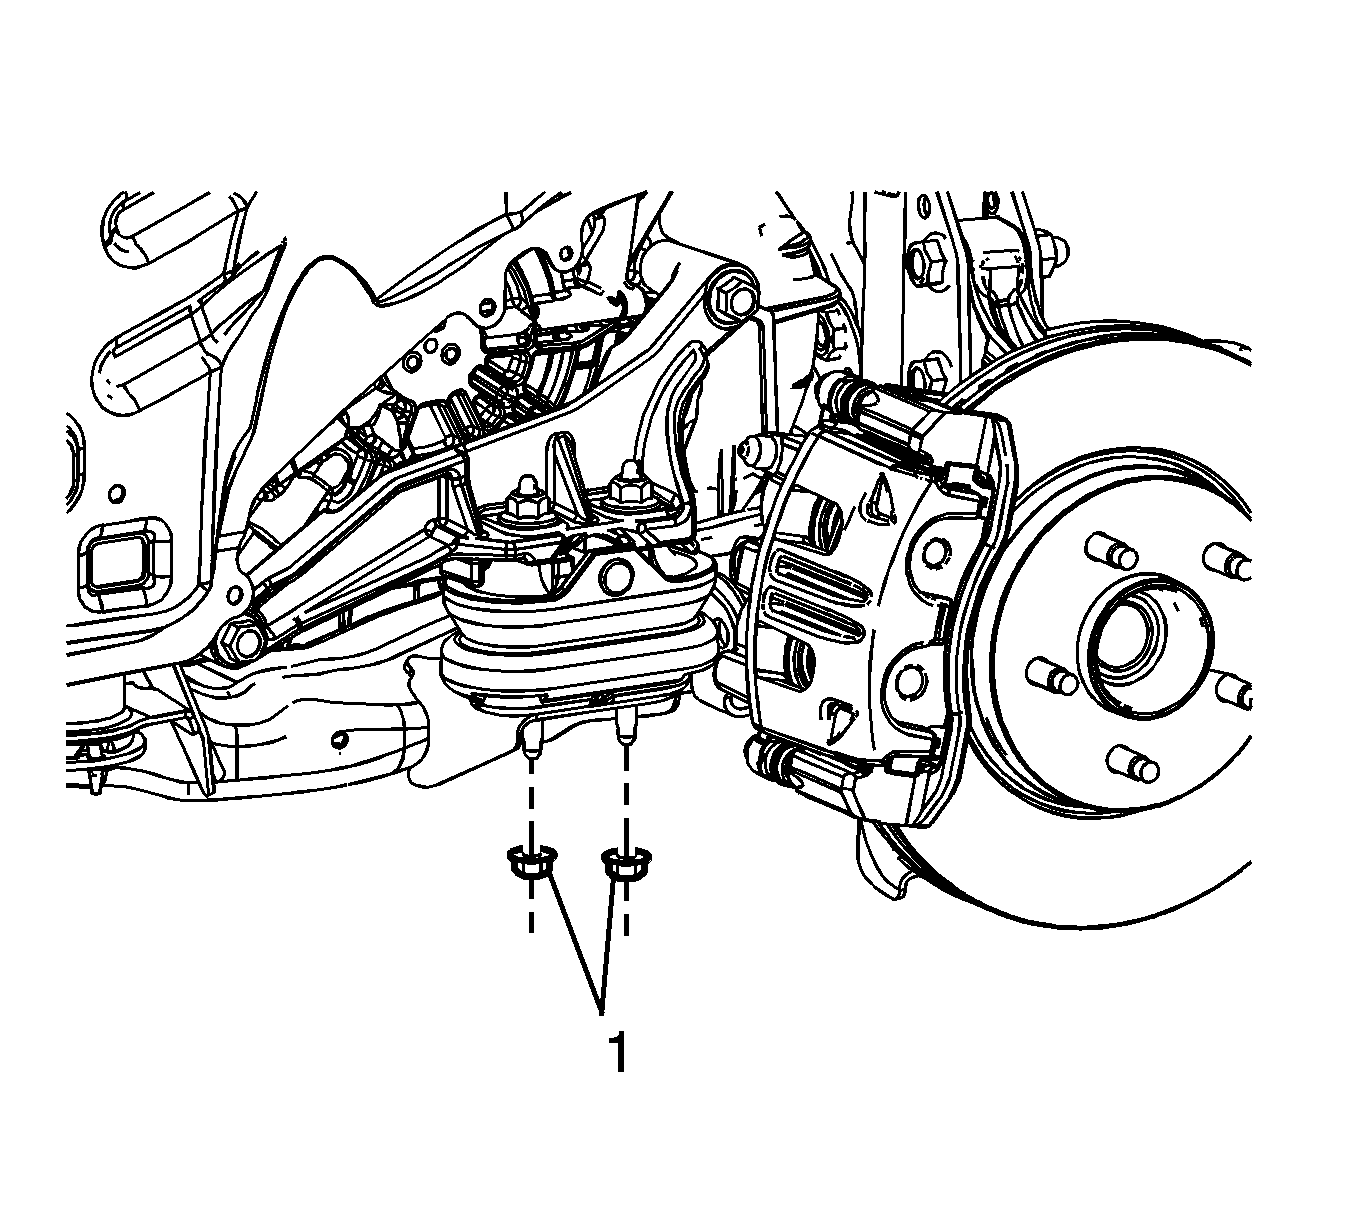
- Remove the left transmission mount lower nuts (1).
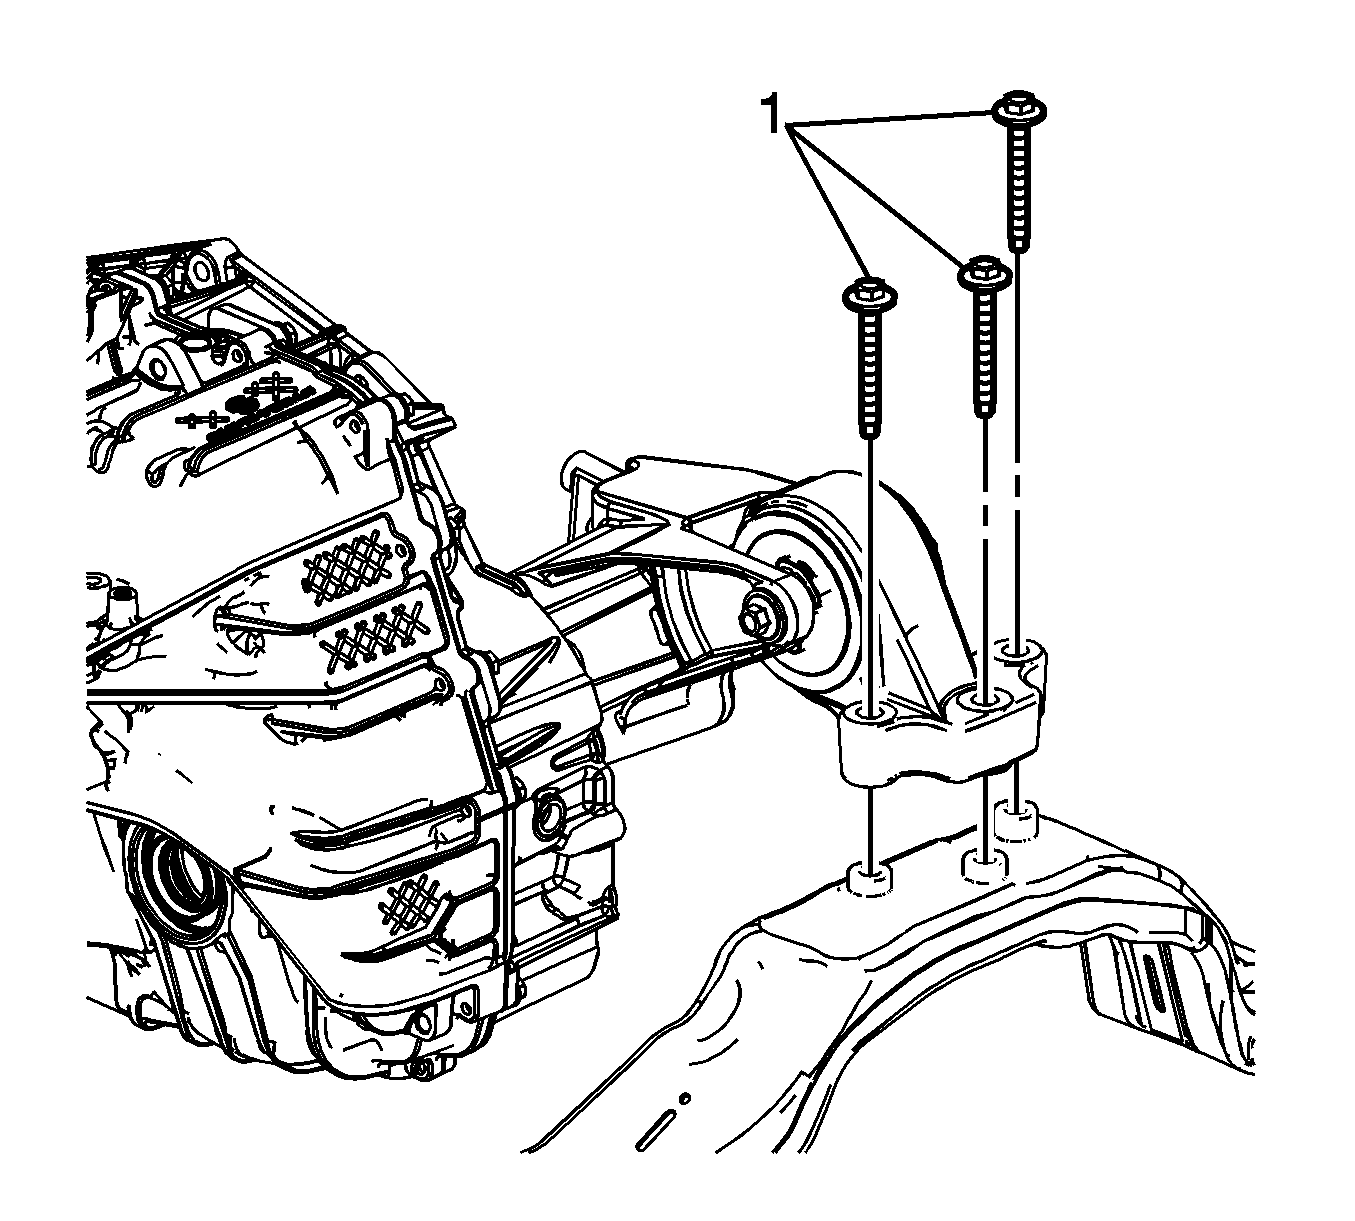
- Remove the rear transmission mount to frame bolts (1).
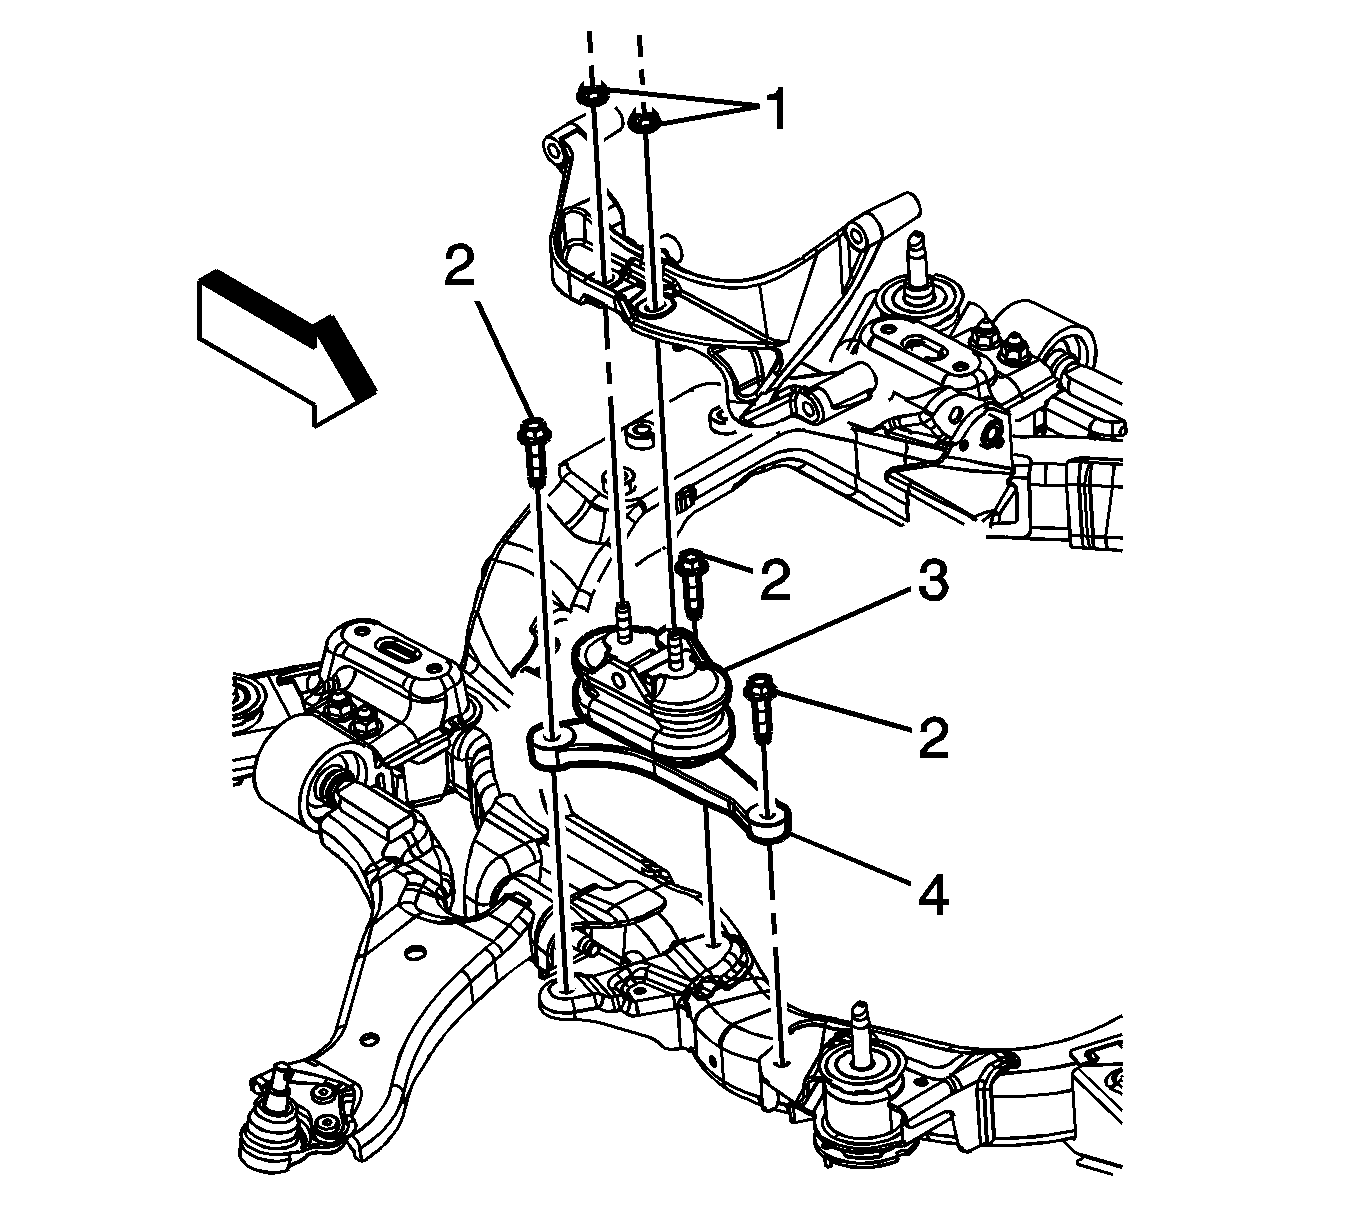
- Remove the lower engine mount bracket to frame bolts (2).
- Lower the vehicle until the frame contacts the J 39580 table .
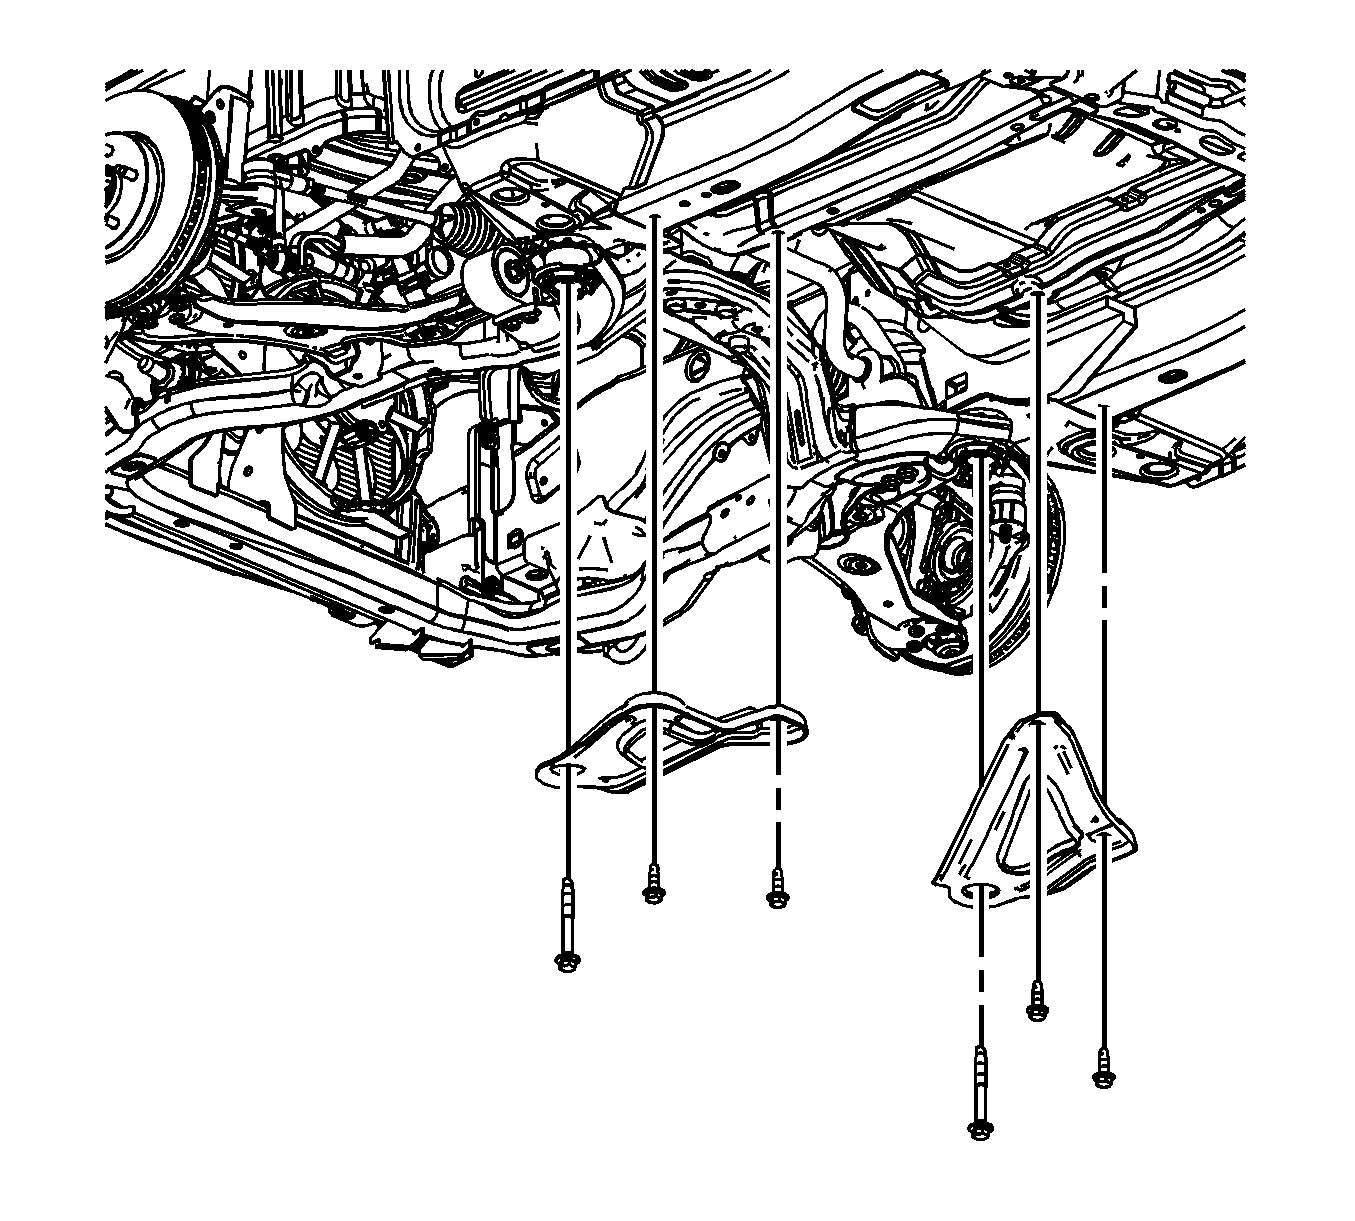
- Remove the frame reinforcements. Refer to Drivetrain and Front Suspension Frame Reinforcement Replacement .
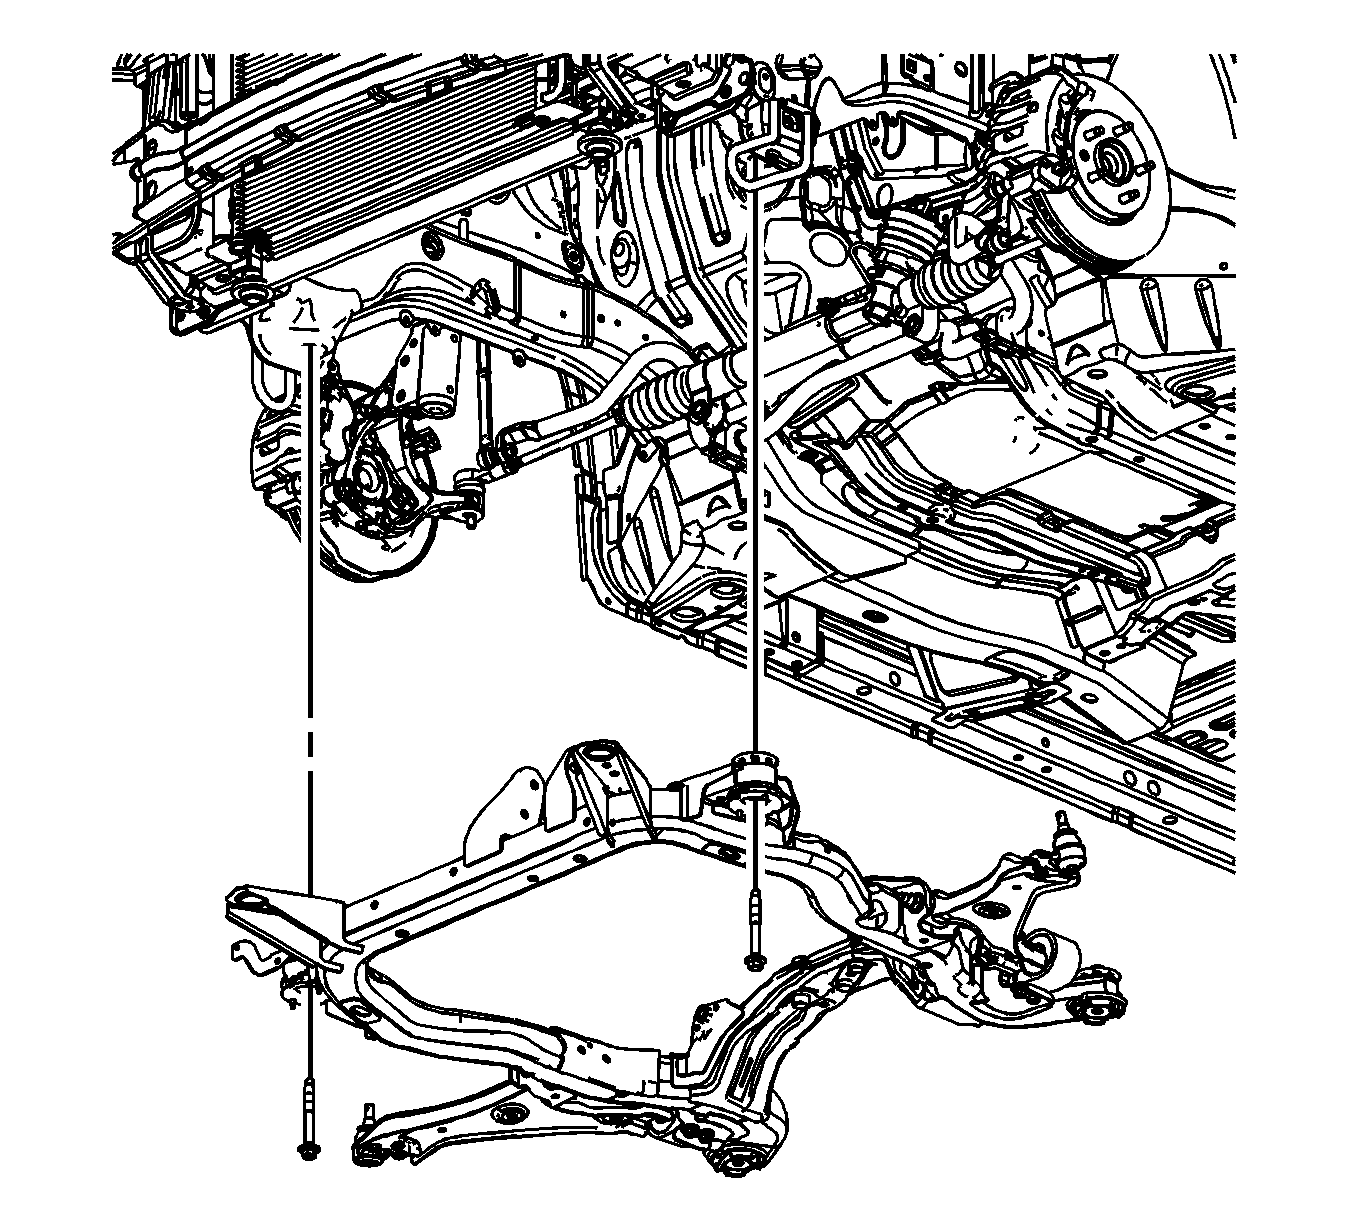
- Remove the front frame bolts.
- Raise the vehicle off of the frame.
- If replacing the frame, remove the lower control arms. Refer to Lower Control Arm Replacement .
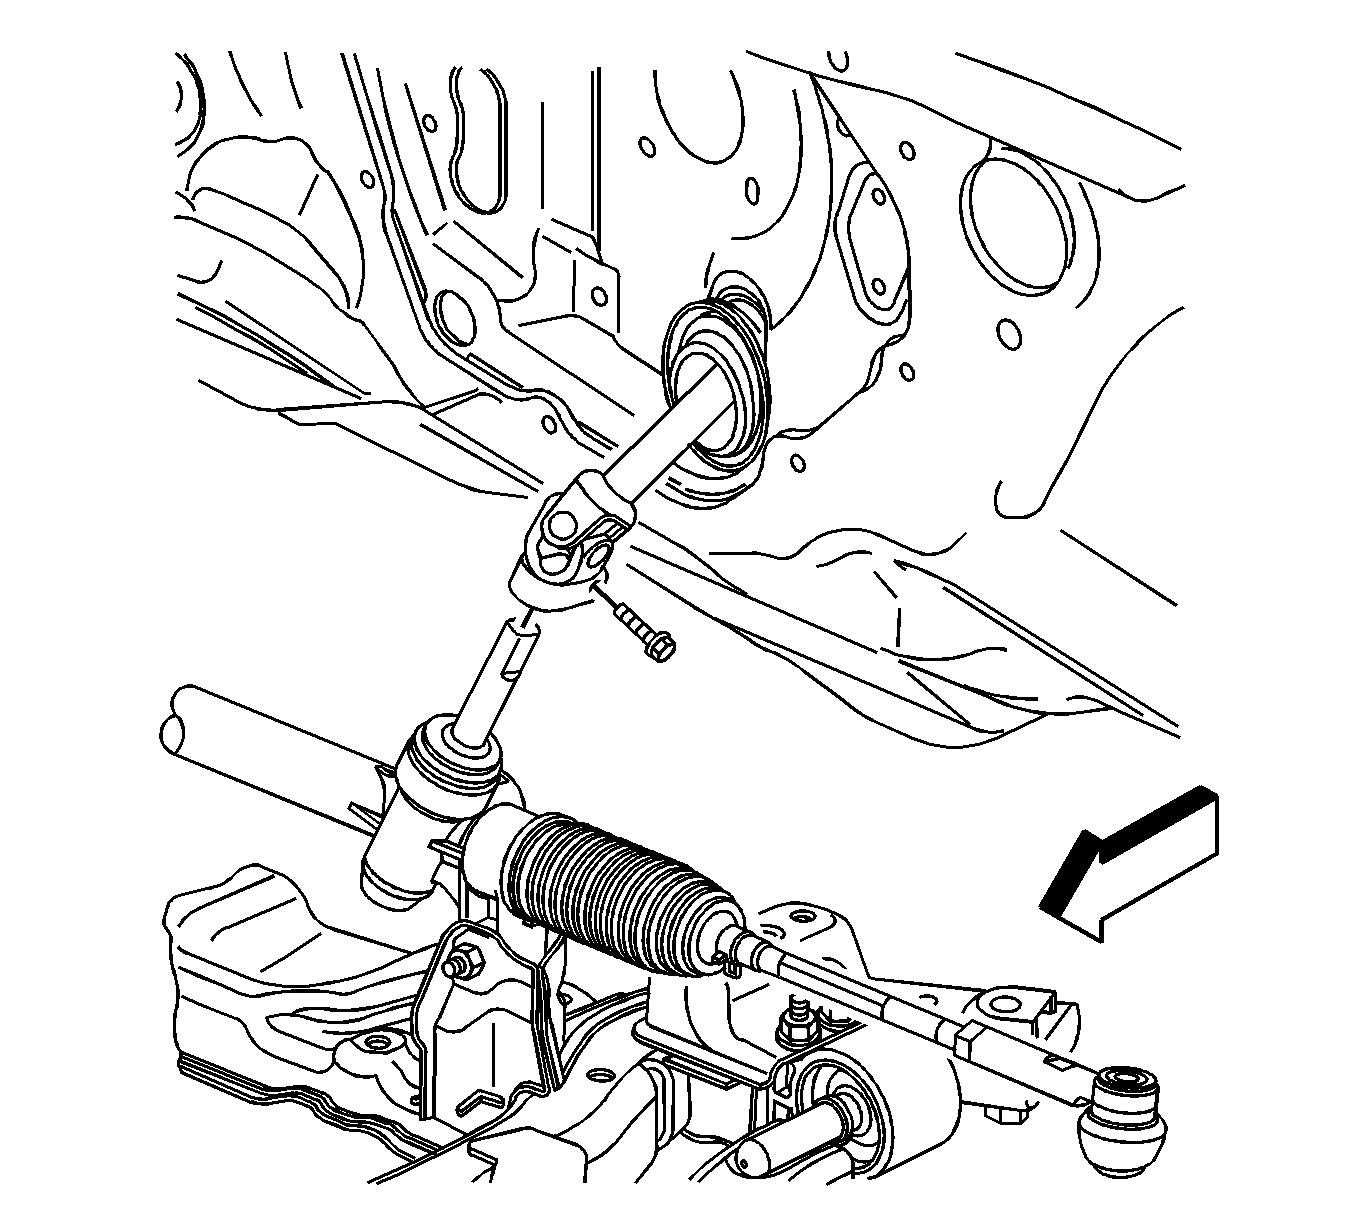
Note: Whenever the steering gear is moved in relation to the body, disconnect the intermediate shaft from the steering gear.
Installation Procedure
- If removed, install the lower control arms. Refer to Lower Control Arm Replacement .
- Lower the vehicle on to the frame.
- Install the front frame bolts and tighten to 155 N·m (114 lb ft) .
- Install the frame reinforcement. Refer to Drivetrain and Front Suspension Frame Reinforcement Replacement .
- Raise the vehicle off of the J 39580 table .
- Install the lower engine mount bracket to frame bolts (2) and tighten to 50 N·m (37 lb ft) .
- Install the rear transmission mount to frame bolts (1) and tighten to 50 N·m (37 lb ft) .
- Install the left transmission mount lower nuts (1) and tighten to 50 N·m (37 lb ft) .
- Install the front transmission mount thru bolt (1) and tighten to 110 N·m (81 lb ft) .
- Install the power steering gear mounting bolts (1). Refer to Steering Gear Replacement .
- Install the intermediate steering shaft to the steering gear. Refer to Intermediate Steering Shaft Replacement .
- Install the lower ball joints to the steering knuckles. Refer to Lower Control Arm Replacement .
- Install the propeller shaft if the vehicle is equipped with AWD. Refer to Propeller Shaft Replacement .
- Install the catalytic converters. Refer to Catalytic Converter Replacement - Left Side and Catalytic Converter Replacement - Right Side .
- Install both left and right stabilizer shaft insulator clamps. Refer to Stabilizer Shaft Insulator Replacement .
- Install the engine splash shields. Refer to Engine Splash Shield Replacement - Left Side and Engine Splash Shield Replacement - Right Side .
- Install the tire and wheel assemblies. Refer to Tire and Wheel Removal and Installation .
- Remove the engine support fixture. Refer to Engine Support Fixture .
- Release the radiator, air conditioning condenser, and fan module assembly from the upper tie bar.
- Check the wheel alignment. Refer to Wheel Alignment Measurement .

Caution: Refer to Fastener Caution in the Preface section.


