For 1990-2009 cars only
Removal Procedure
- Remove the HVAC module assembly. Refer to HVAC Module Assembly Replacement.
- Remove the evaporator case assembly. Refer to Air Conditioning (A/C) Evaporator Case Assembly Replacement.
- Remove the air inlet assembly. Refer to Air Inlet Assembly Replacement.
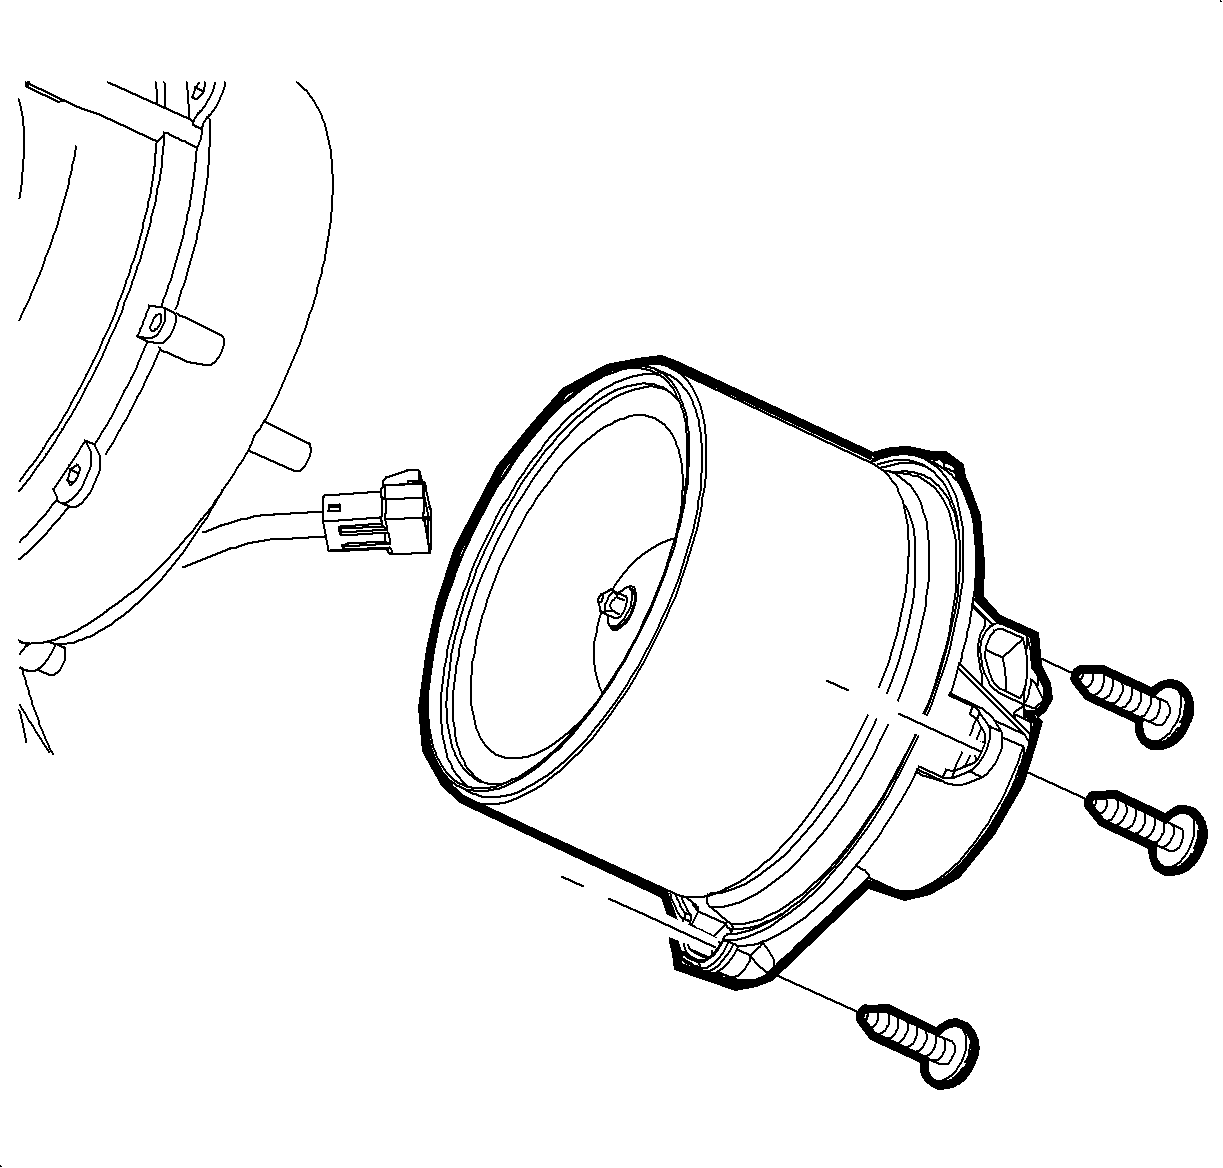
- Remove the blower motor screws from the blower case assembly.
- Remove the blower motor from the blower case assembly.
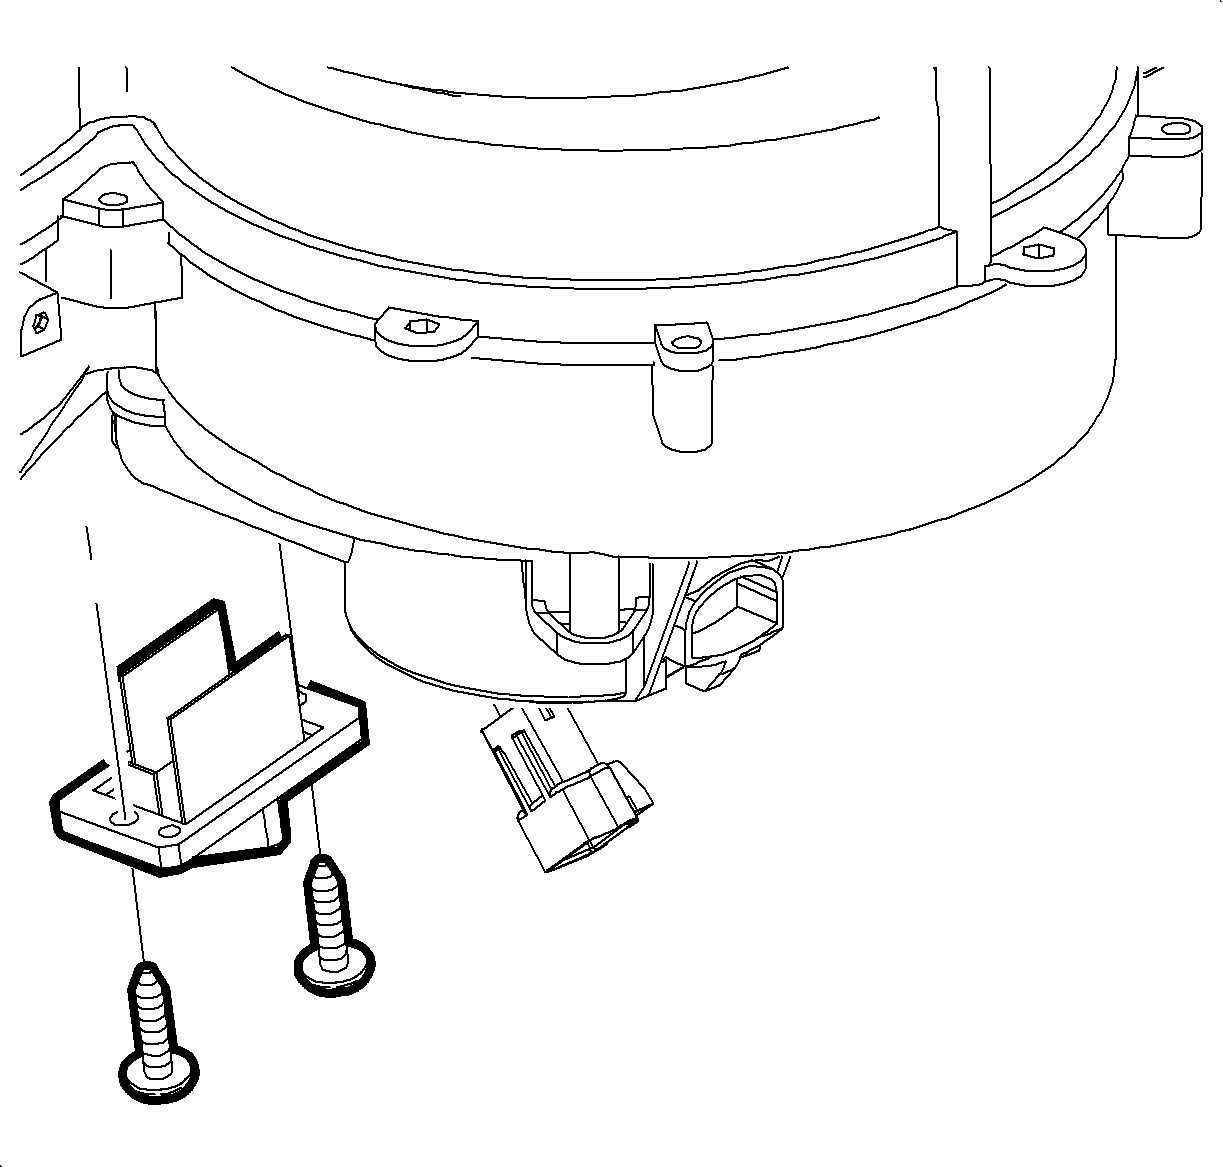
- Remove the blower motor control module screws from the blower case assembly.
- Remove the blower motor control module from the blower case assembly.
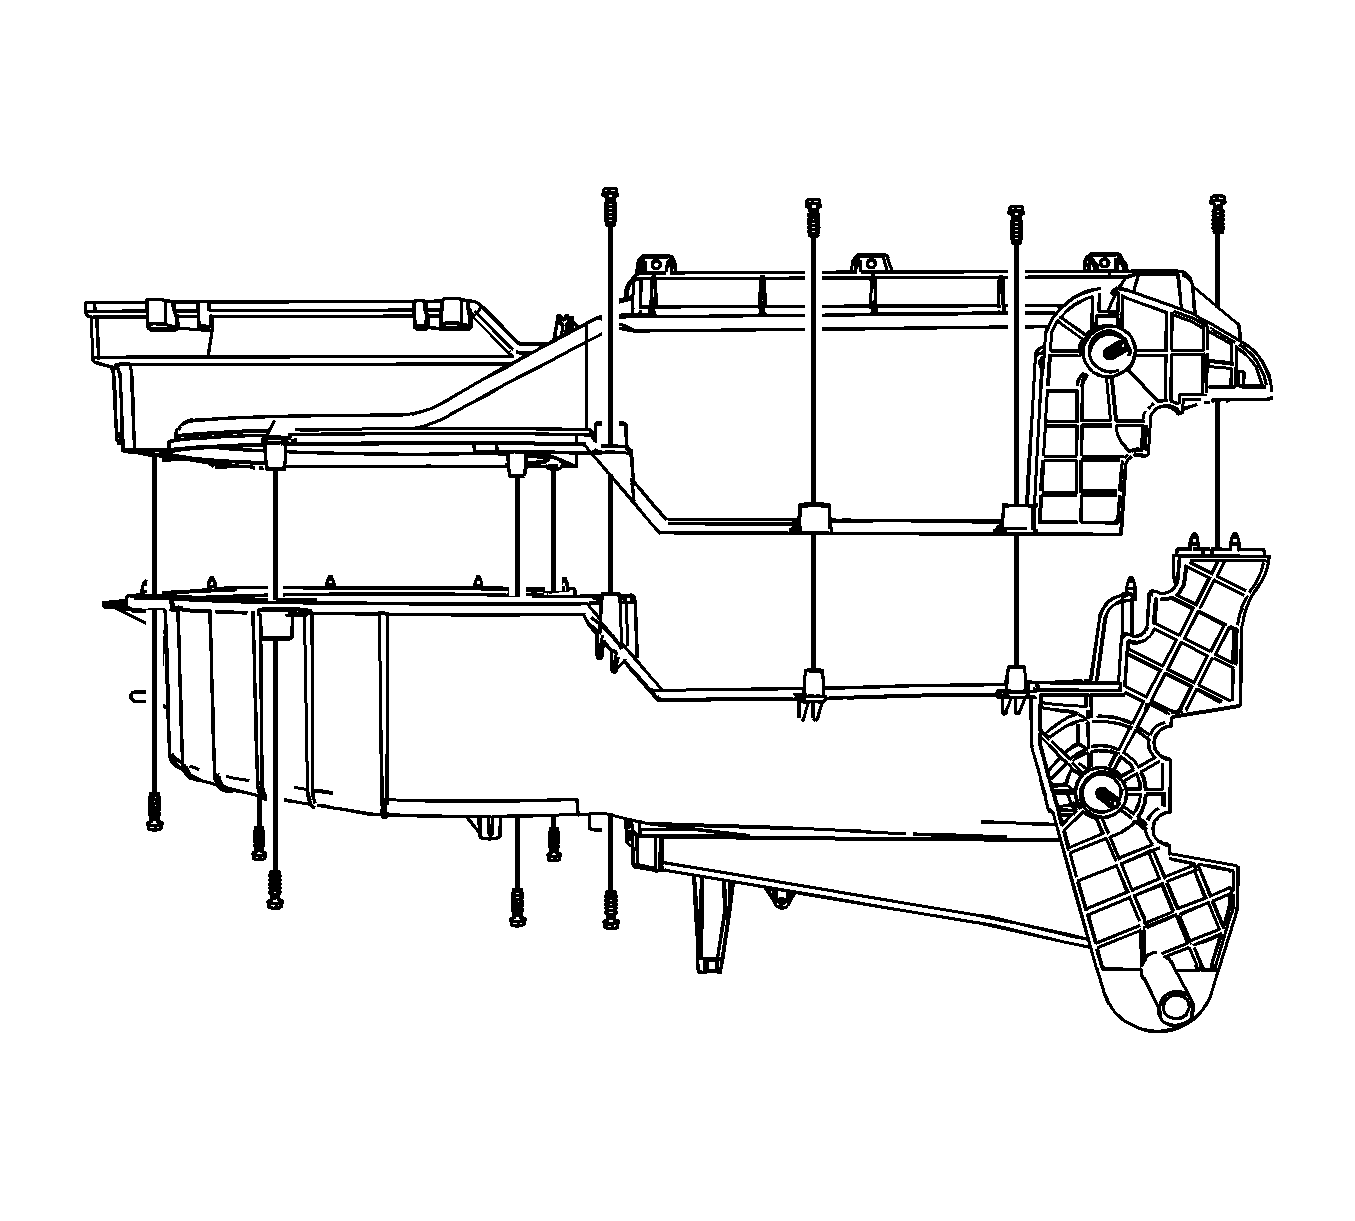
- Remove the screws retaining the two halves of the blower case assembly.
- Separate the two halves of the blower case assembly.
- Remove the evaporator core from the blower case assembly.


Installation Procedure
- Install the evaporator core to the blower case assembly.
- Assemble the two halves of the blower case assembly.
- Install the screws to retain the two halves of the blower case assembly.
- Install the blower motor control module to the blower case assembly.
- Install the blower motor control module screws to the blower case assembly.
- Install the blower motor to the blower case assembly.
- Install the blower motor screws to the blower case assembly.
- Install the air inlet assembly. Refer to Air Inlet Assembly Replacement.
- Install the evaporator case assembly. Refer to Air Conditioning (A/C) Evaporator Case Assembly Replacement.
- Install the HVAC module. Refer to HVAC Module Assembly Replacement.

Caution: Refer to Fastener Caution in the Preface section.
Tighten the screws to 1.5 N·m (13 lb in).

Tighten the screws to 1.5 N·m (13 lb in).

Tighten the screws to 1.5 N·m (13 lb in).
