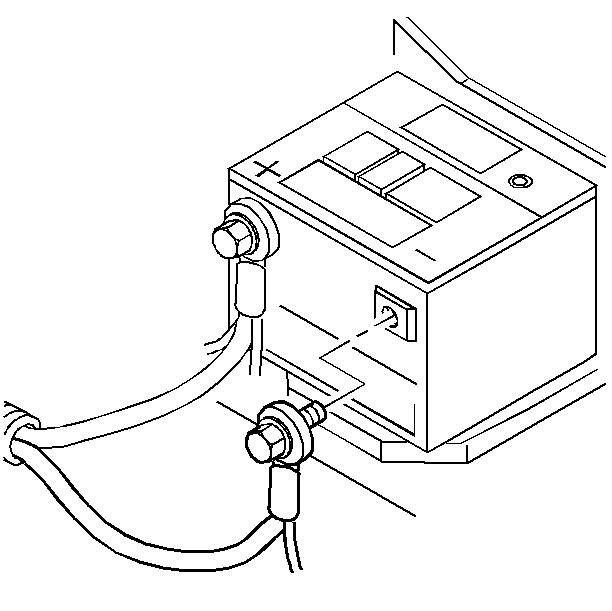
Removal Procedure
- Raise and suitably support the vehicle. Refer to General Vehicle Lifting and Jacking in General Information.
- Remove both front tires and both front wheels.
- Remove both front wheel opening splash shields.
- Remove both front suspension position sensors from the lower control arms.
- Remove both of the stabilizer links from the struts.
- Remove both tie rod cotter pins and the nuts.
- Separate both of the tie rods from the steering knuckles.
- Remove the nuts from both drive axles.
- Remove both drive axles from the transaxle.
- Remove the case extension and the scavenger pipe. Refer to Case Extension Replacement .
- Use a torque wrench in order to remove the four differential housing bolts.
- Remove the differential housing.
- Remove the snap ring.
- Remove the left side differential gear.
- Remove the output shaft through the driver's side of the vehicle.
Position the sensors out of the way.
Separate both drive axles from the hubs.
Important: The transaxle must be in PARK with the differential locked in place.
If the differential can rotate, turn the manual shaft counterclockwise to the park position. The actuator rod will stick out of the case.Installation Procedure
Tools Required
J 35551 Ball Stud Nut Wrench
- Install the output shaft from the driver's side.
- Install the parking gear. Refer to Final Drive Assembly Replacement .
- Install the final drive assembly. Refer to Final Drive Assembly Replacement .
- Install the case extension and the scavenger pipe. Refer to Case Extension Replacement
- Install both drive axles into the hubs and install both drive axle nuts.
- Install both lower ball joints into the steering knuckles and both ball joint nuts and cotter pins.
- Tighten the ball joint nut to 10 N·m (84 Ib in) using J 35551 and a torque wrench.
- Tighten the nut an additional 120°.
- If required, turn the nut up to an additional 60° in order to allow for installation of the cotter pin.
- Install both tie rods into the steering knuckles and both tie rod nuts and cotter pins.
- Tighten the nuts to 10 N·m (7.5 Ib ft ) then an additional 1/3 turn (2 flats).
- After tightening the castellated nut to specification, align the slot in the nut to the cotter pin hole by tightening only. Do not loosen the nut for cotter pin installation.
- Install both stabilizer links to the struts.
- Install both front suspension position sensors to the lower control arms.
- Install both front wheel opening splash shields.
- Install both front tire and wheel assemblies.
- Remove the safety stands.
- Lower the vehicle.
- Connect the battery negative cable assembly to the battery negative terminal.
- Add DEXRON-III transmission fluid as required. Refer to Automatic Transmission Fluid and Filter Replacement and to Fluid Capacity Specifications .
Install both drive axles into the transaxle.
Tighten
Tighten the bolts to 145 N·m (110 Ib ft).
Important: When tightening the lower ball stud nut, a minimum torque of 50 N·m (37 Ib ft) must be obtained. If 50 N·m (37 Ib ft) is not obtained, inspect for stripped threads. If threads are satisfactory, replace the ball joint and the knuckle.
Tighten
Important: When tightening the tie rod end nut, a minimum torque of 45 N·m (33 Ib ft) must be obtained. If 45 N·m (33 Ib ft) is not obtained, inspect for stripped threads. If threads are satisfactory, replace the tie rod end and the knuckle.
Tighten
Tighten
Tighten the nuts to 65 N·m (49 Ib ft ).

Tighten
Tighten the terminal bolt to 15 N·m (11 lb ft).
